


A small update on this build...
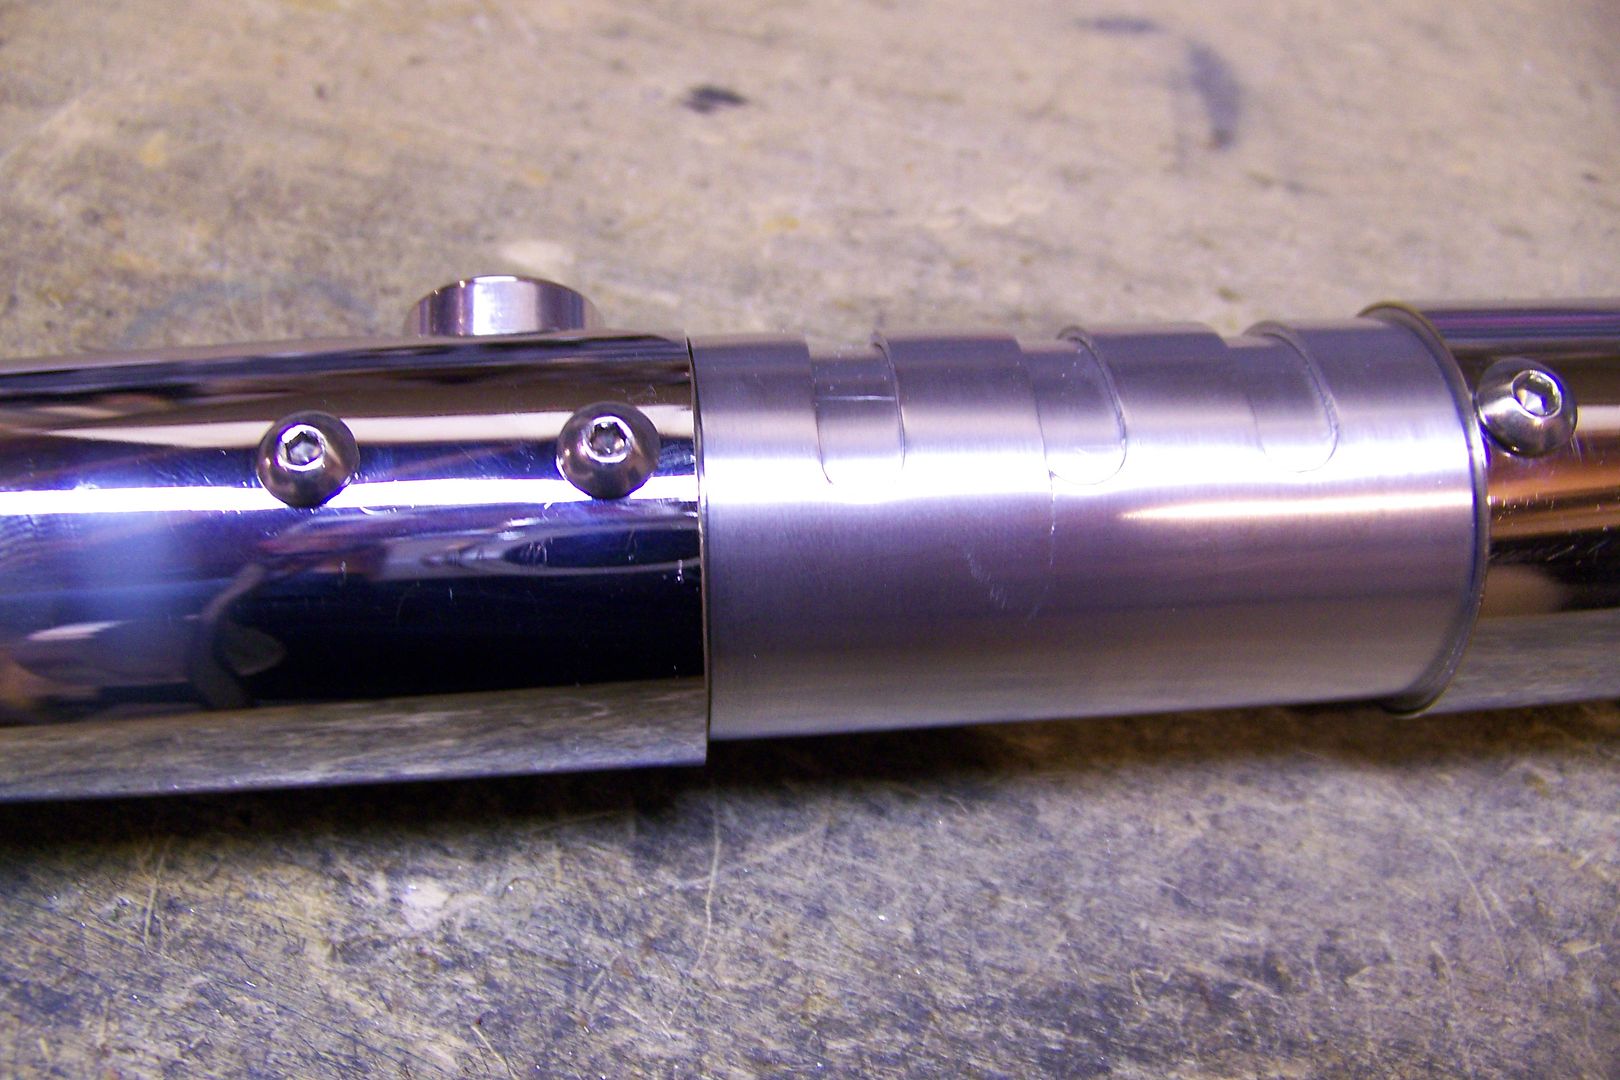
After drilling and tapping for the two screws that secure the blade mount to the aluminum grip tube, which for some reason turned out to be 10-32 threads (I don't know what I drill with that bit before putting this saber in the press) I went with those screws and finished up that bit of work.
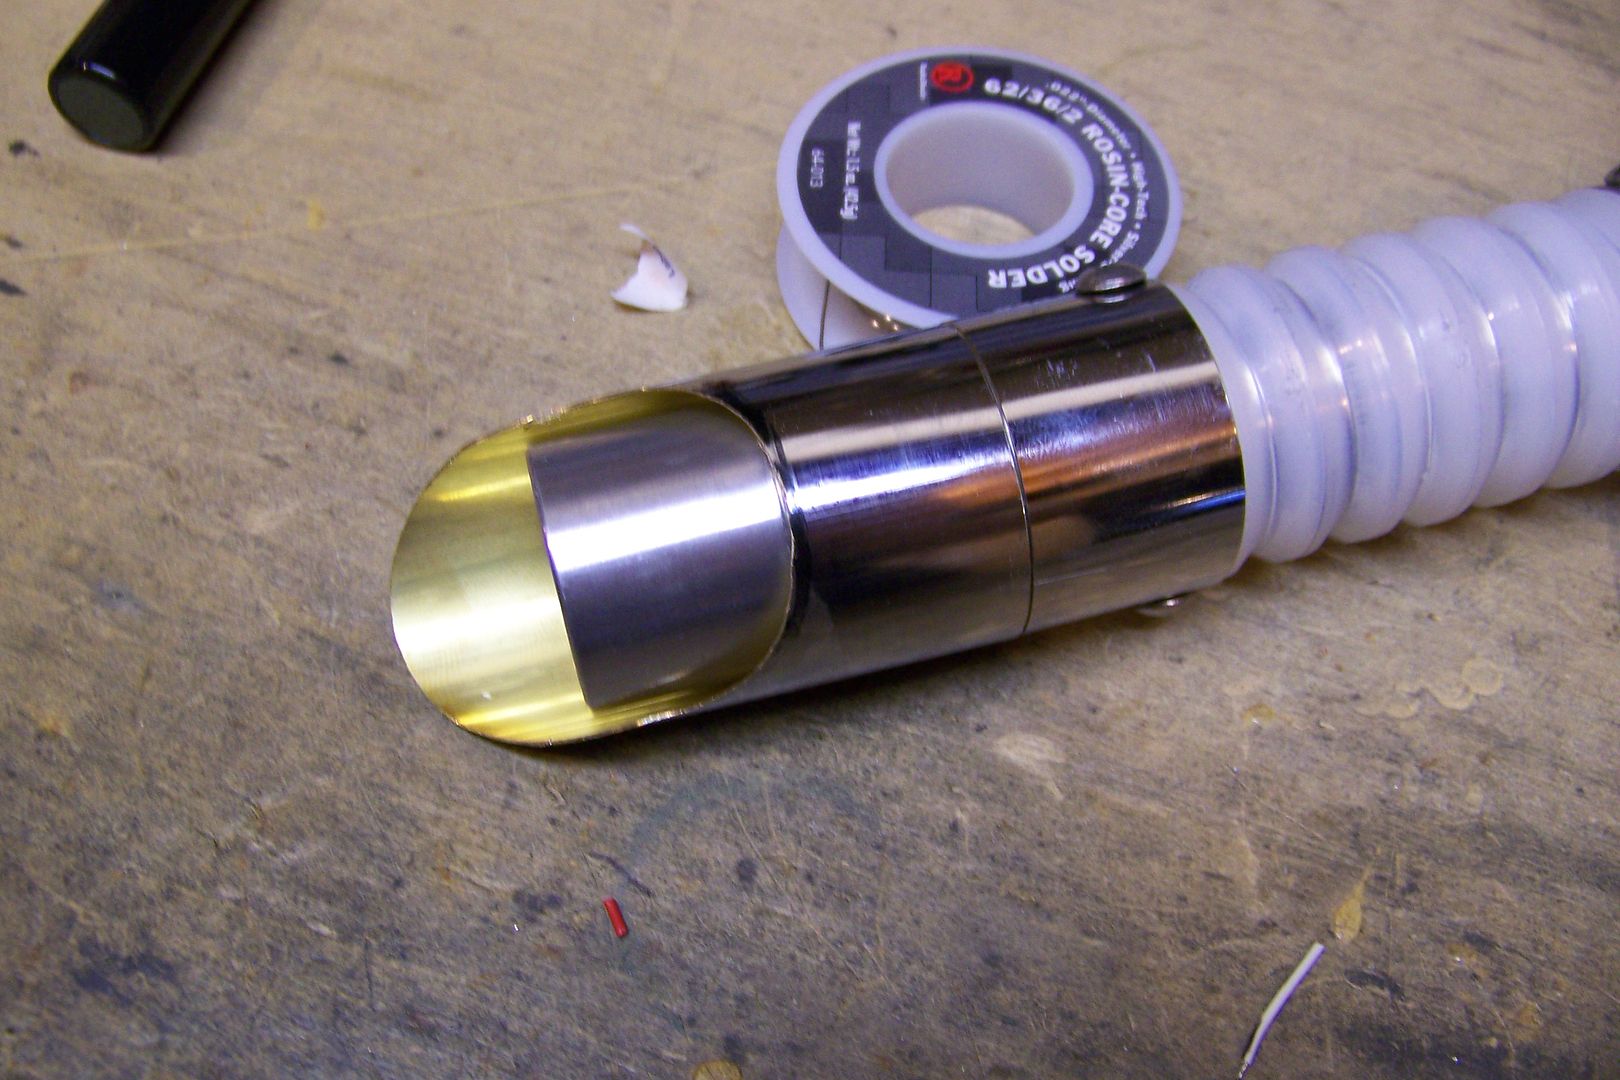
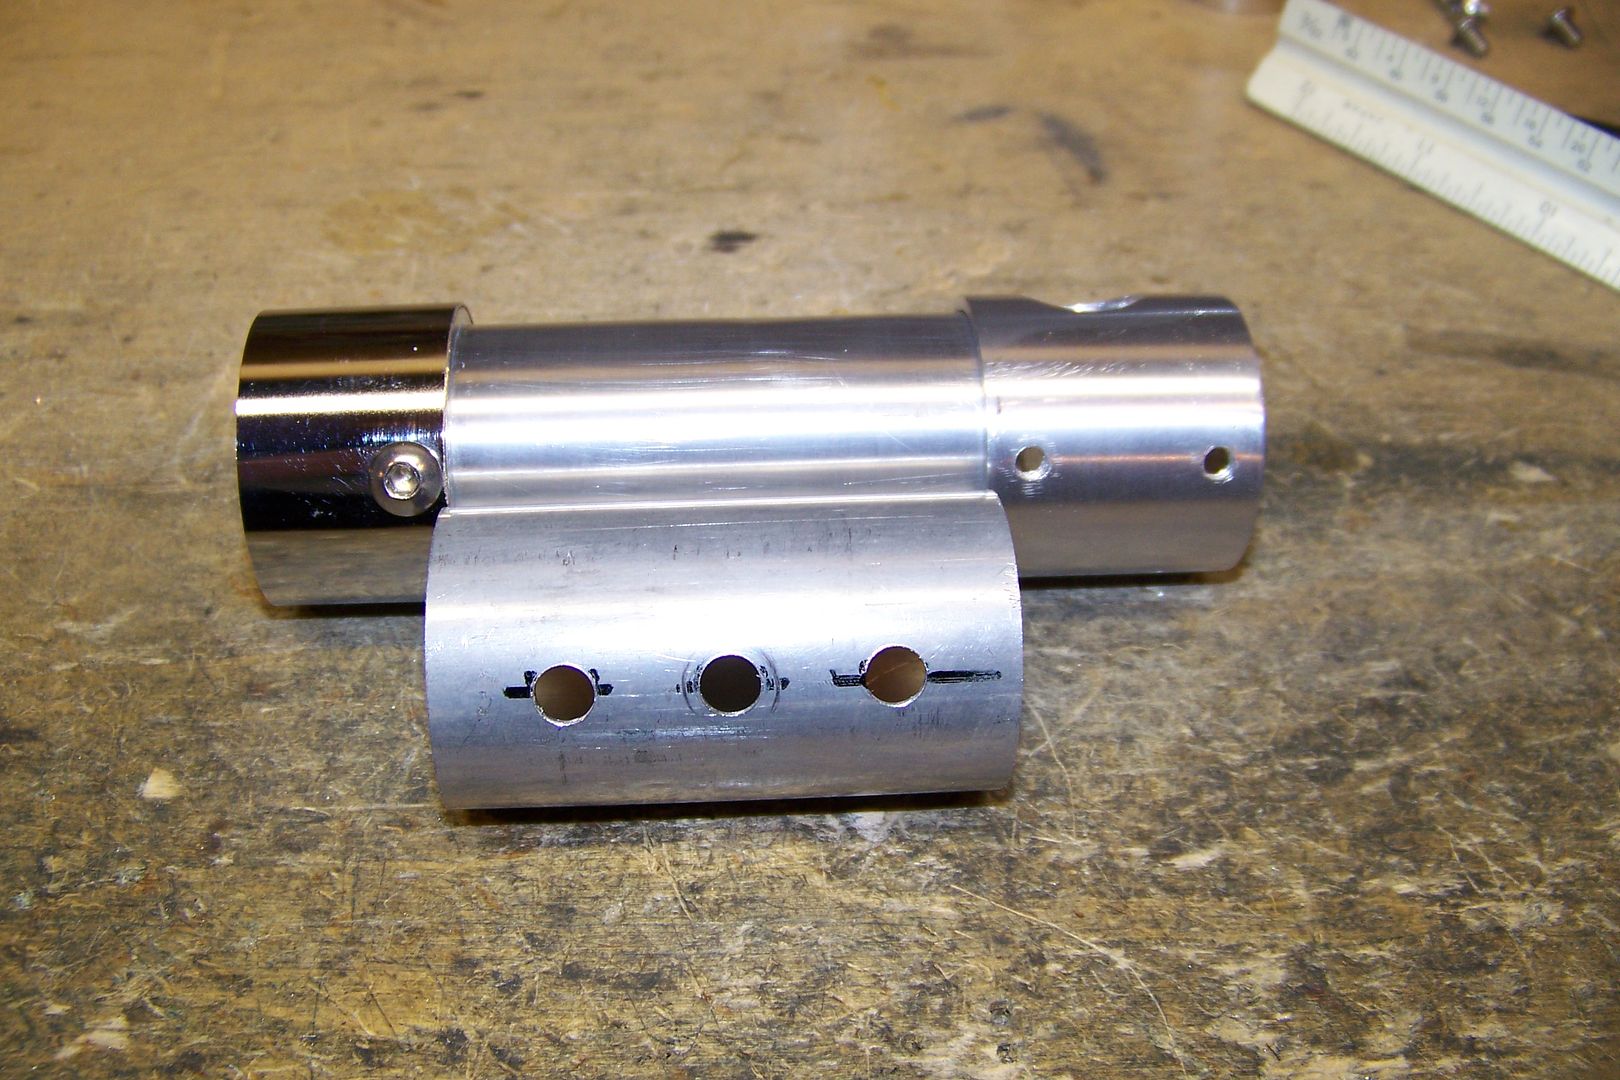
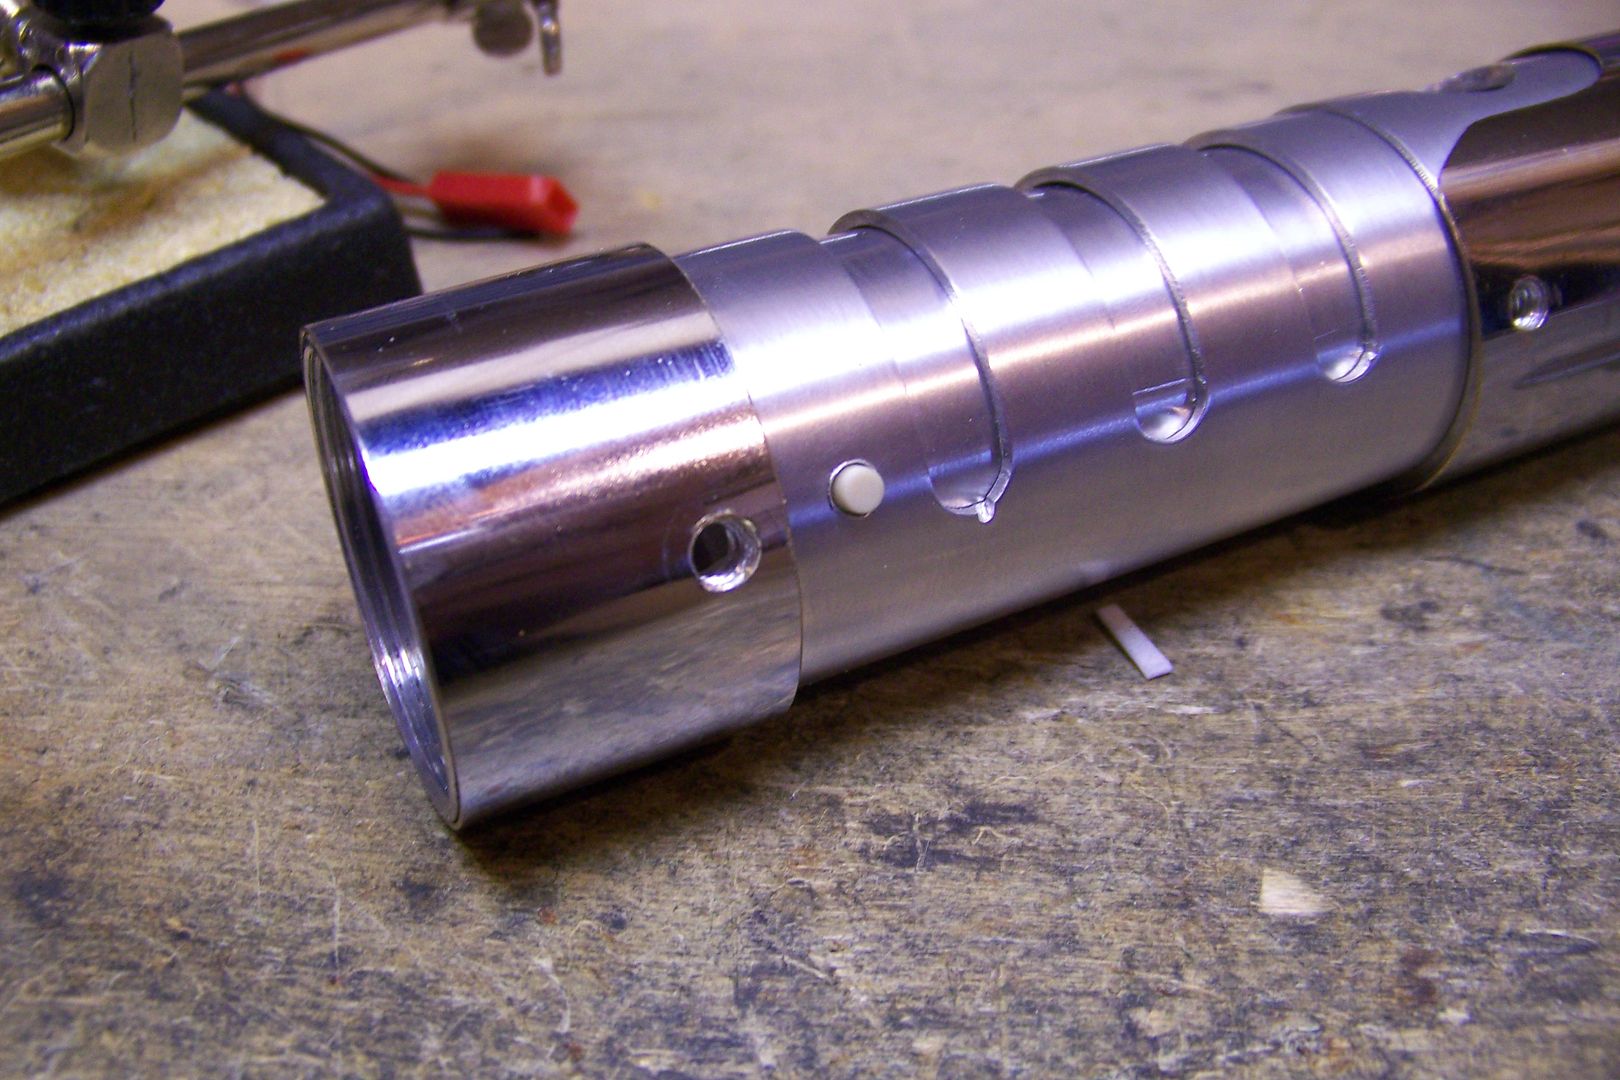
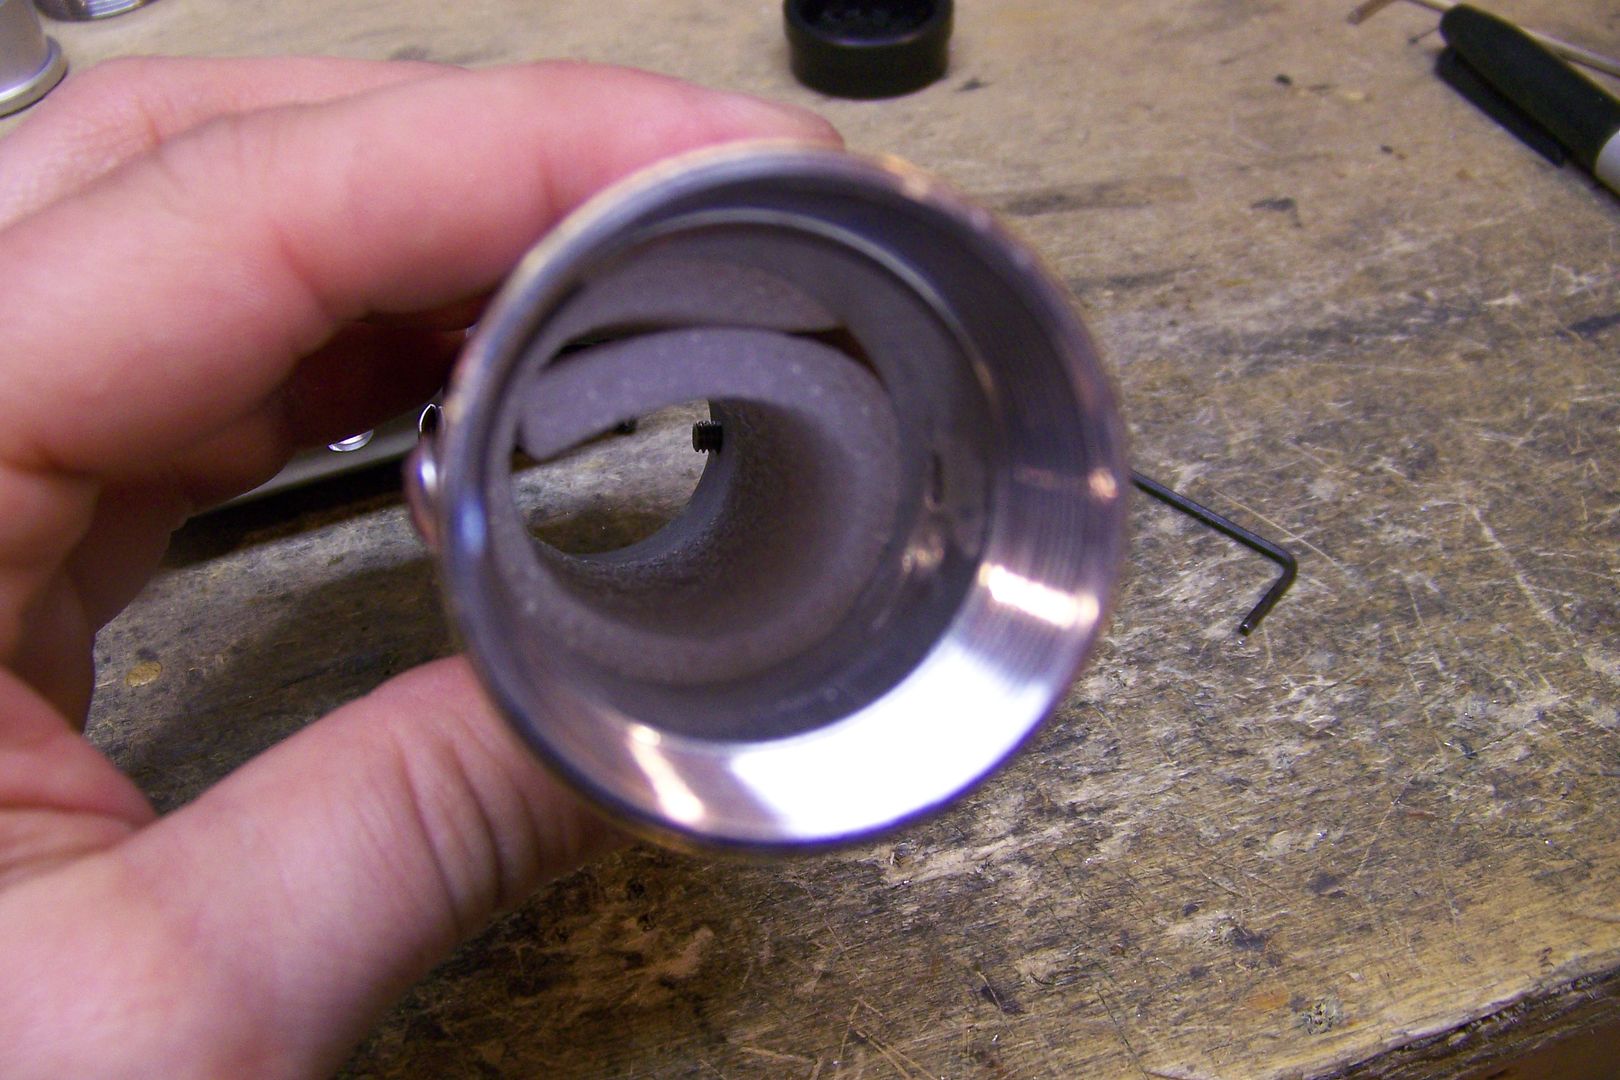
I moved on to the emitter shroud after that:
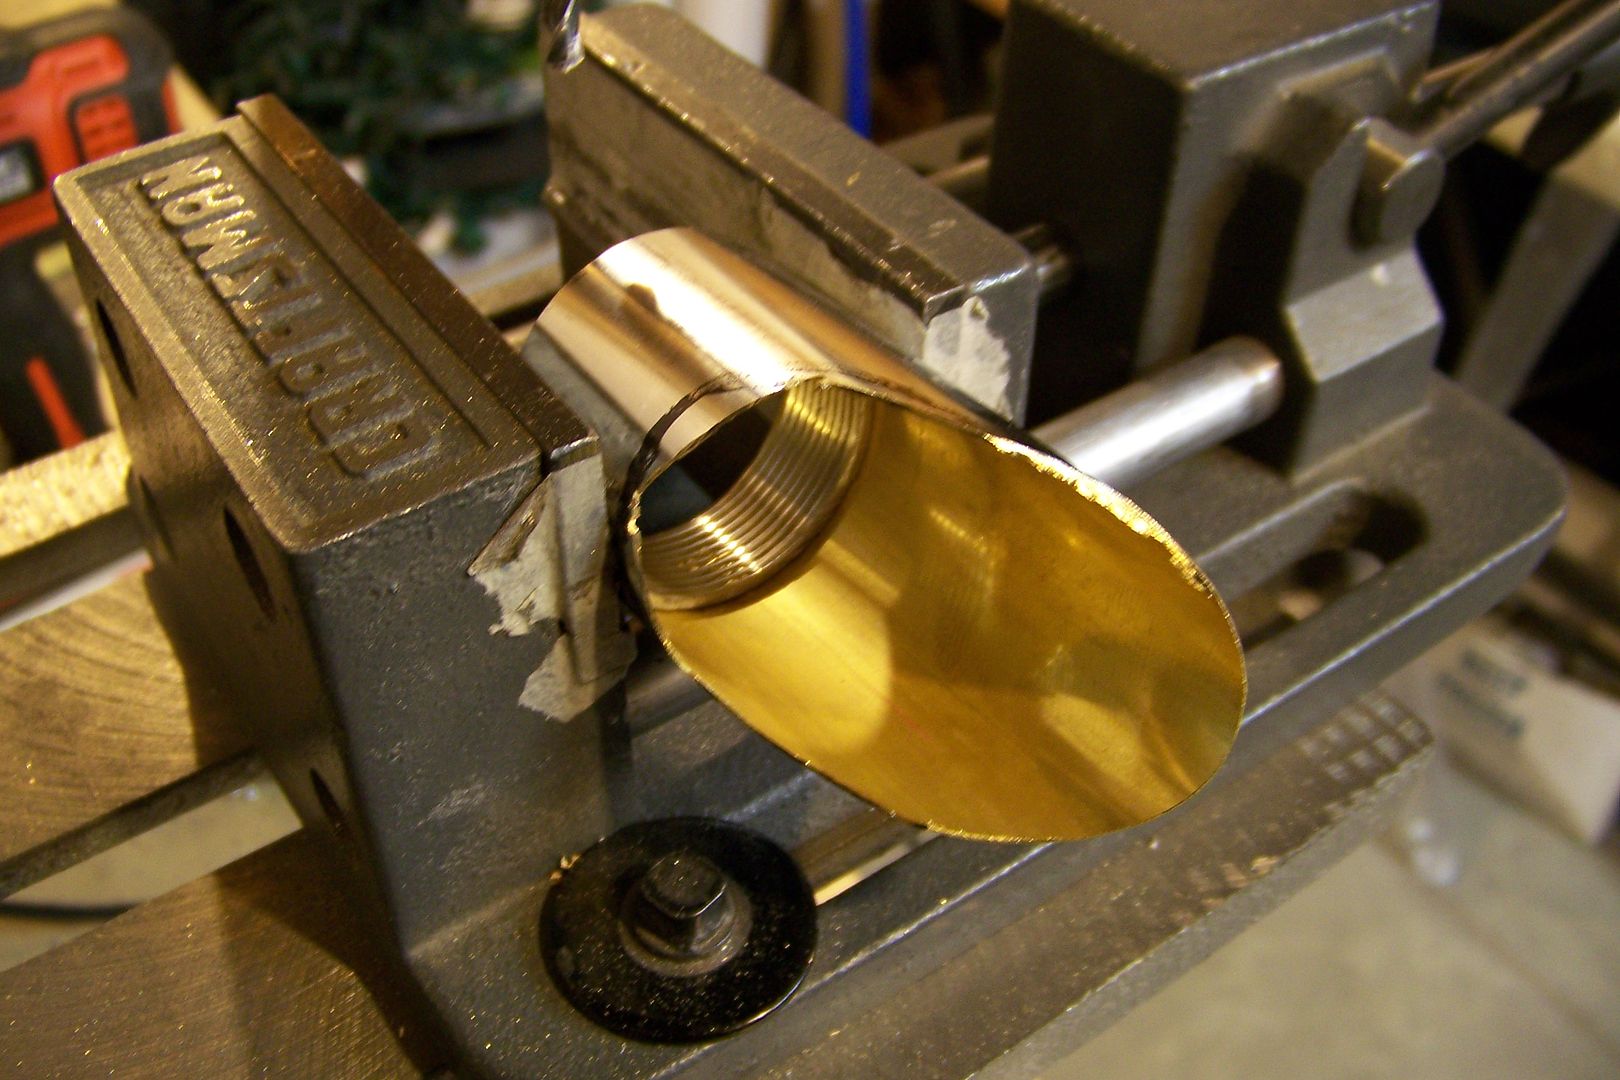
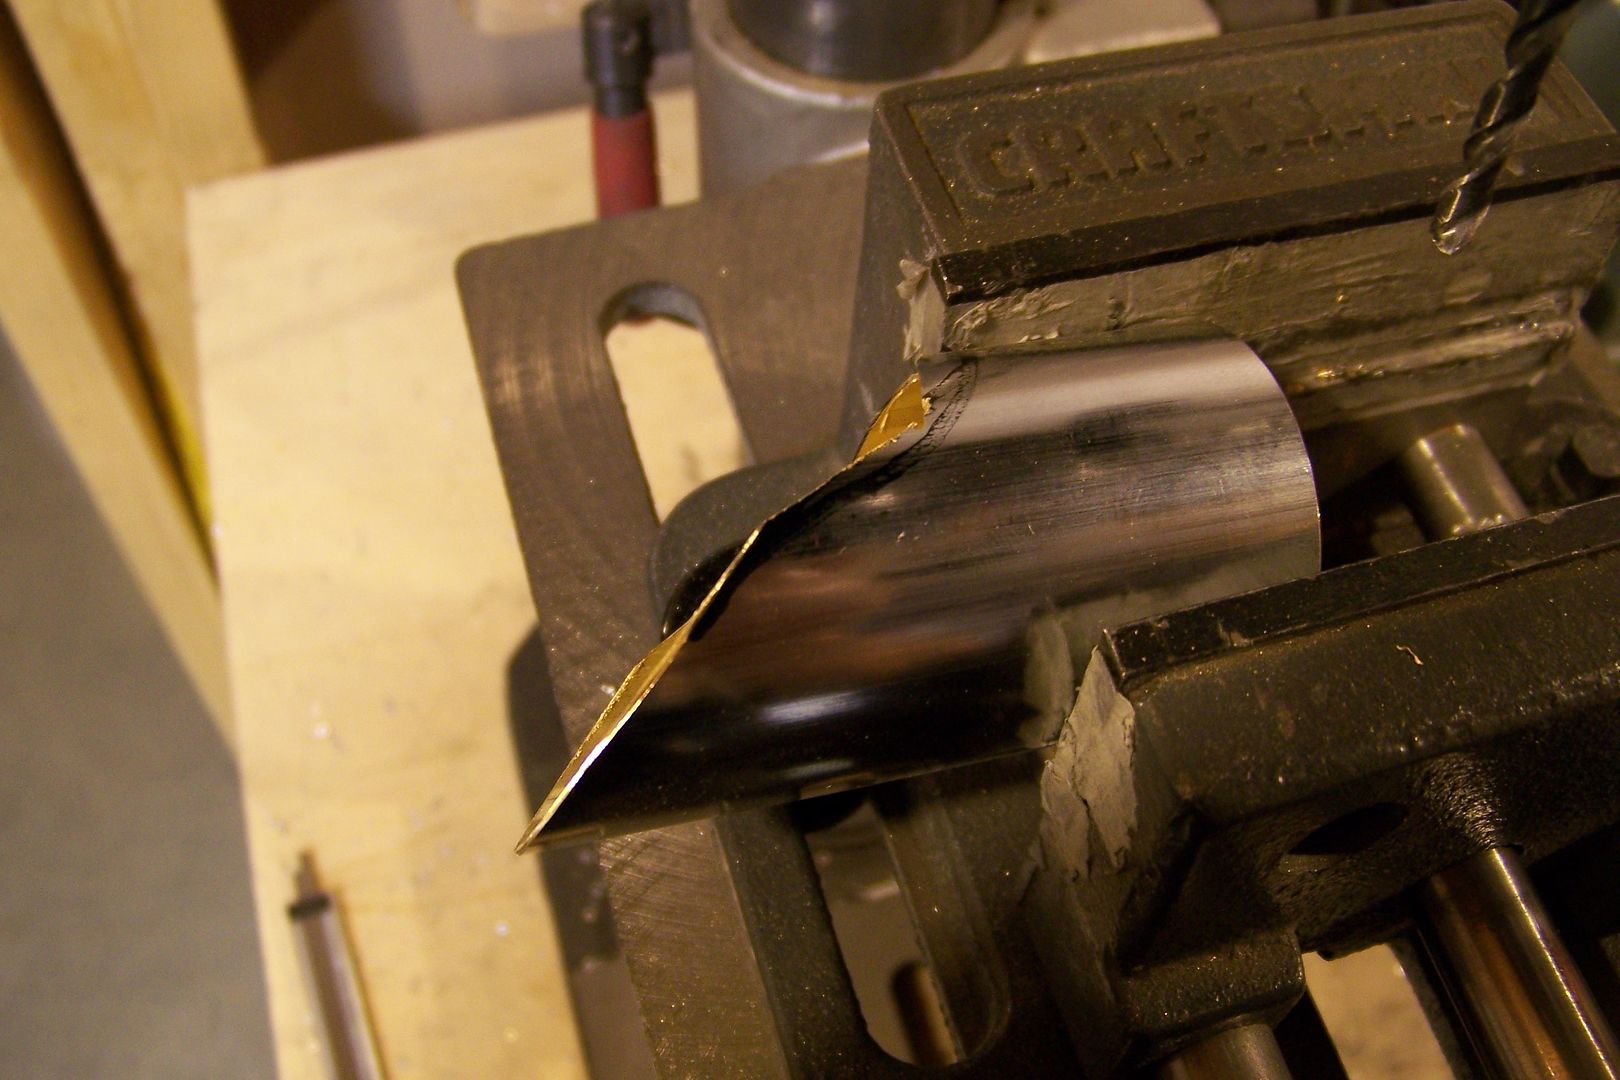
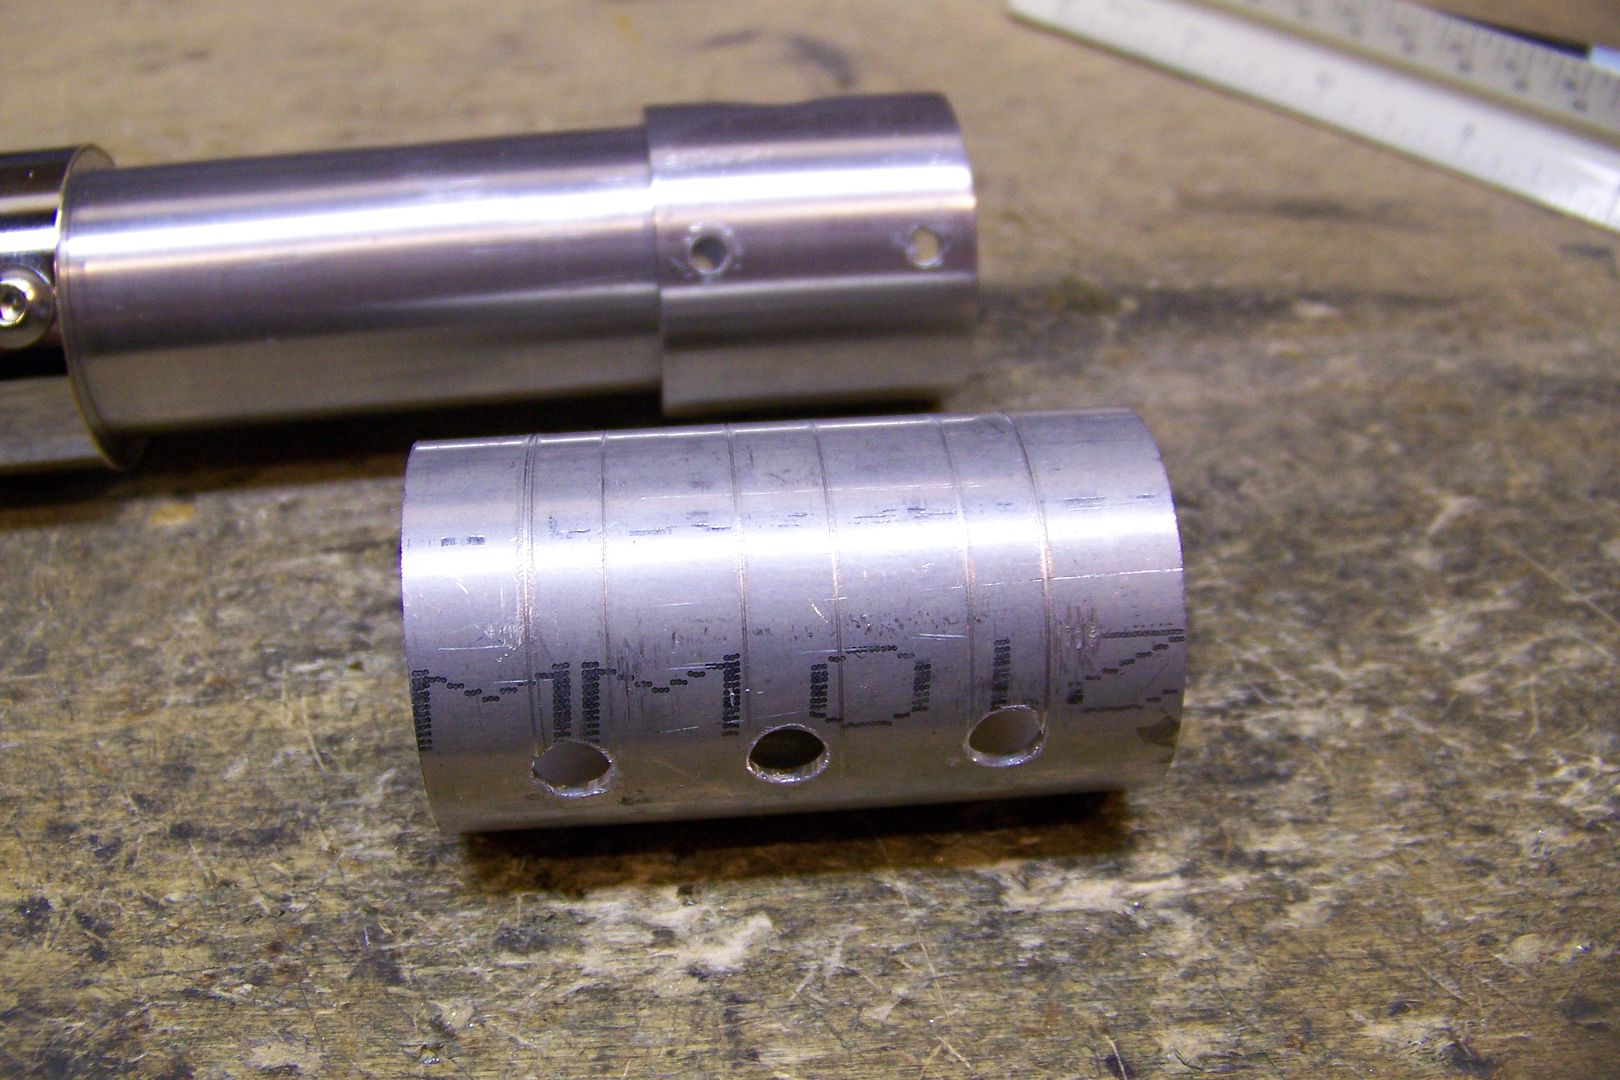
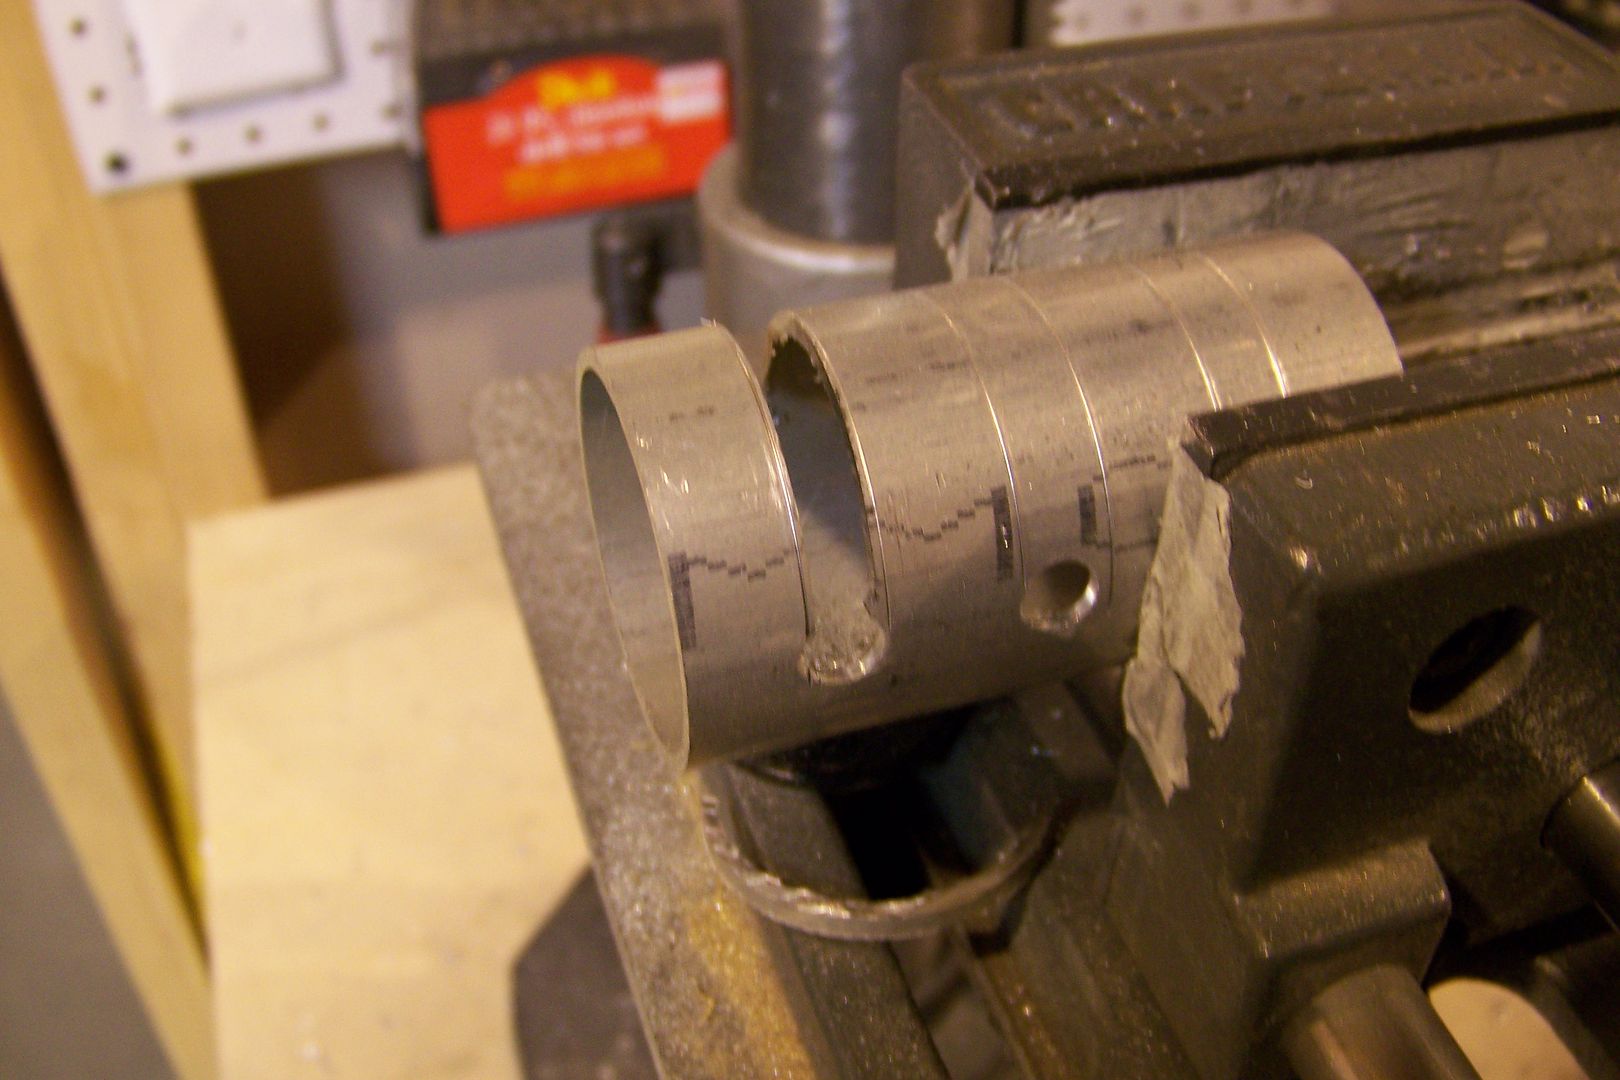
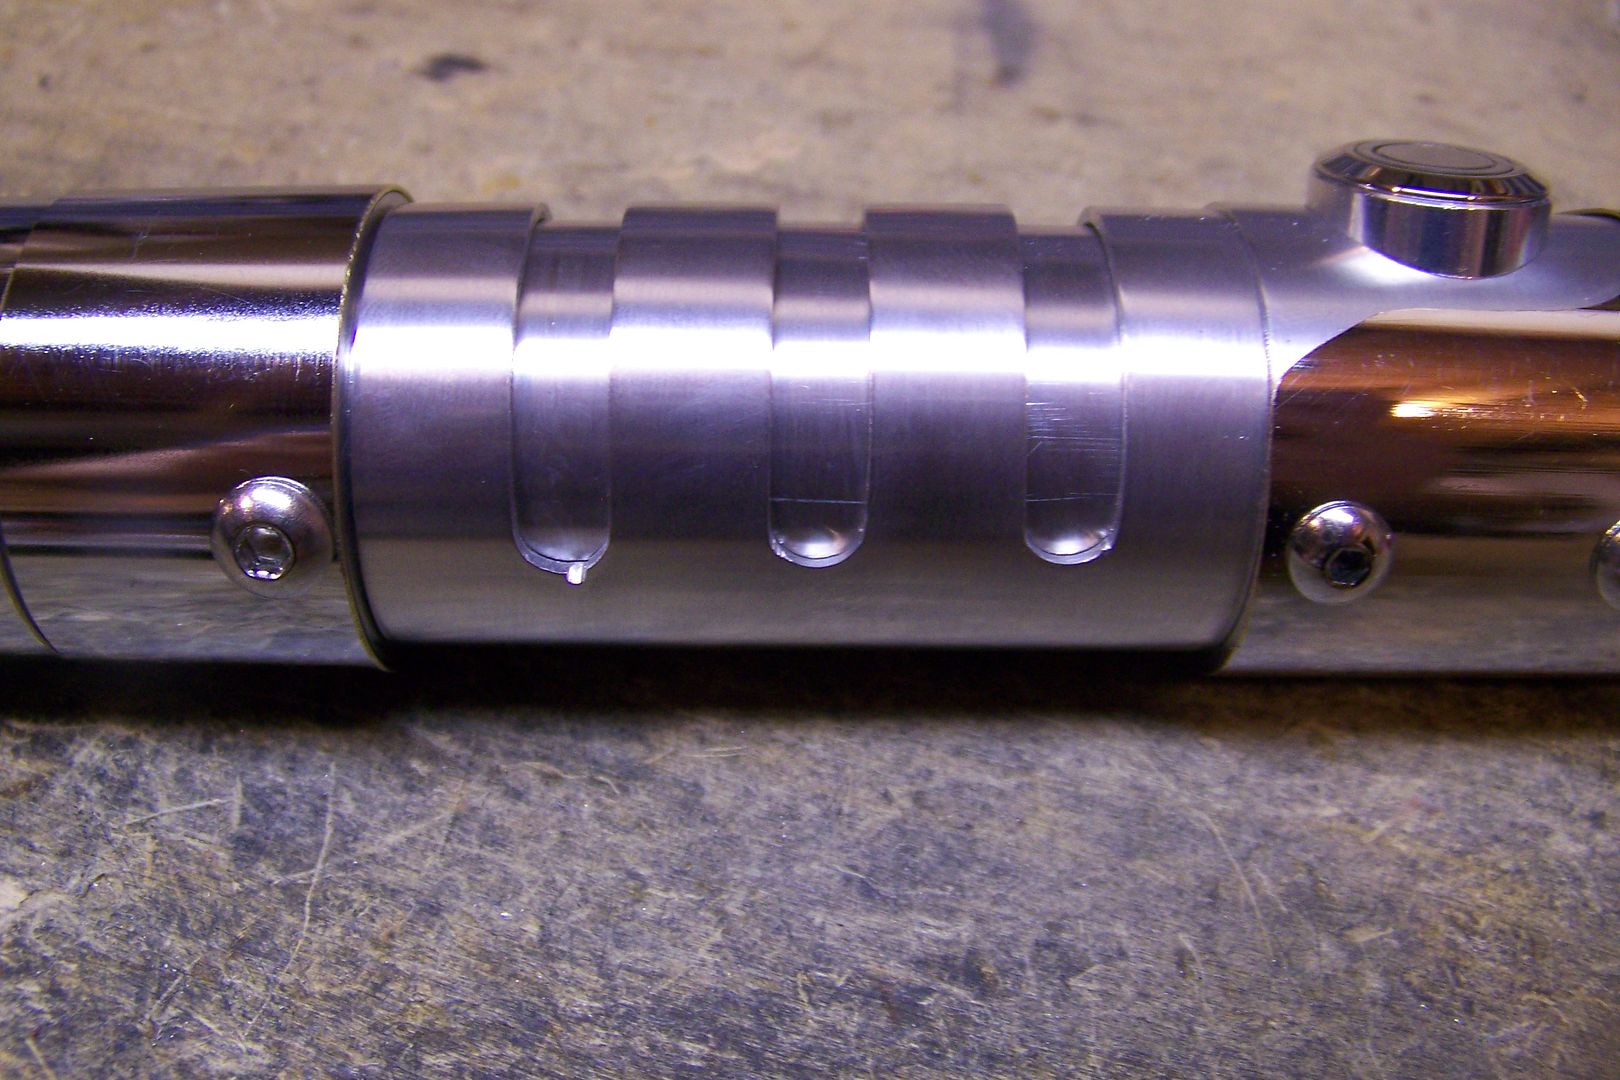
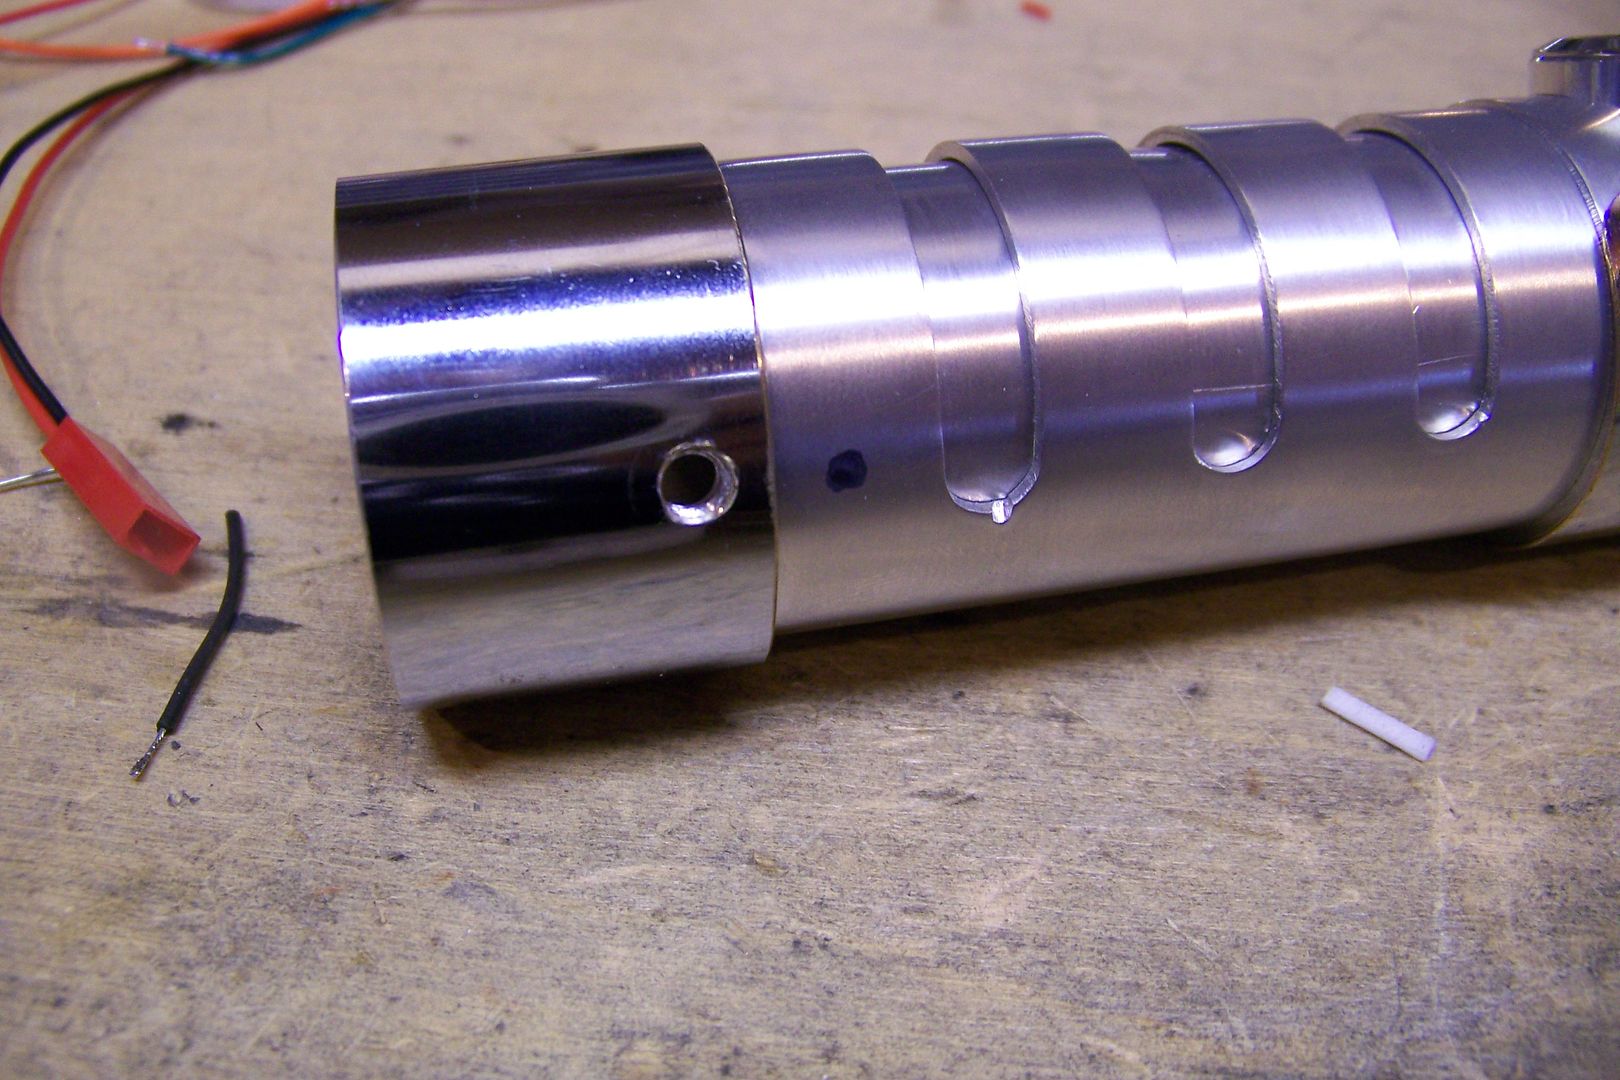
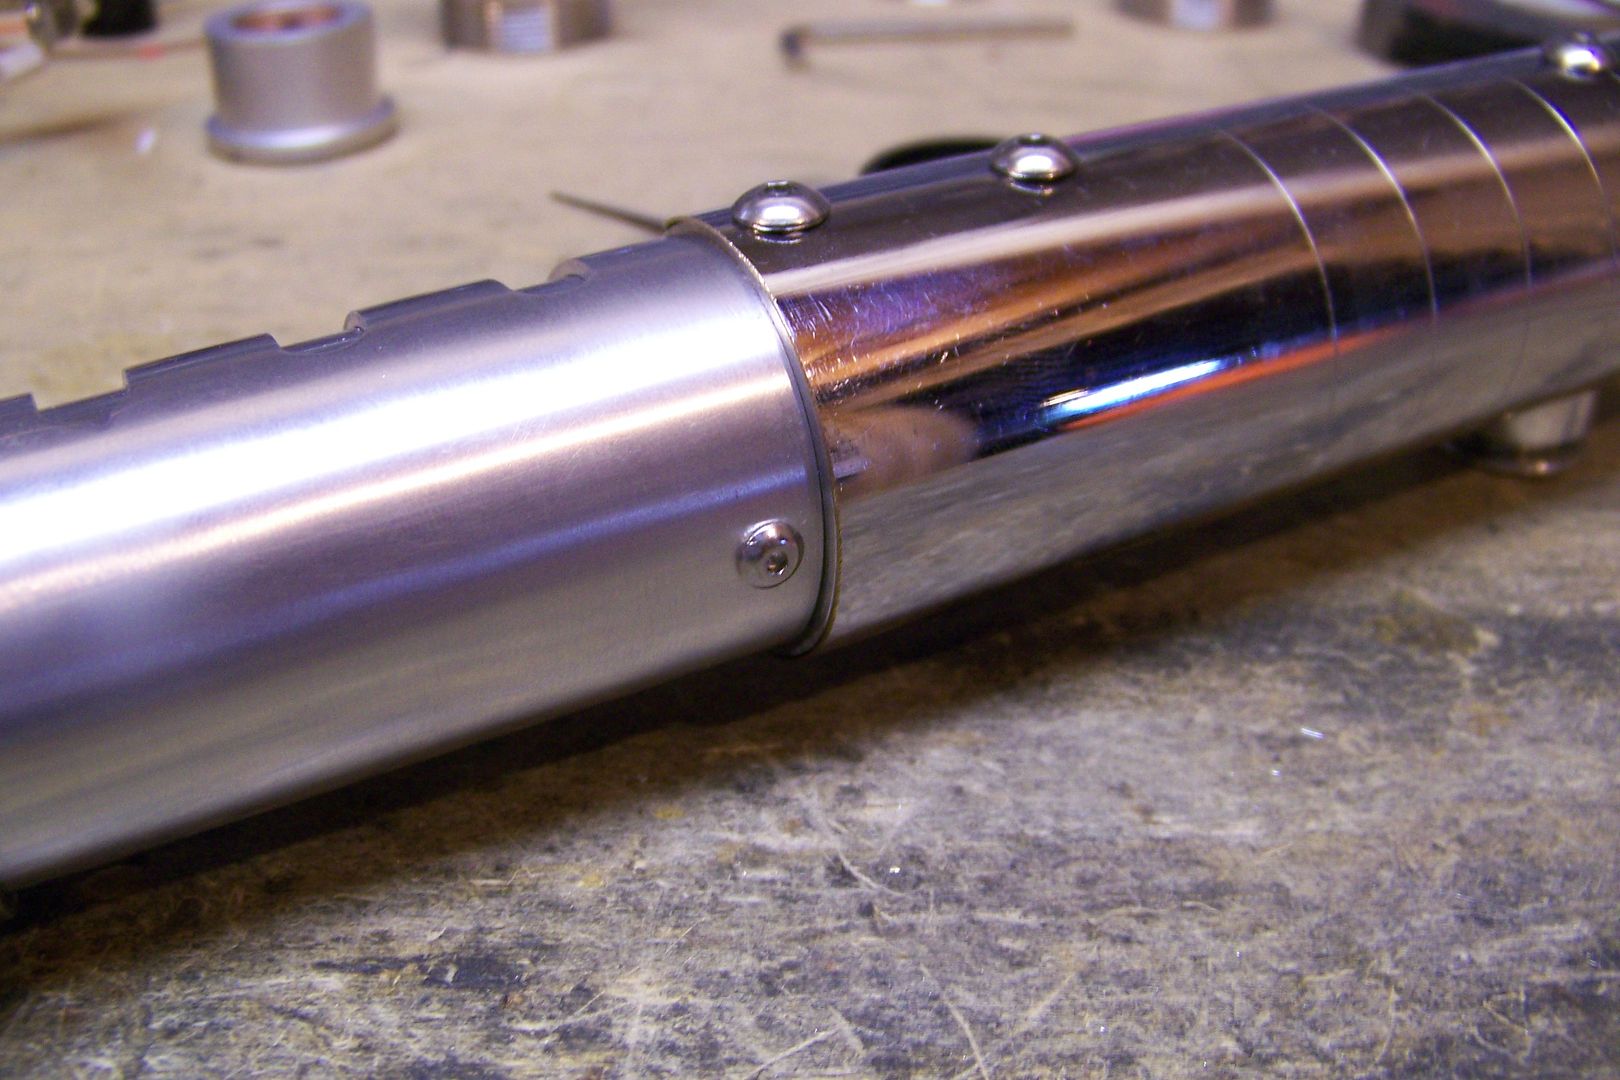
I drew the S-curve on the chrome sleeve by hand, loaded it into the vise on the drill press then started by using the cutting disc on my Dremel to remove as much material as I could, then I switched to a 60 grit sanding drum and removed the rest:
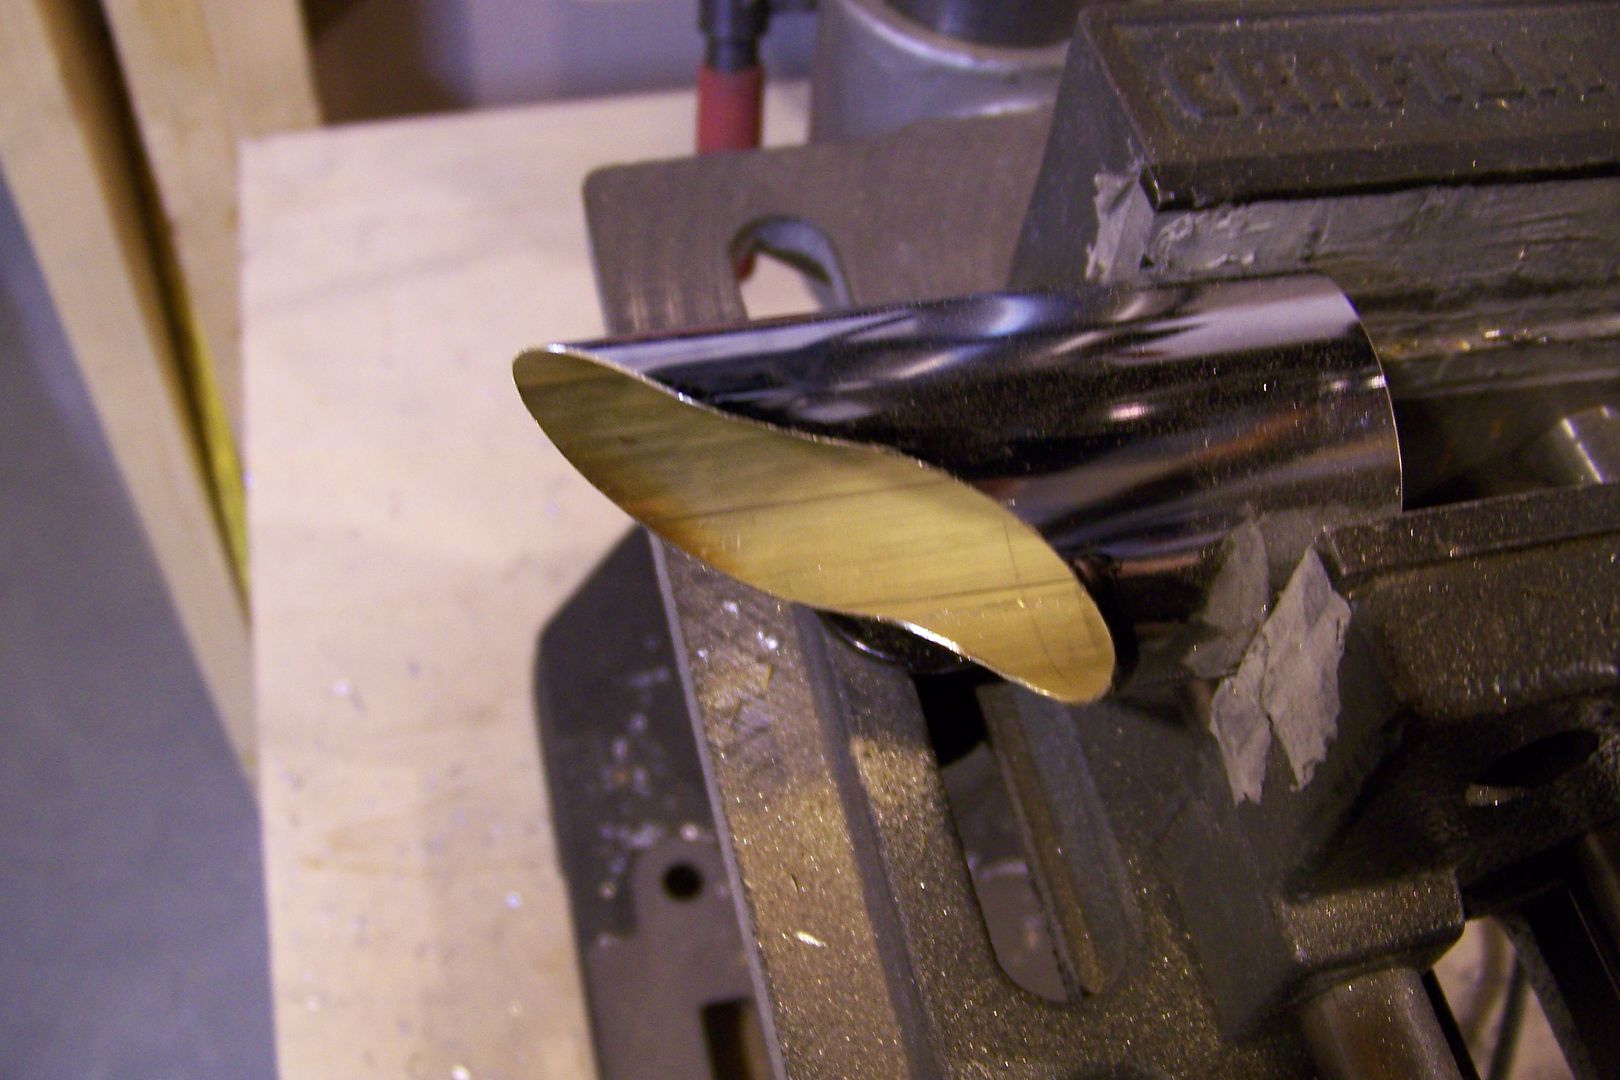
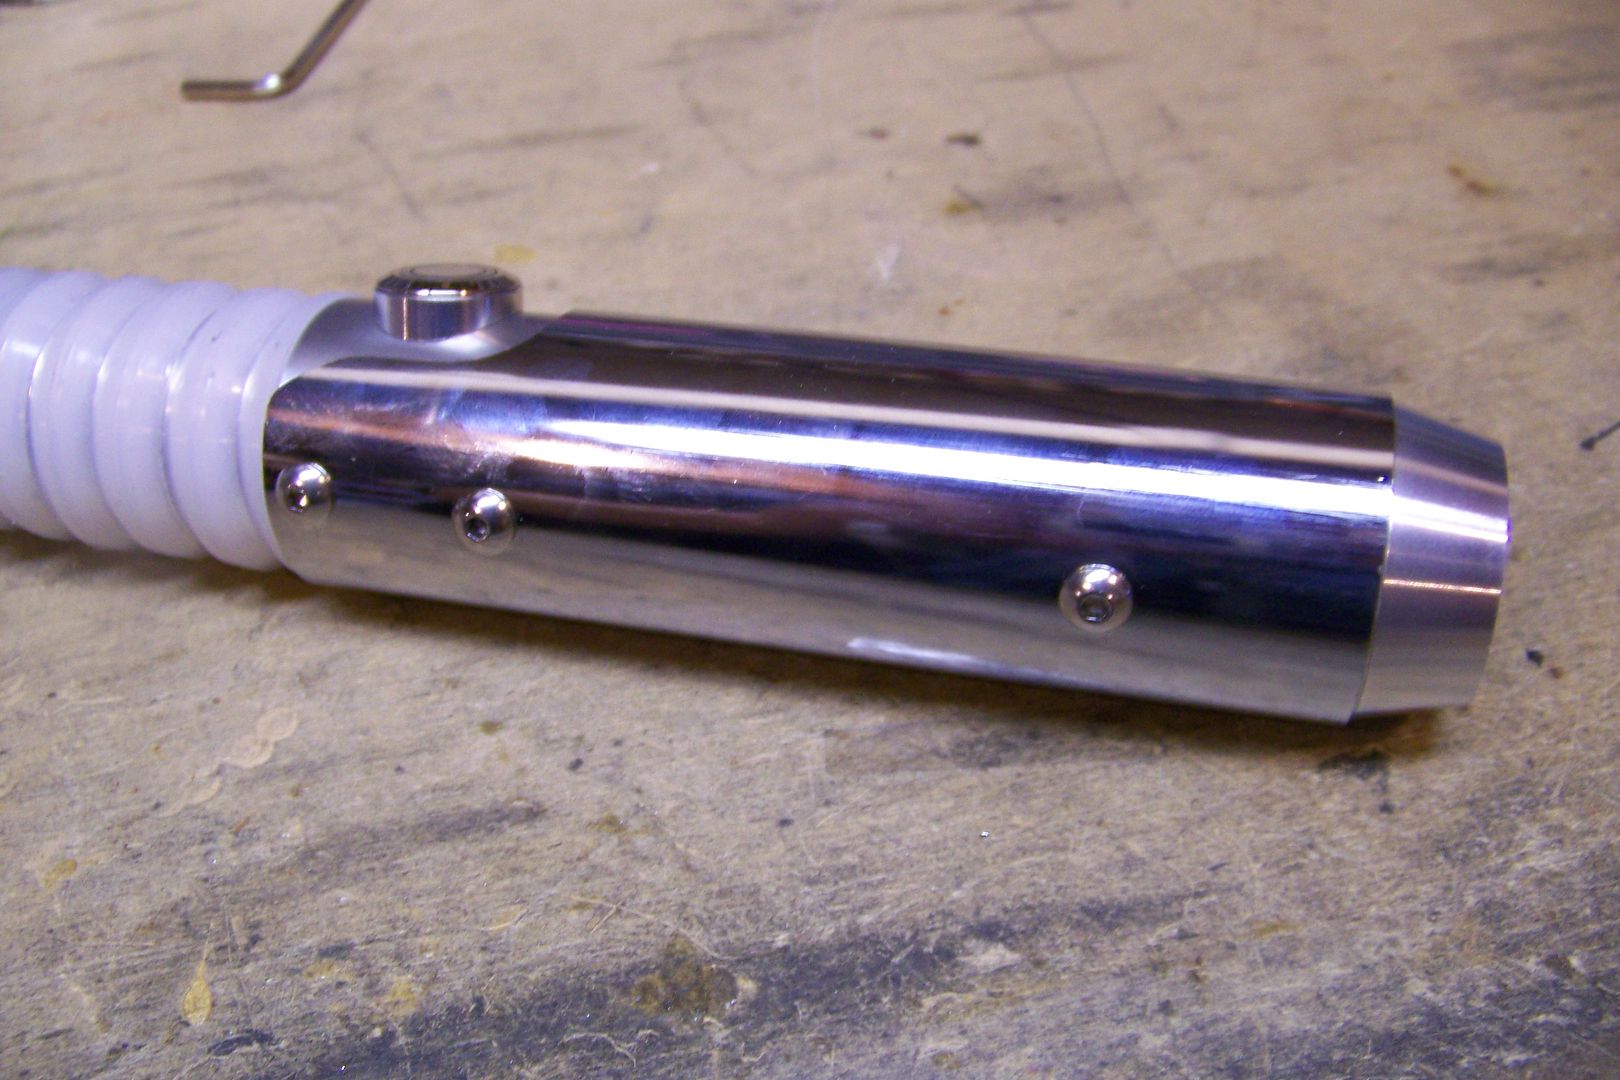
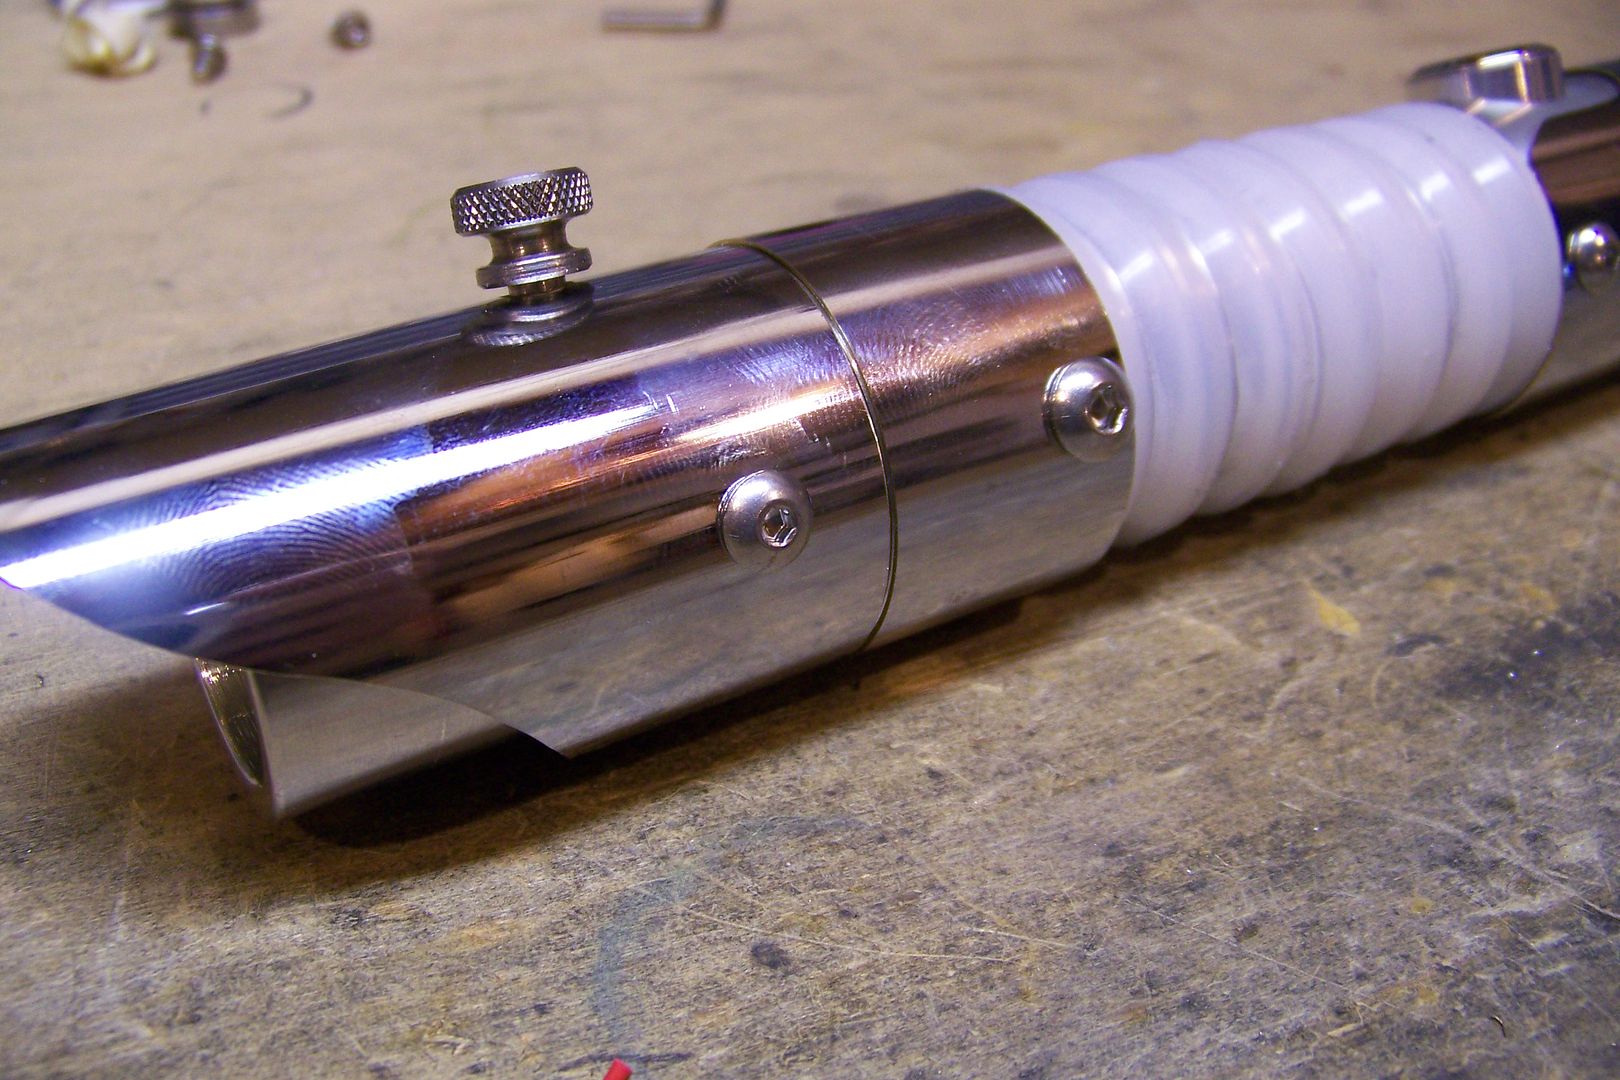
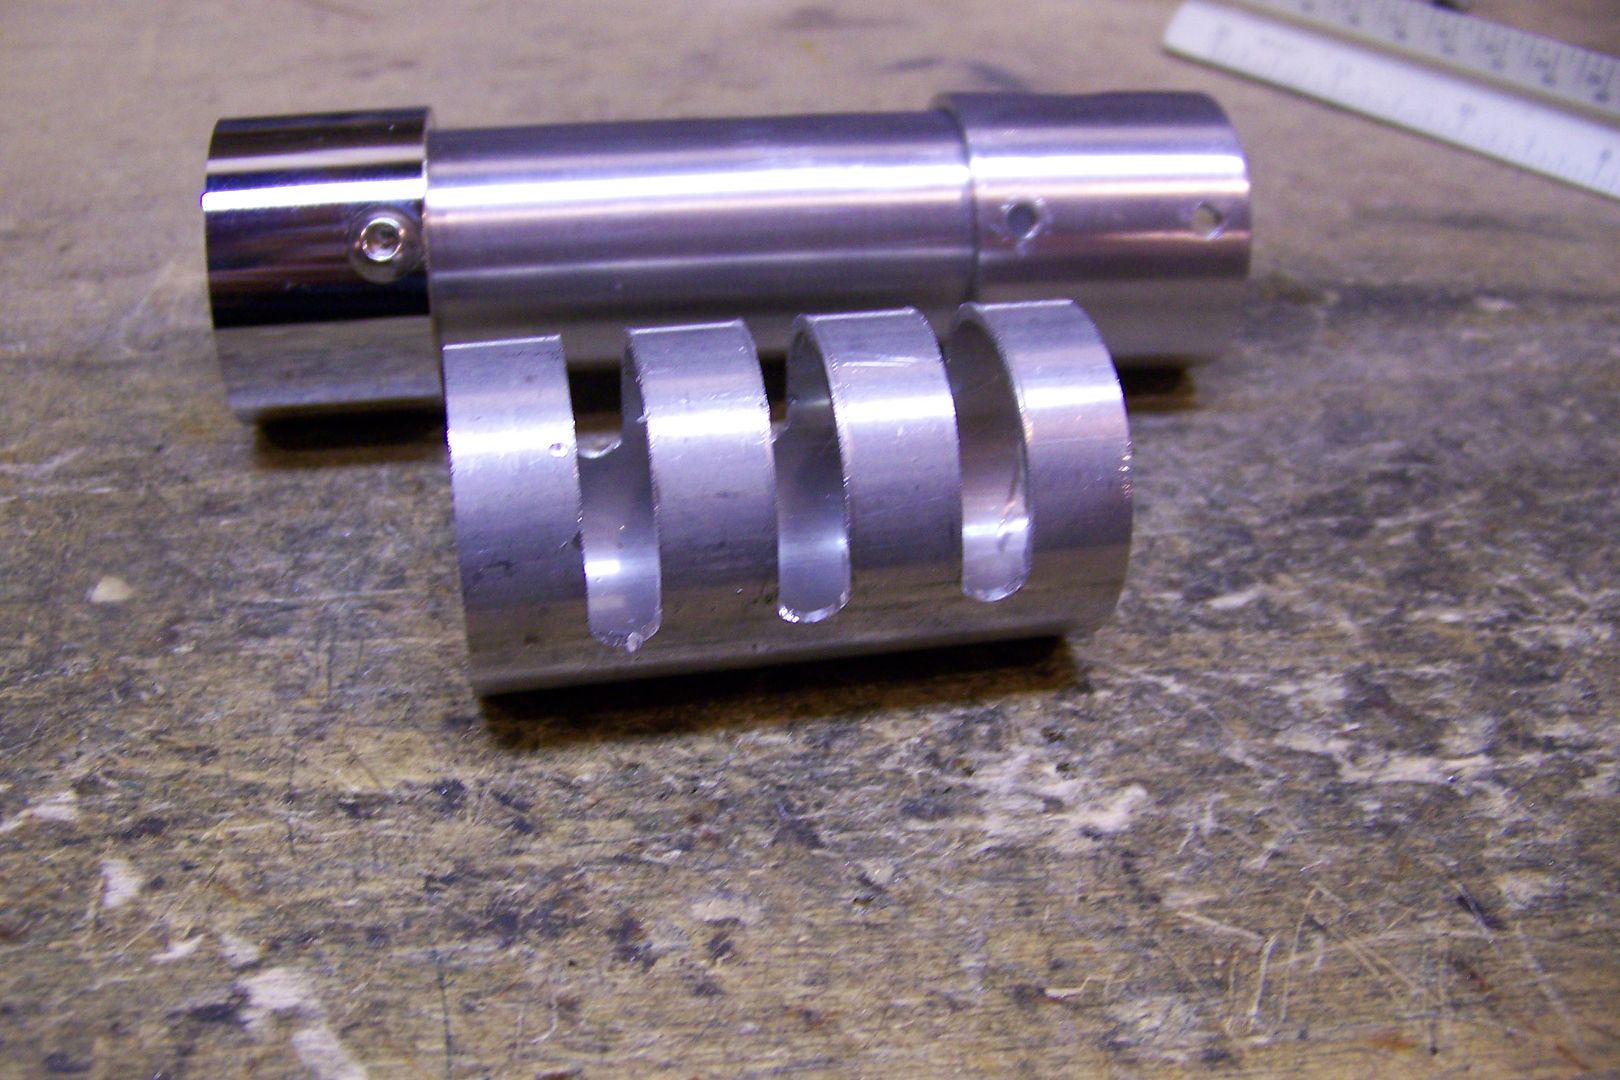
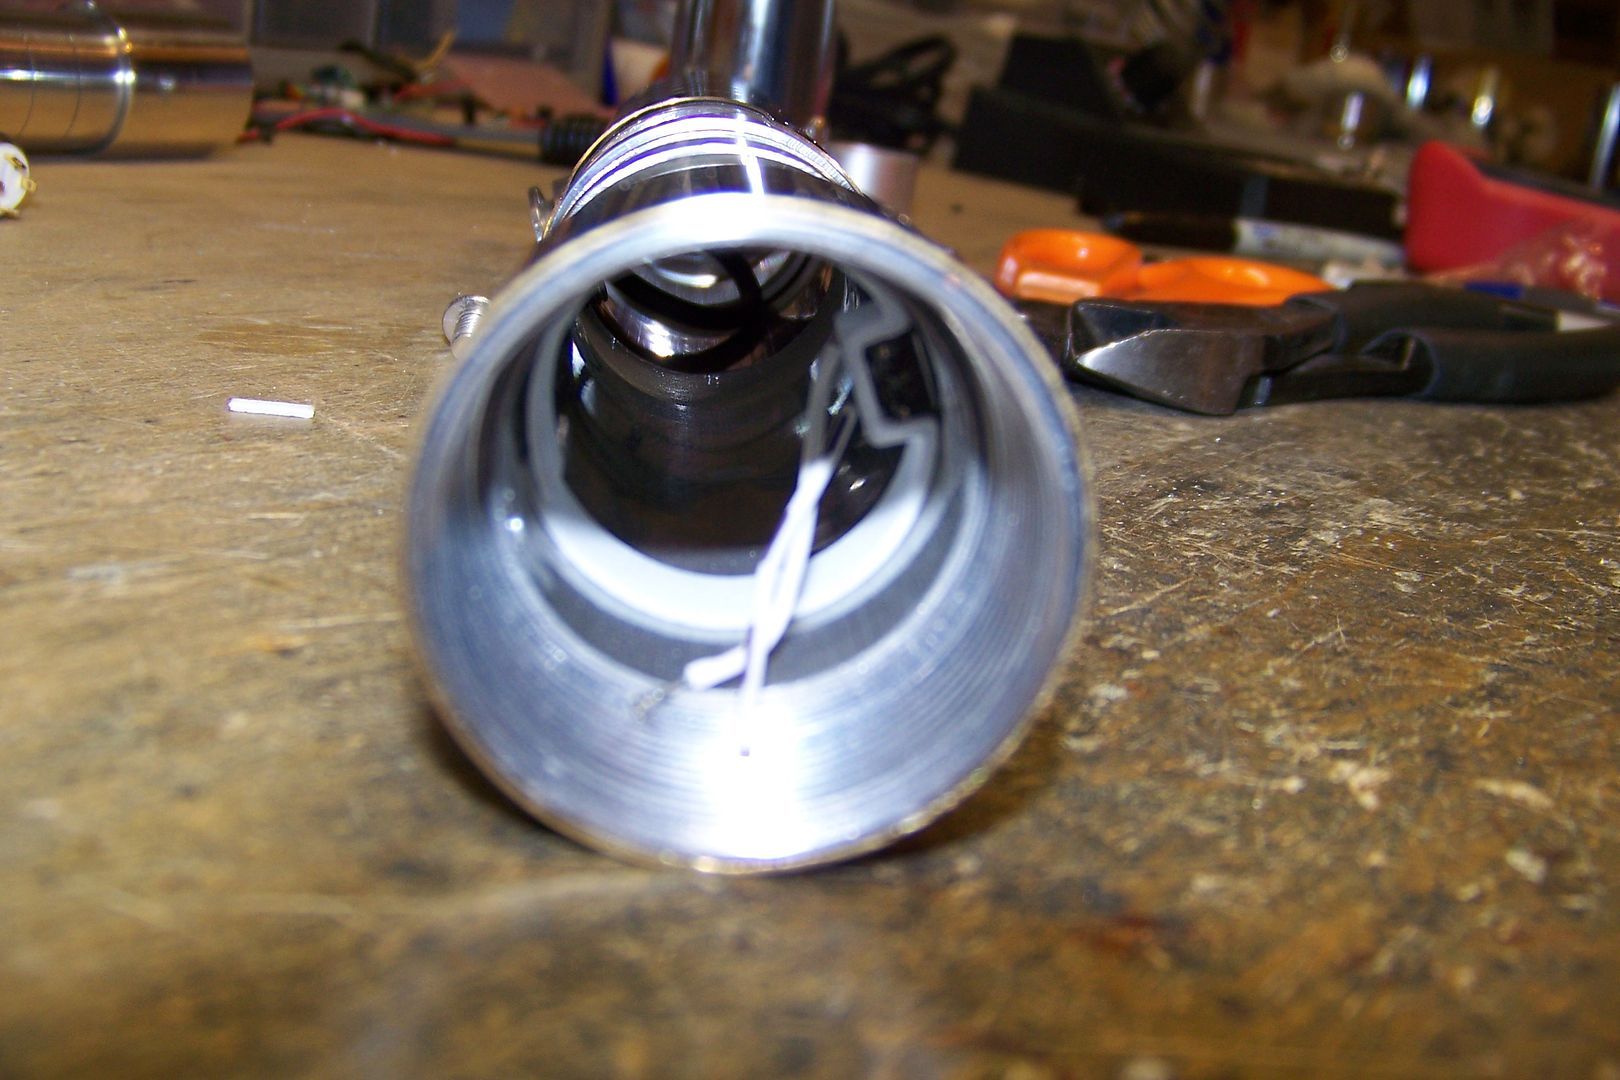
I checked it for fit, and looks, and it looked good:
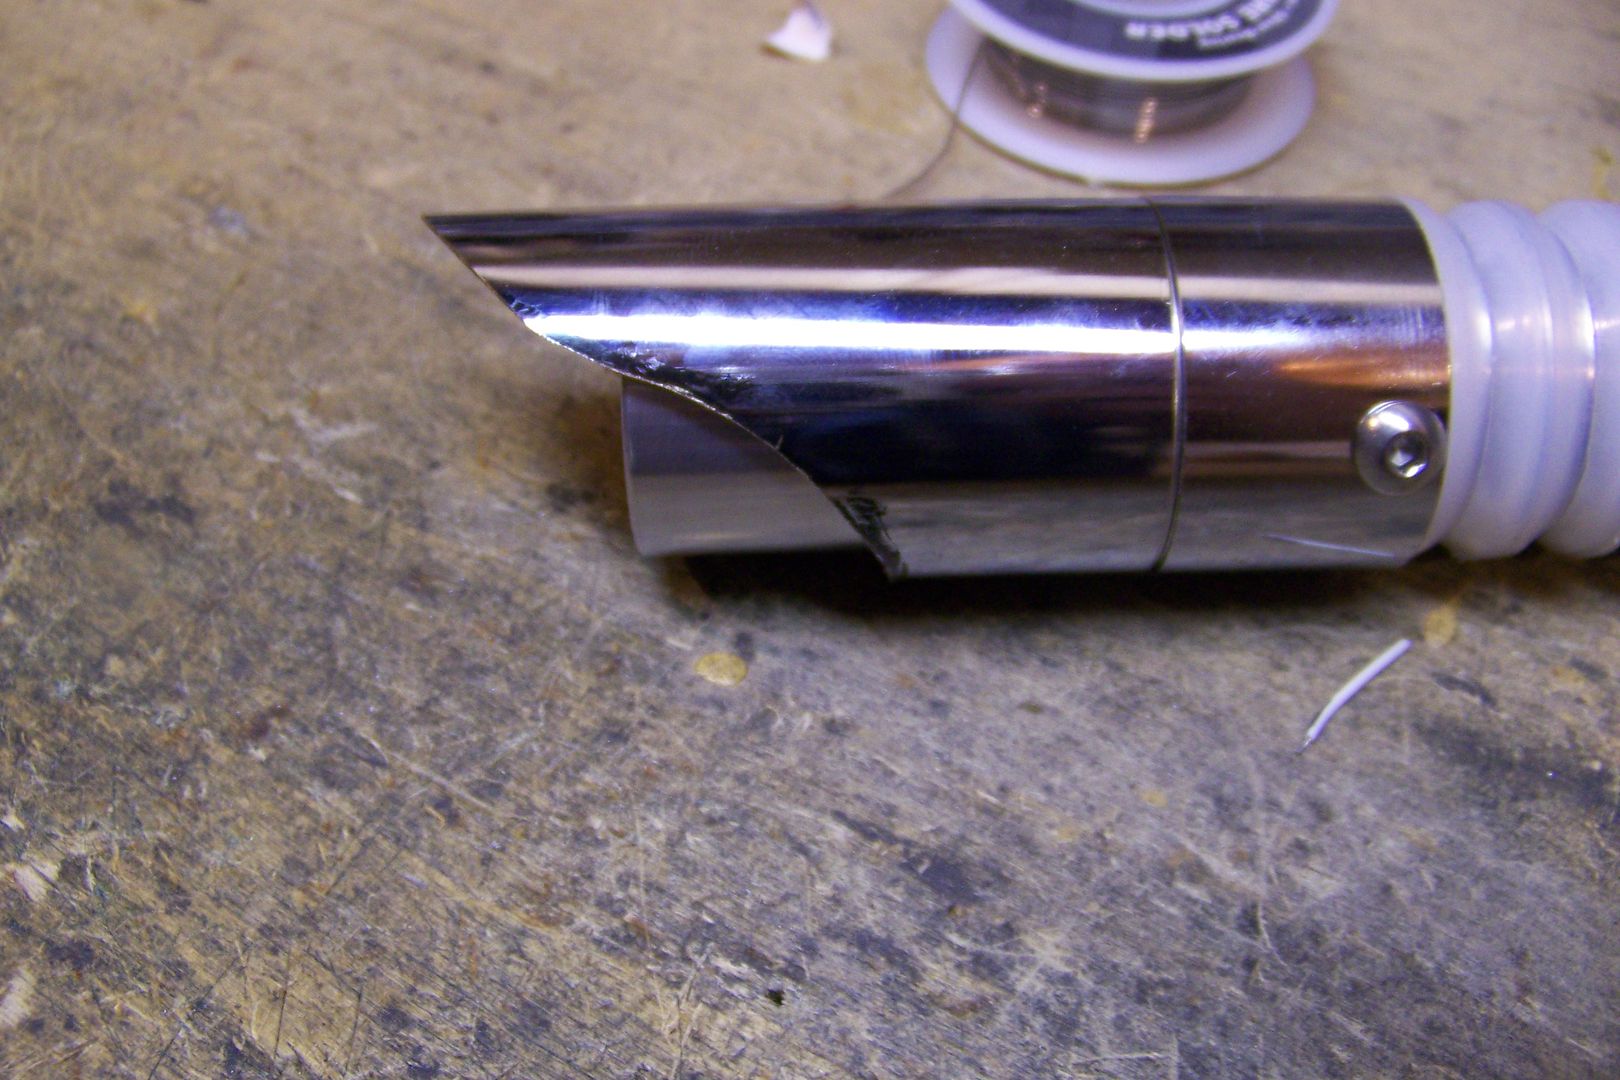
I deburred the edges and removed the remainder of the marks from the marker:
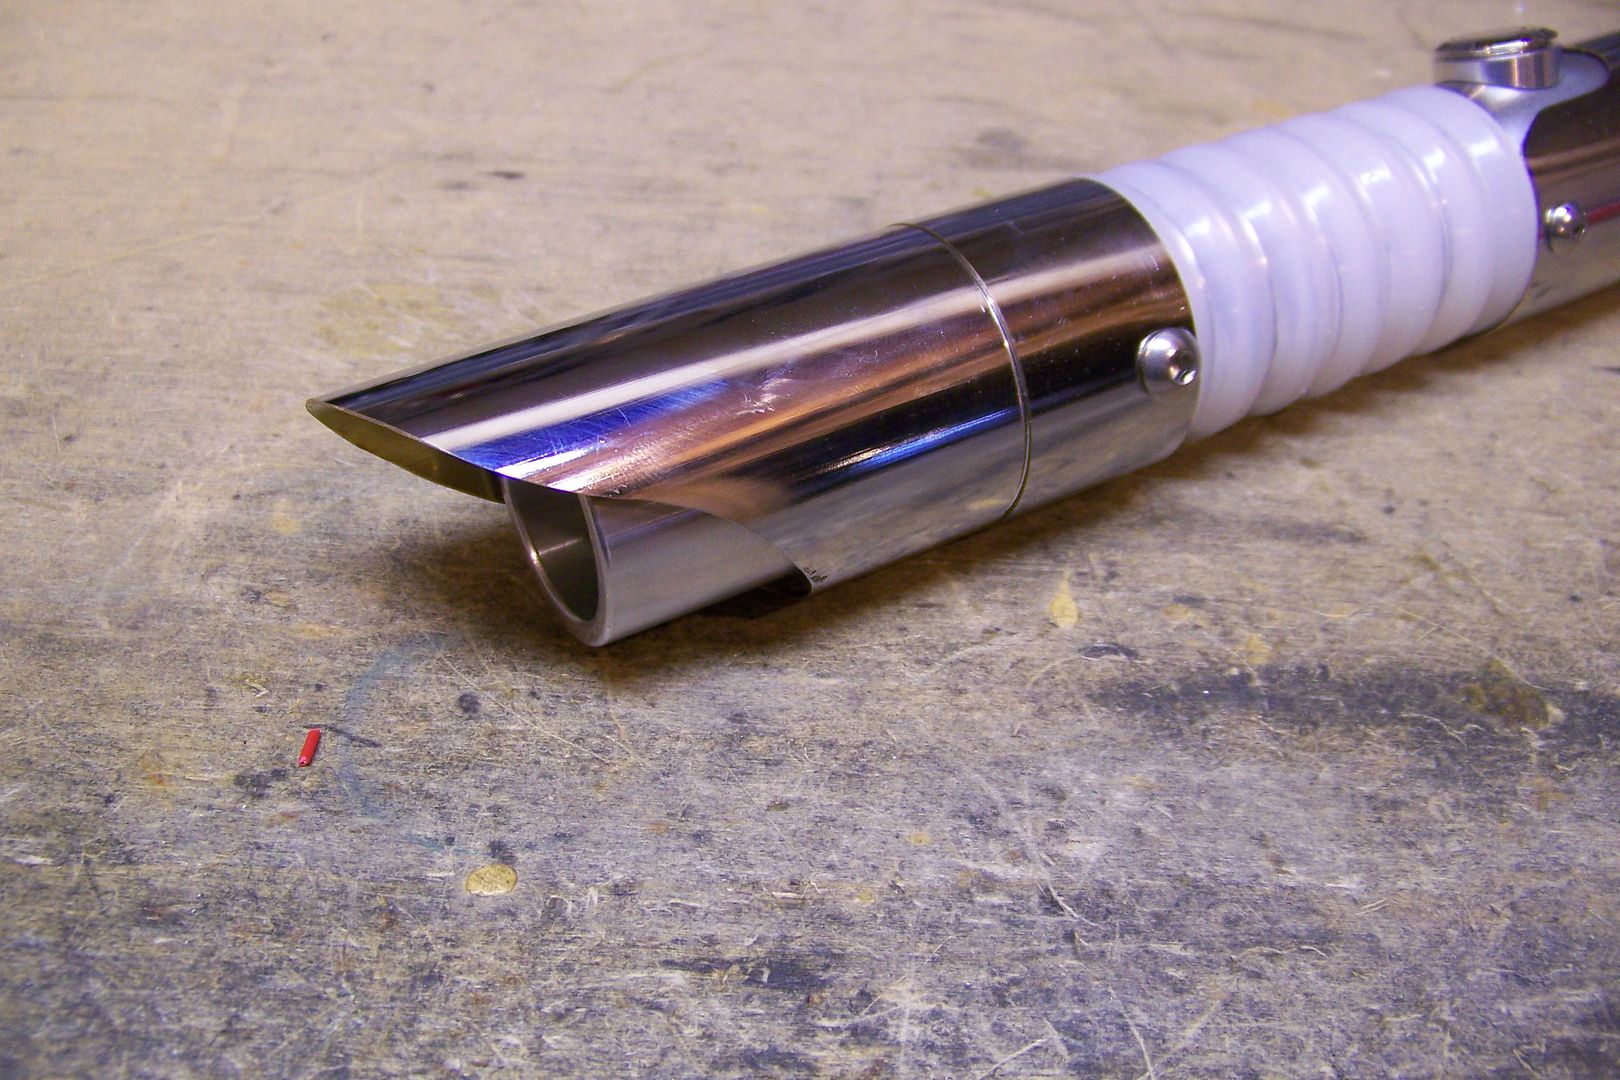
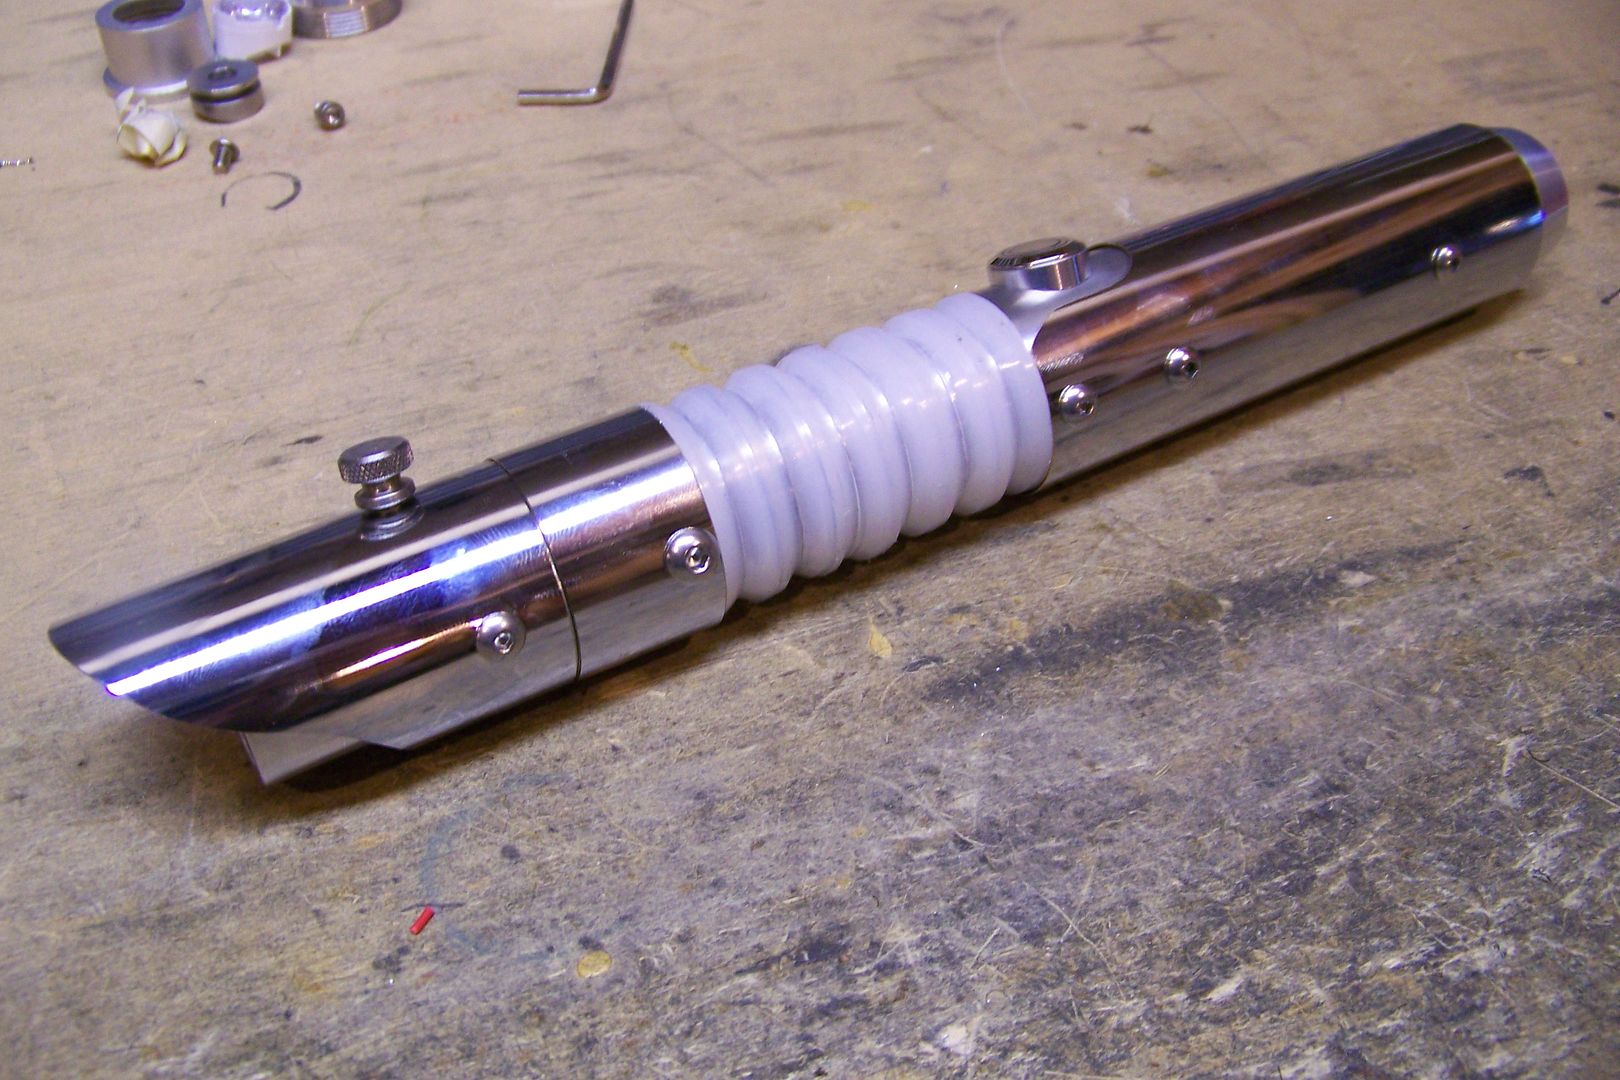
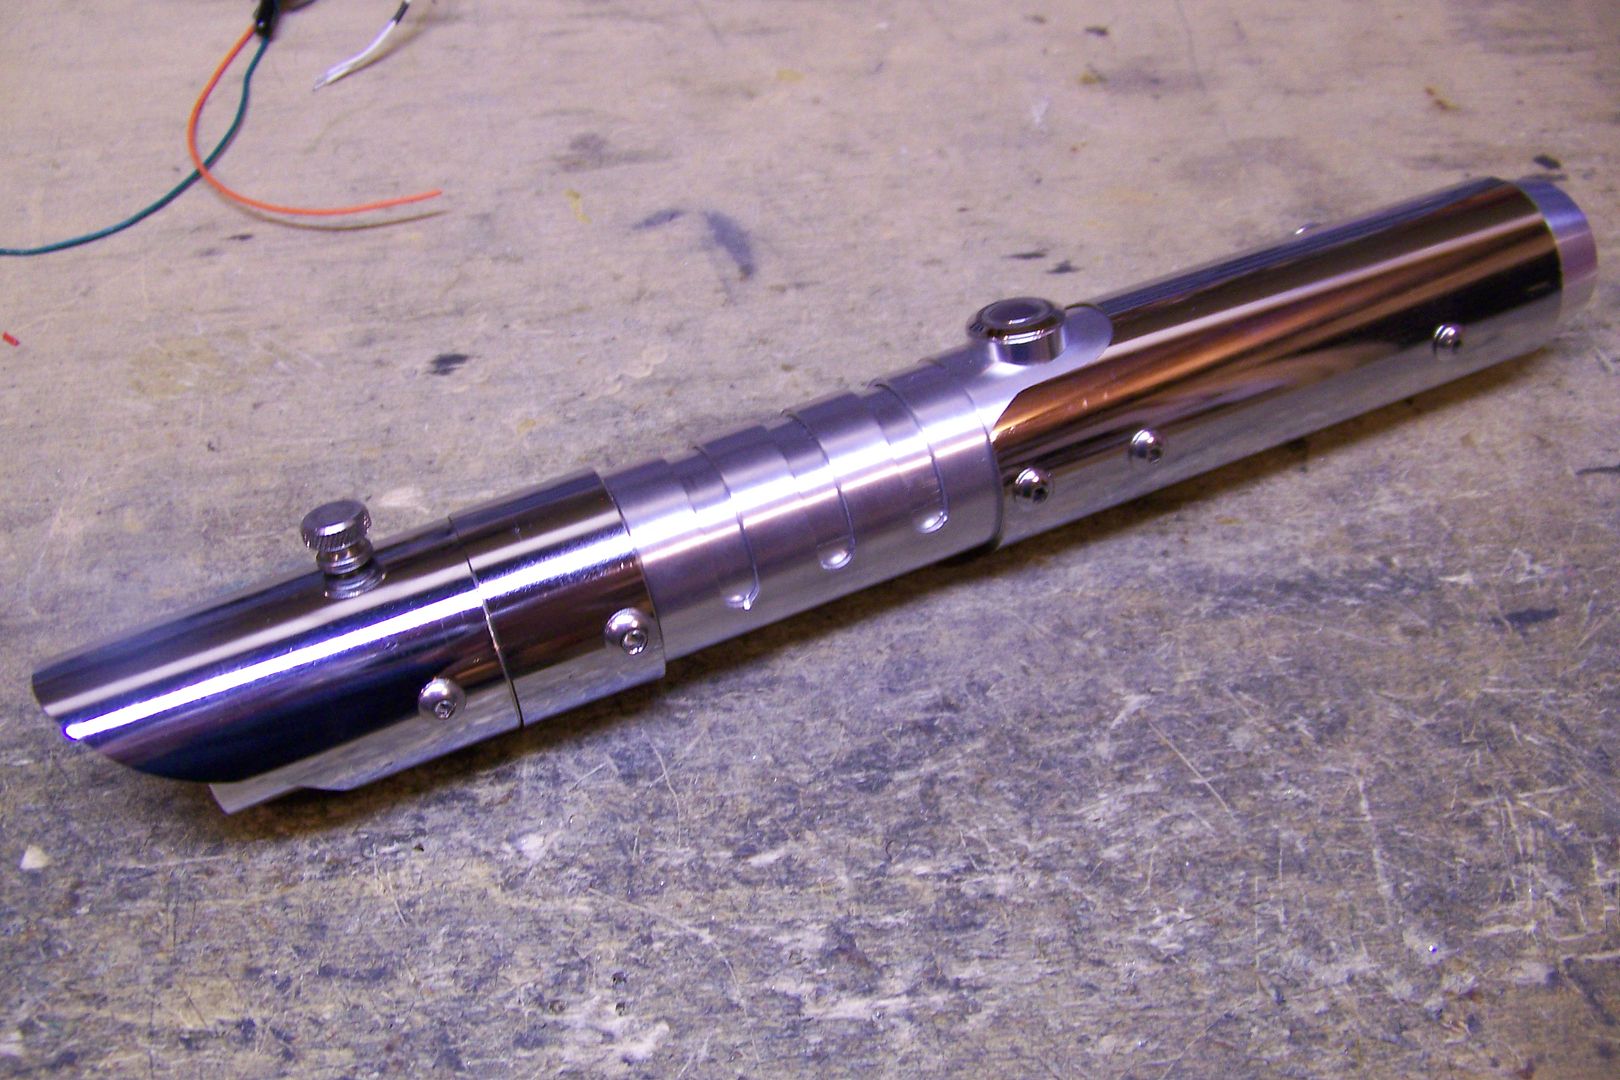
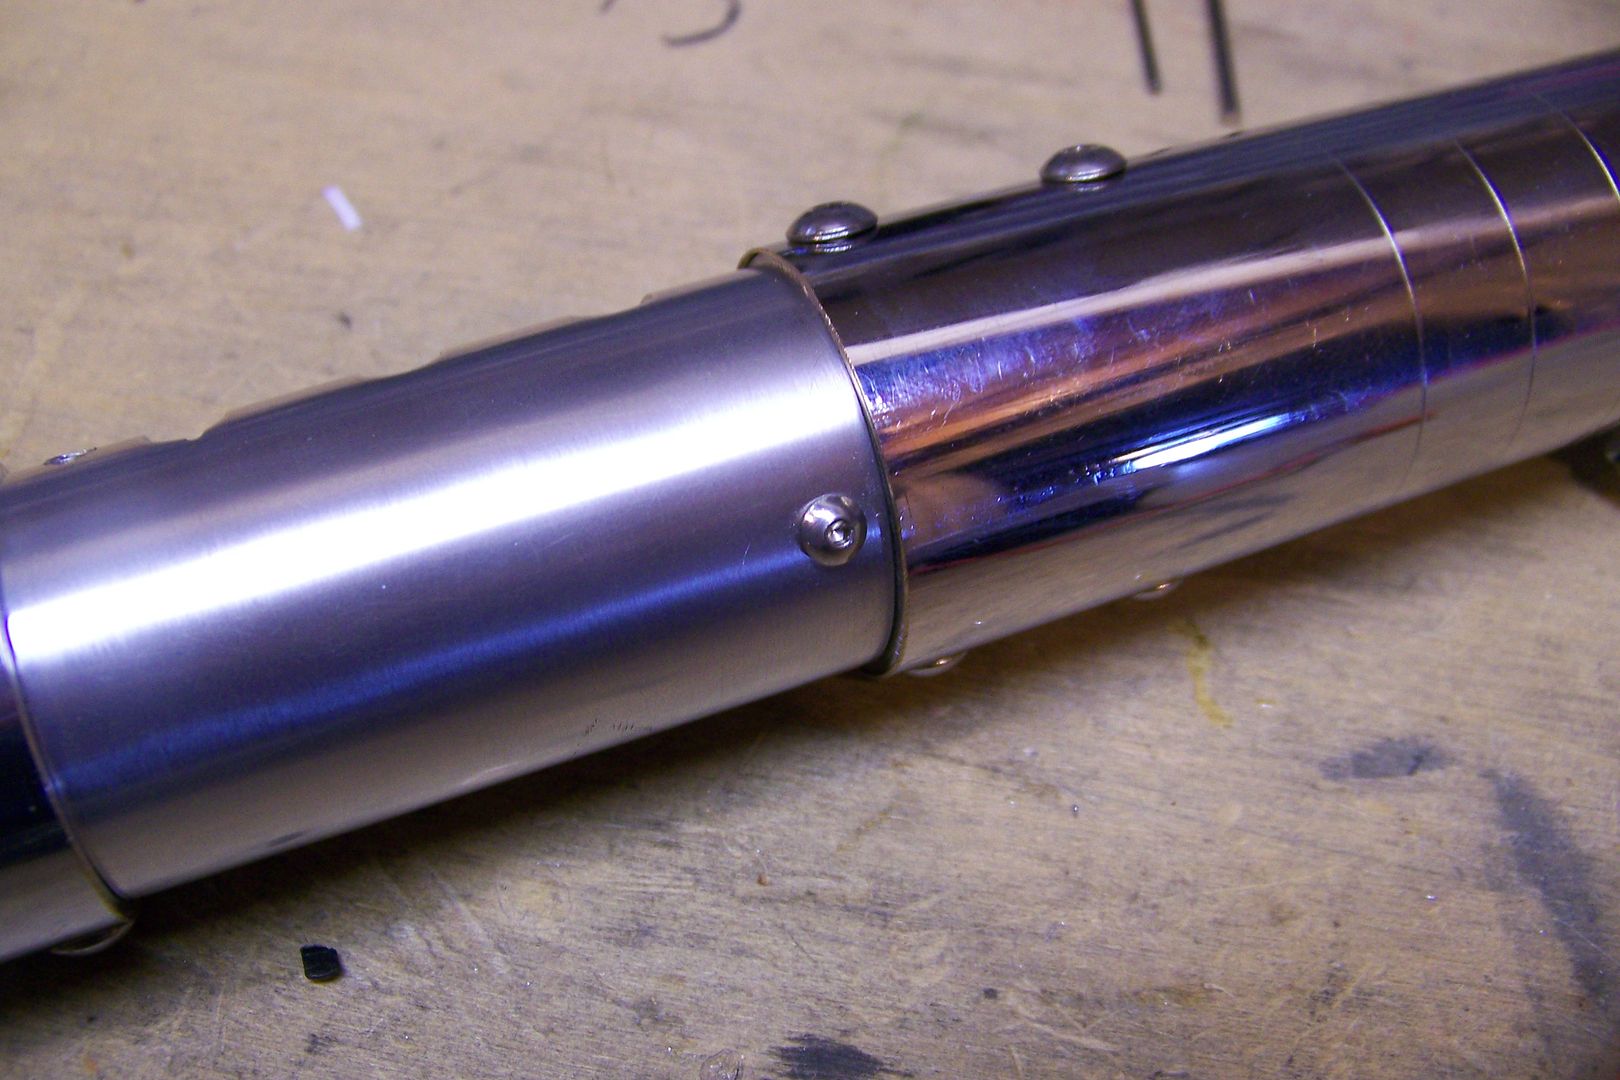
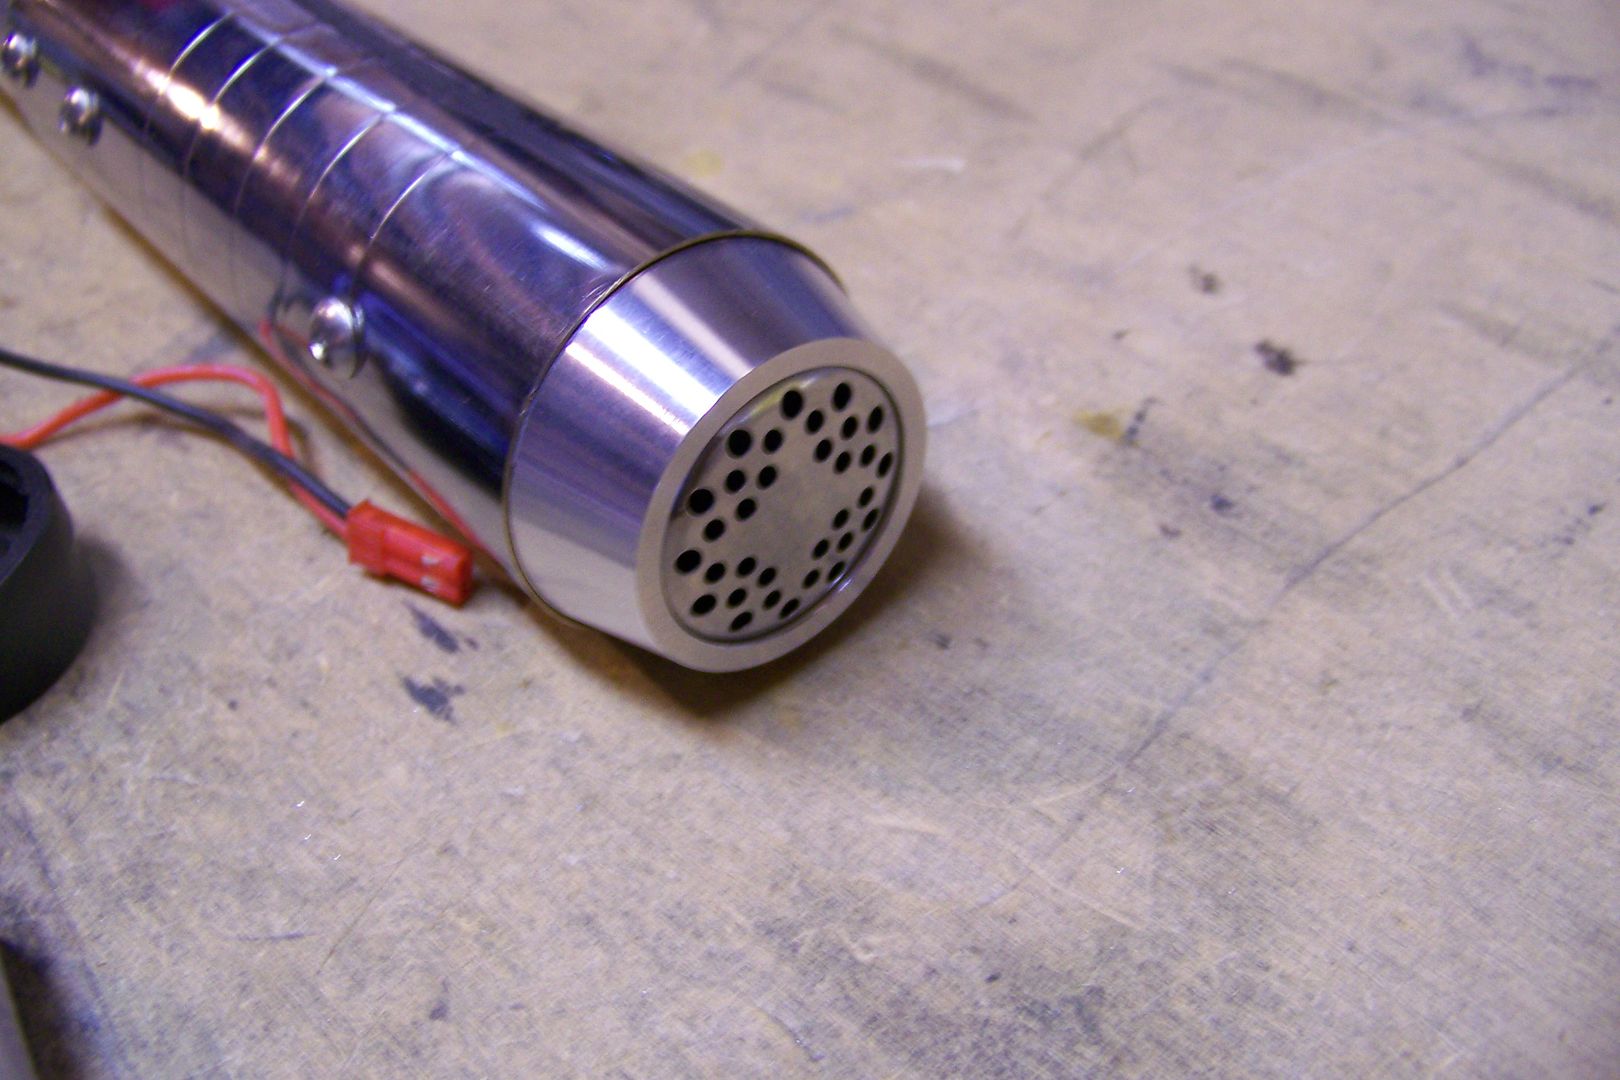
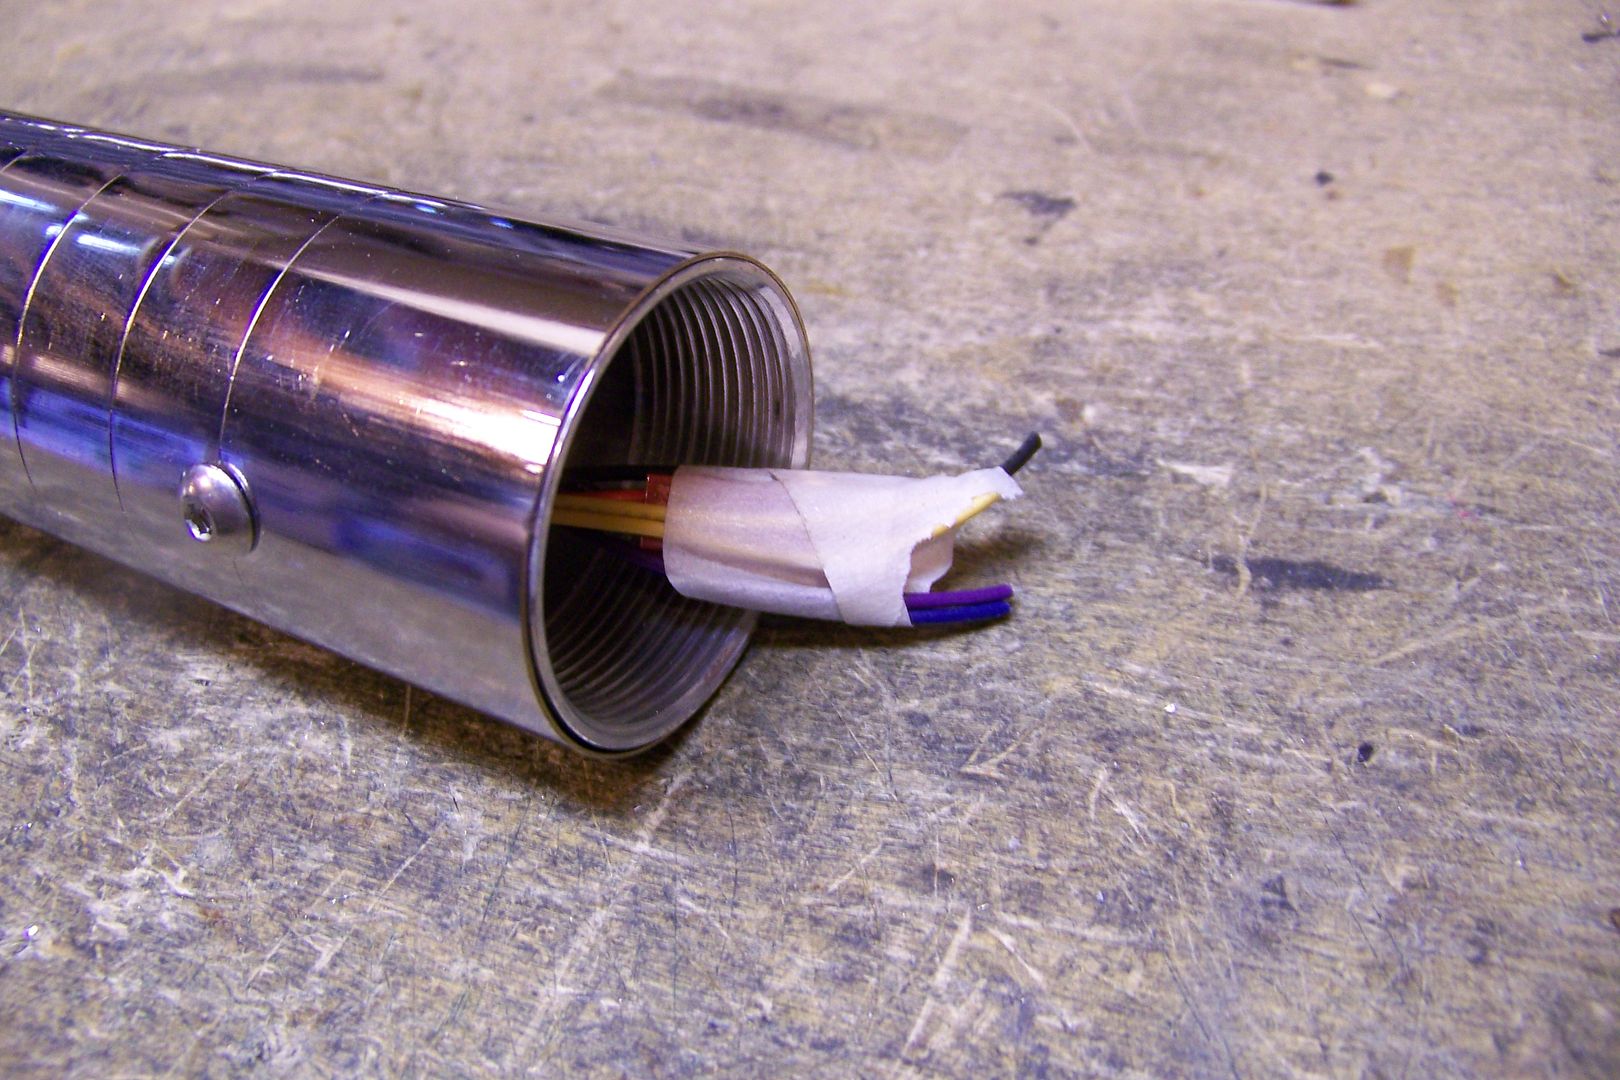
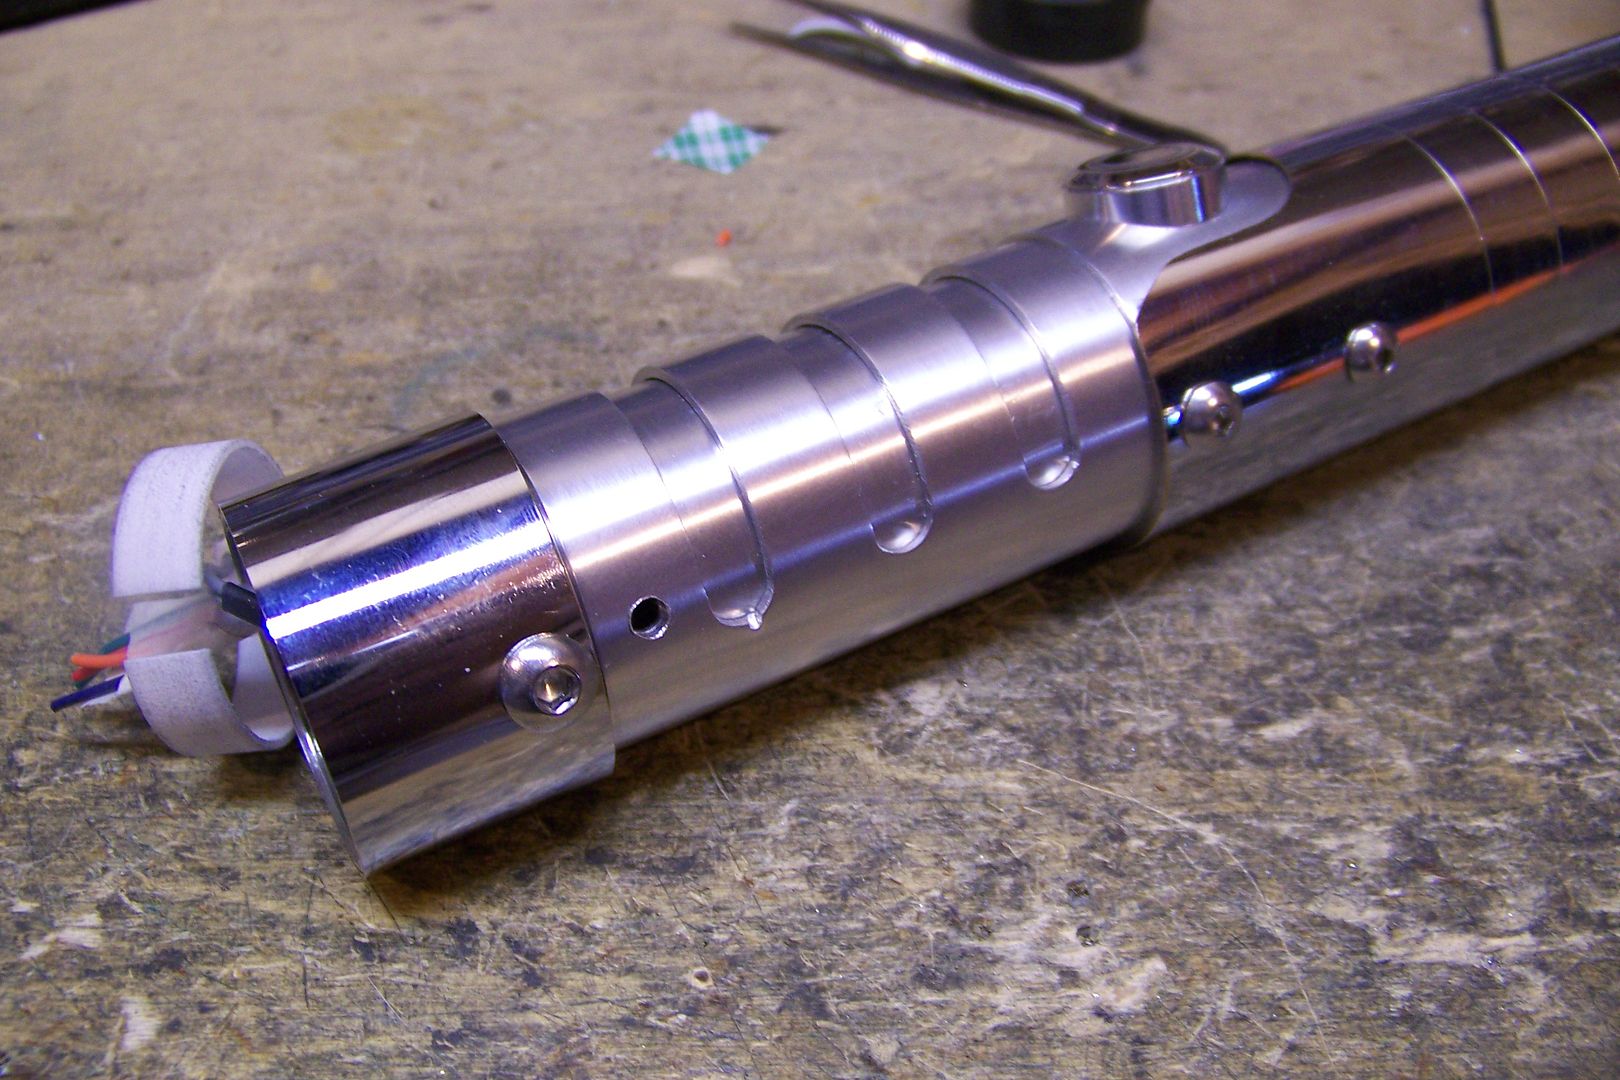
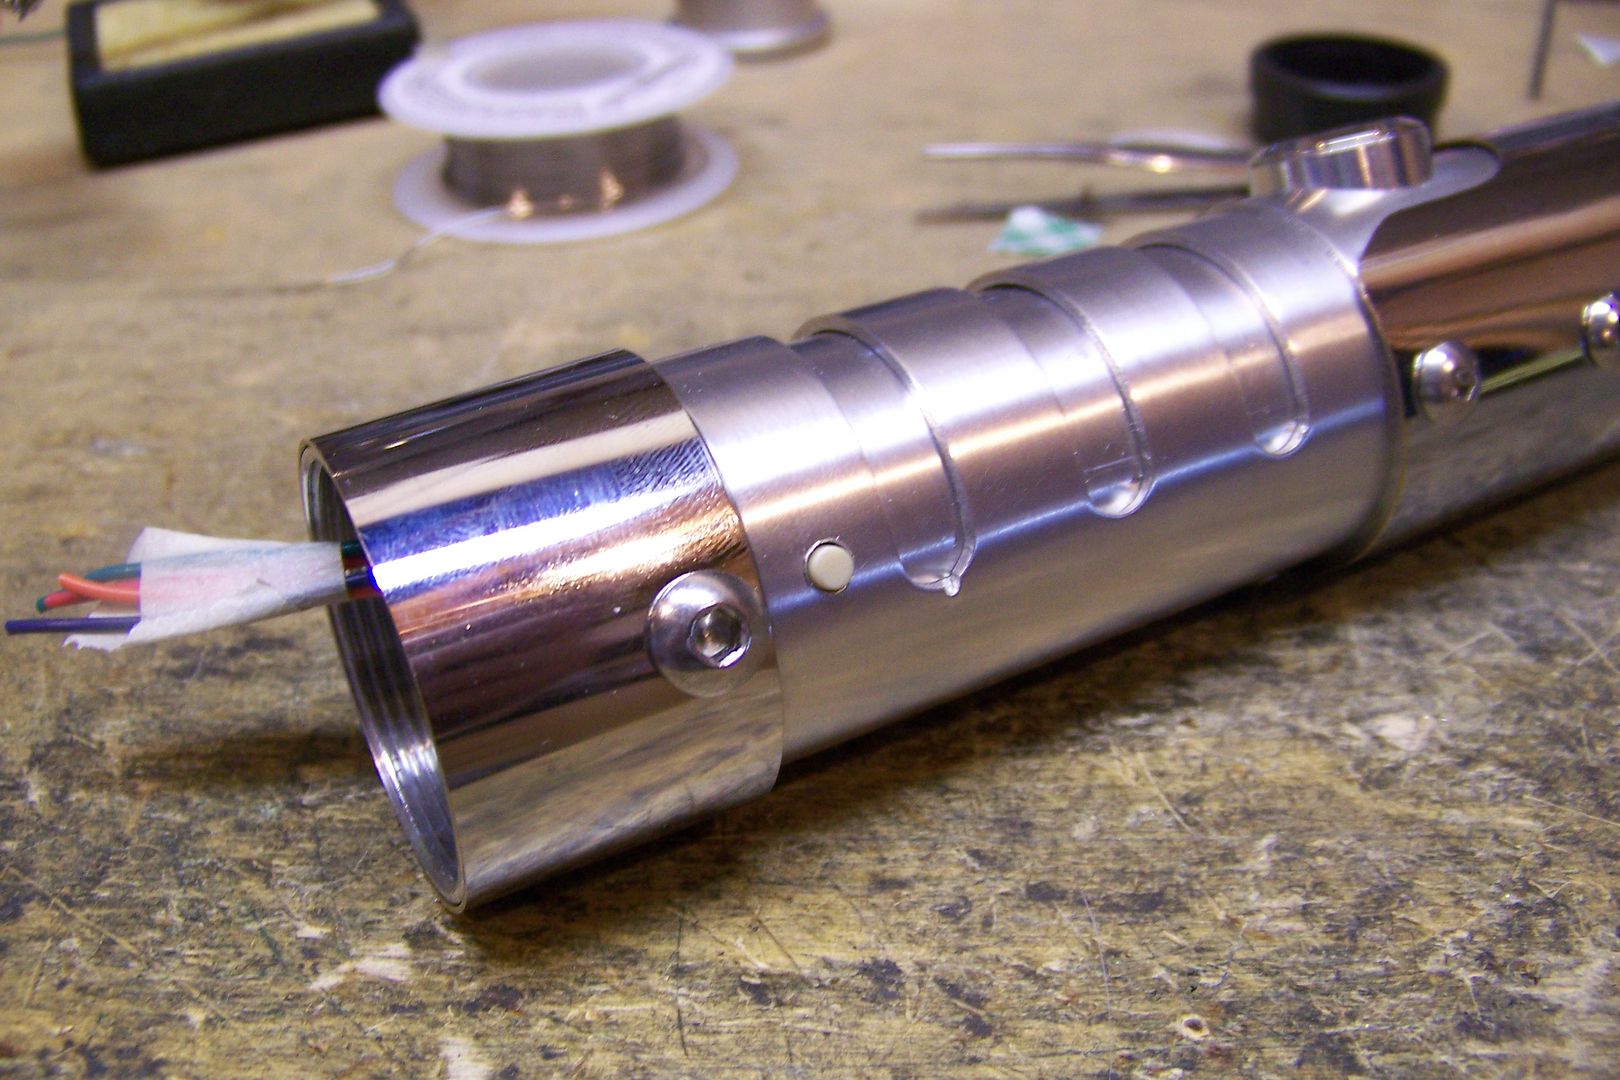
A shot of the whole saber with the emitter shroud sitting in place:
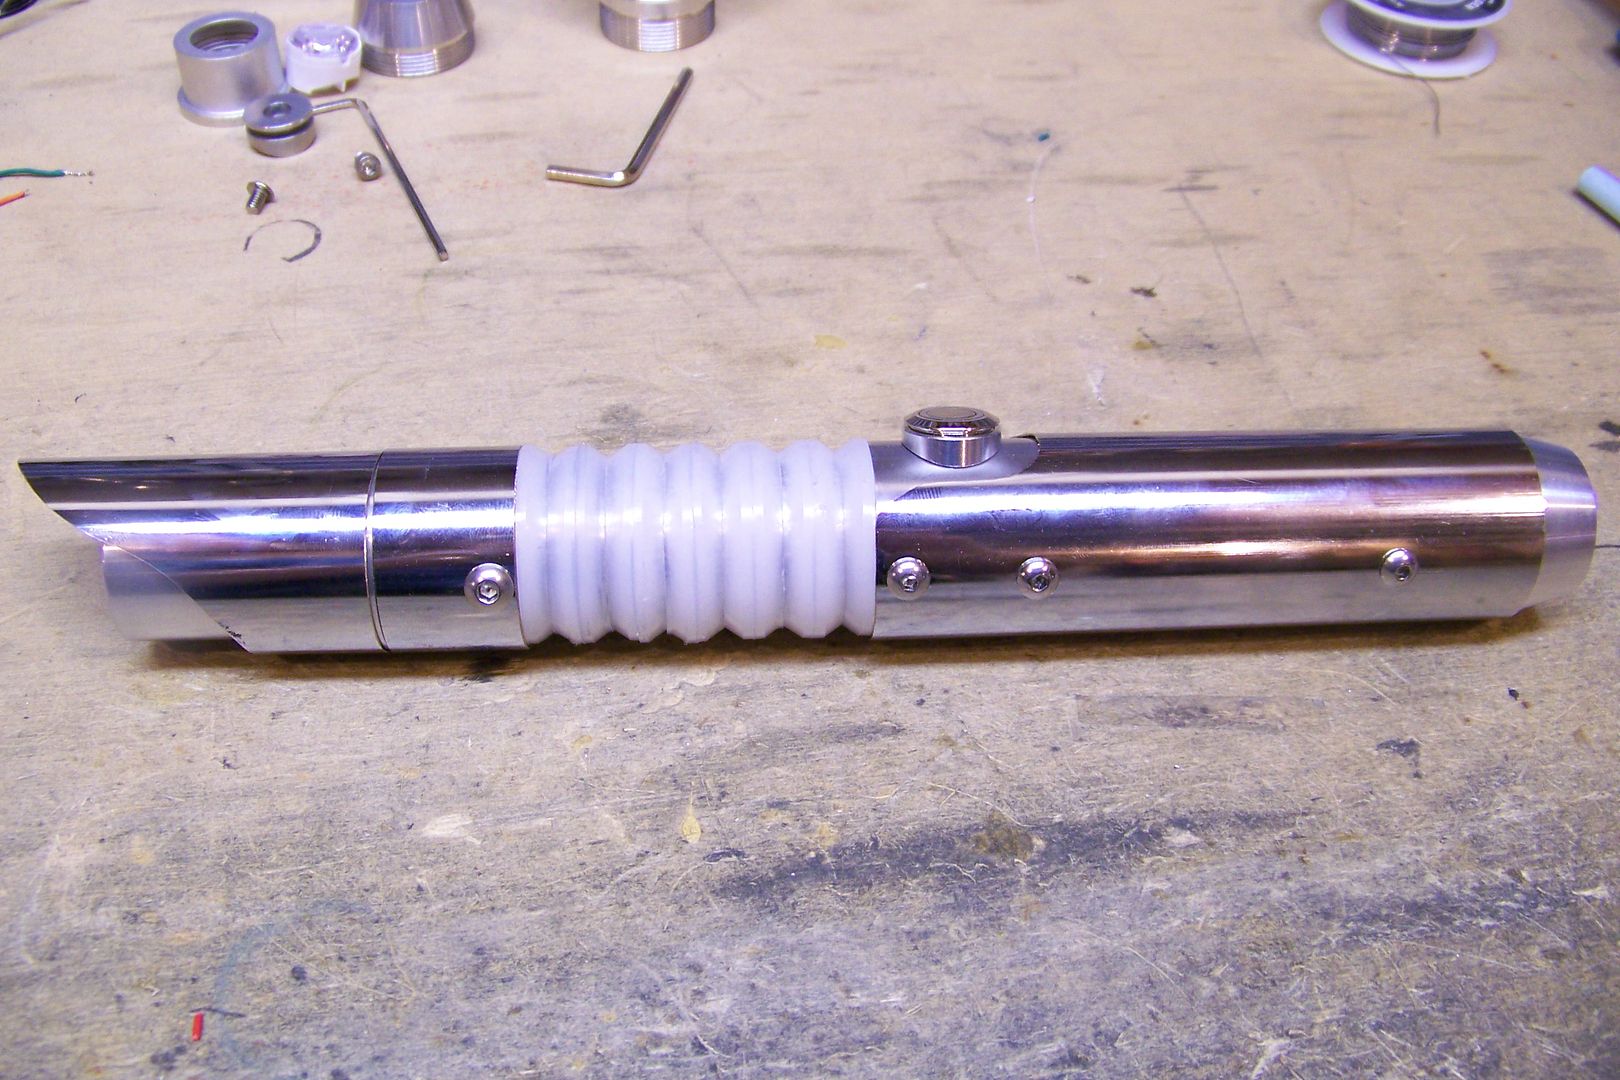
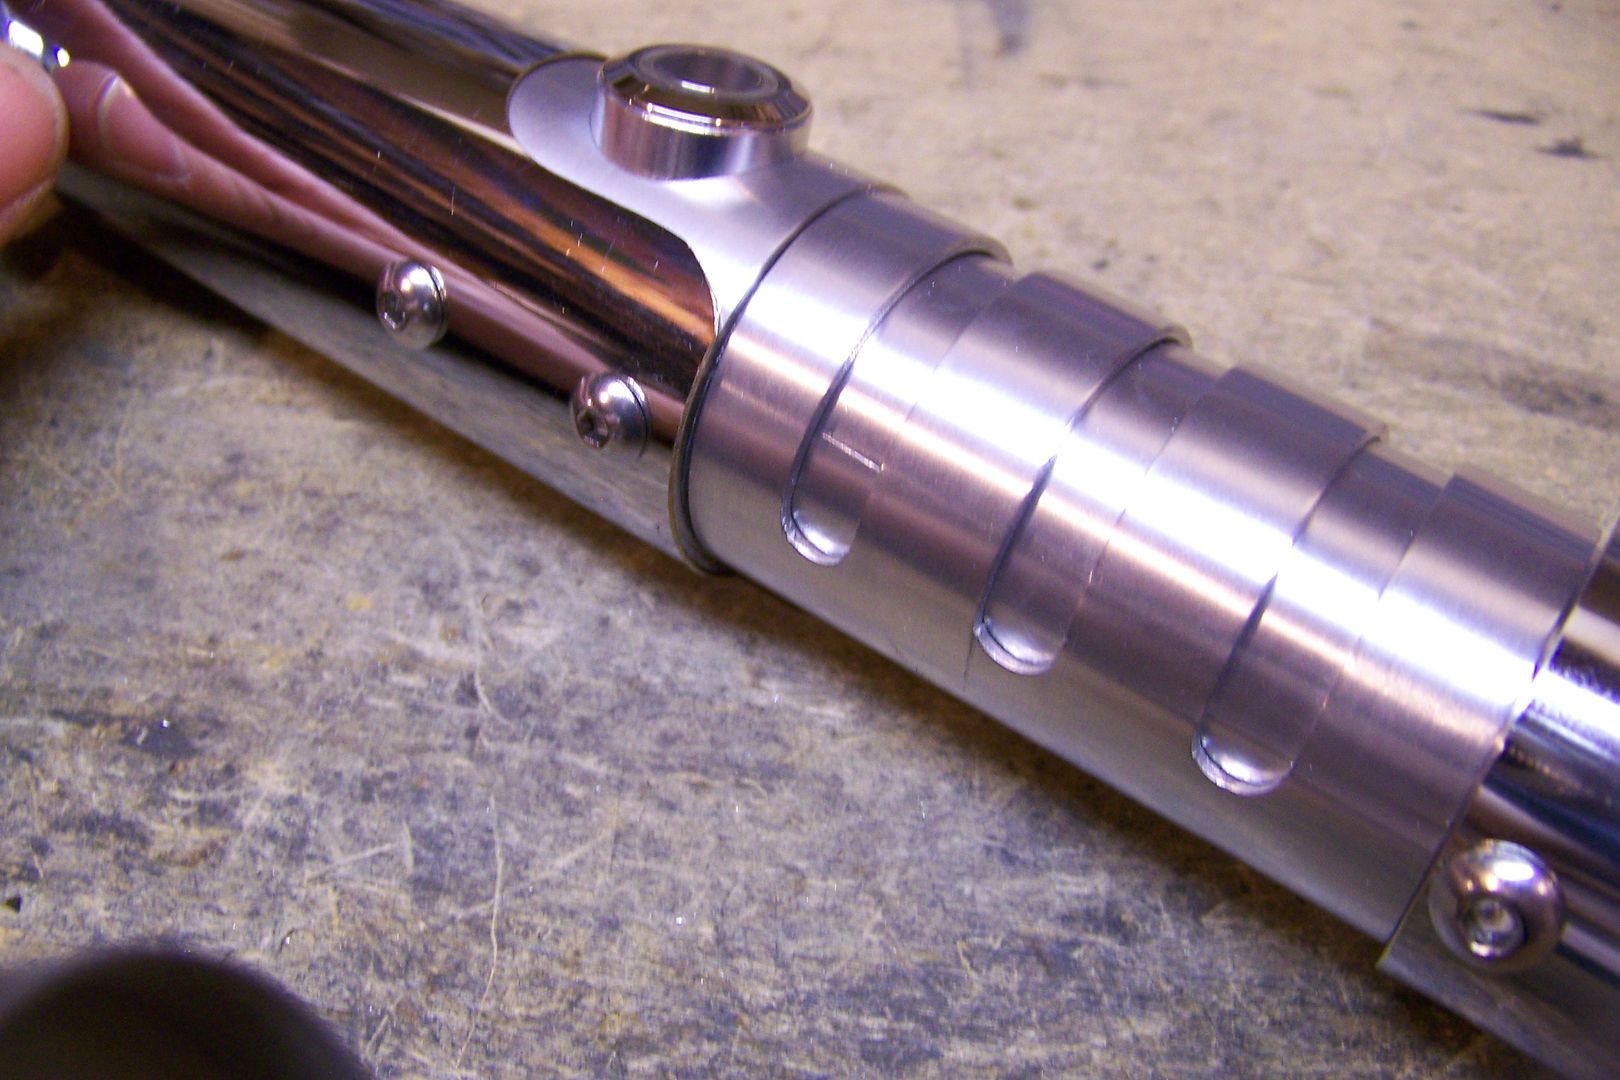
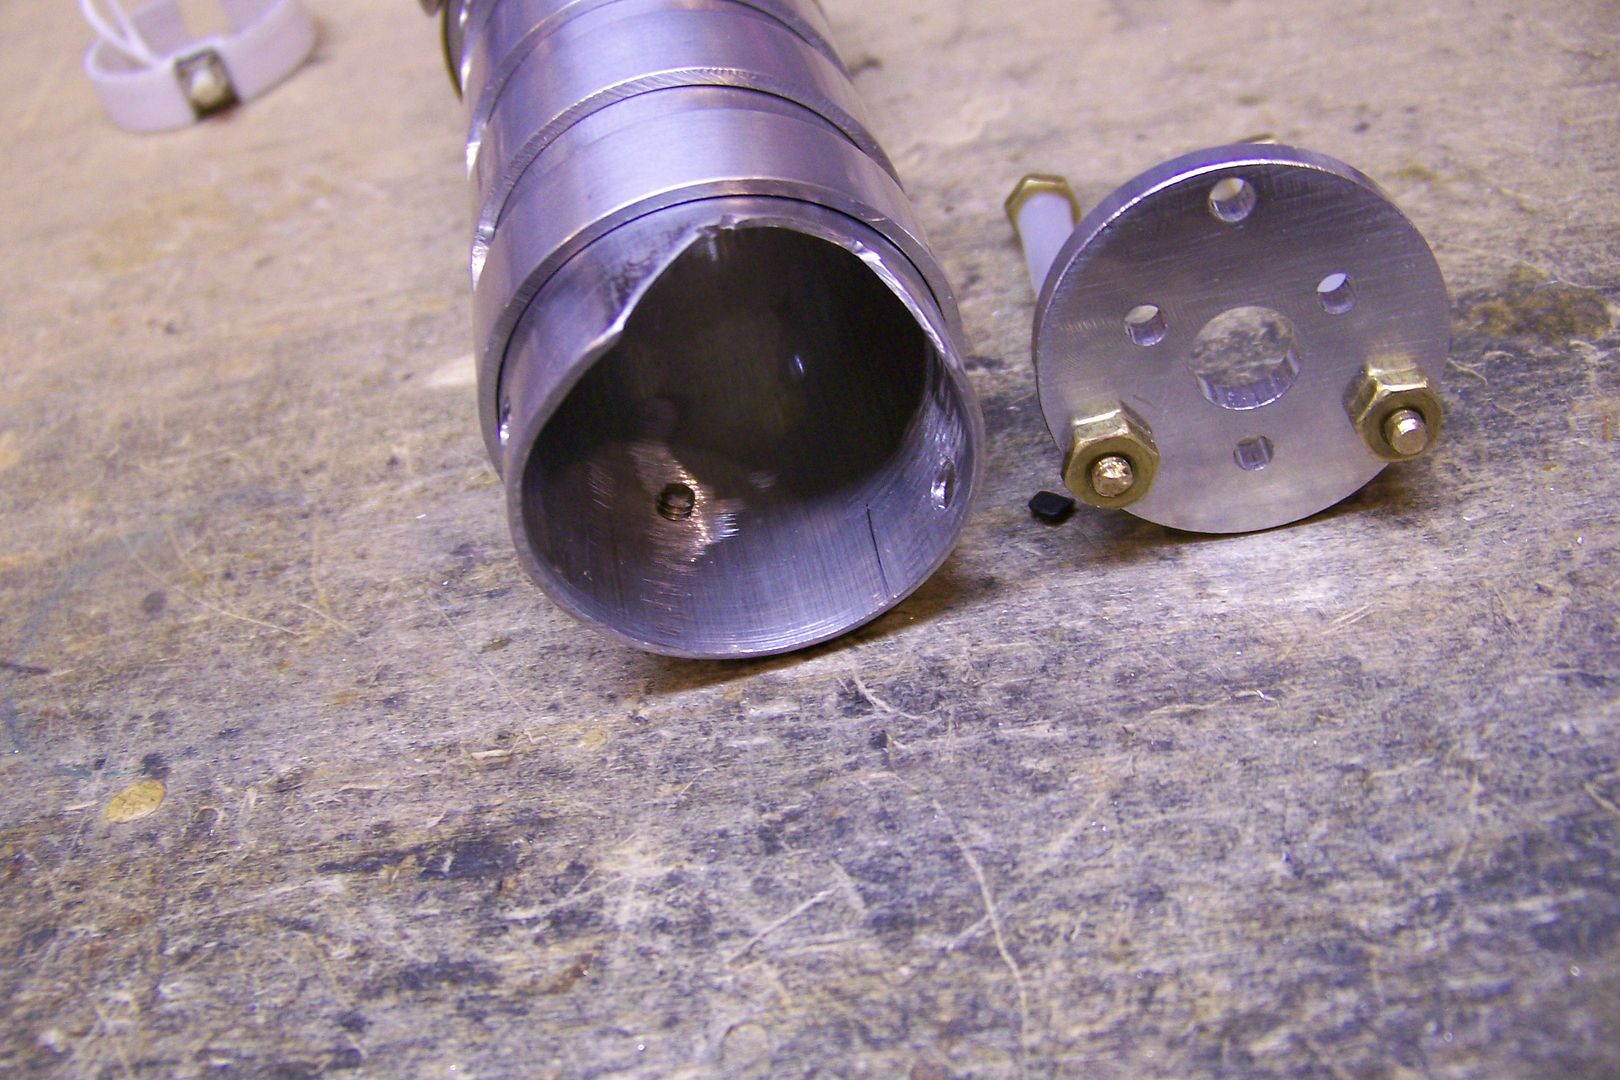
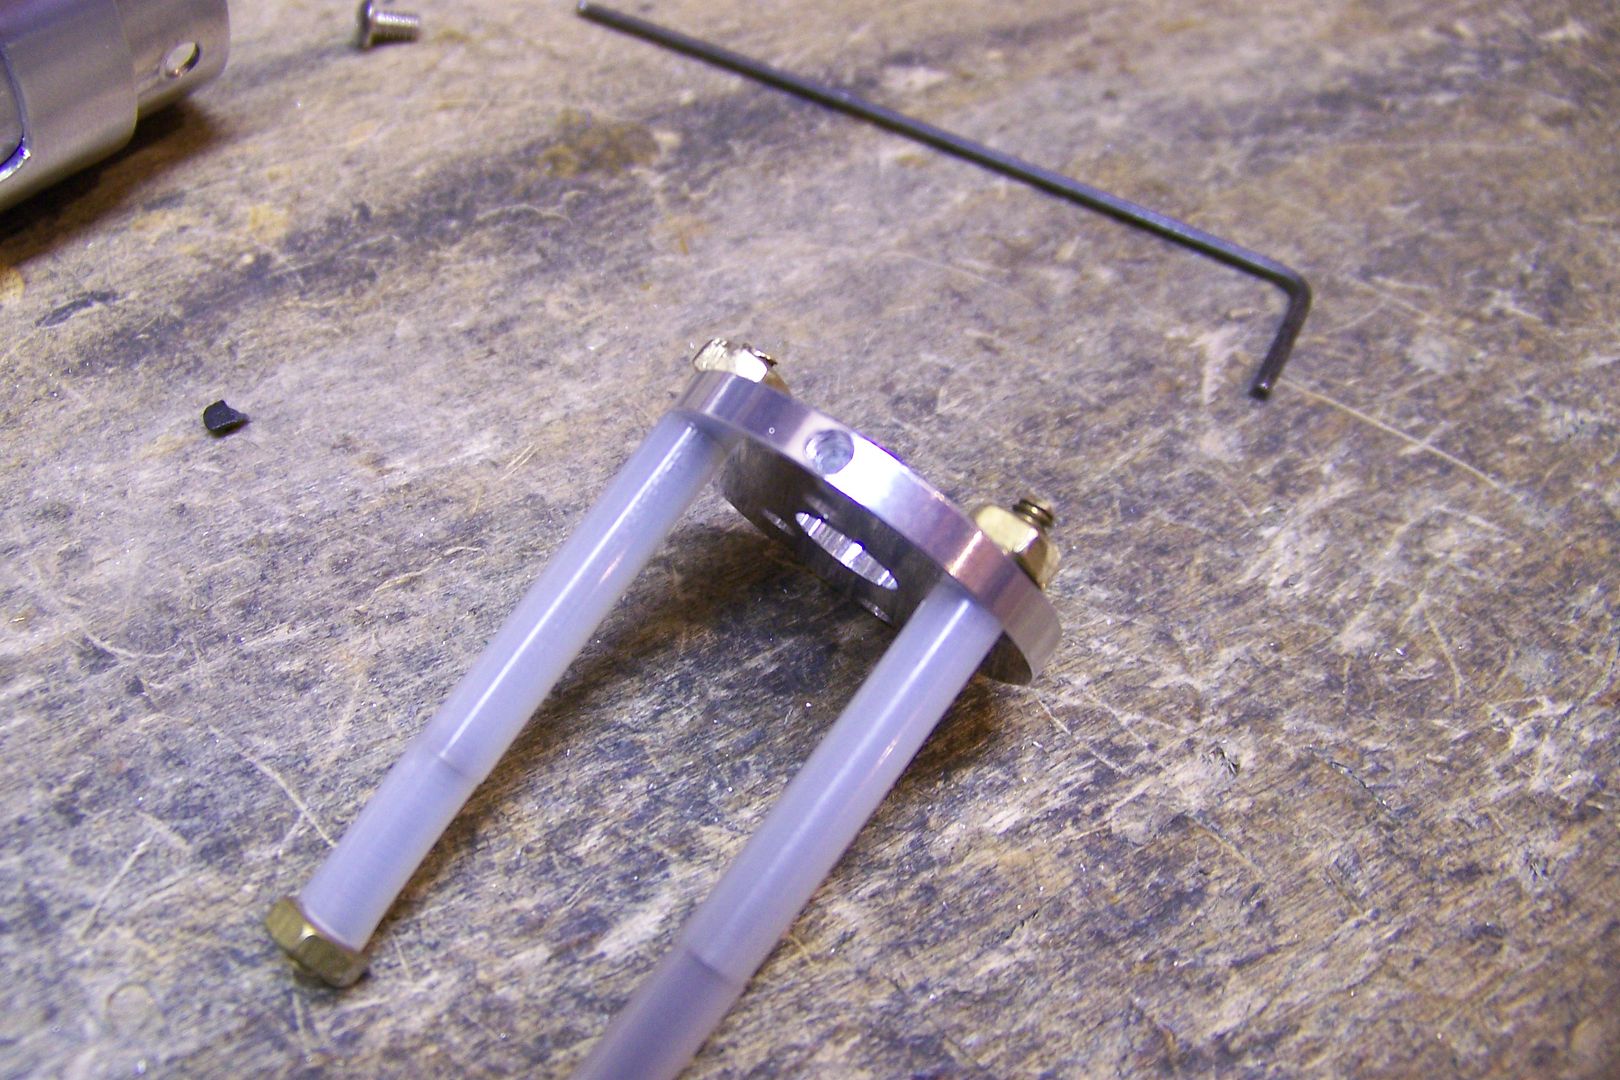
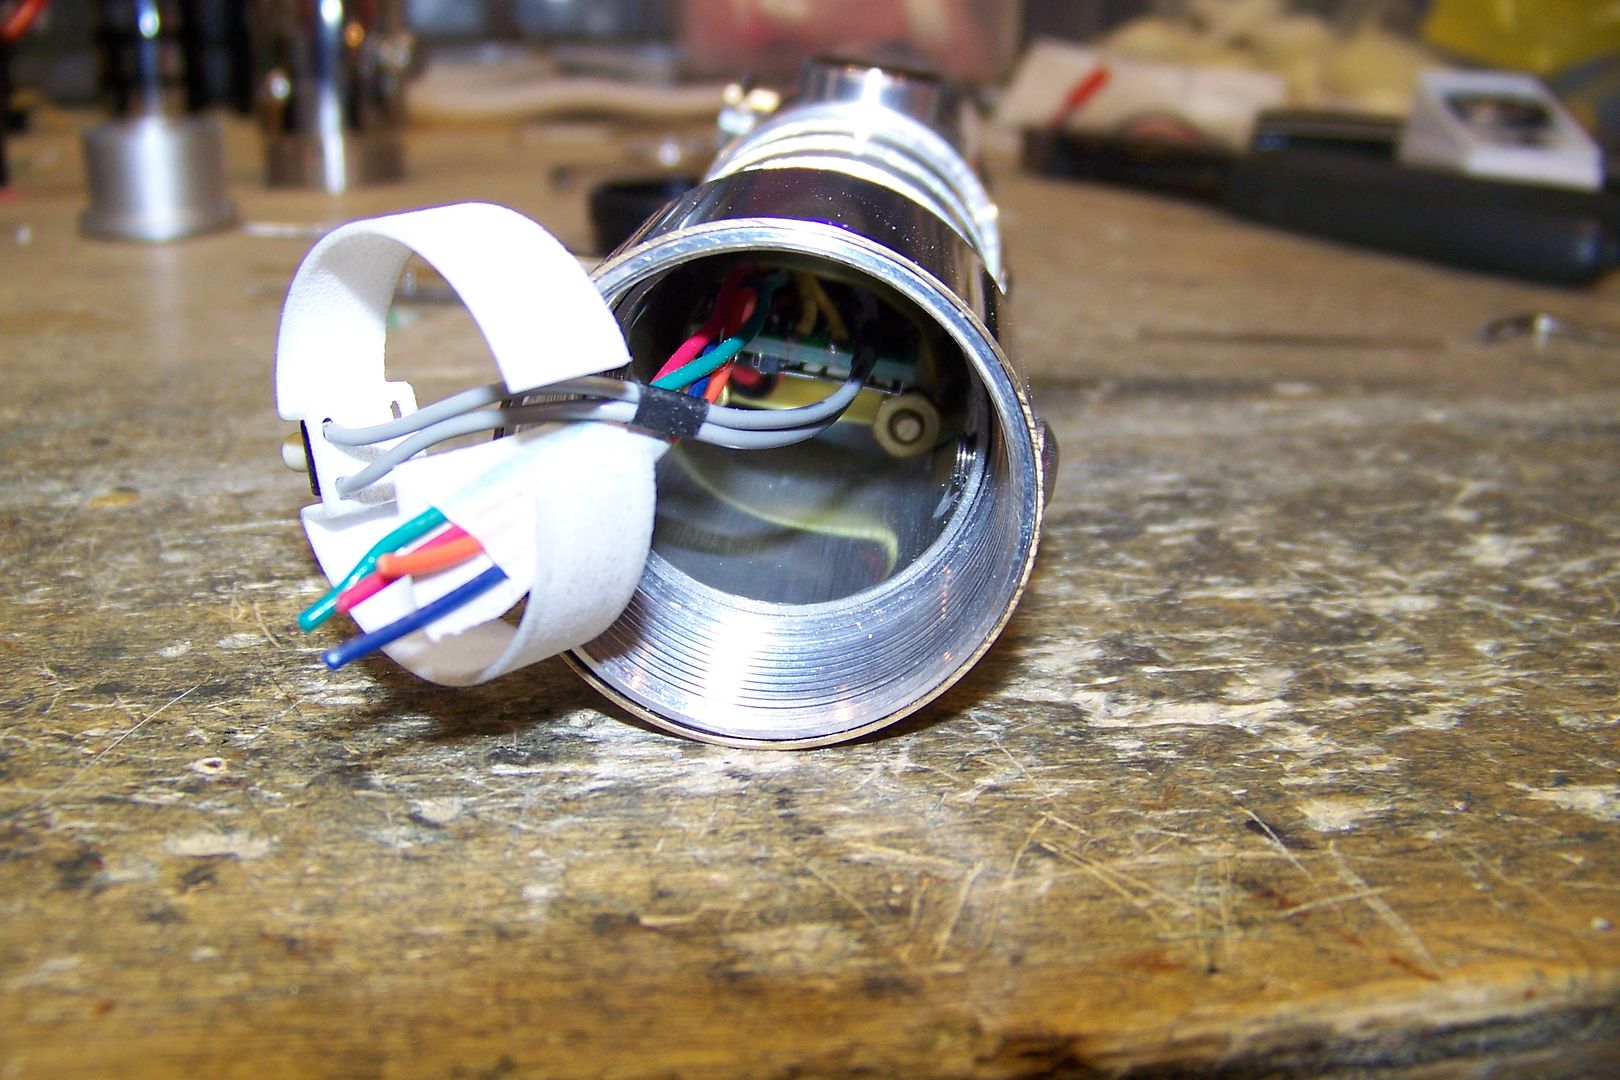
I looked at it for a bit trying to decide which way to go for mounting the sleeve to the emitter....I started out by drilling and tapping for the 10-32 blade thumbscrew, then added the two 8-32 screws on the sides for continuity's sake...it doesn't look that bad, I think:
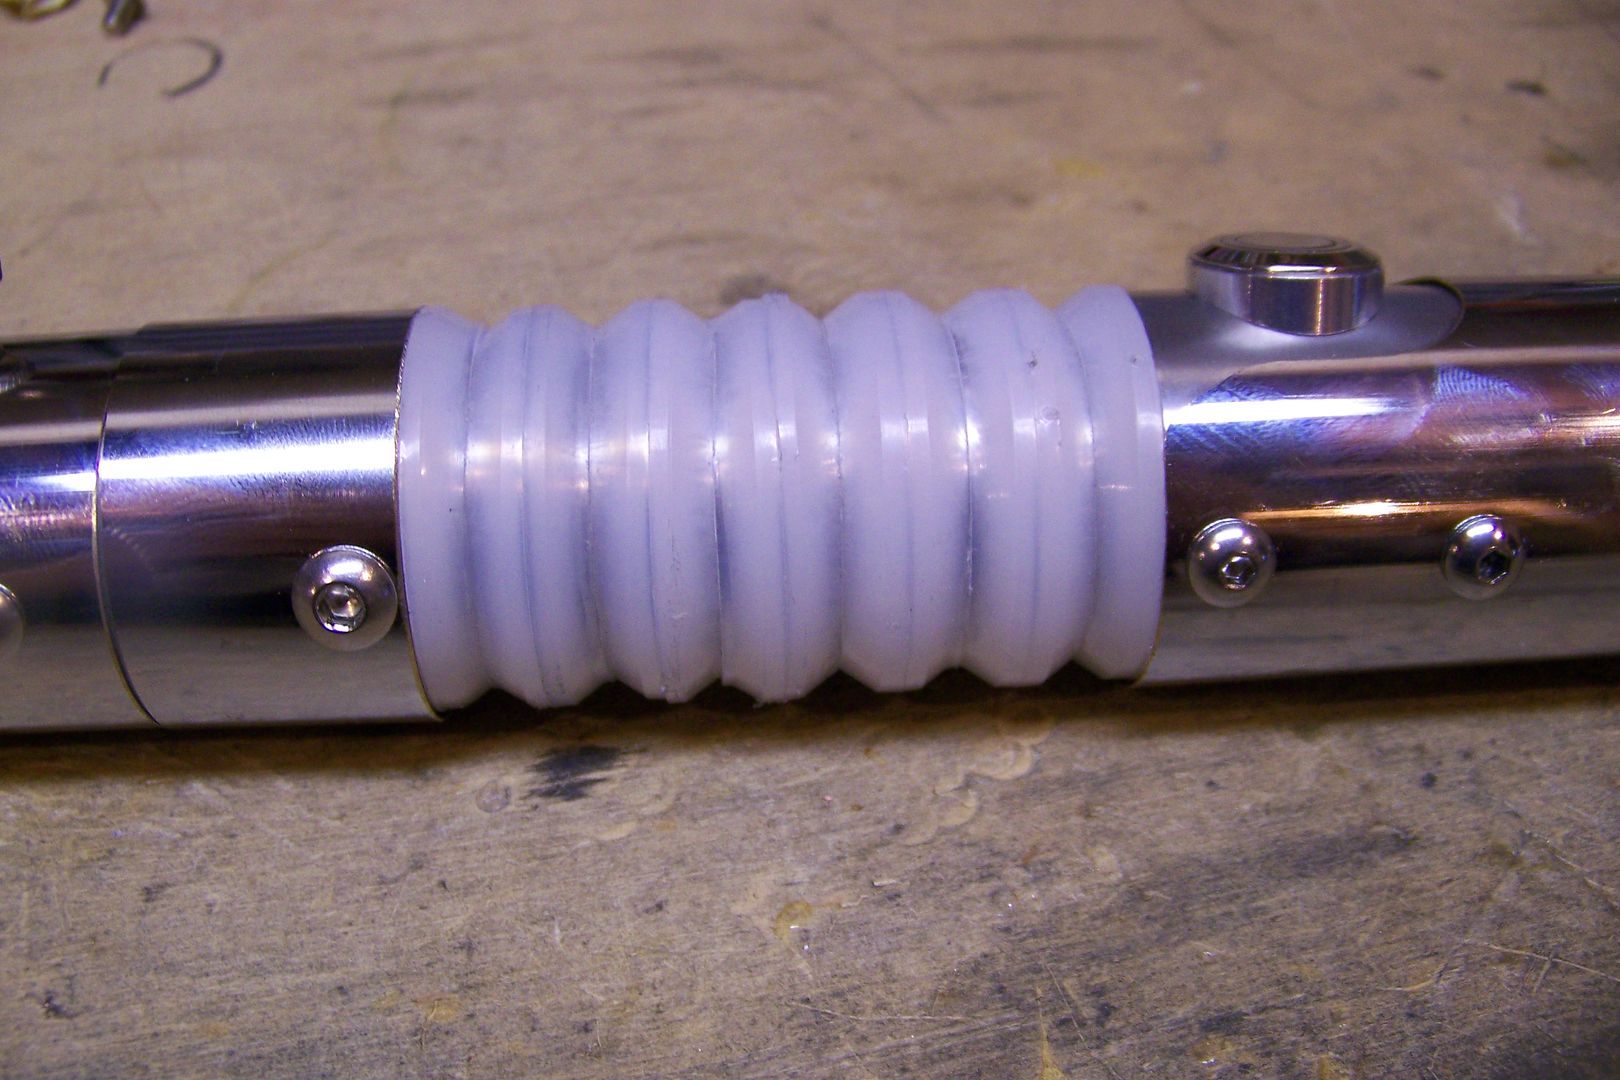
Now it just needs some detailing on the rear grip section:
And something besides the white washers:
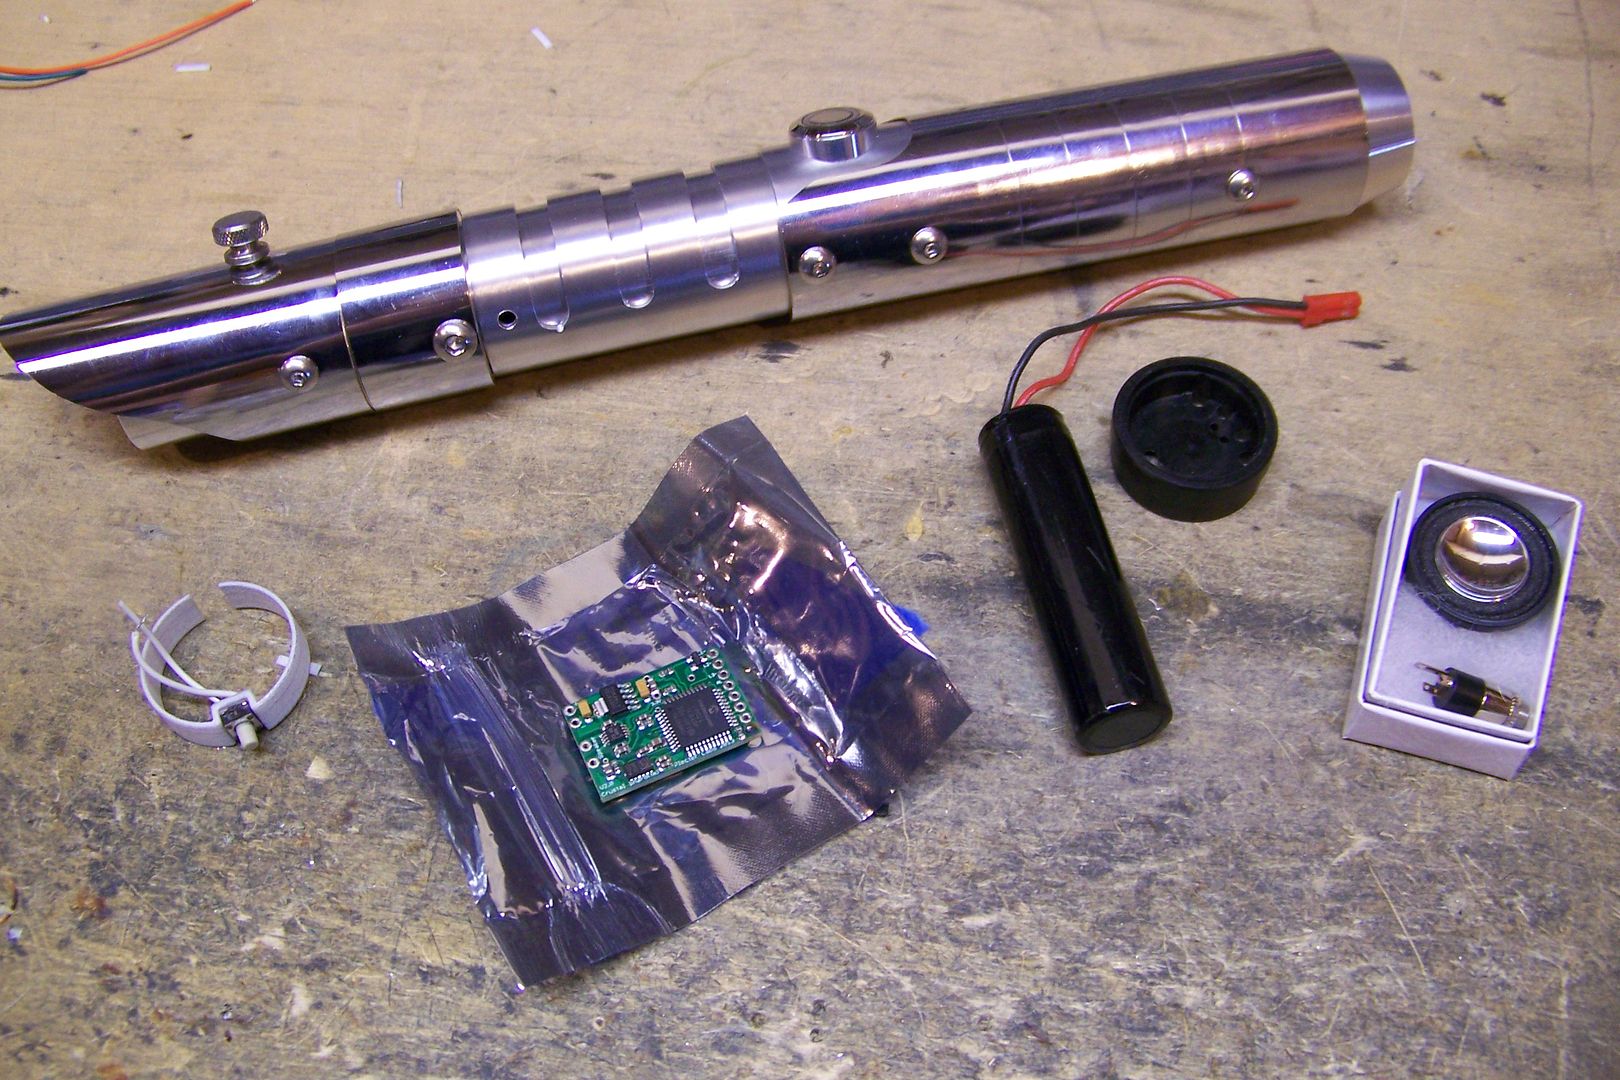
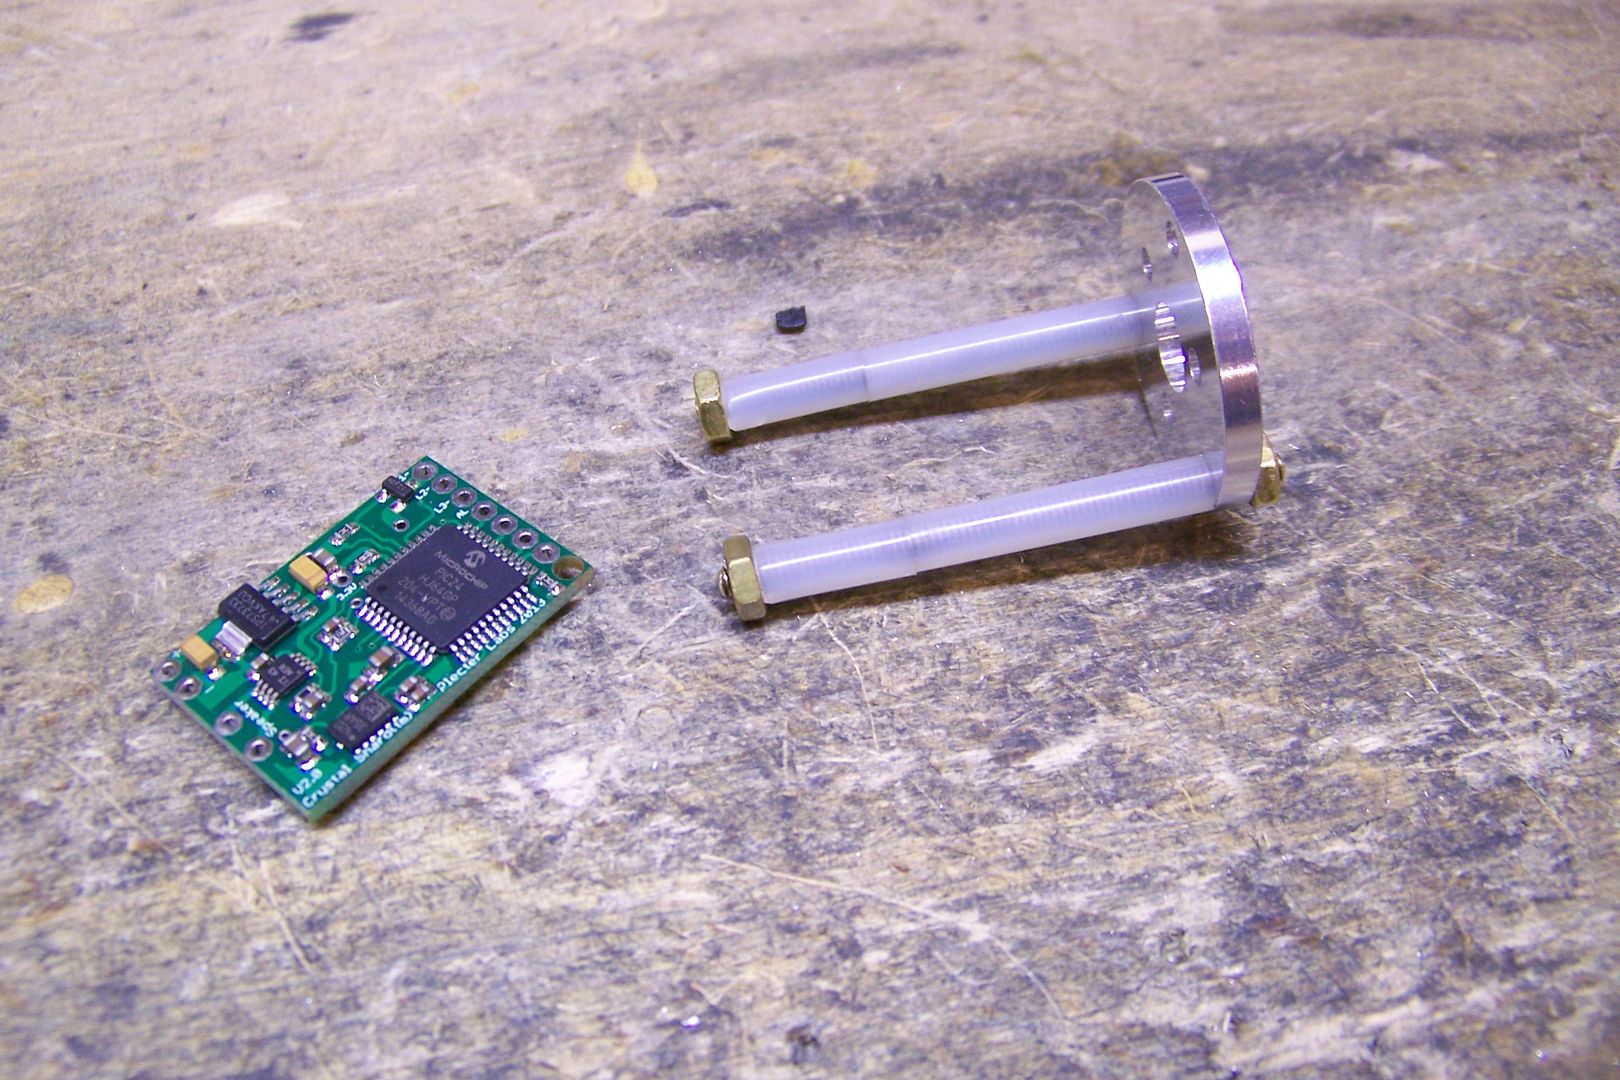
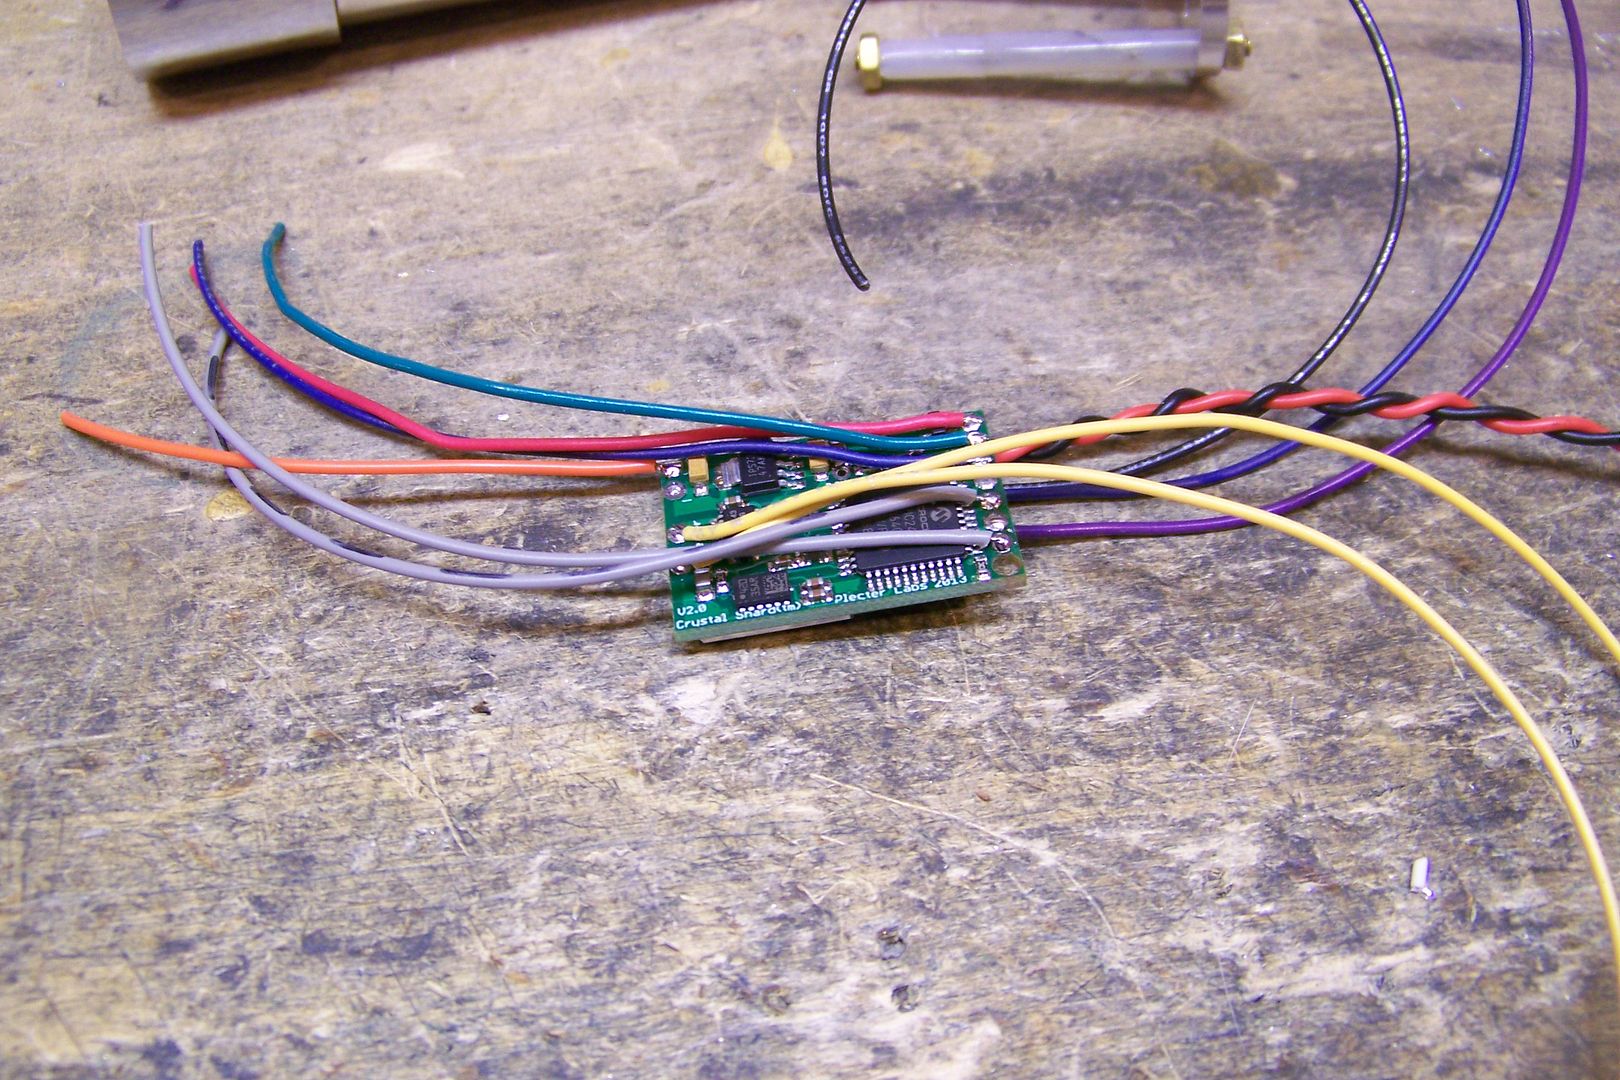
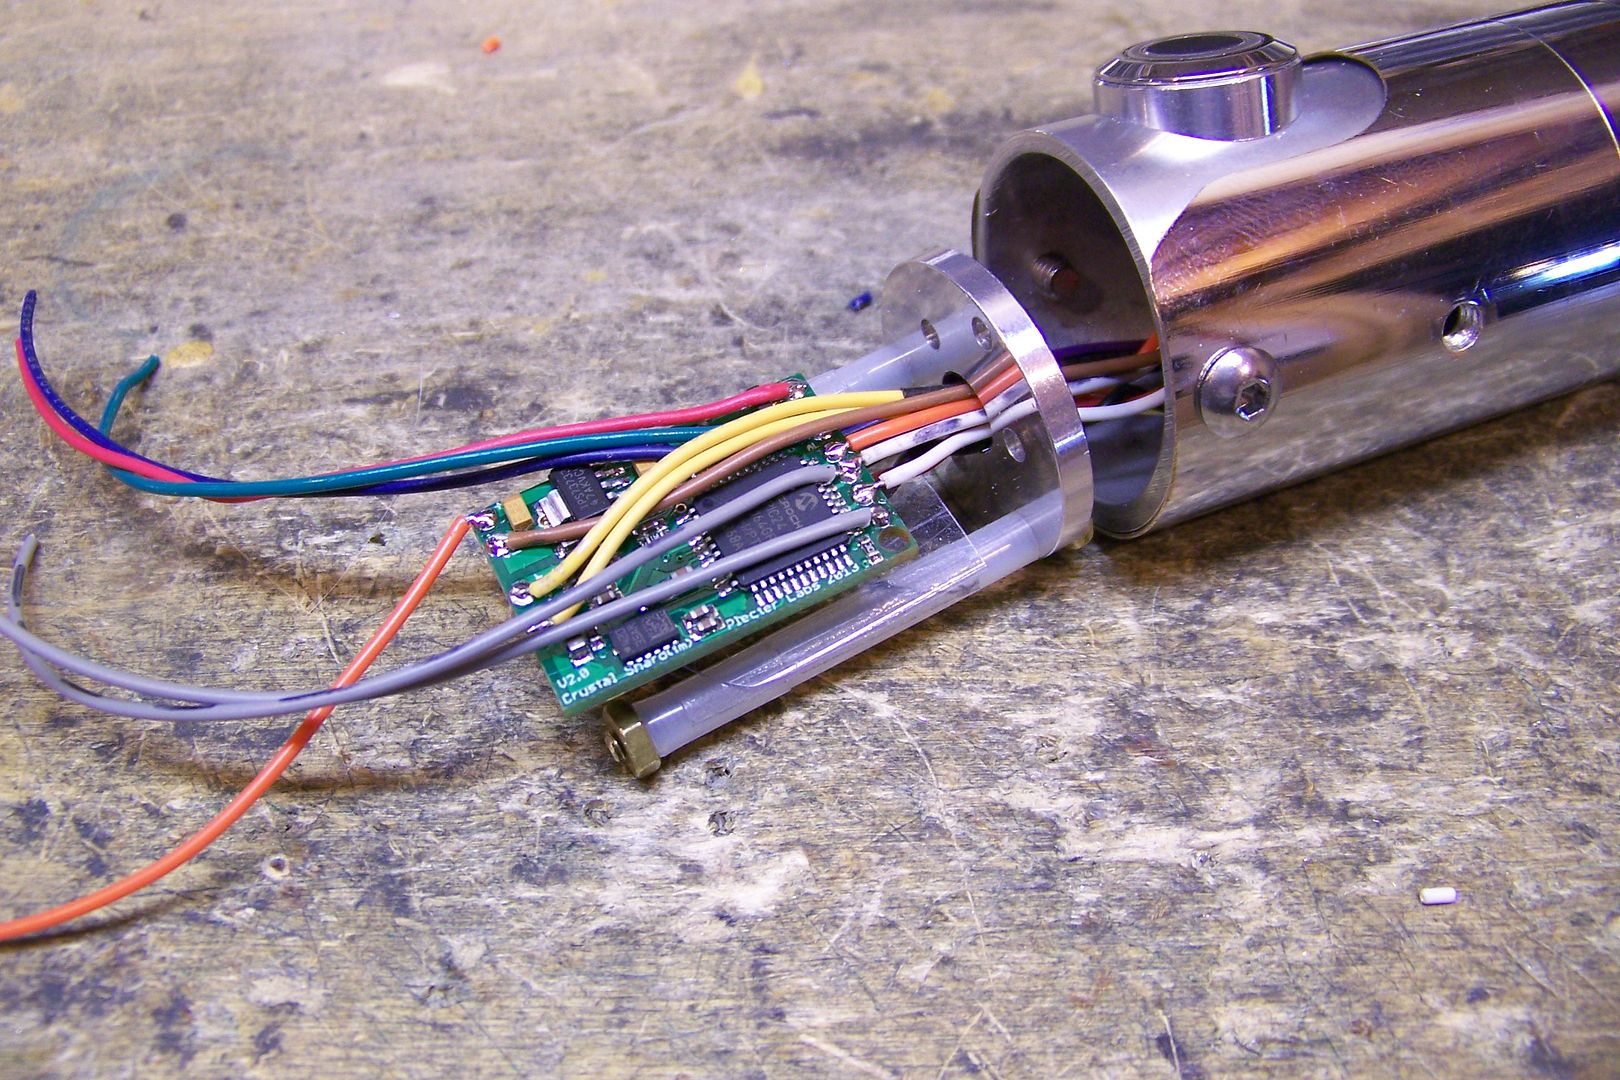
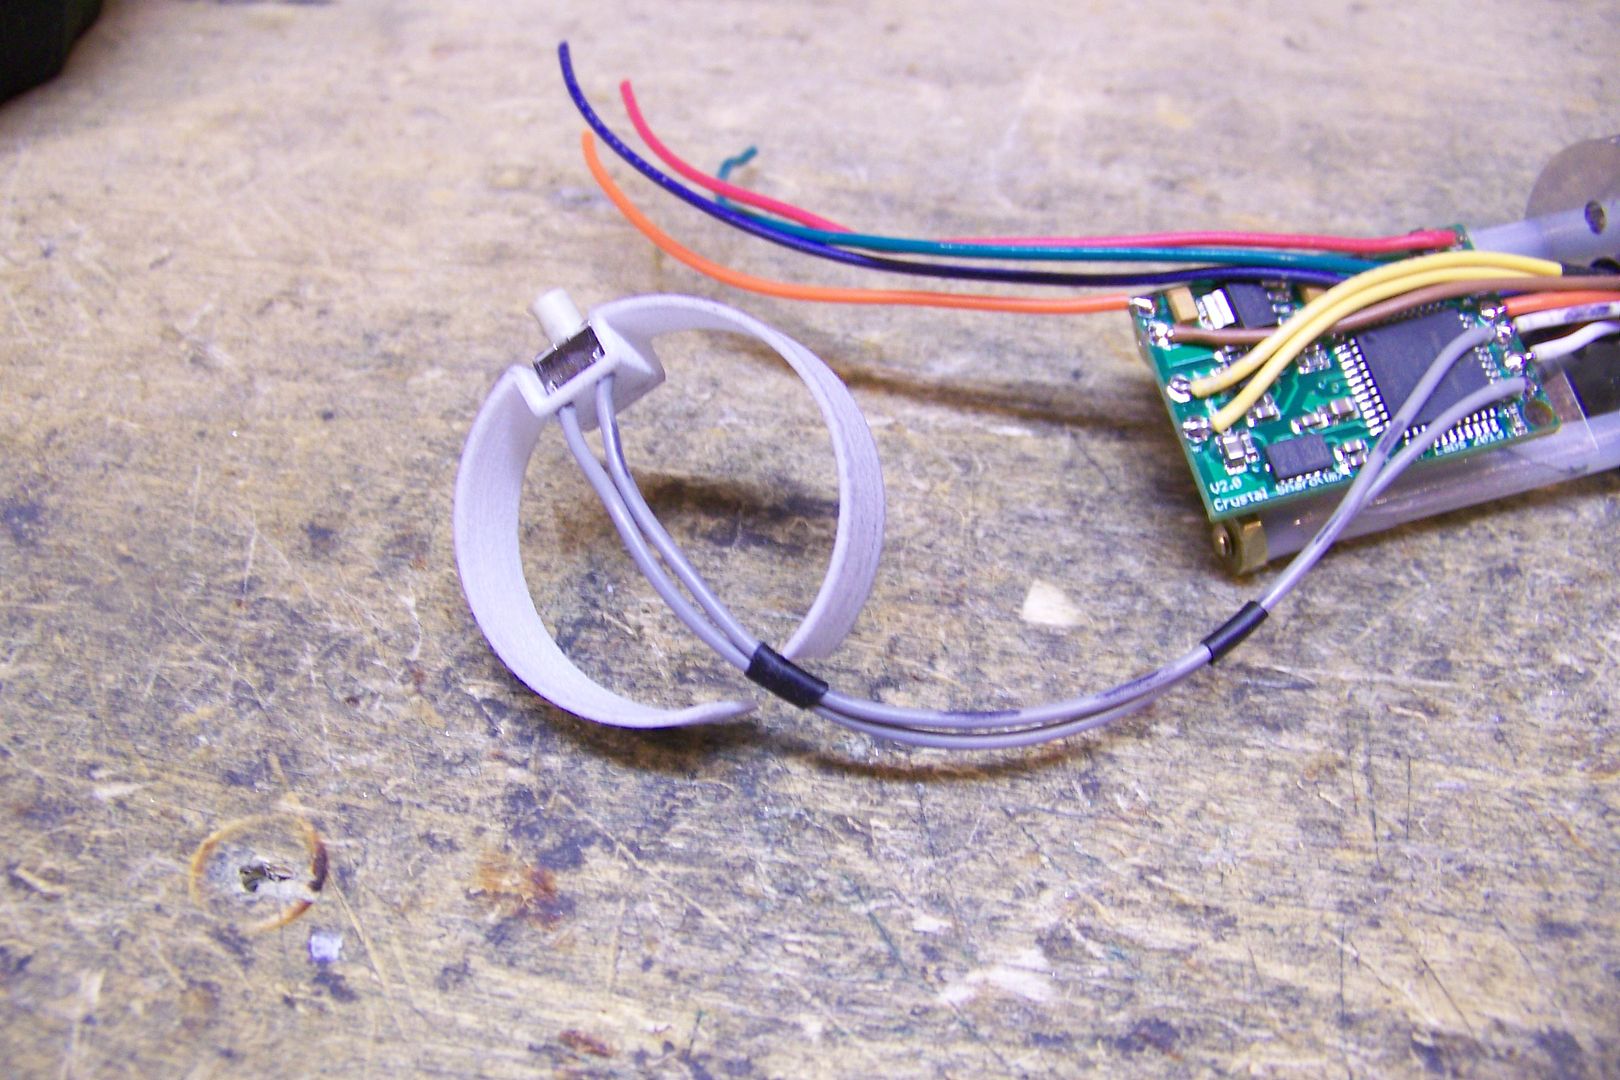
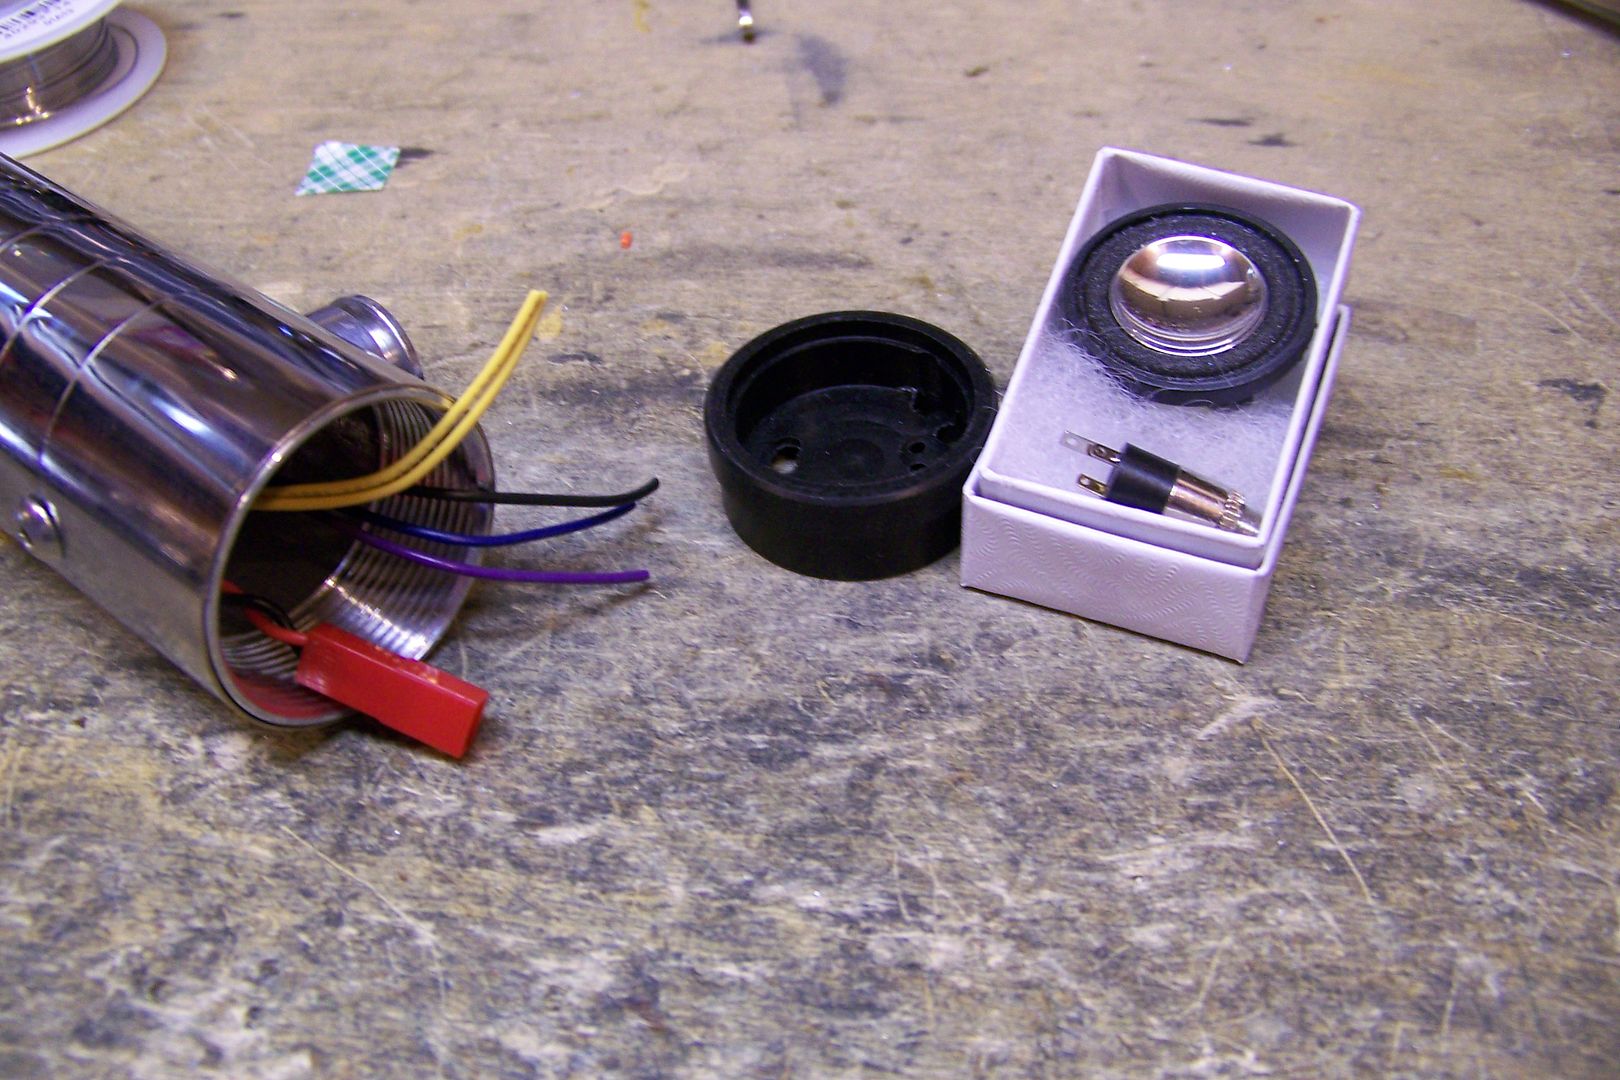
Working on that next....and then it will time to figure out what we're going to do for electronics, aside from the blade led (a triple Cree or Rebel) and sound board (Crystal shard 2.5) which we already have.


 Reply With Quote
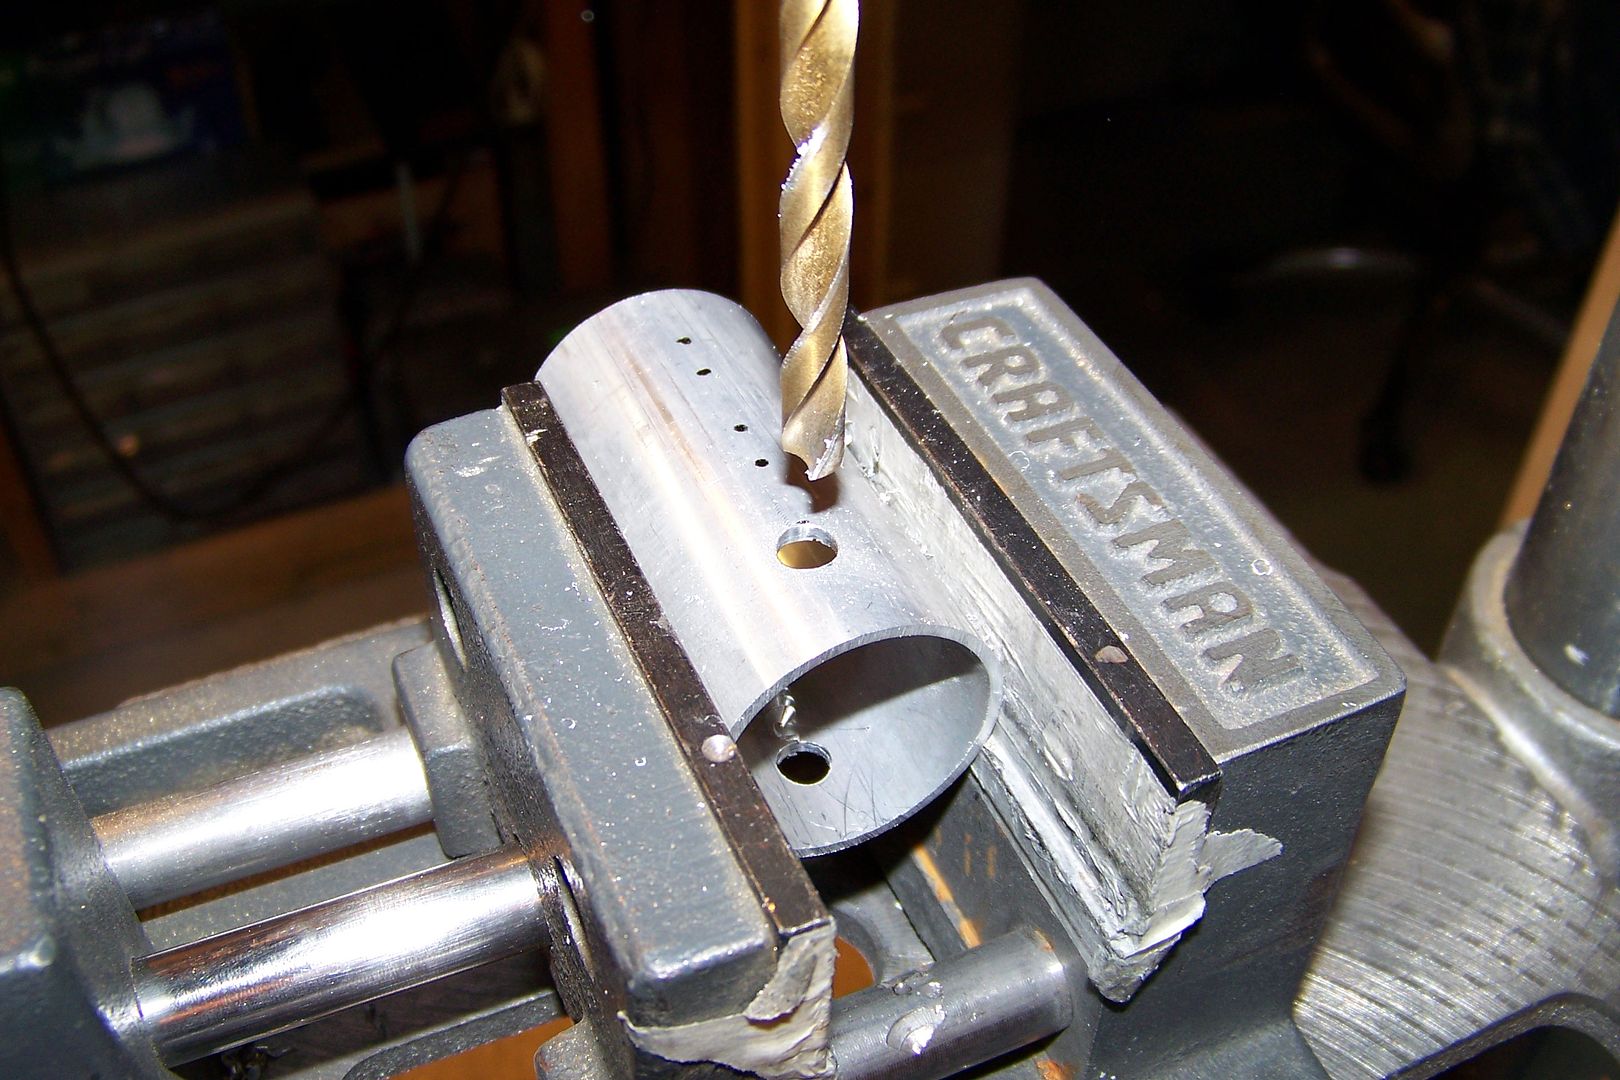


Bookmarks