Nice.


Nice.
I can light a small city with my board


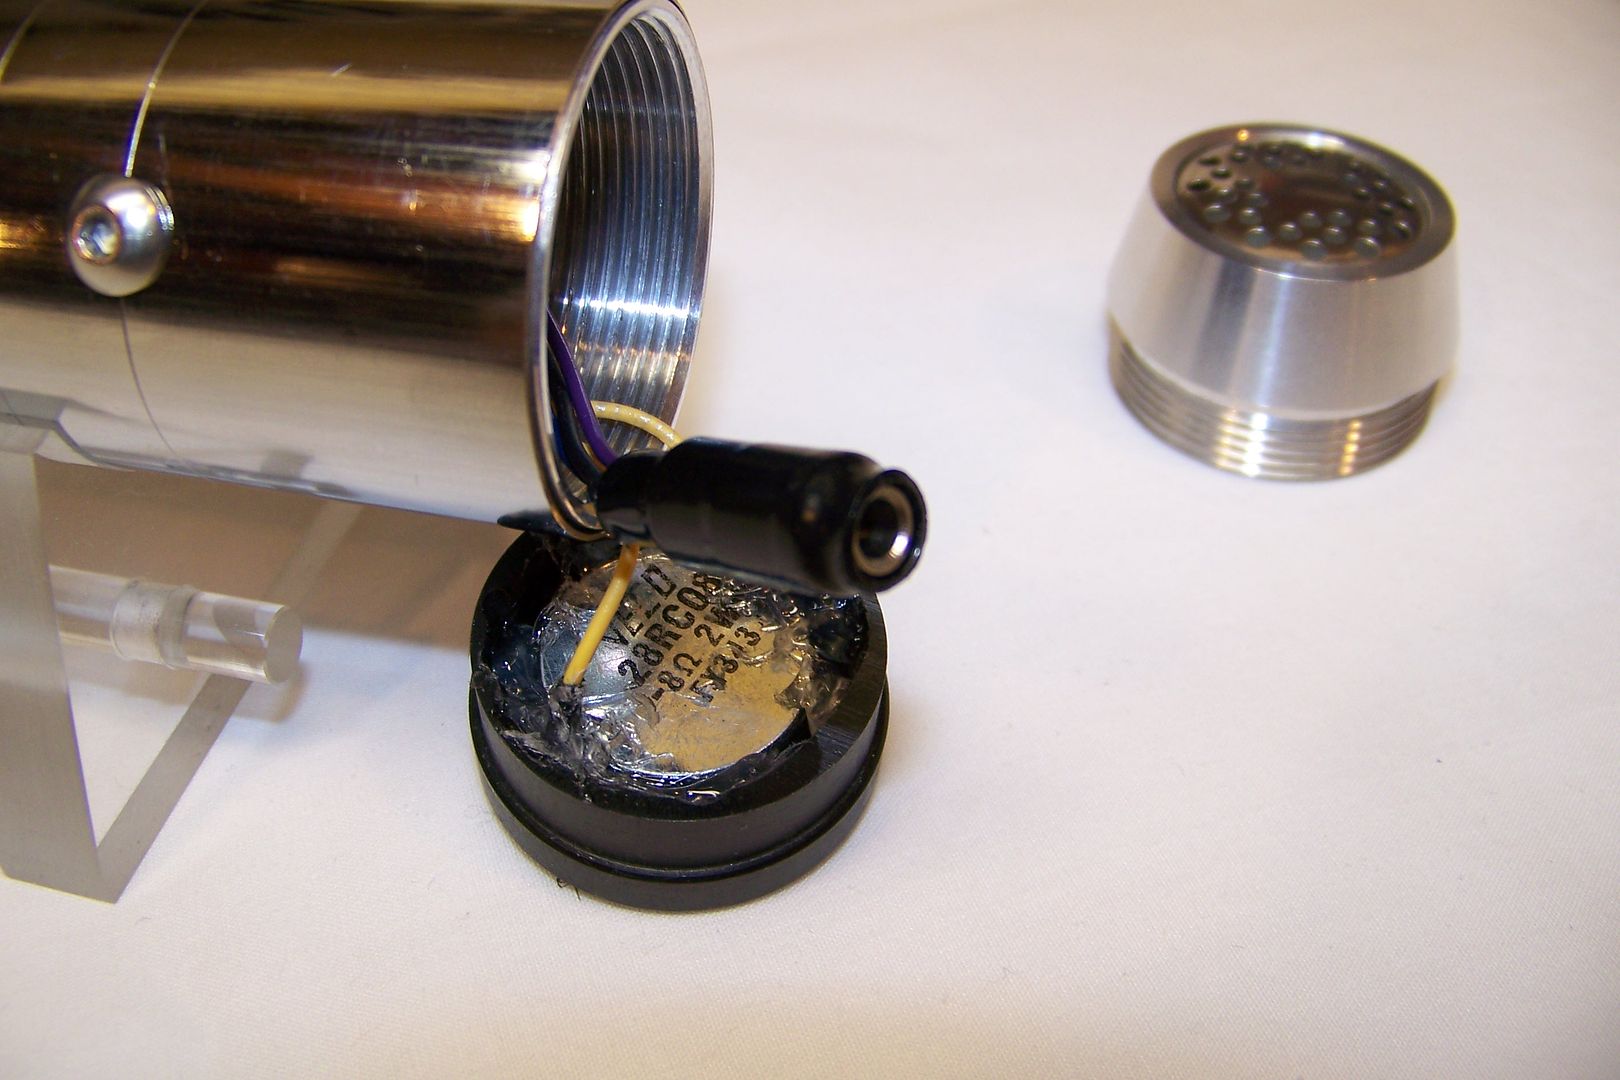
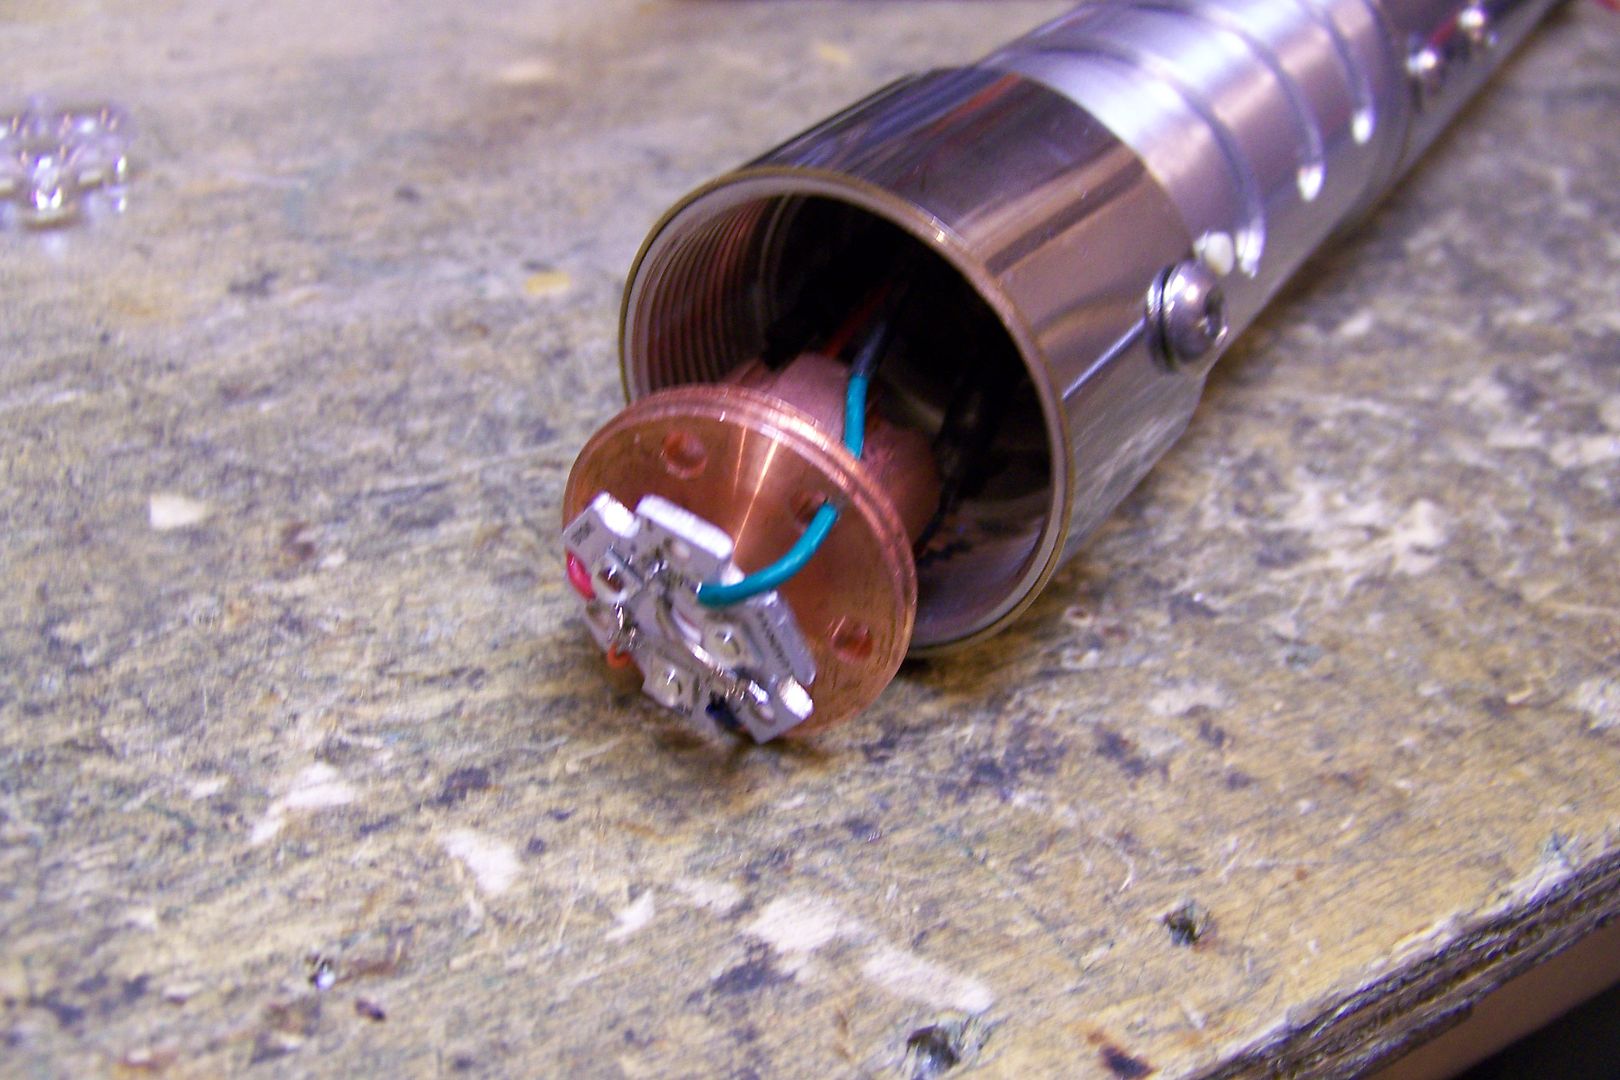
I had time this morning to work on the speaker and RICE port wiring today:
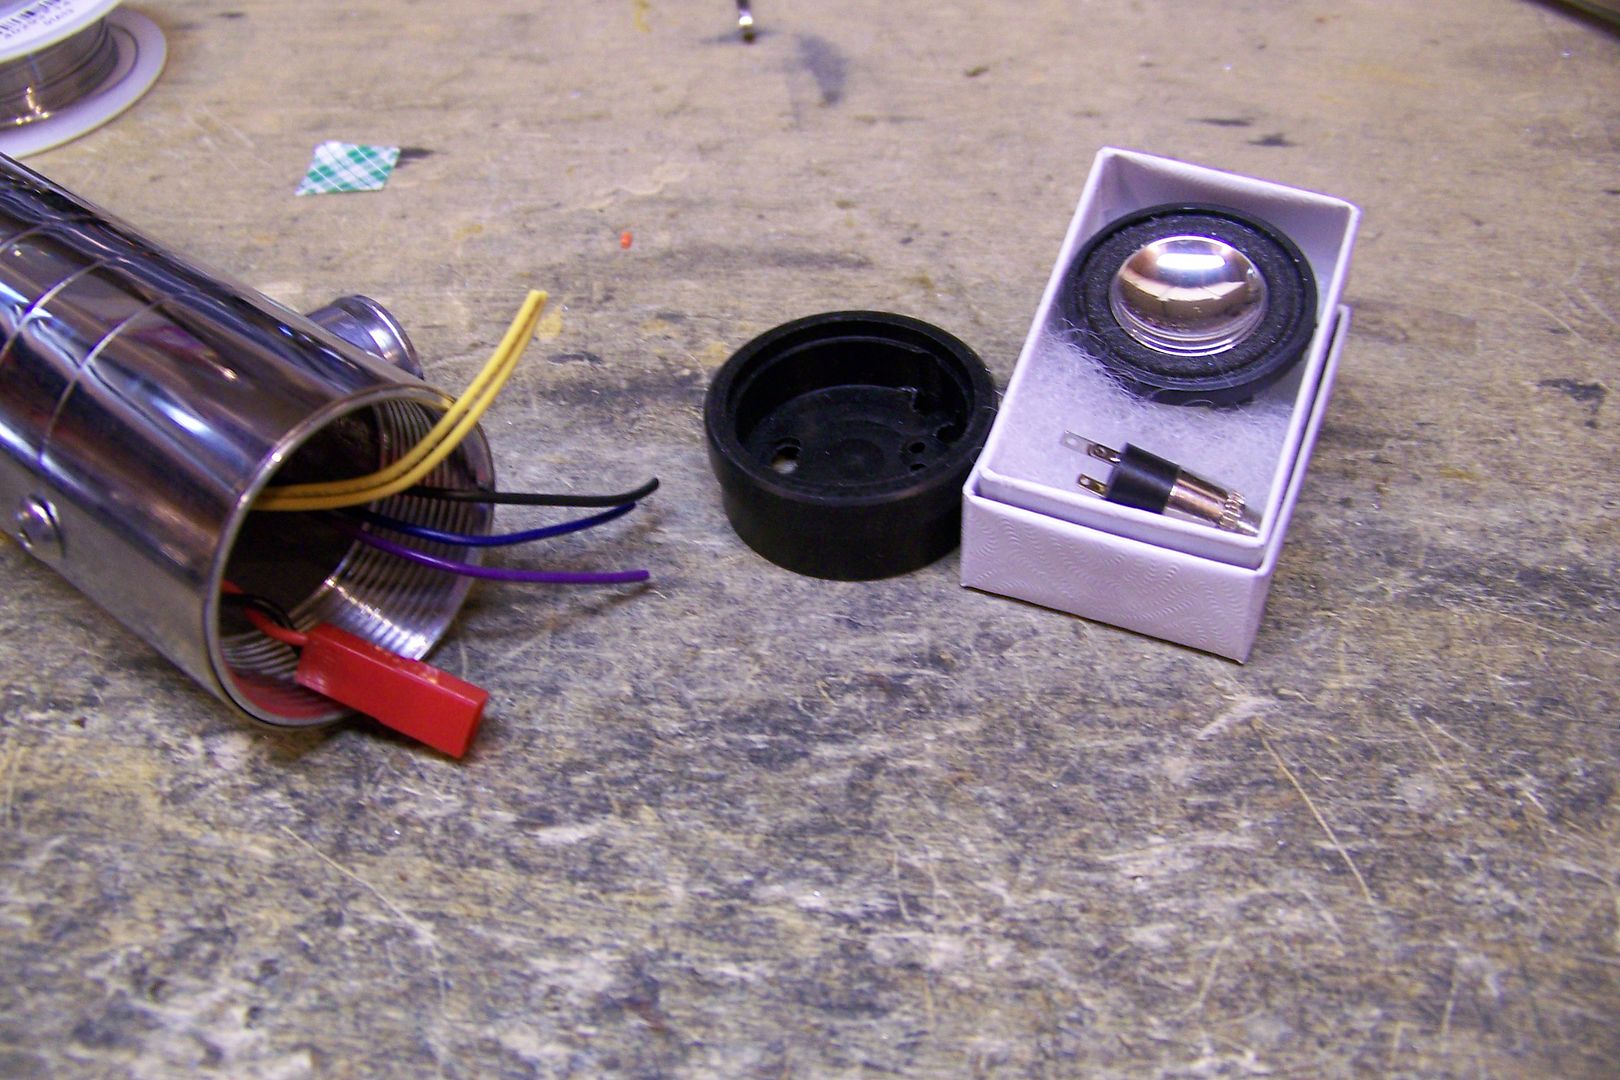
I plugged in the battery and heard a boot sound, pressed the activation button, and it powered on:
I tested the RICE port before heat shrinking it to ensure it worked, and it did. The only thing left is to wire up the main blade led which arrived in the mail on Saturday morning. I hope to have this finished up tonight or tomorrow morning.
Got a question? Start Here. Have you tried the Thread Index yet? Most questions can be answered there.
Okay, final update on this one, hopefully! ;D
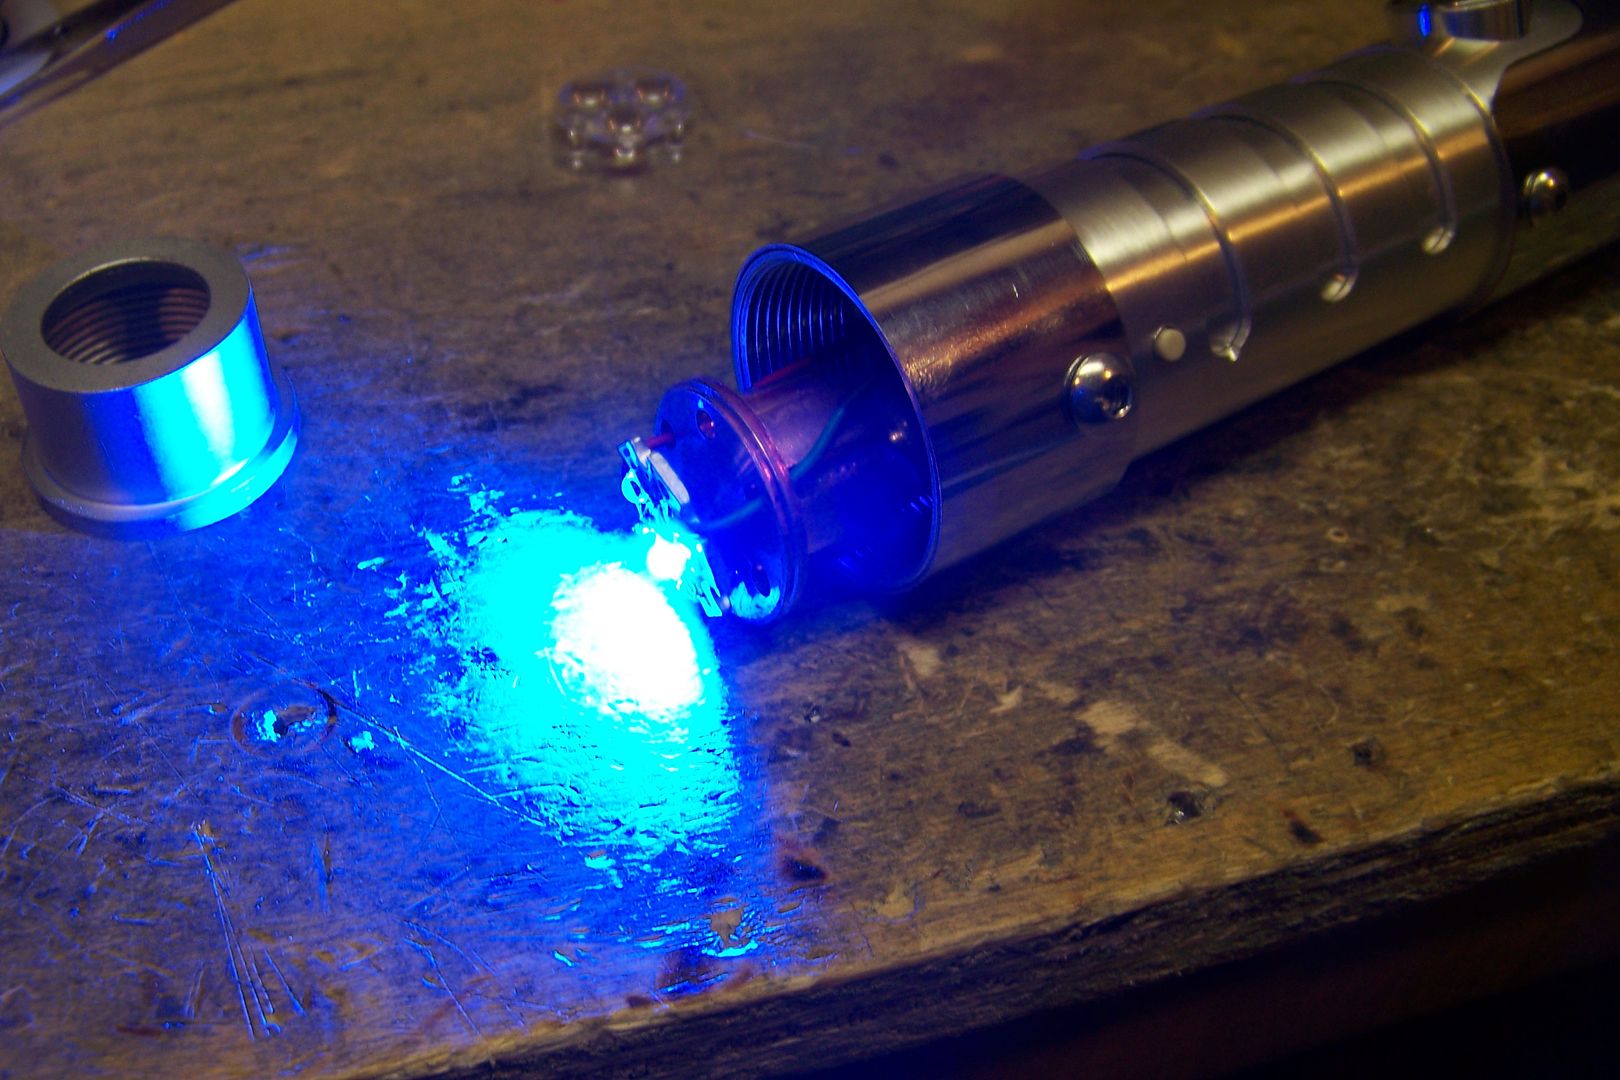
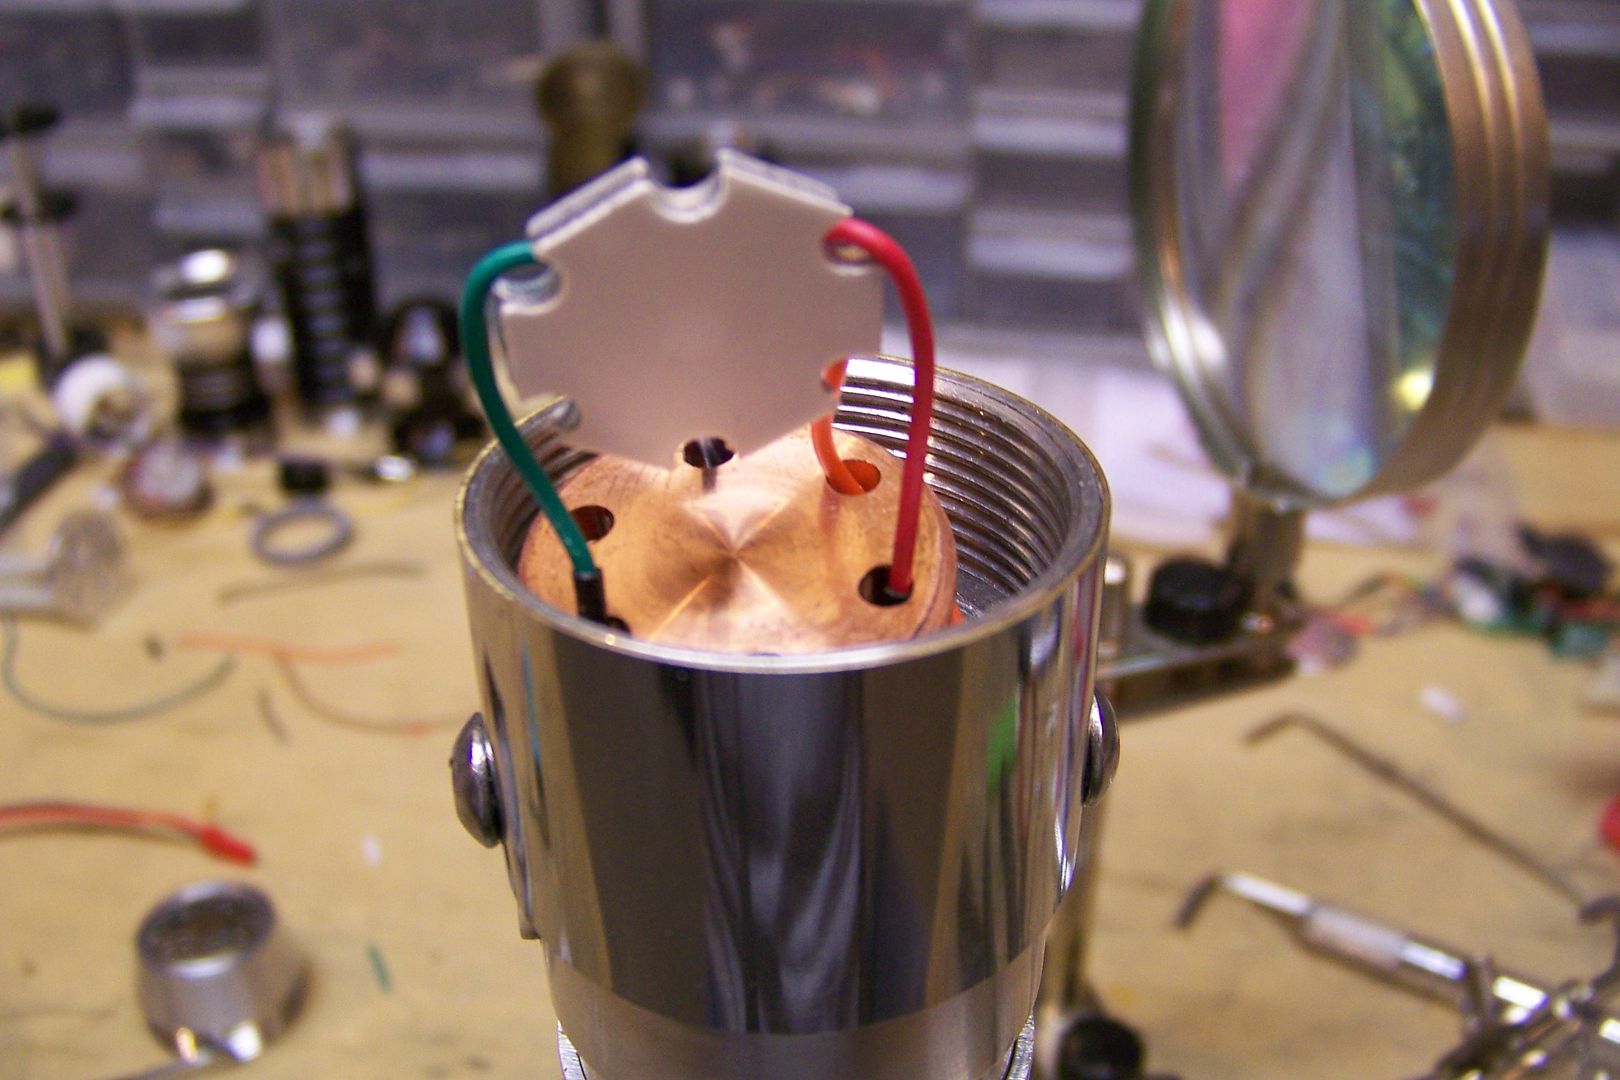
After getting the correct resistors in the mail yesterday, I made time this morning to wire up the led. This involved removing the front grip section and adding in resistors for the red, green and blue Cree XPE 2's. Once those were inline, I soldered up the led:
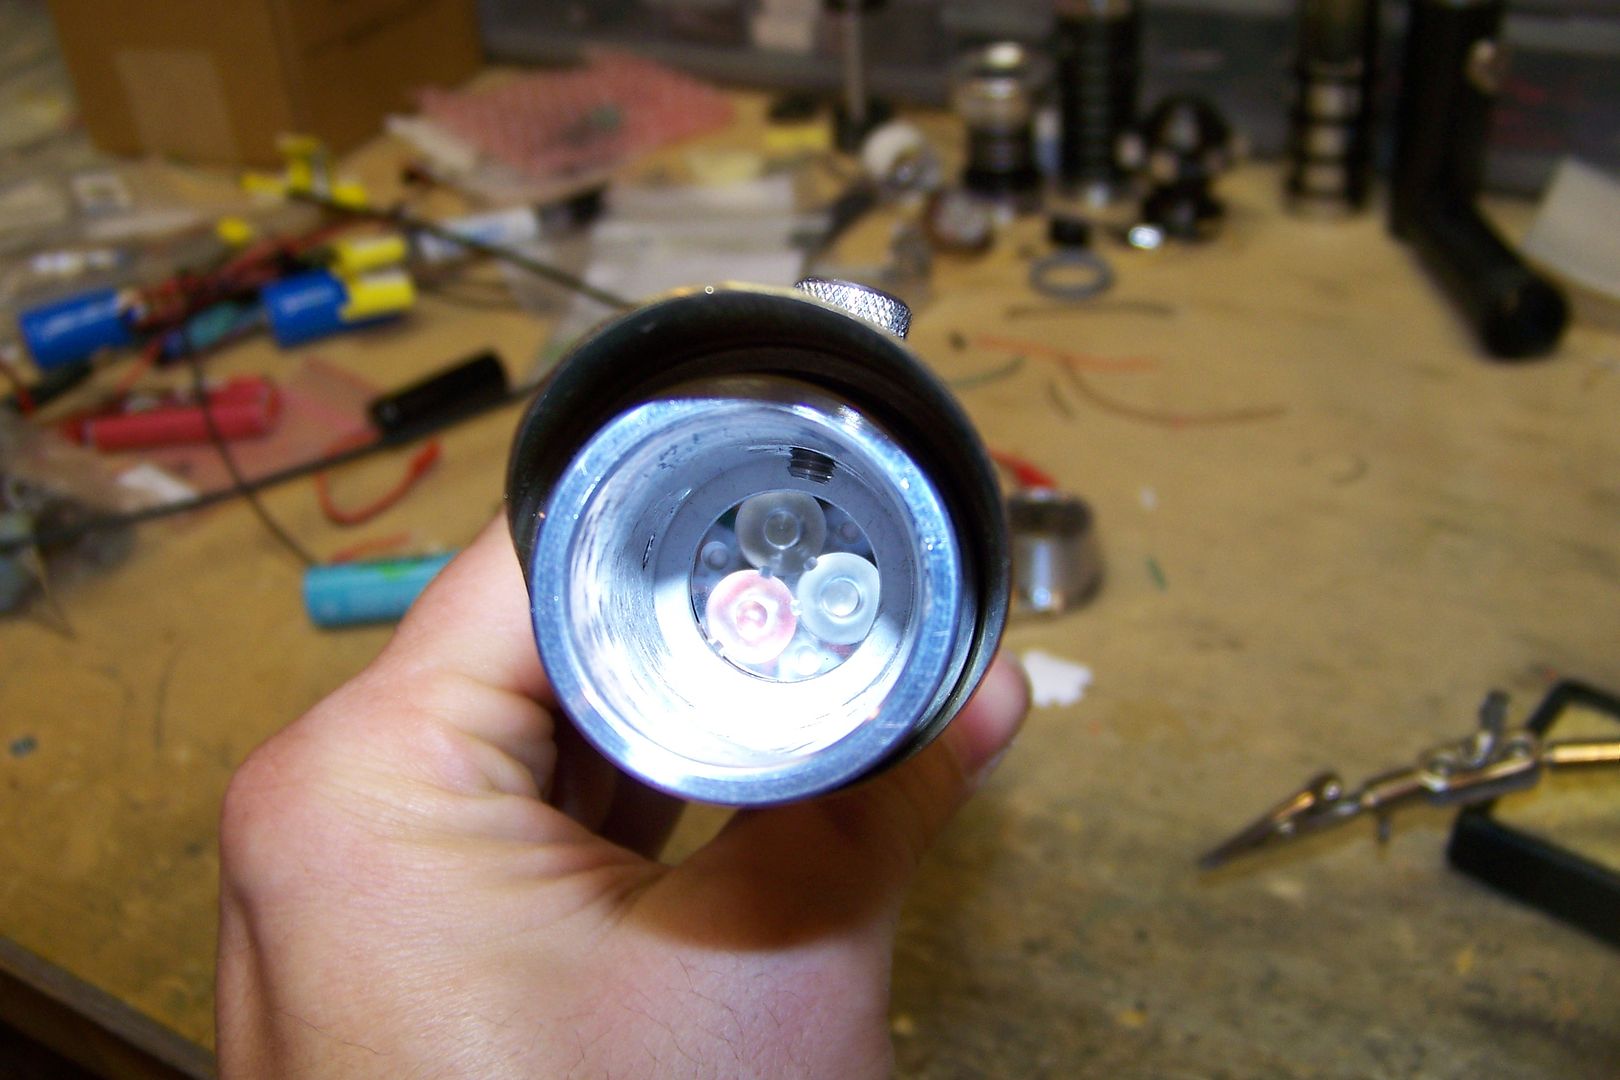
Before buttoning it up, I thought now would be a good time to check it to make sure it actually works. I plugged the battery and hit the activation switch:
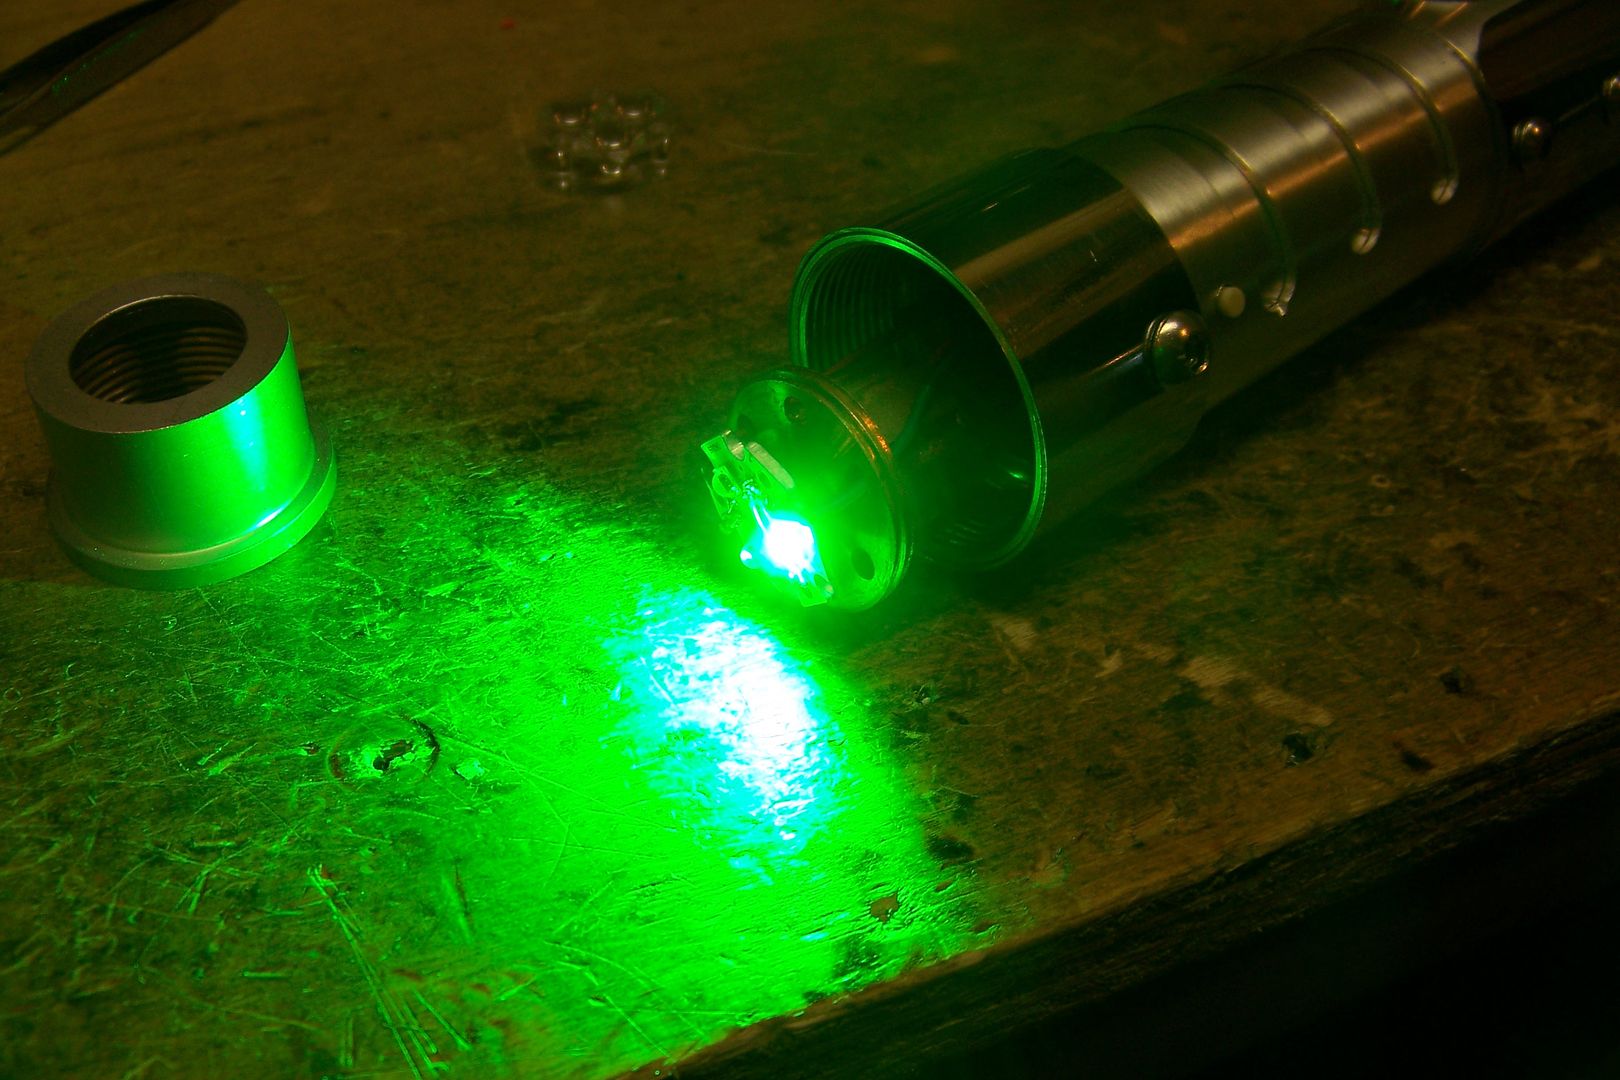
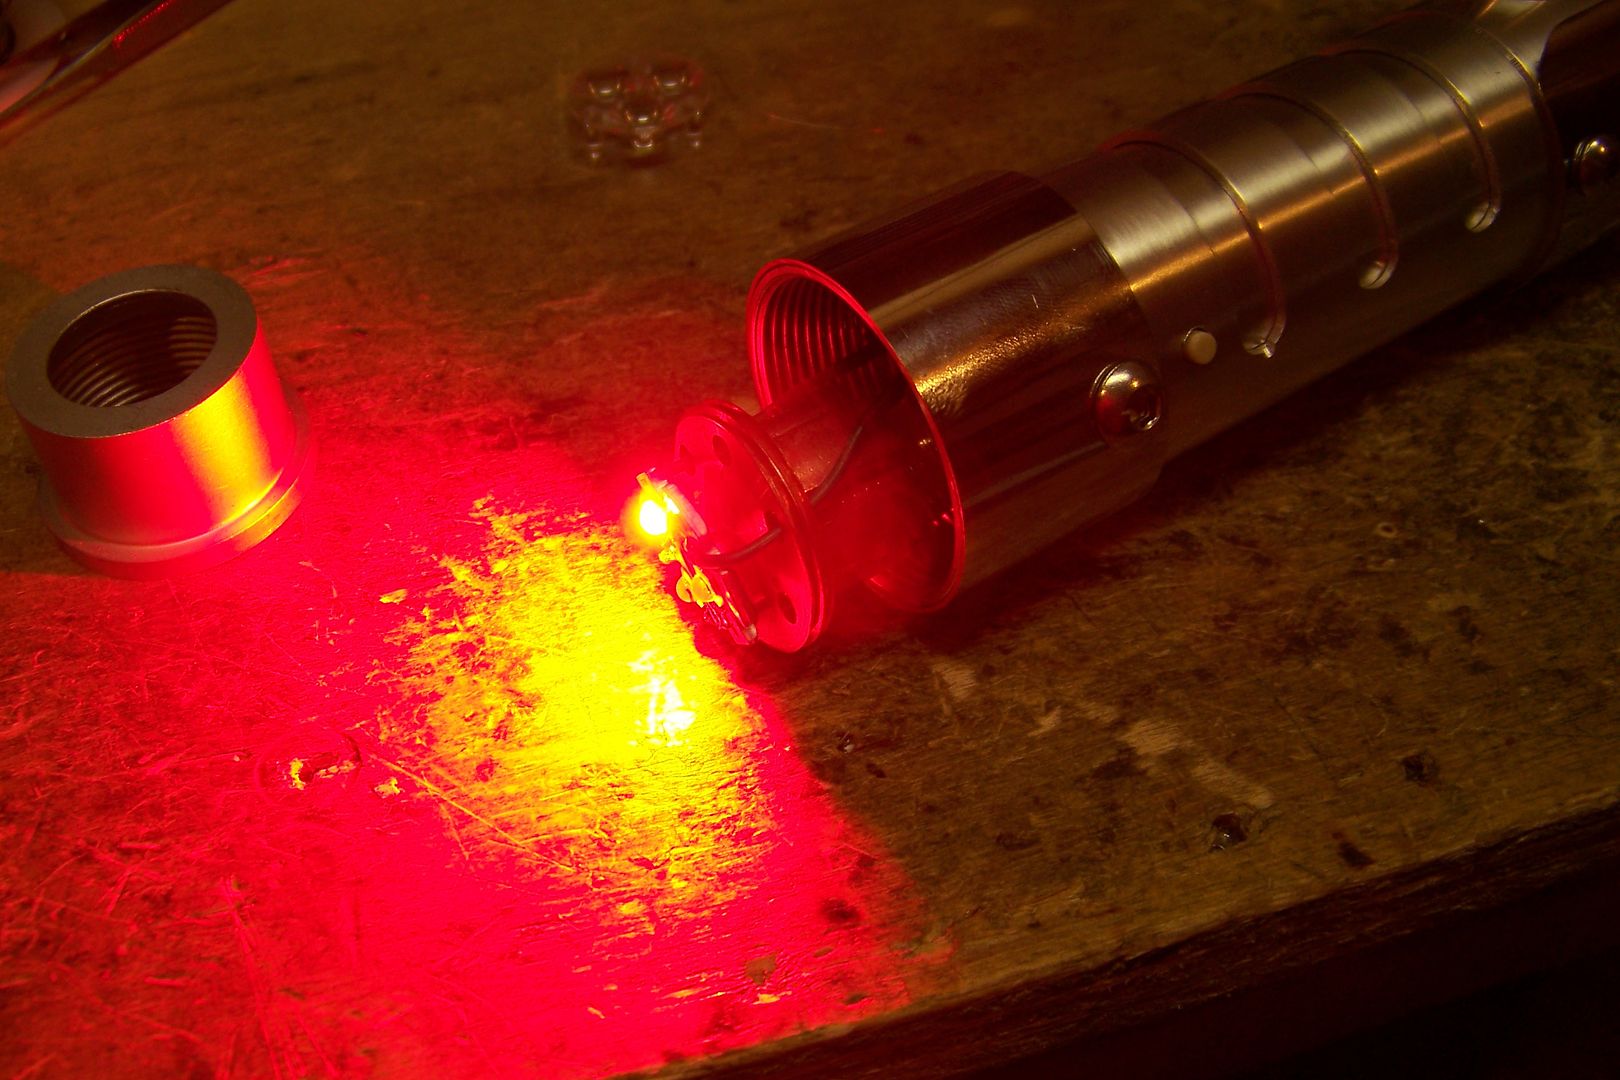
Then scrolled through the other colors by pressing both the Activation and aux switches at the same time:
Cool, all three colors lit up, and were pretty danged bright.
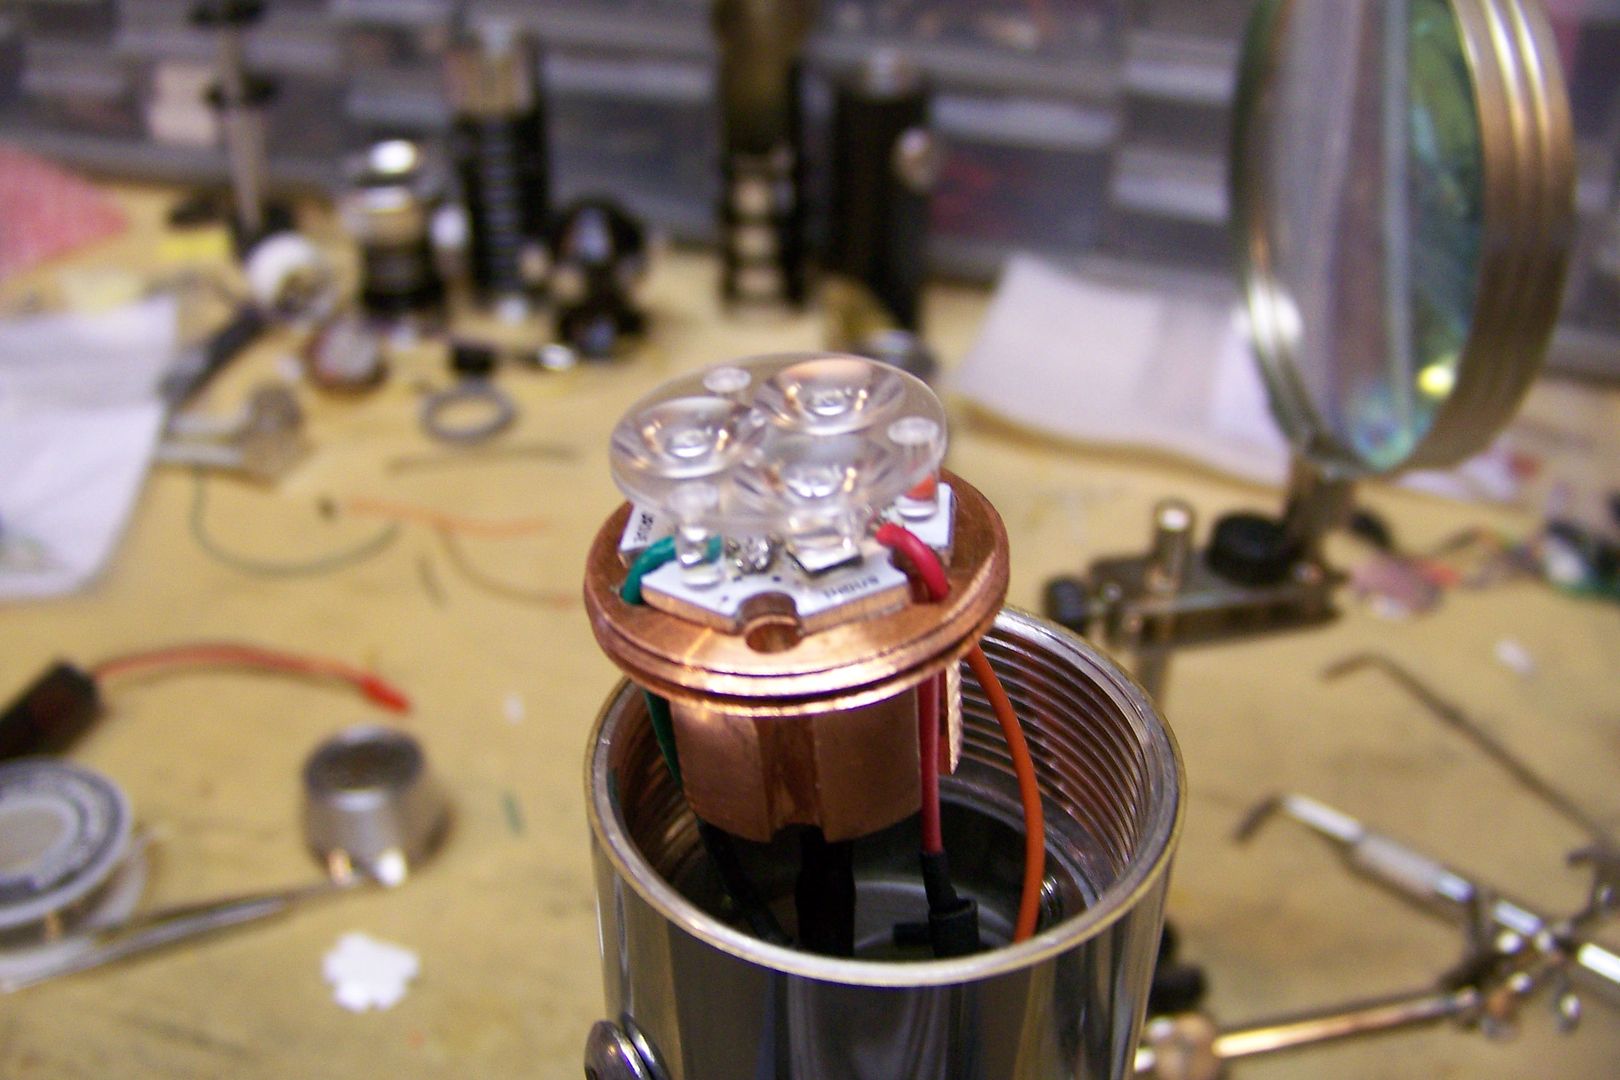
I added the adhesive pad to the back of the led. This not only helps with thermal transfer, but will also act as an electrical insulator for the led:
After some tedious moments peeling off the backing paper on the pad, I stuck the star to the heat sink:
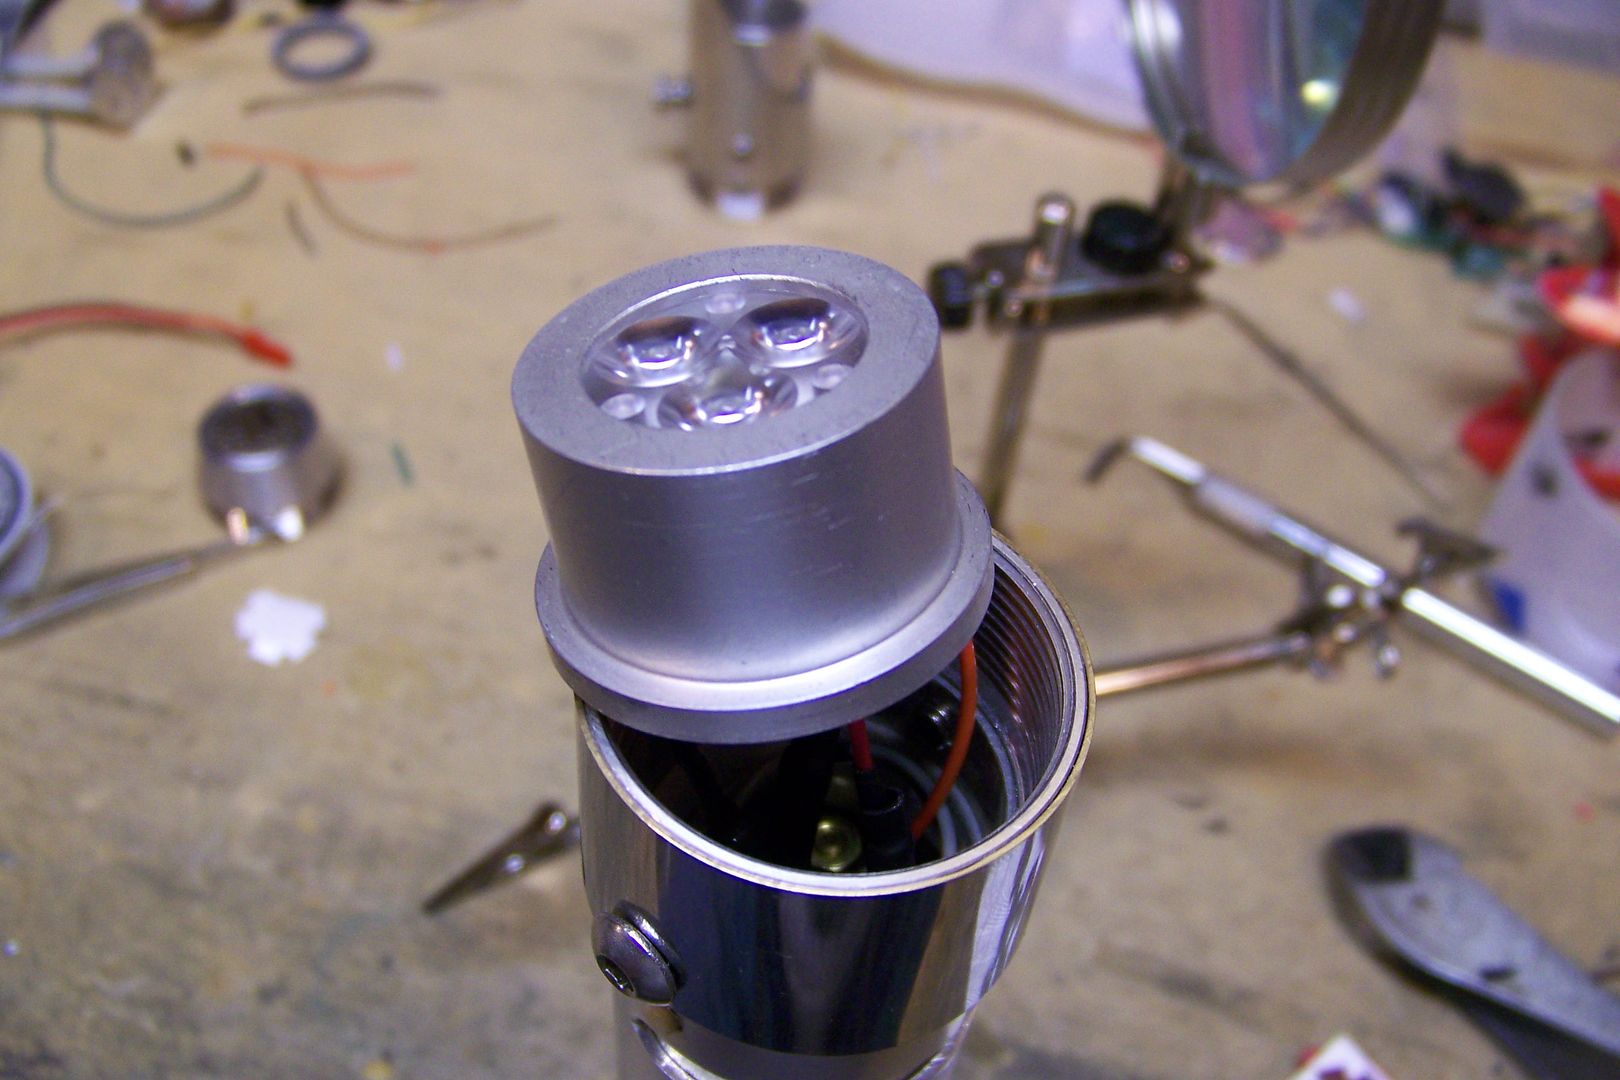
Added the lens:
Then screwed the heat sink cover/cap into place:
Then screwed the blade holder back onto the hilt:
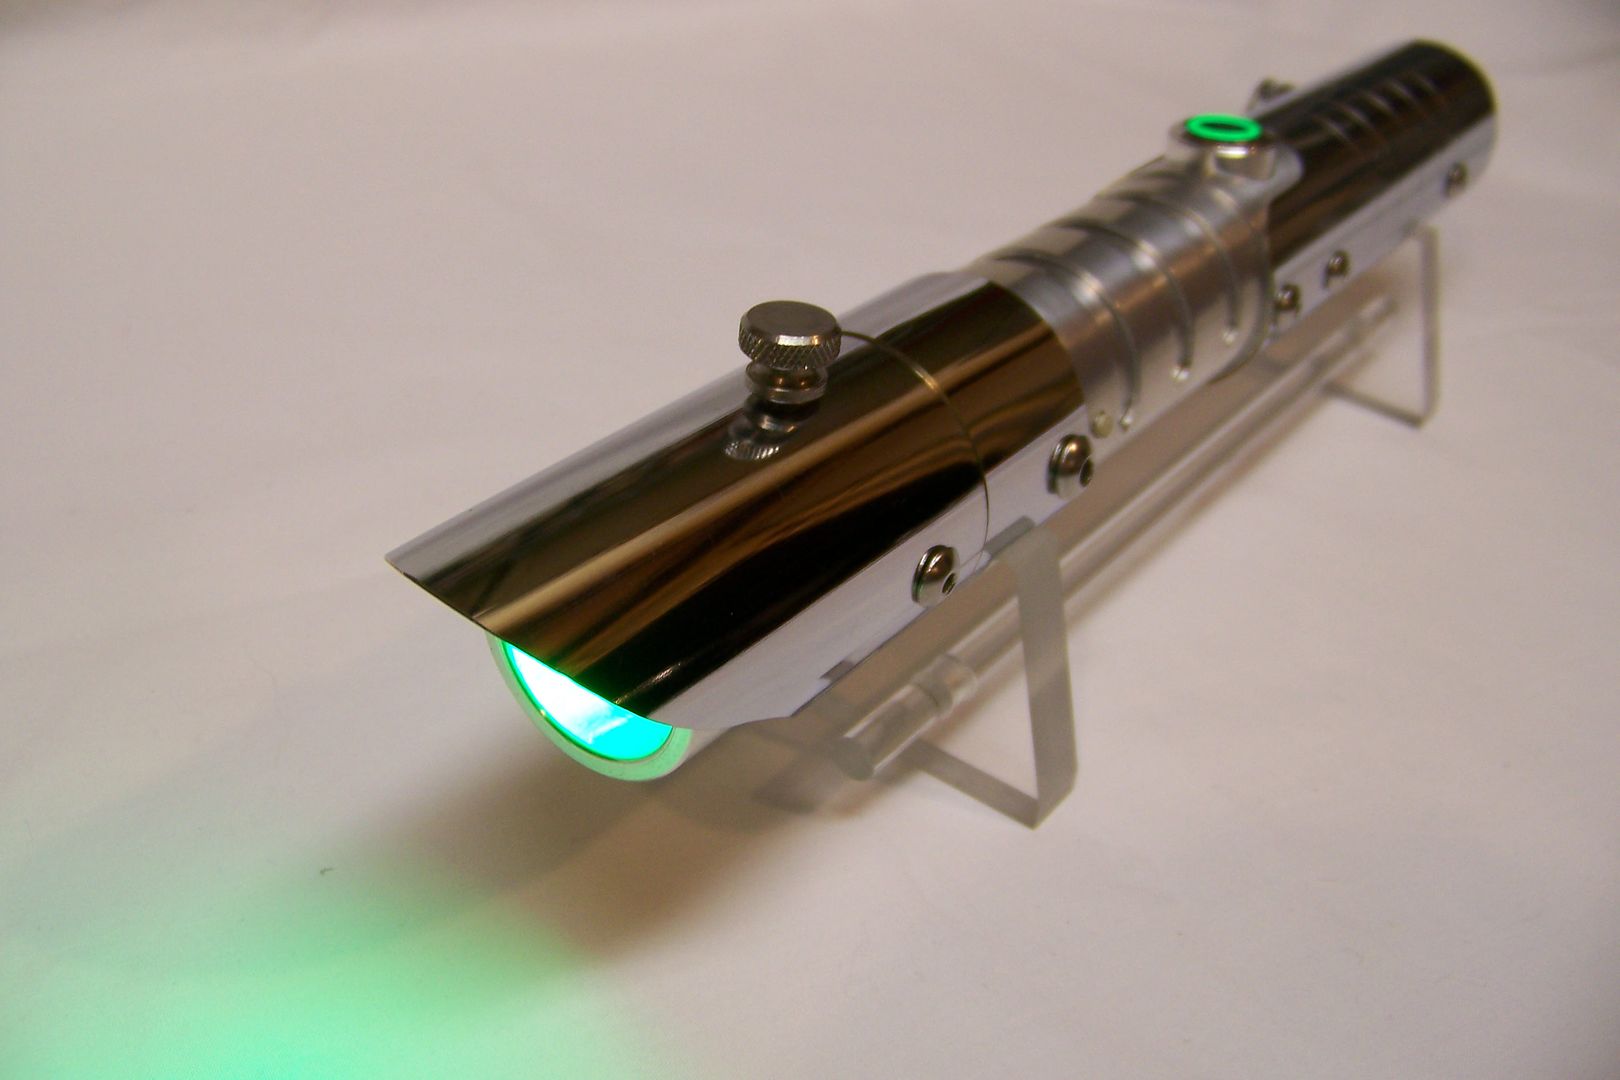
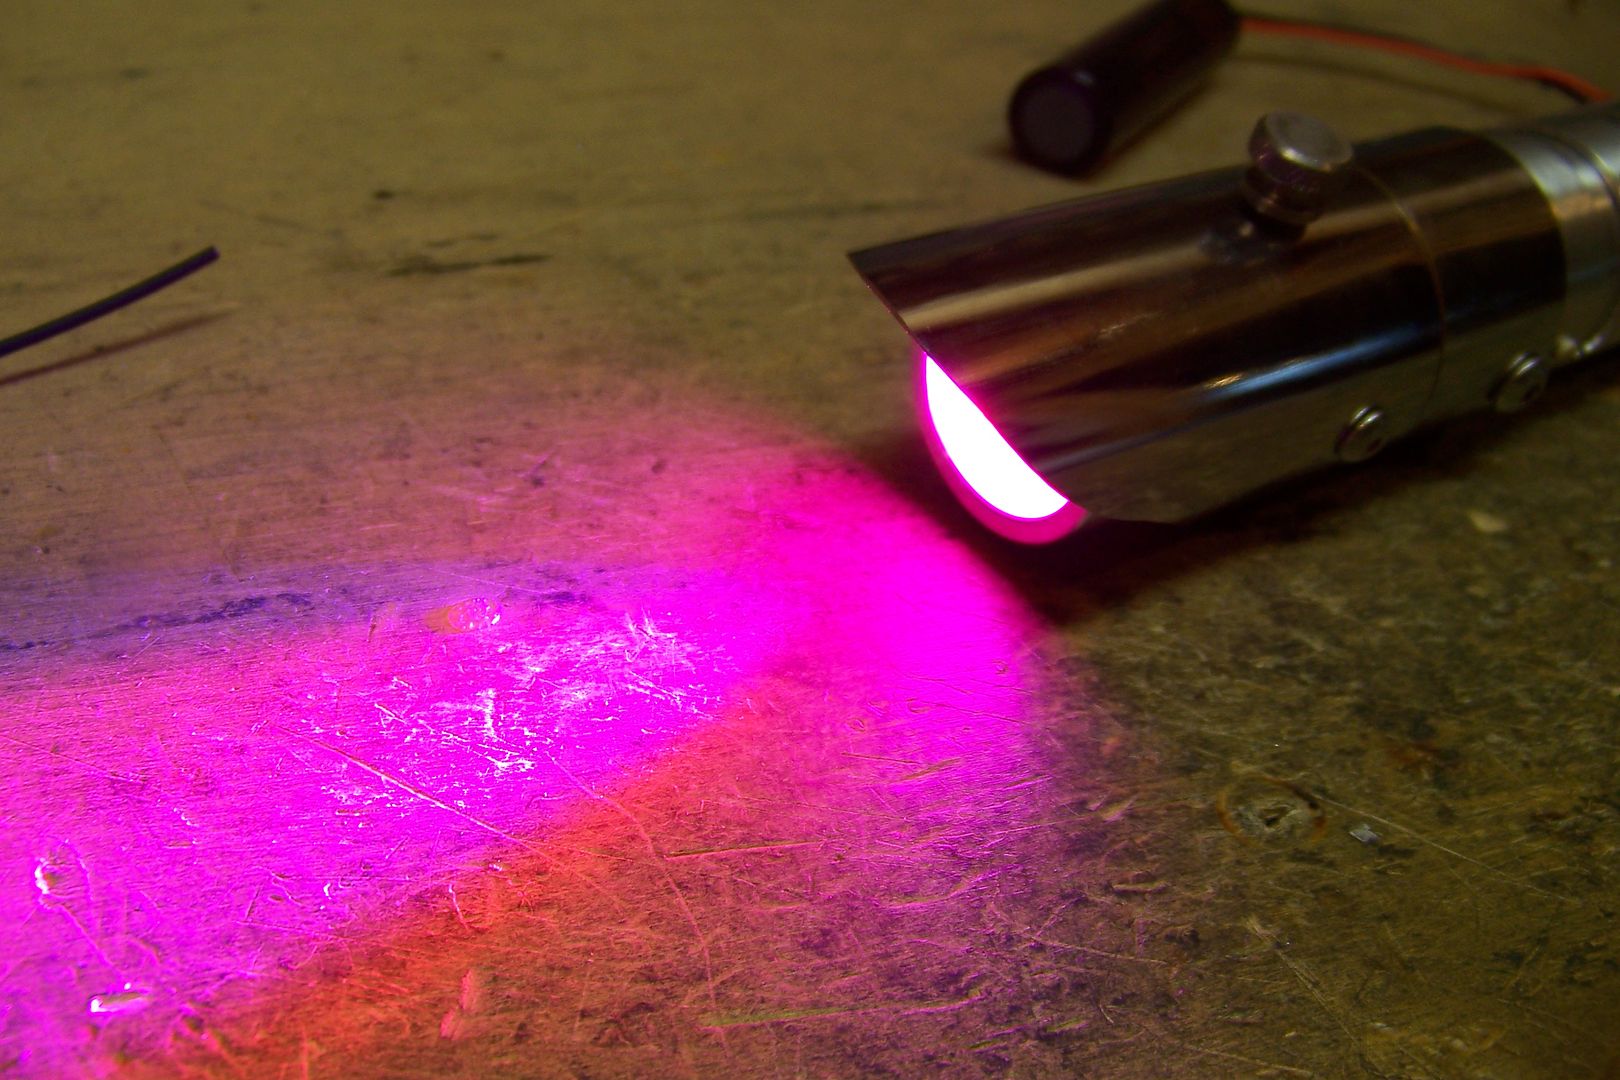
All set for the first completed fire up:
It's alive!!!
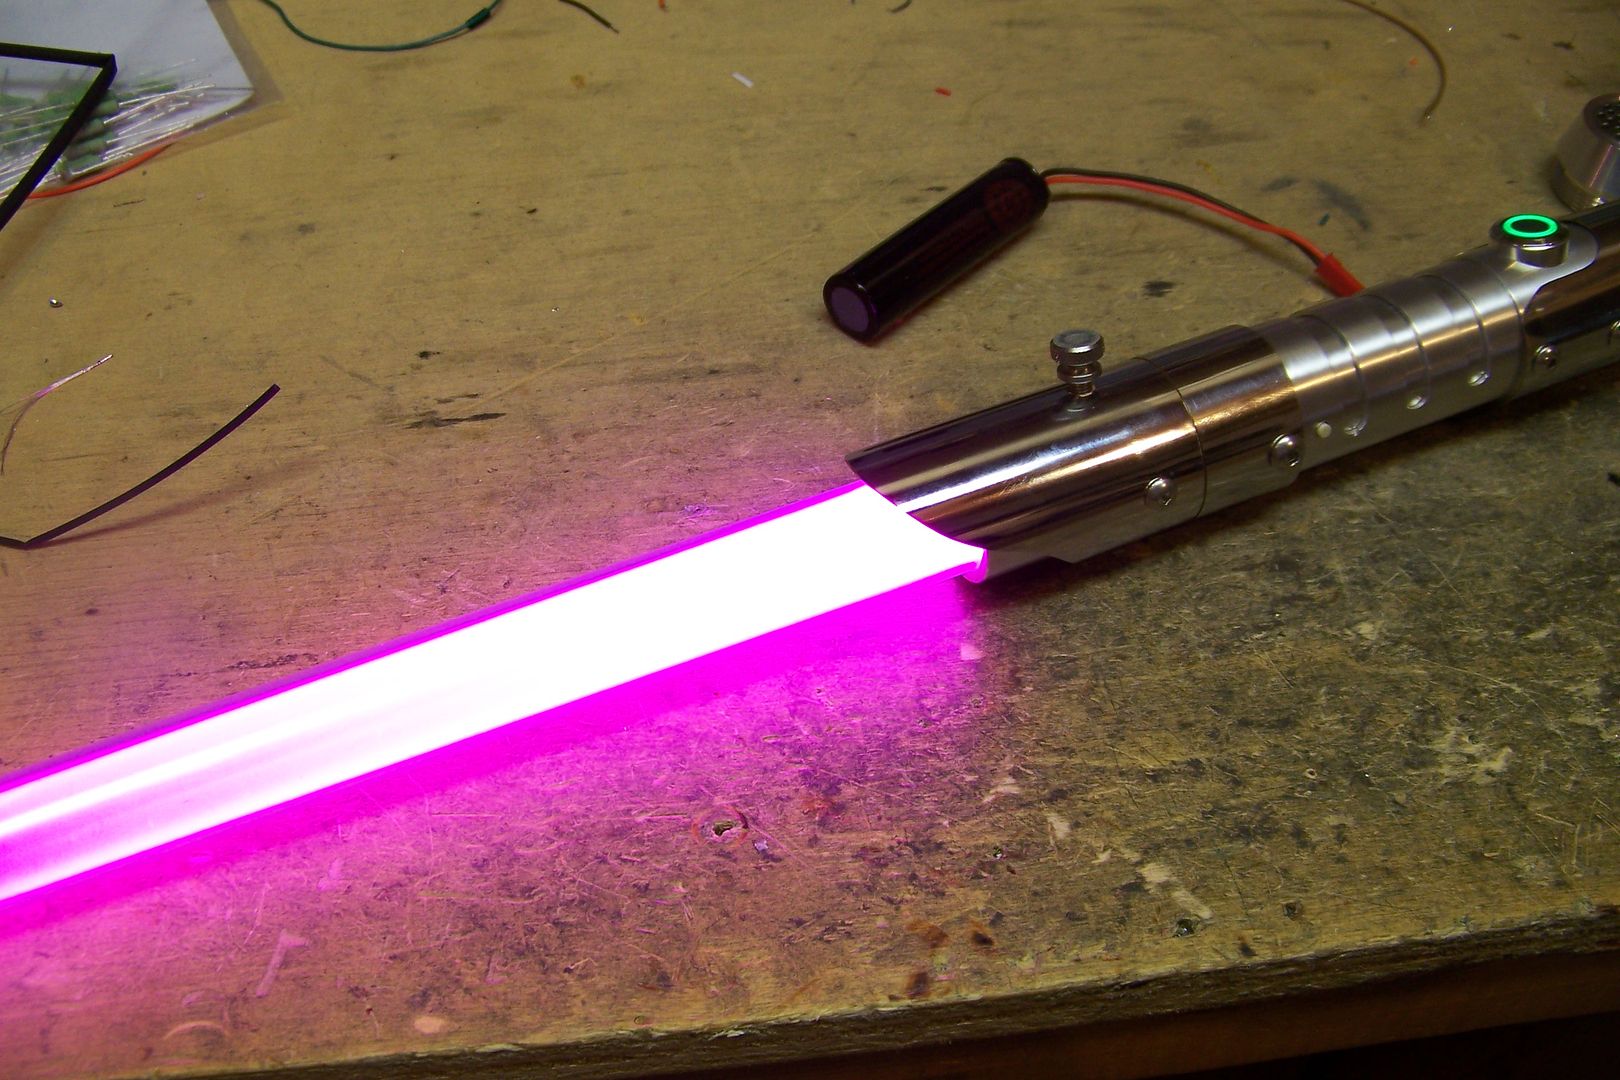
I added one of my blades:
and scrolled through the default colors:
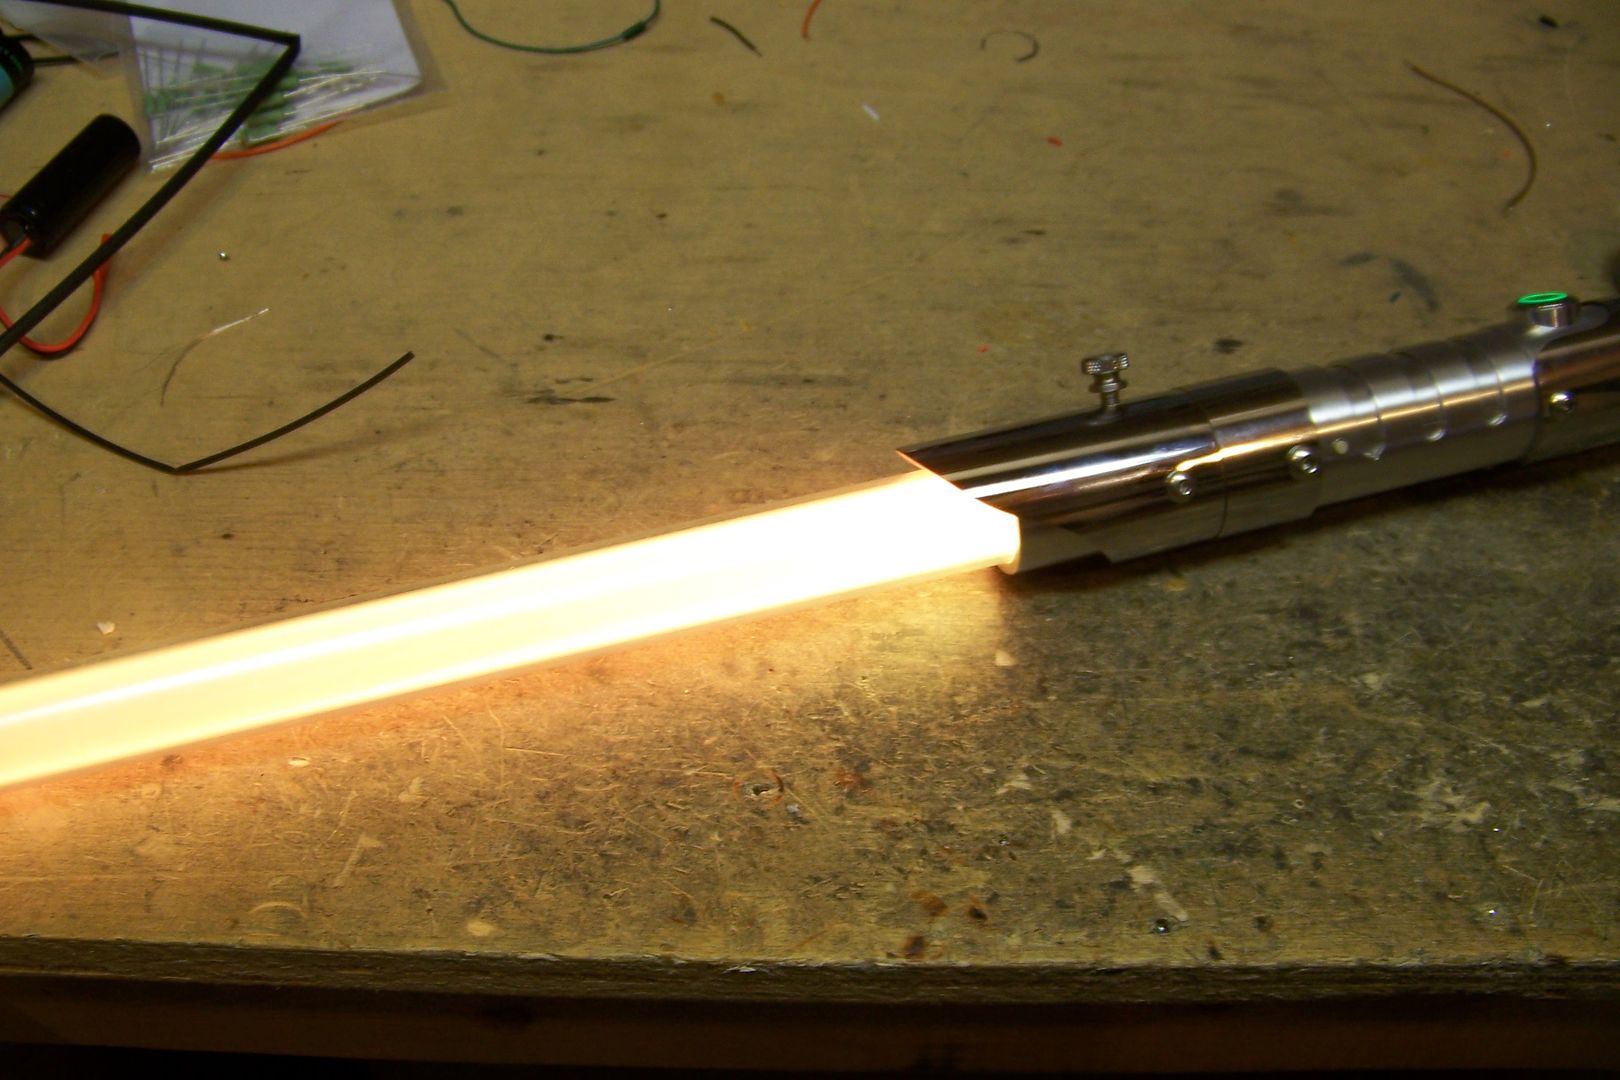
Orange...
Yellow...
Green...
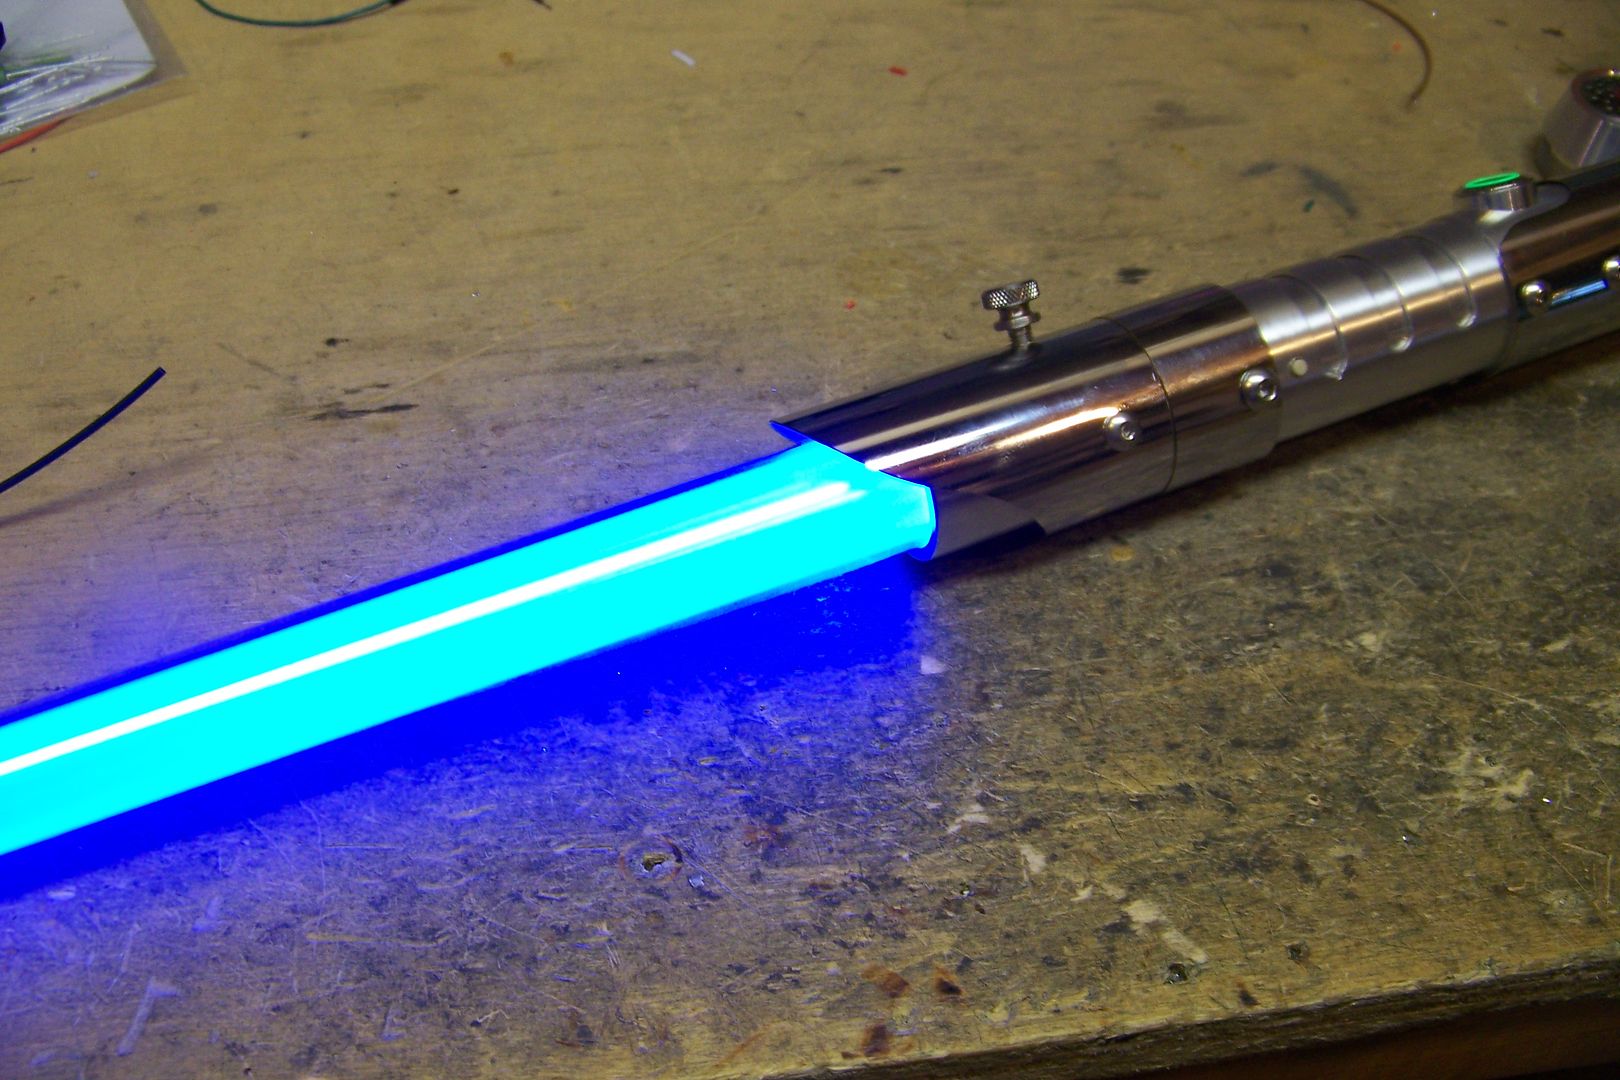
Blue...
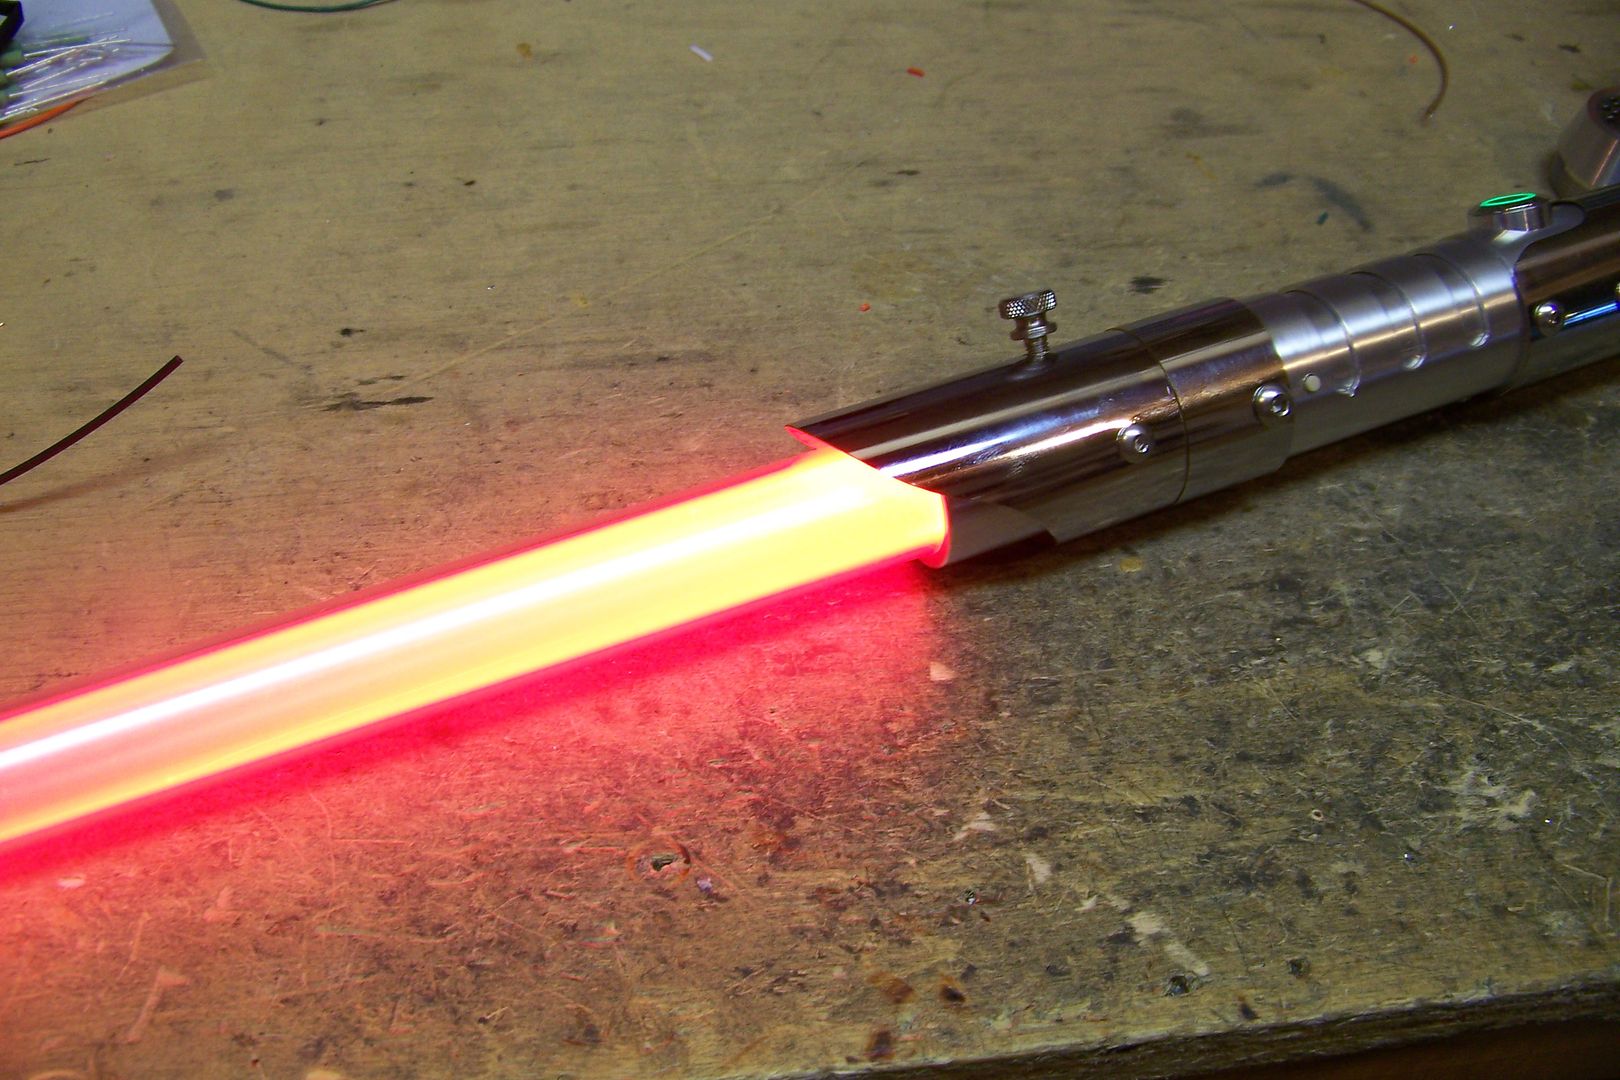
Red...
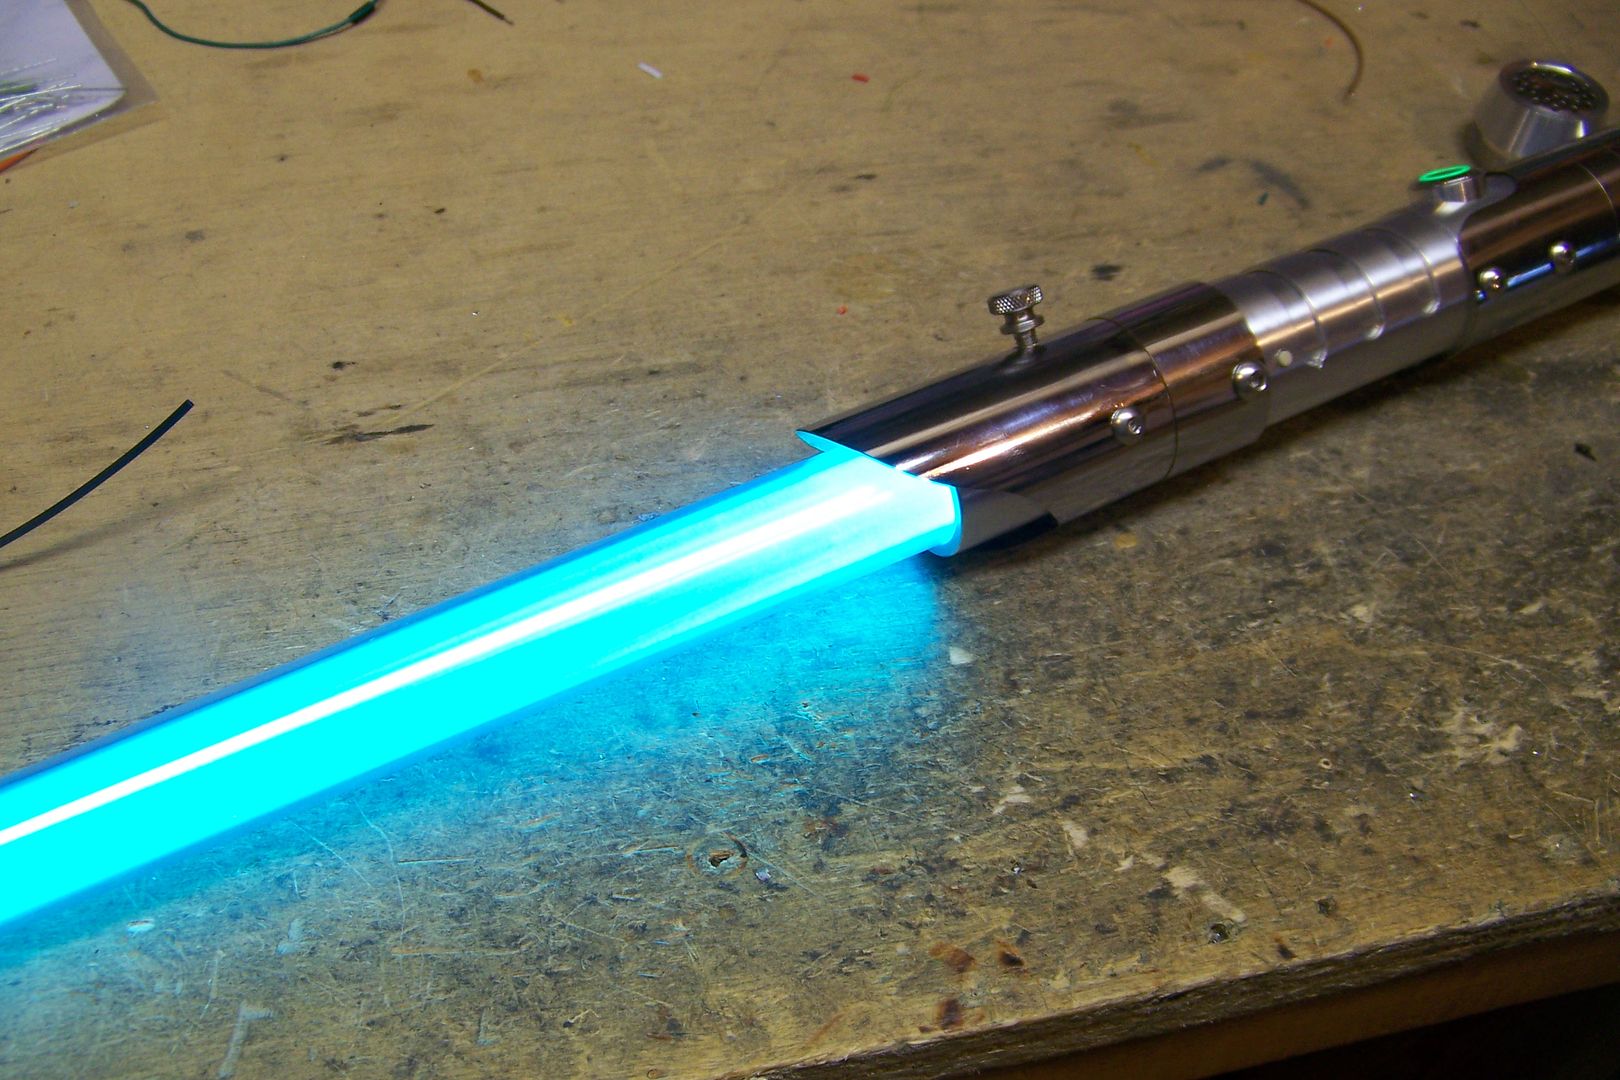
Bright blue/teal...
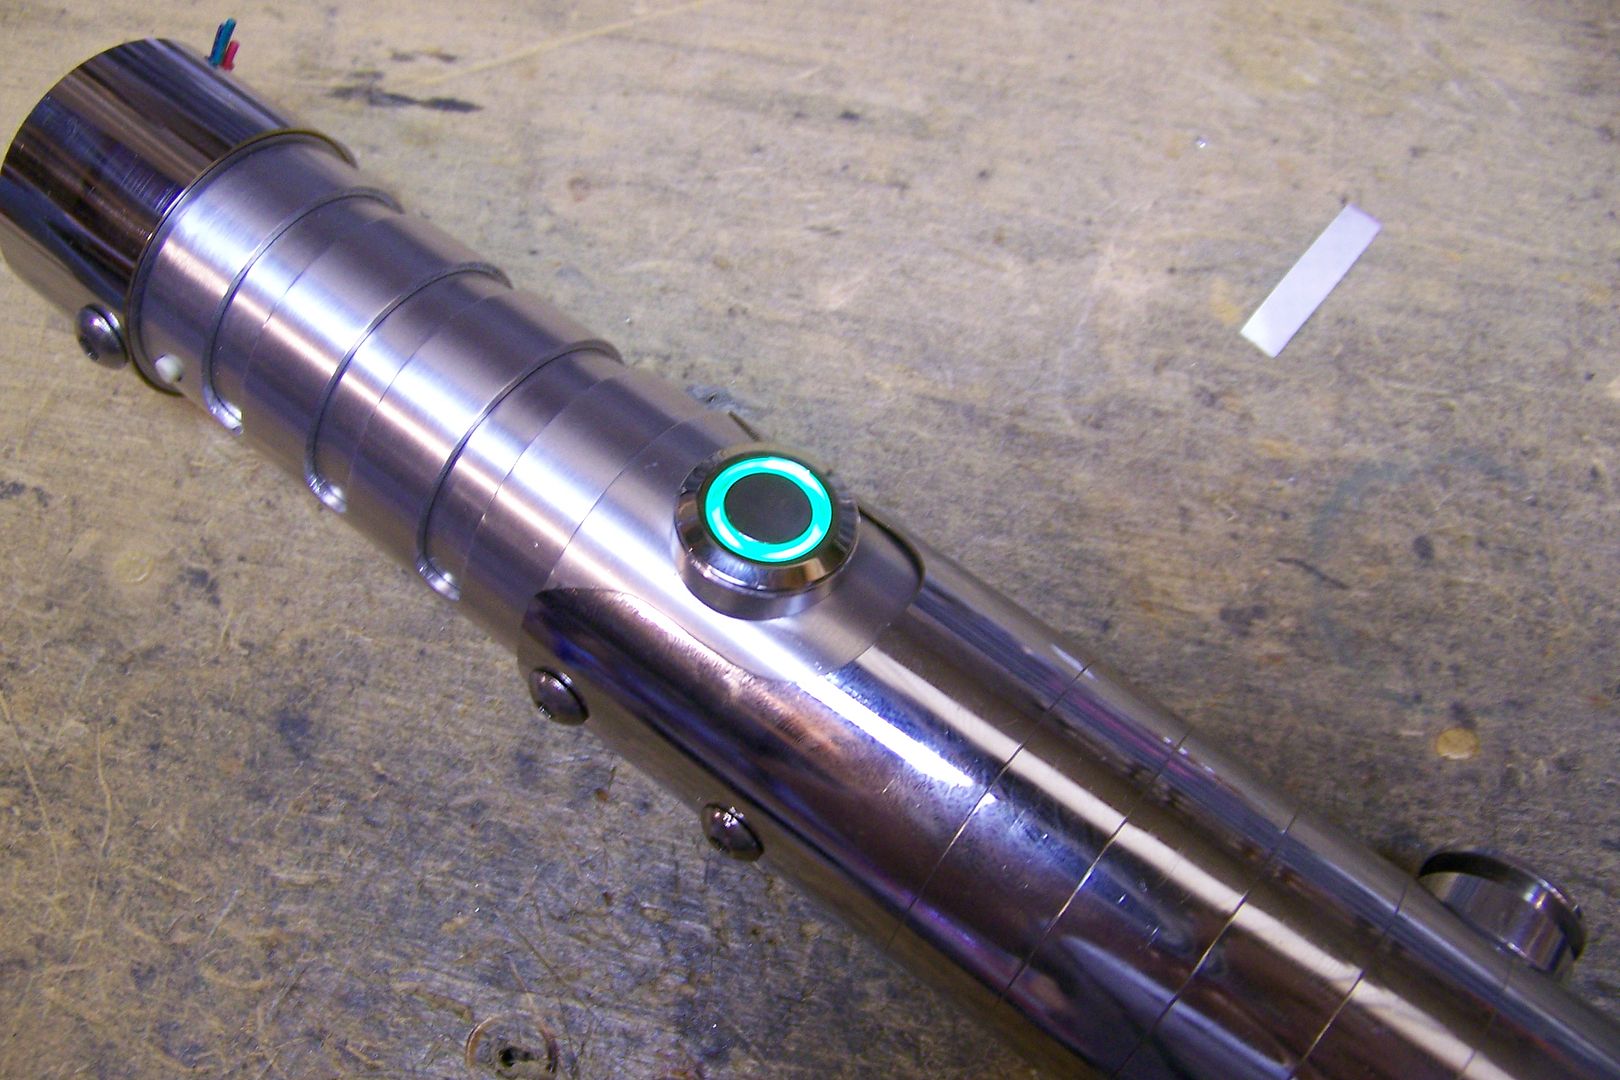
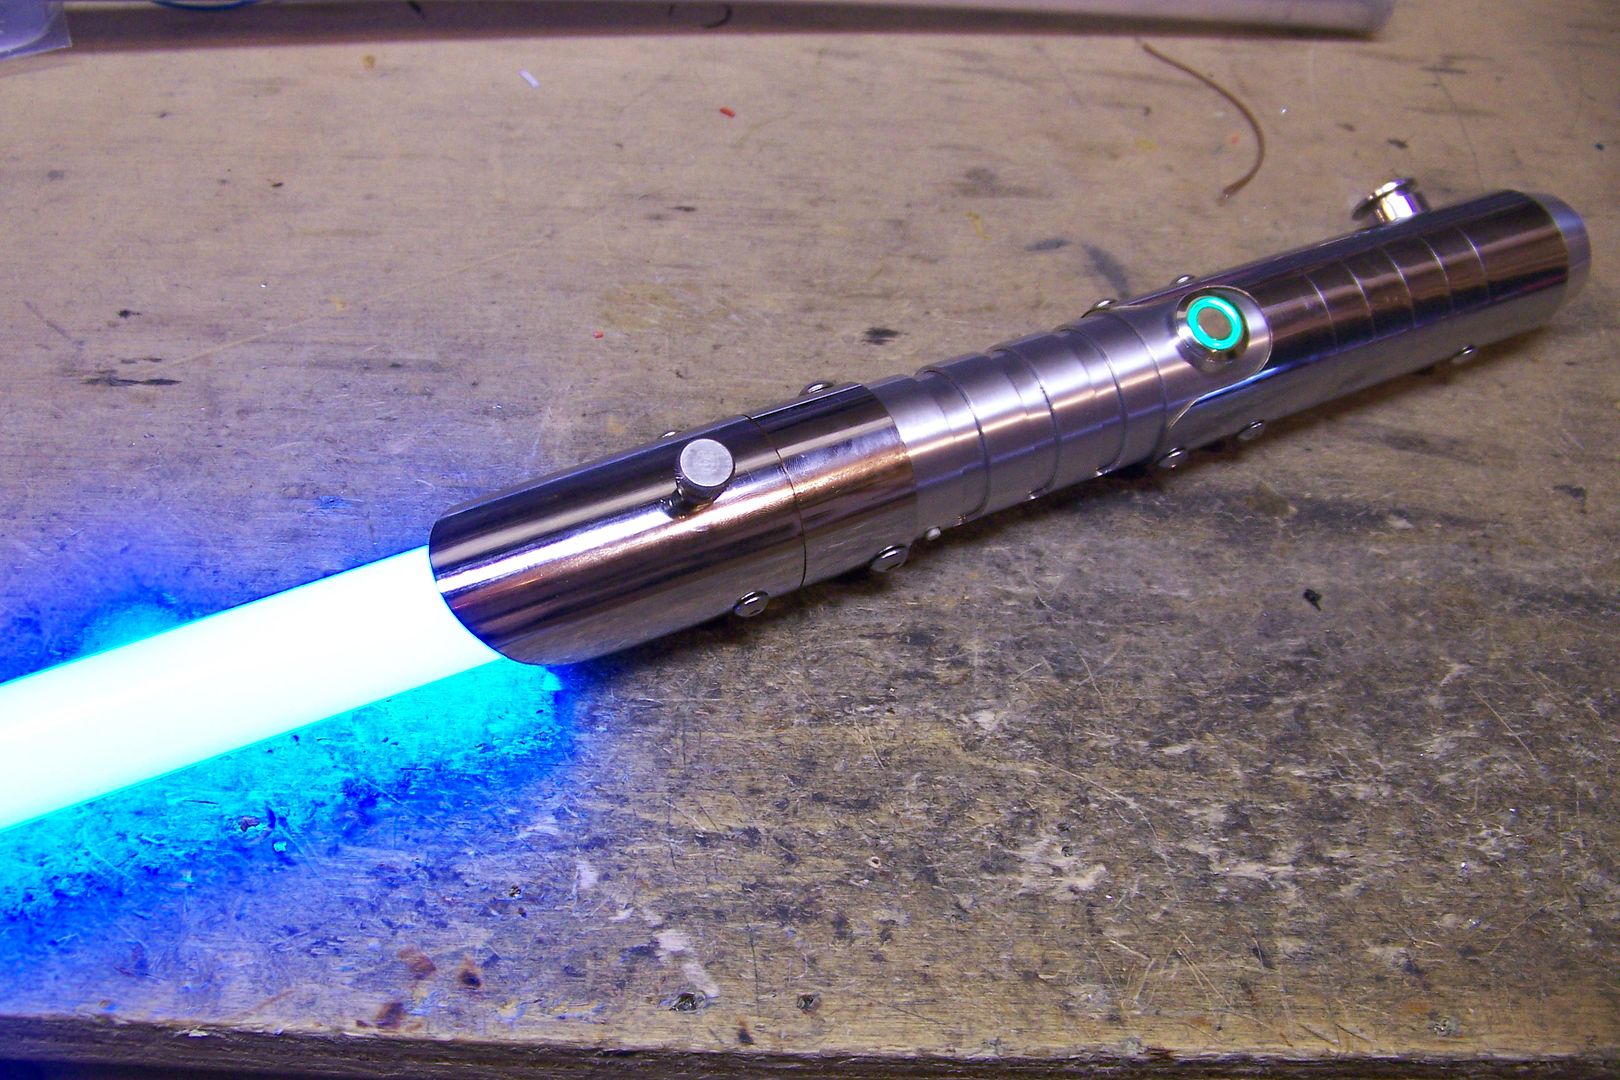
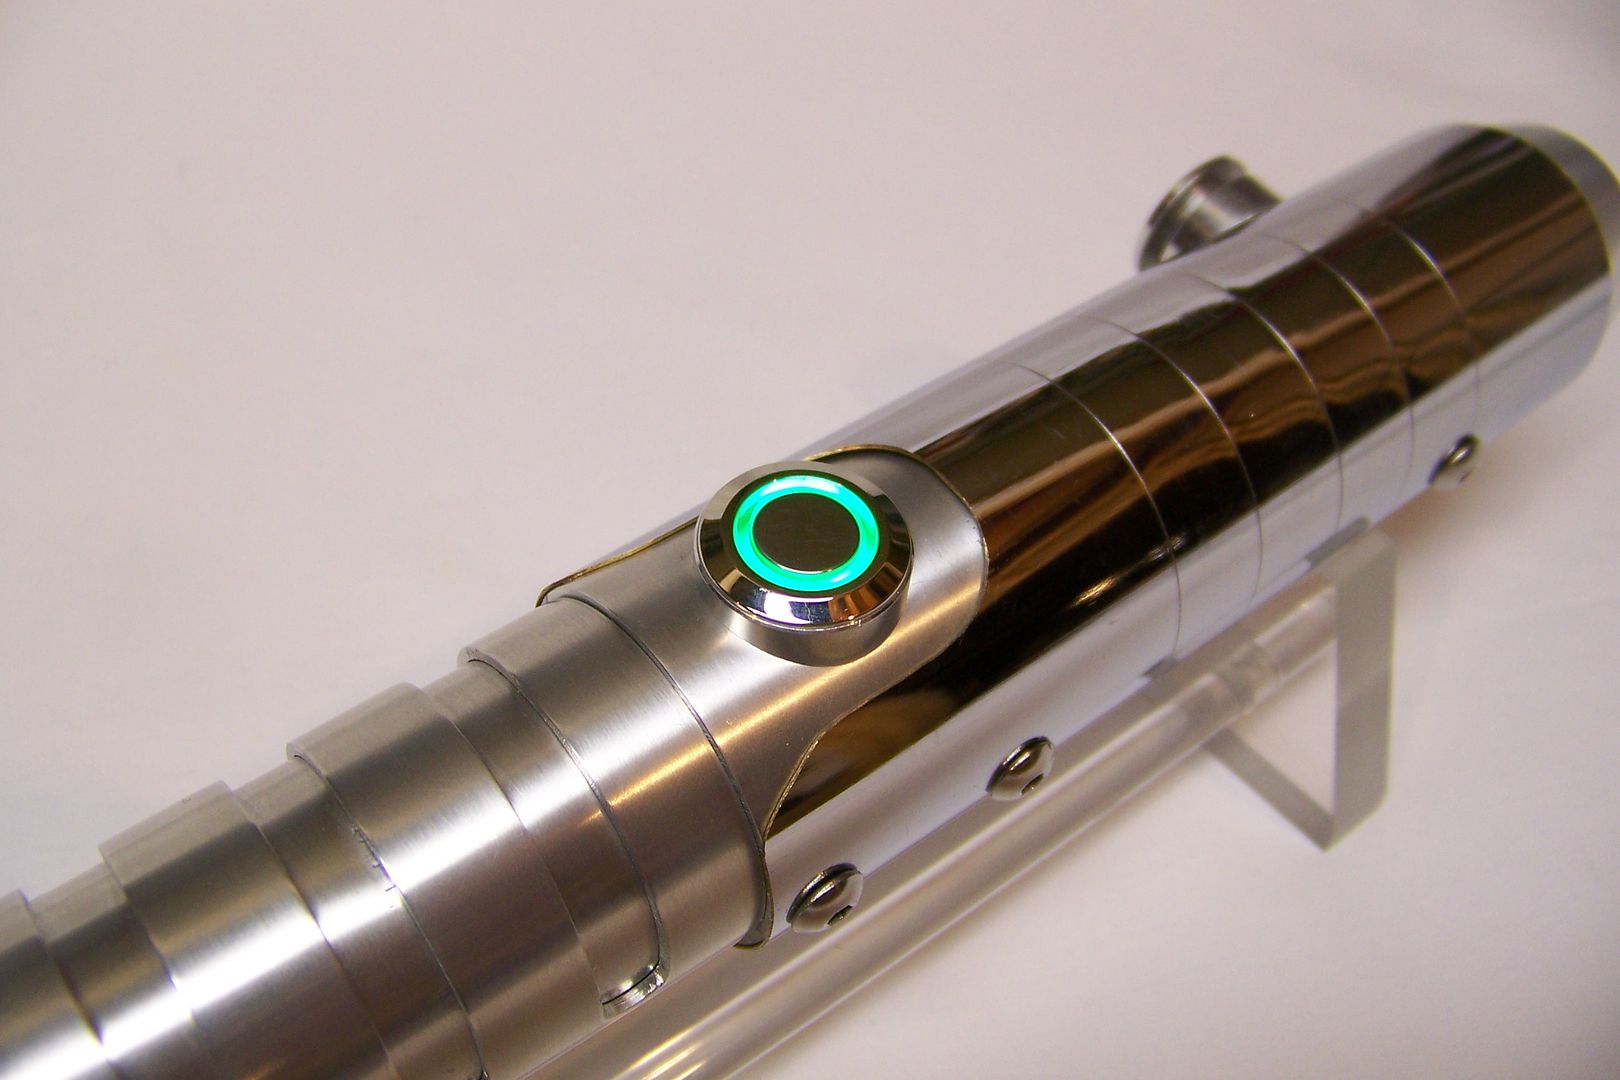
The switch led also works as intended, and is also nice and bright:
Finished Final Pics coming up in a few minutes.)
Got a question? Start Here. Have you tried the Thread Index yet? Most questions can be answered there.
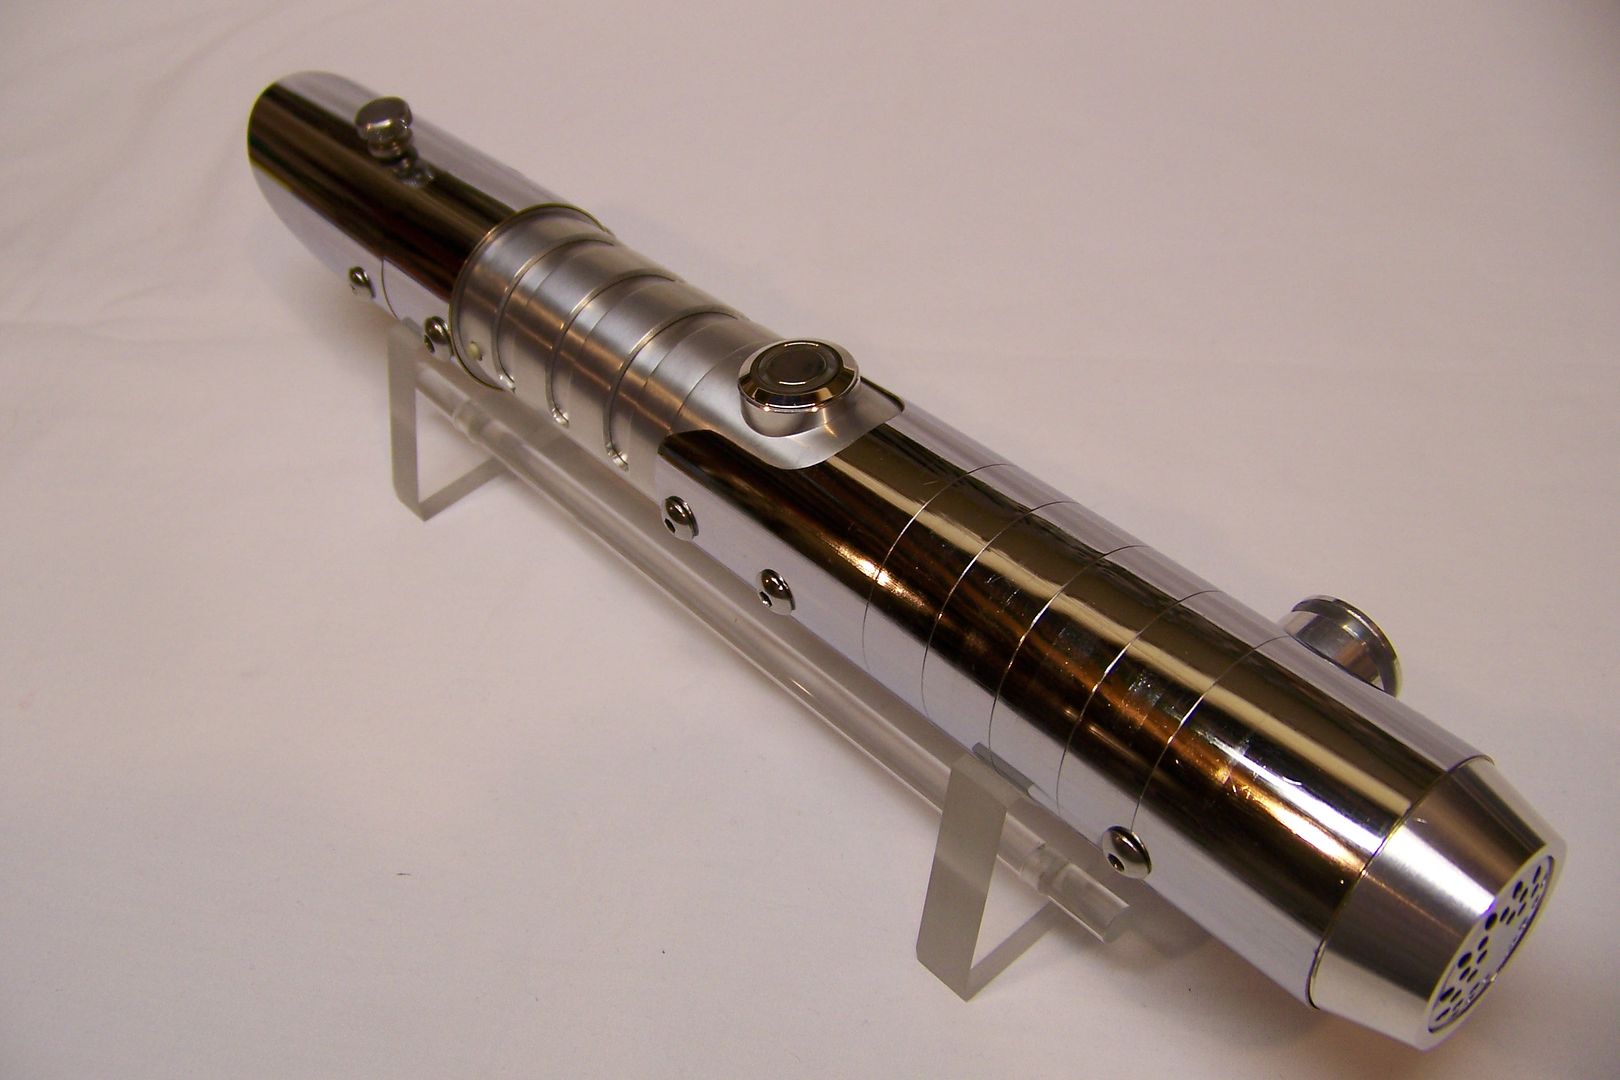
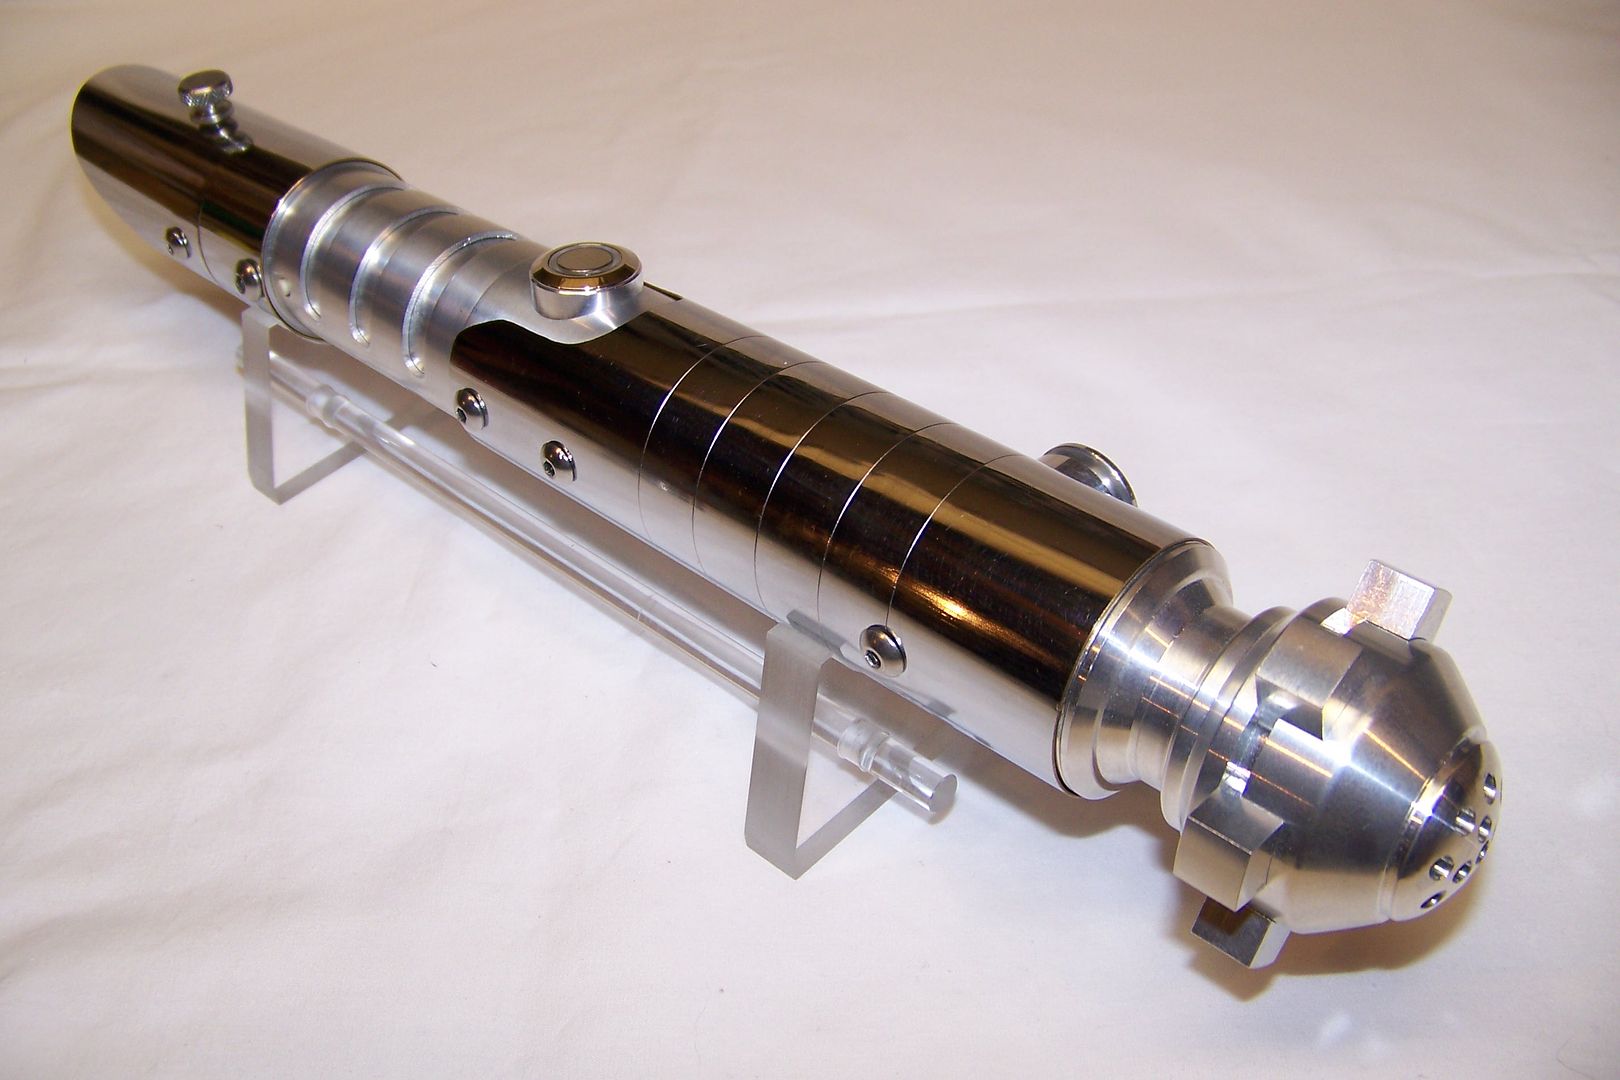
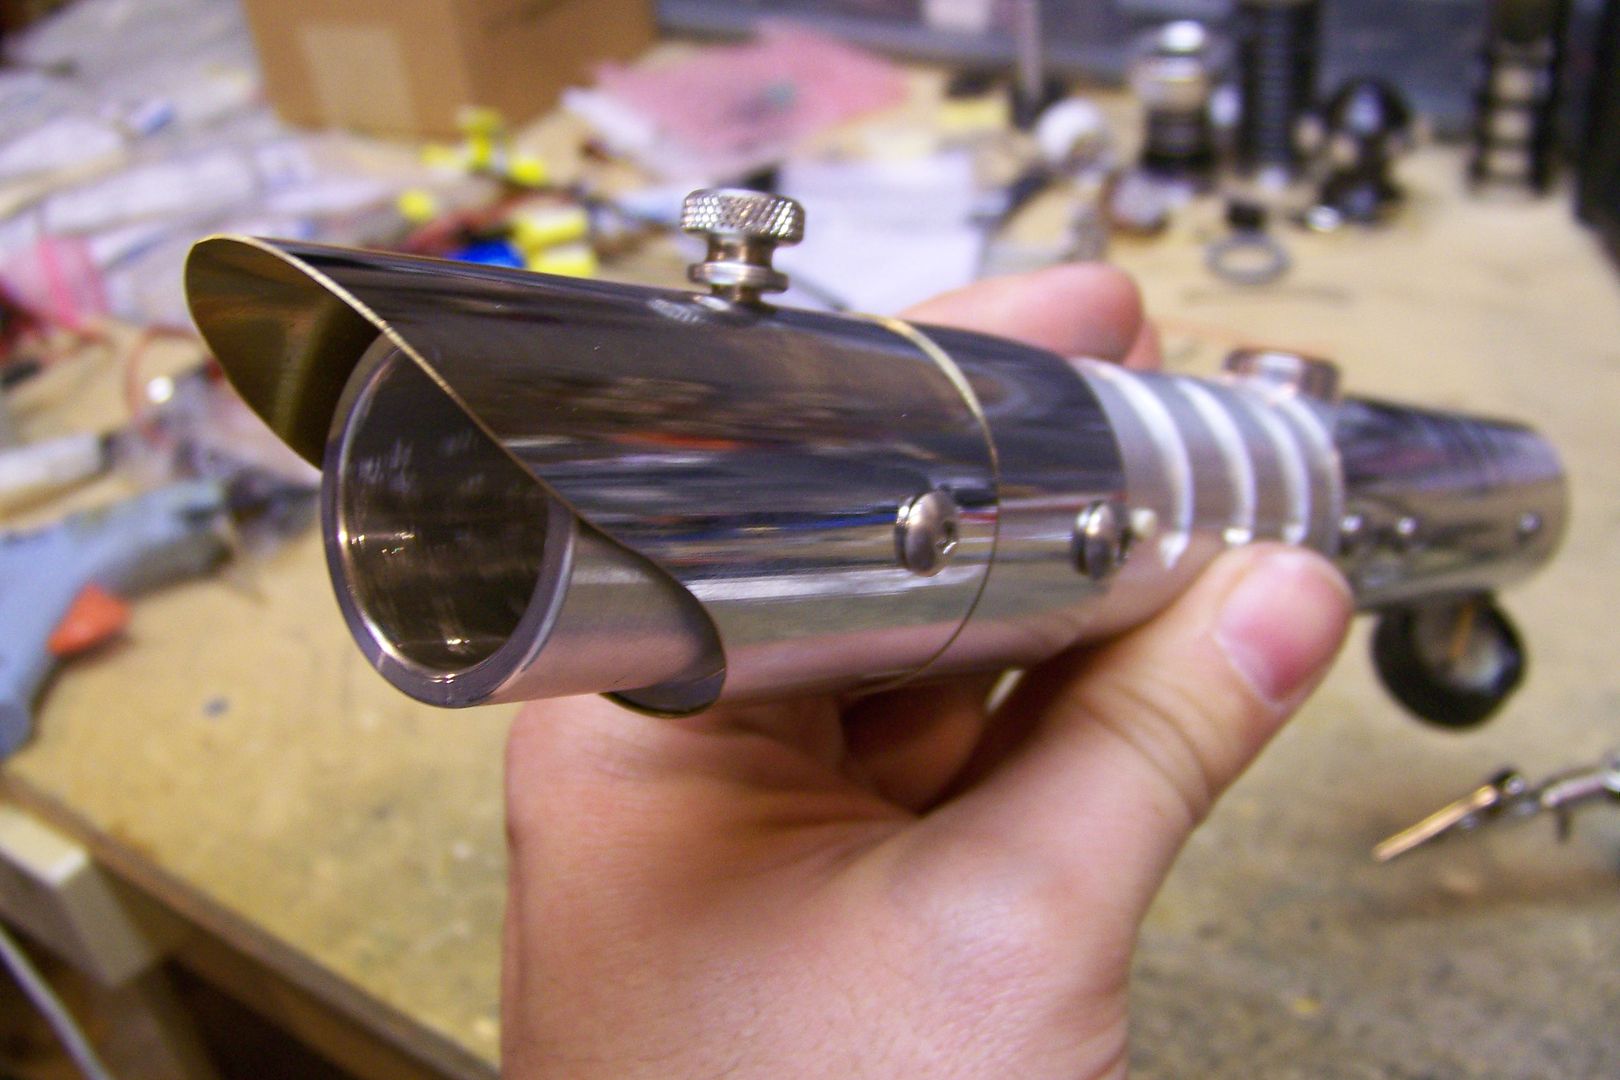
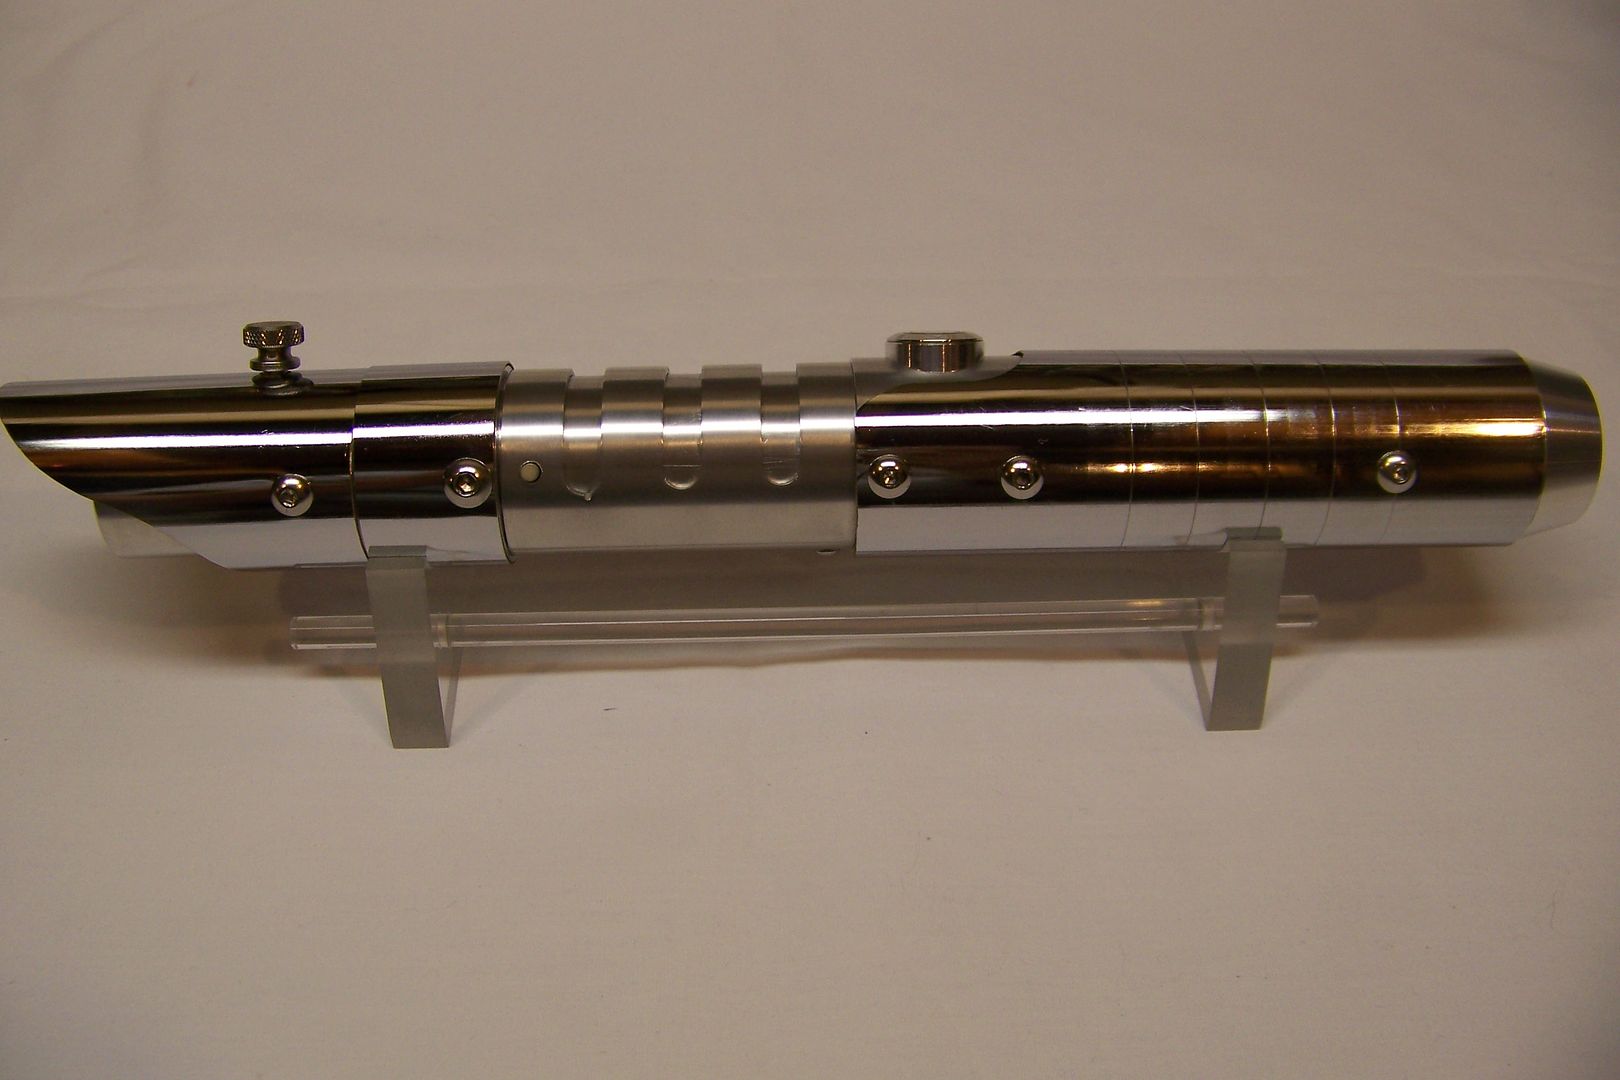
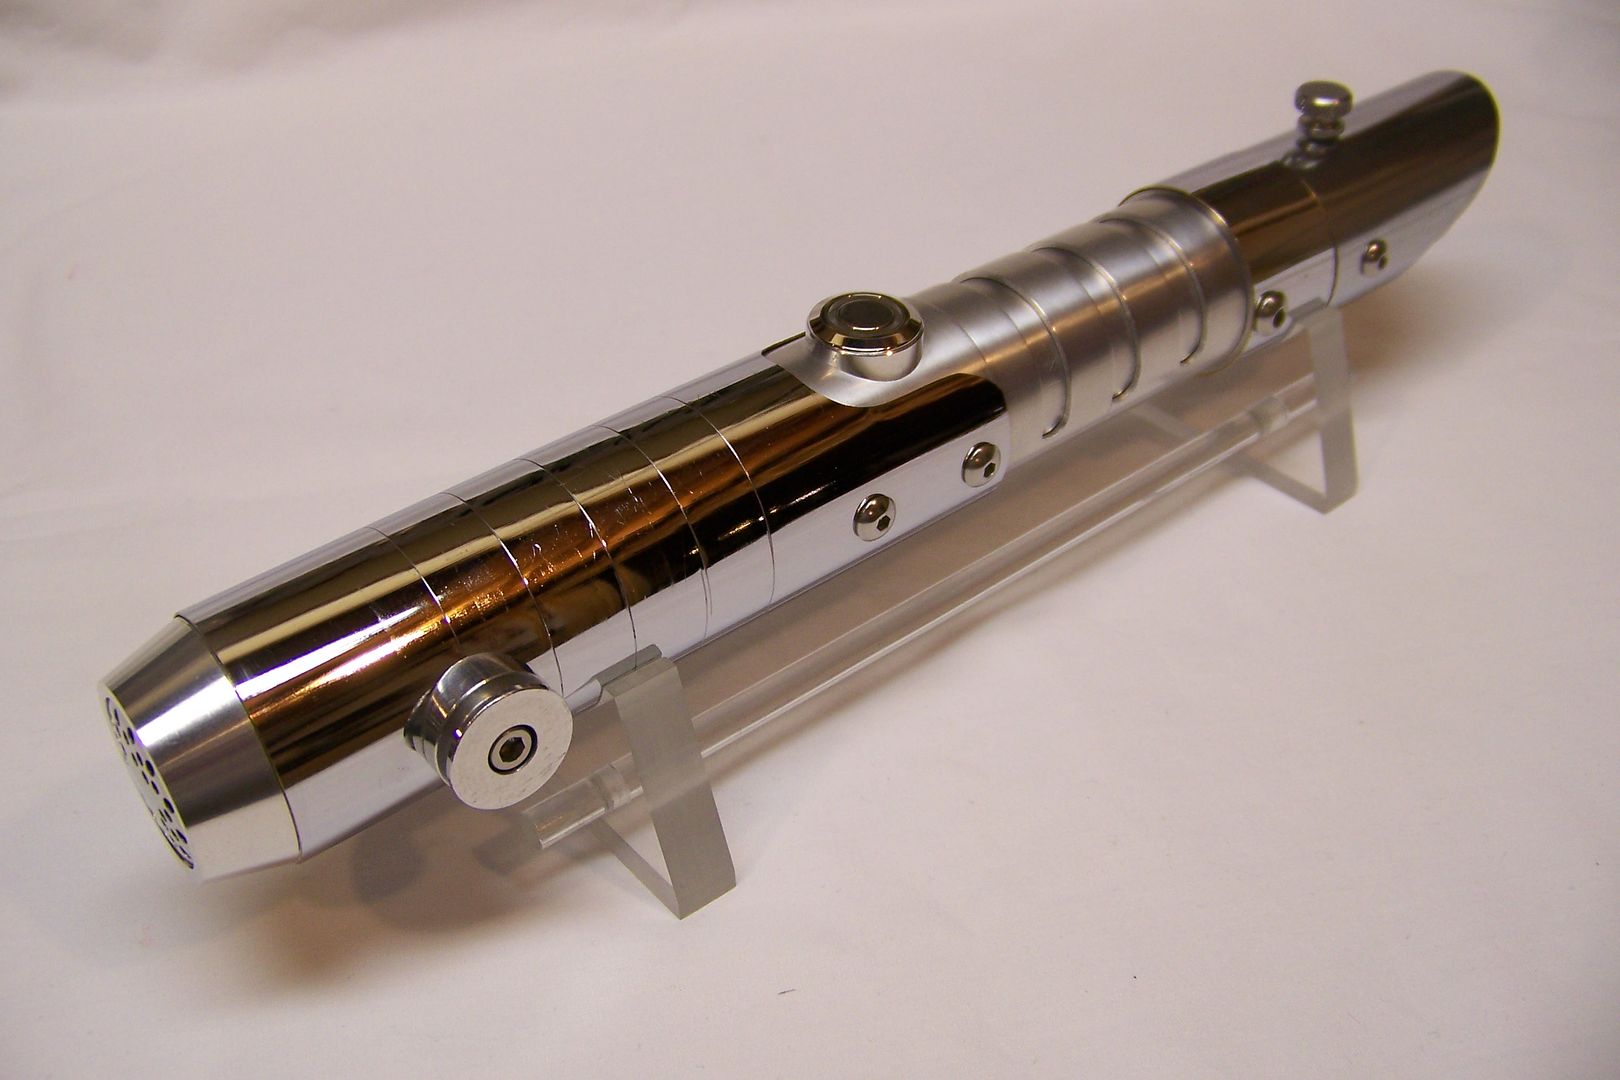
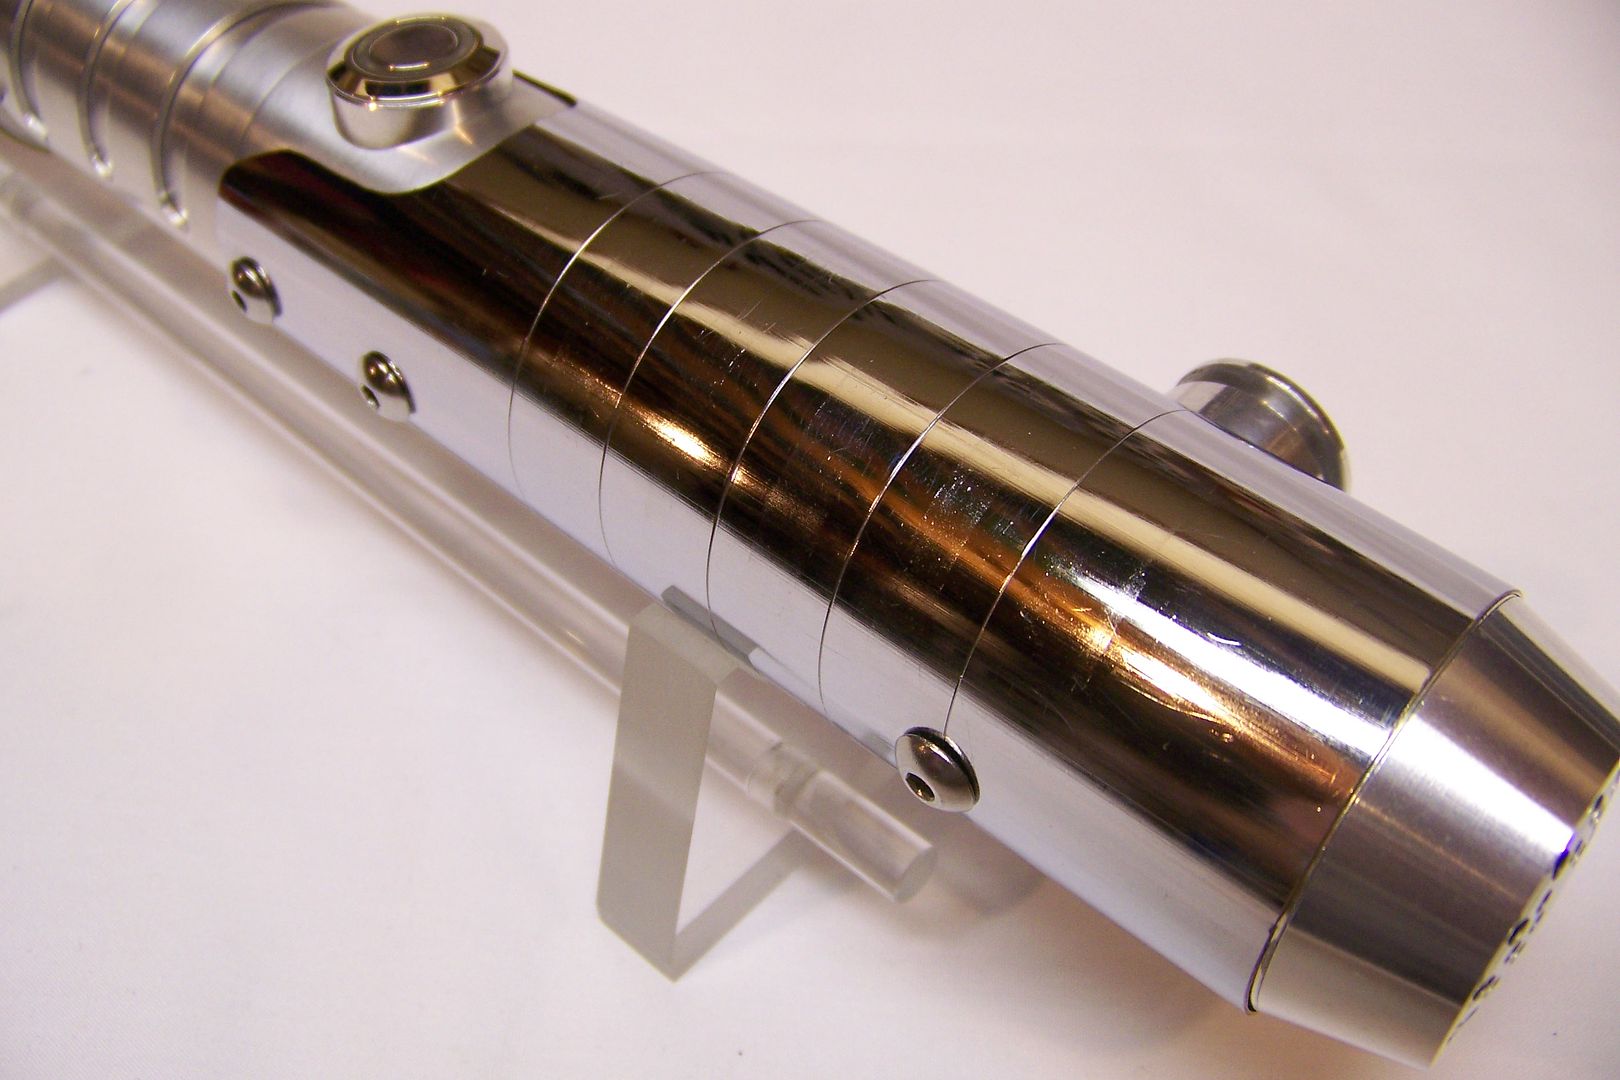
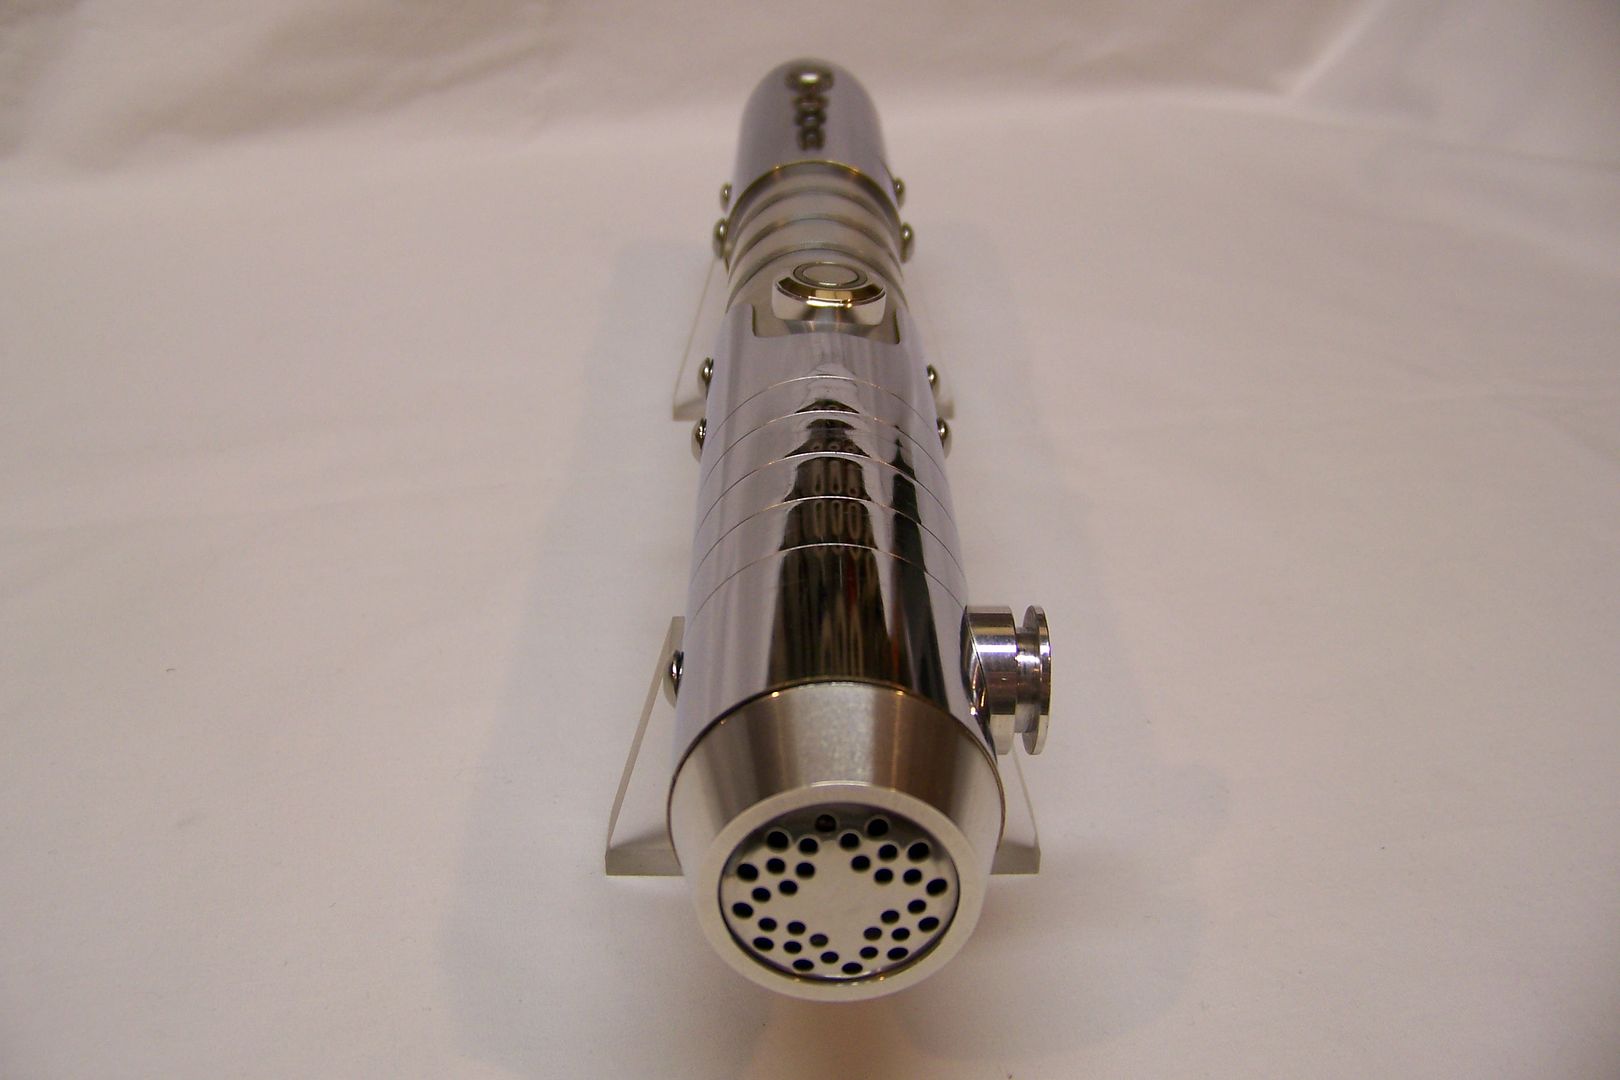
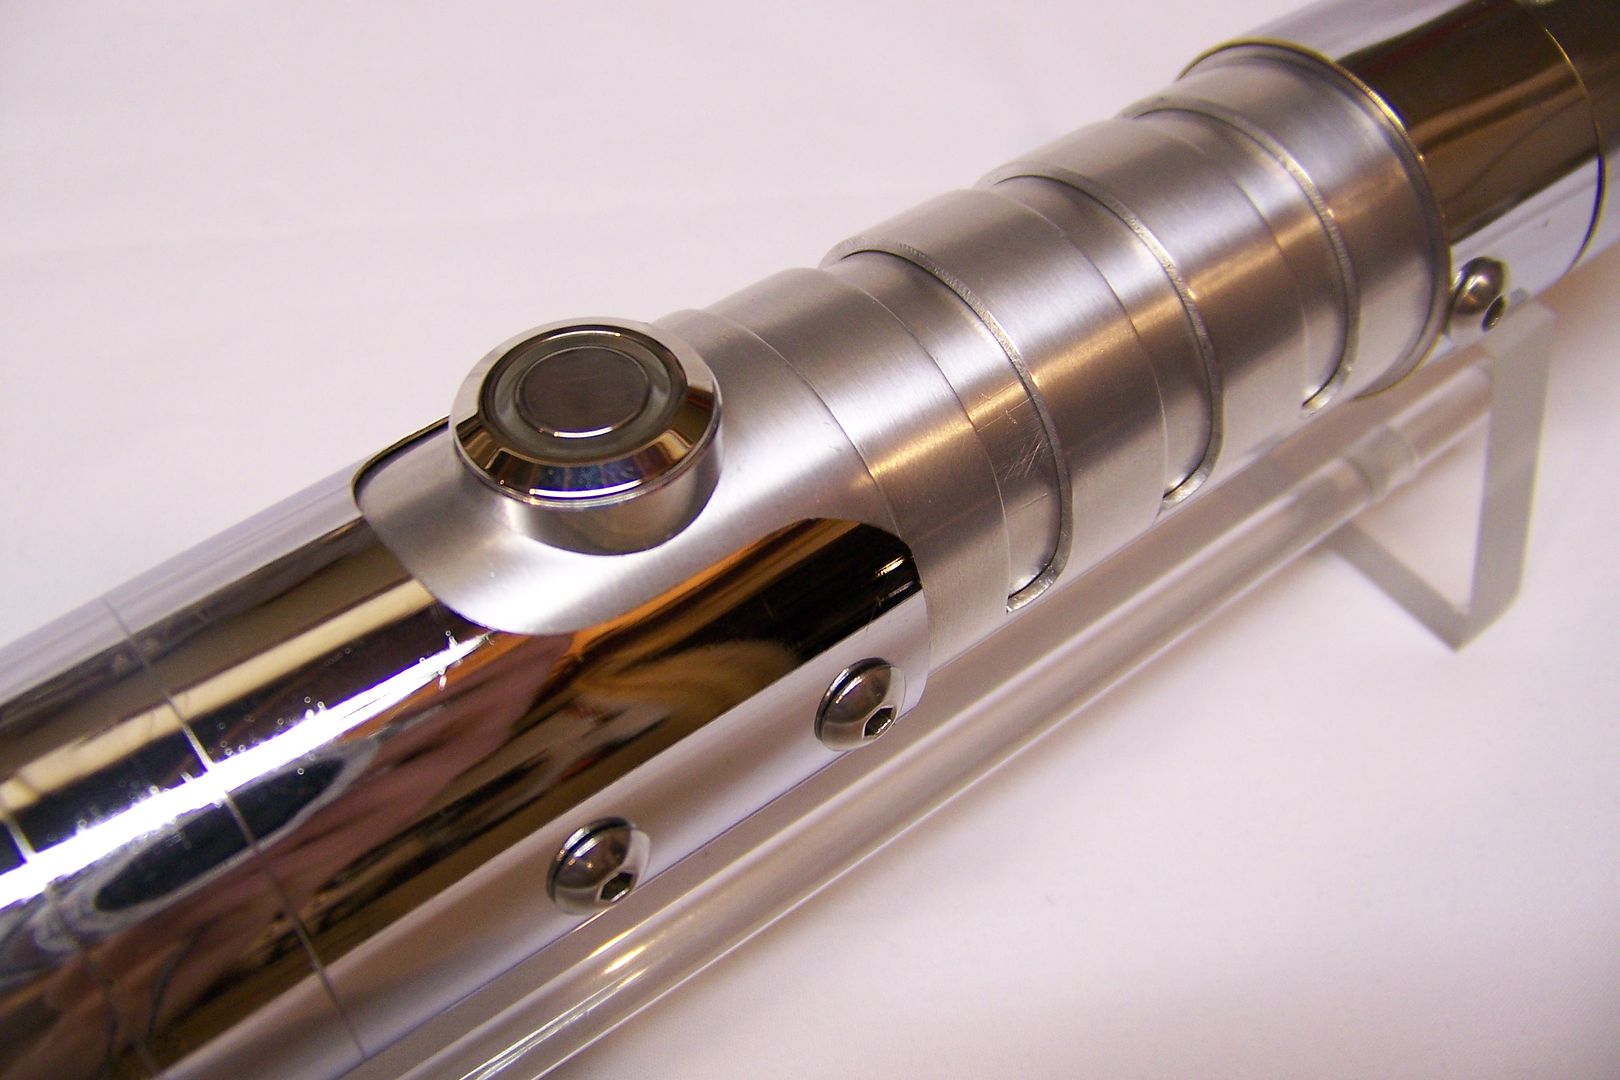
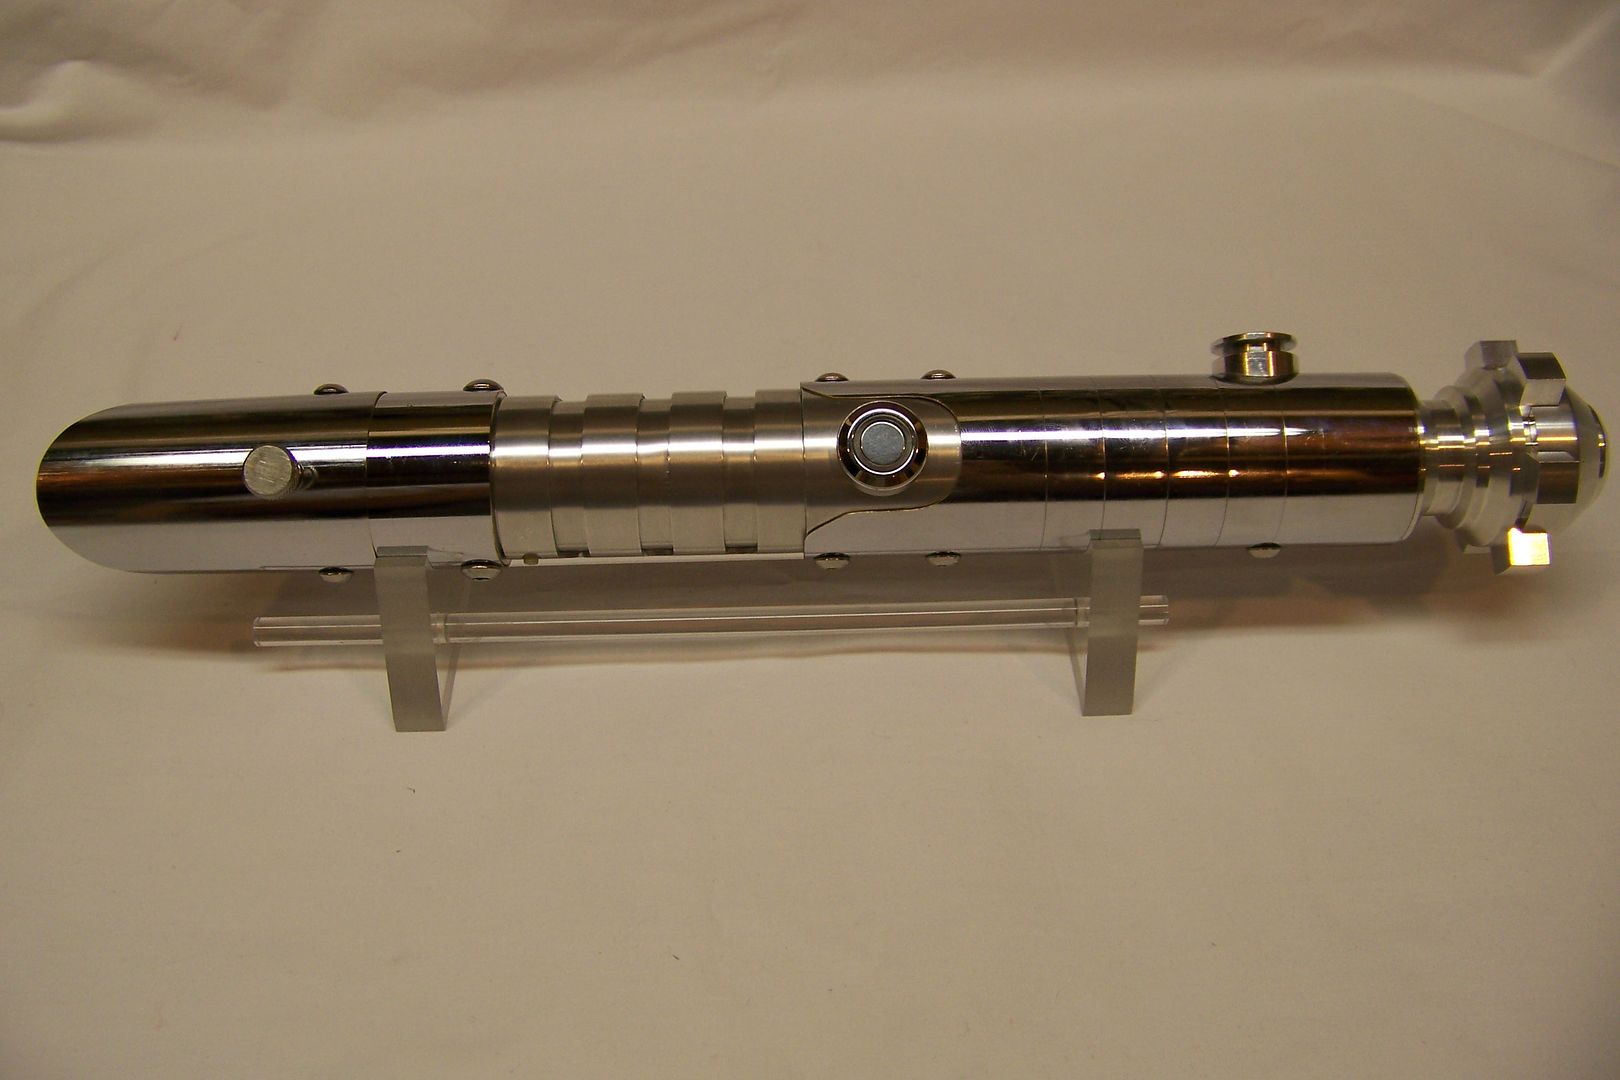
Okay, here are the Finished Pictures:
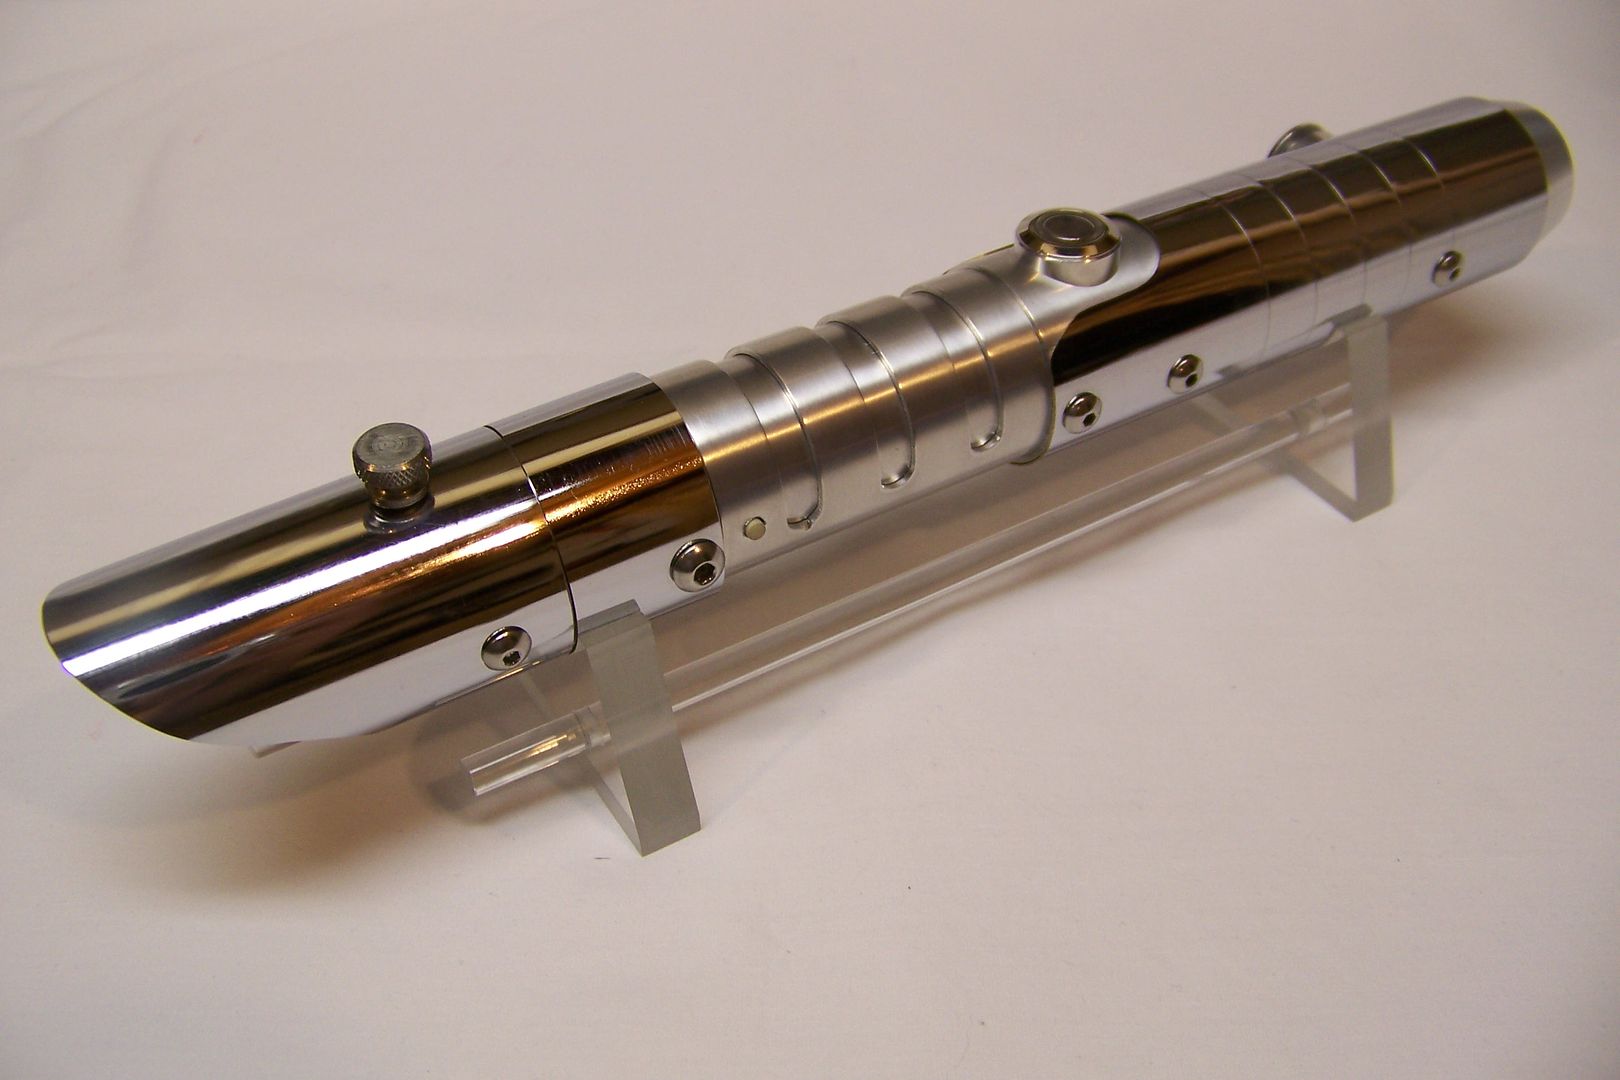
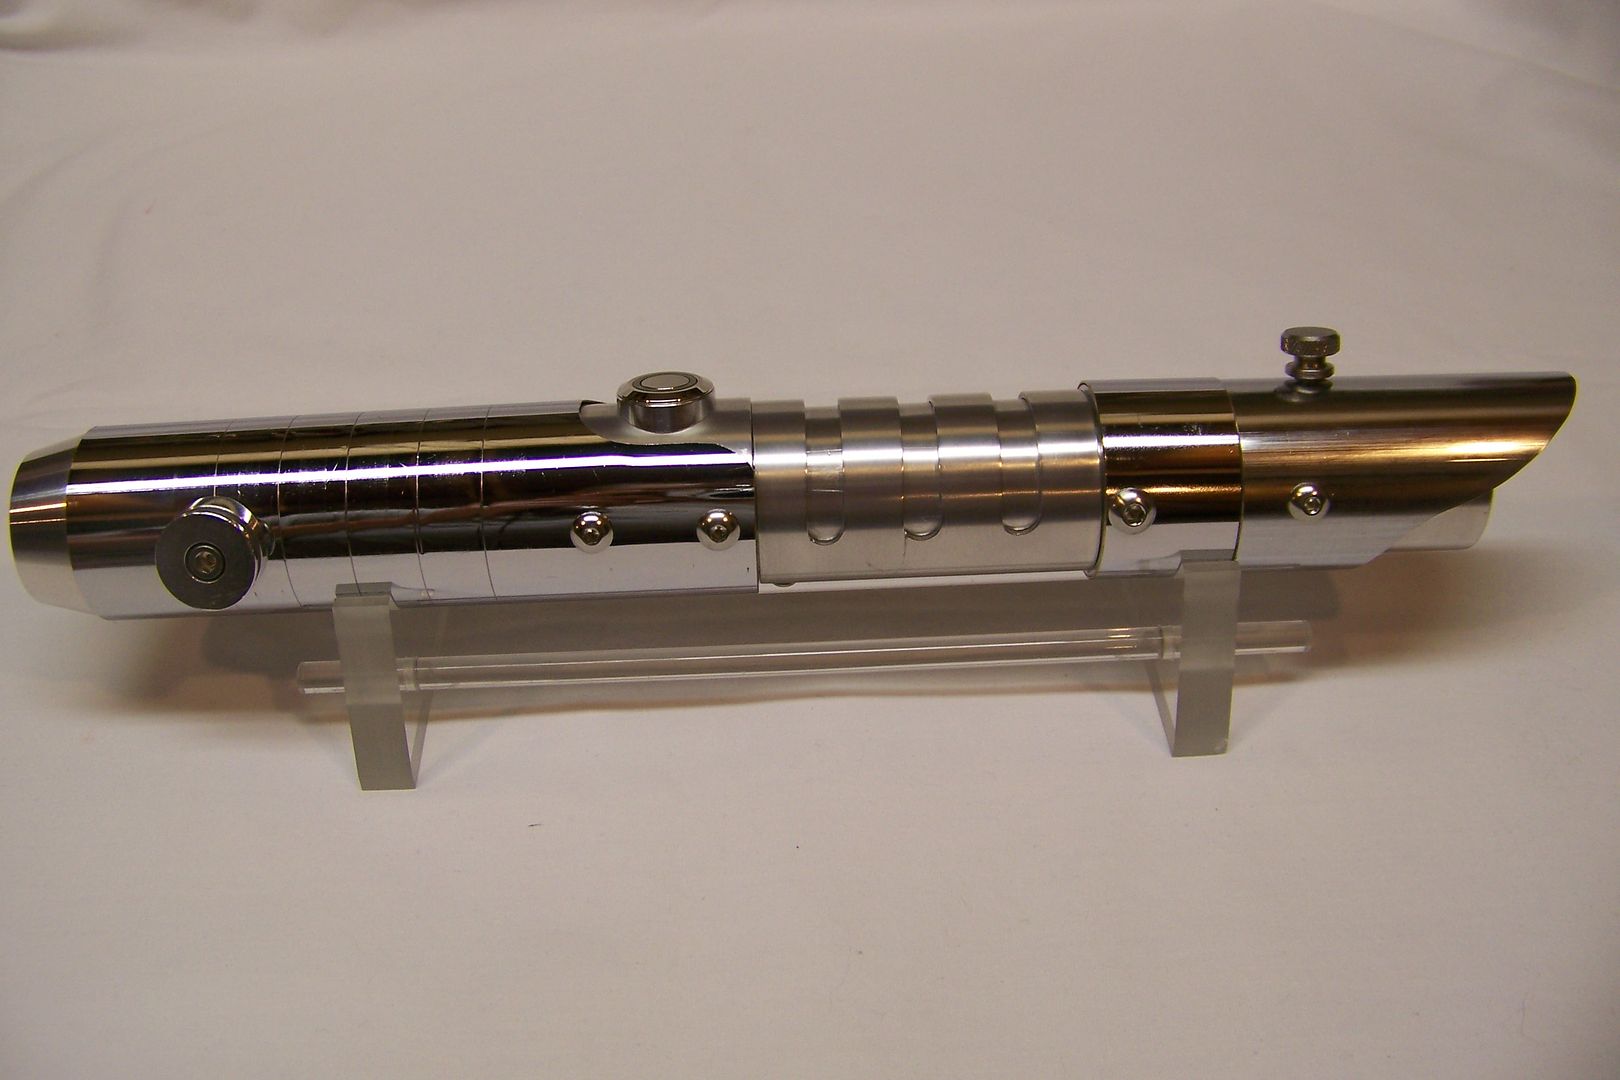
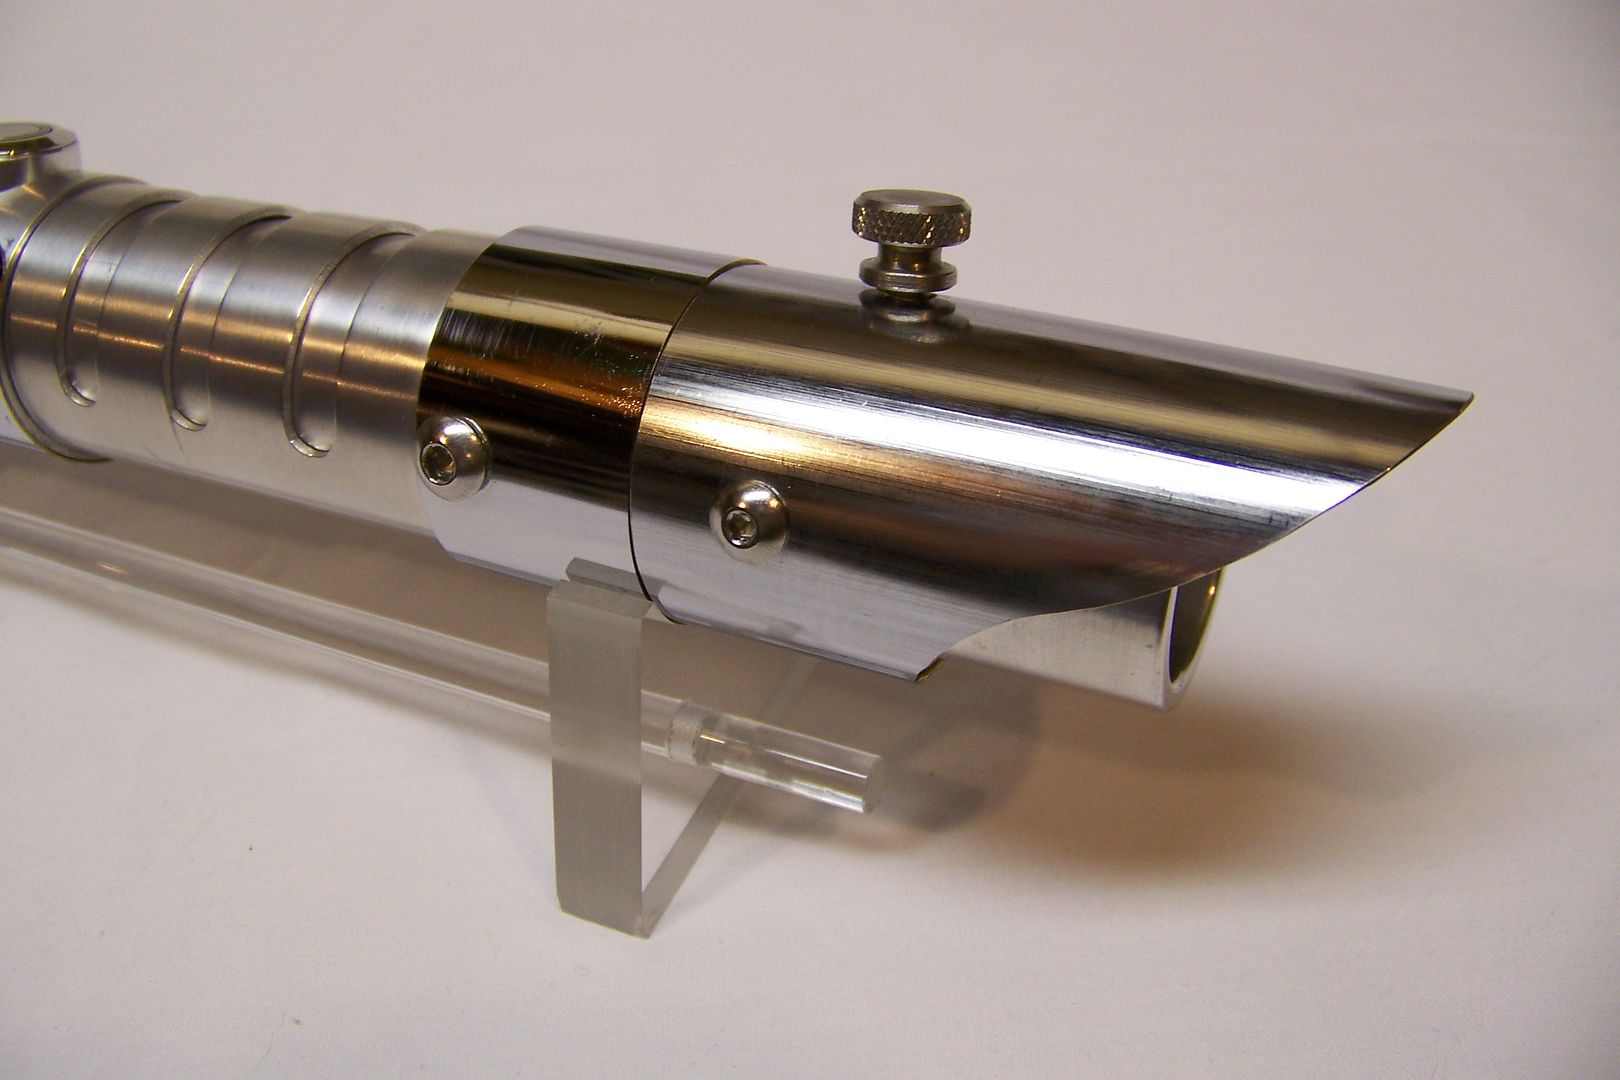
This side of the emitter has some defects in the chrome finish. There's nothing I could do about that, except buy another tube and cut a new one.
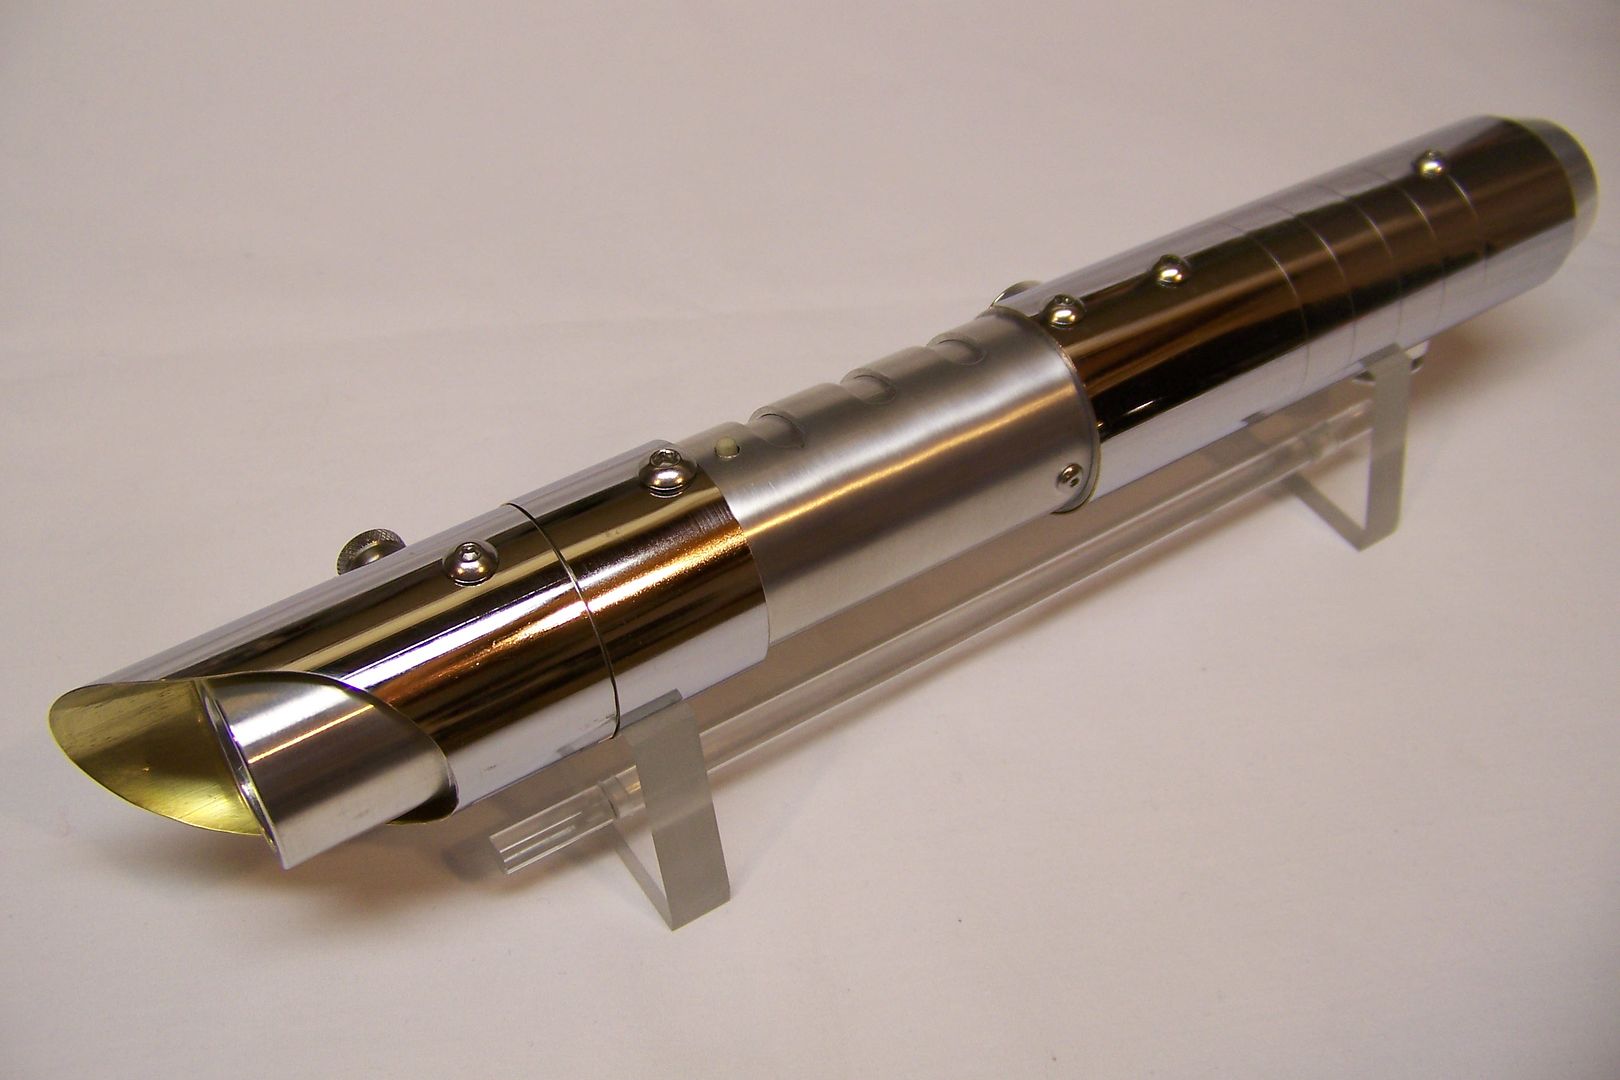
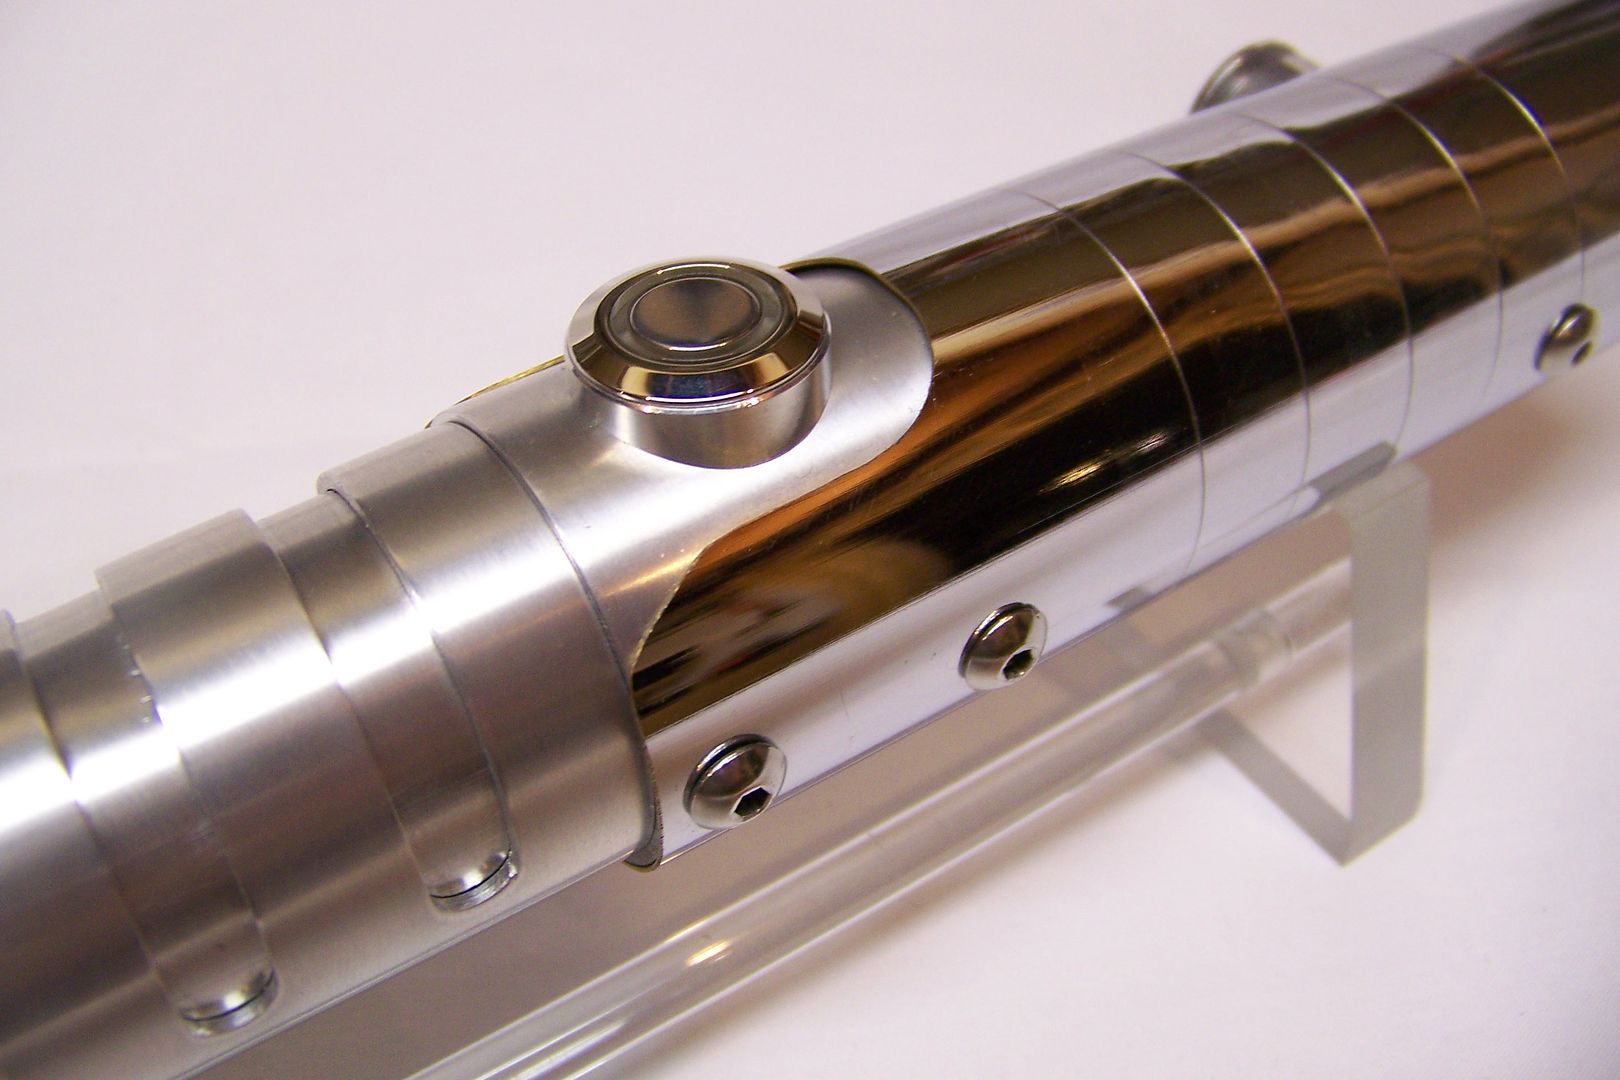
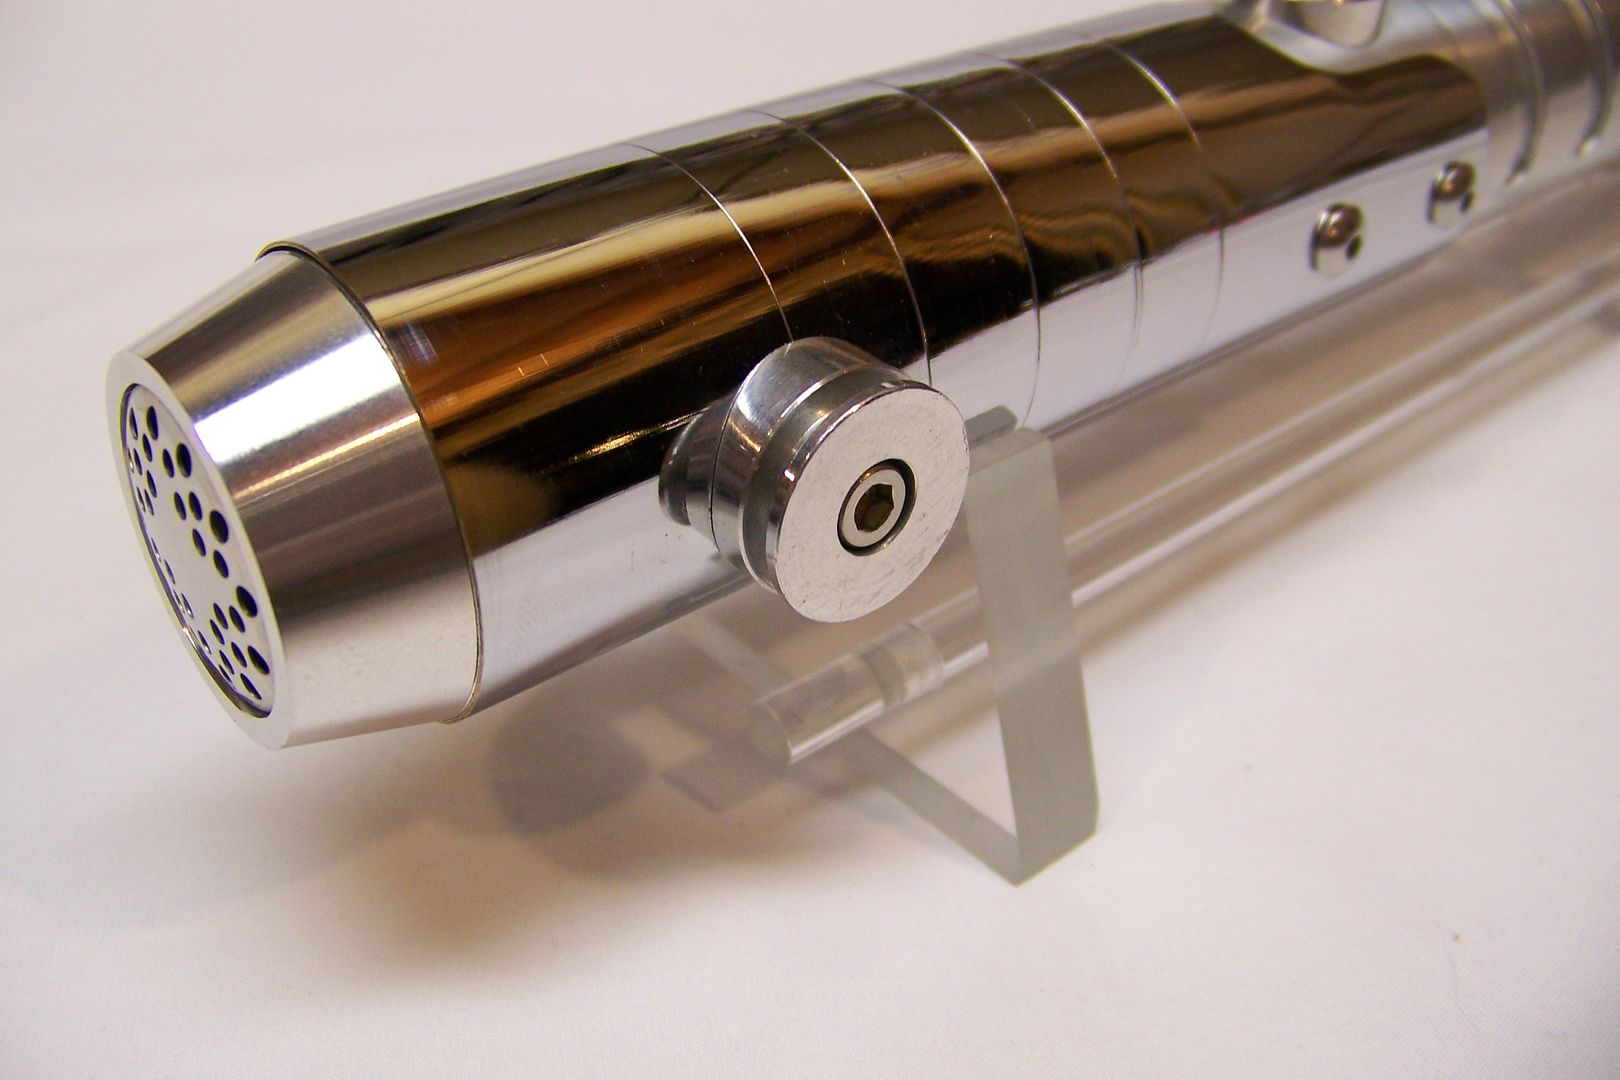
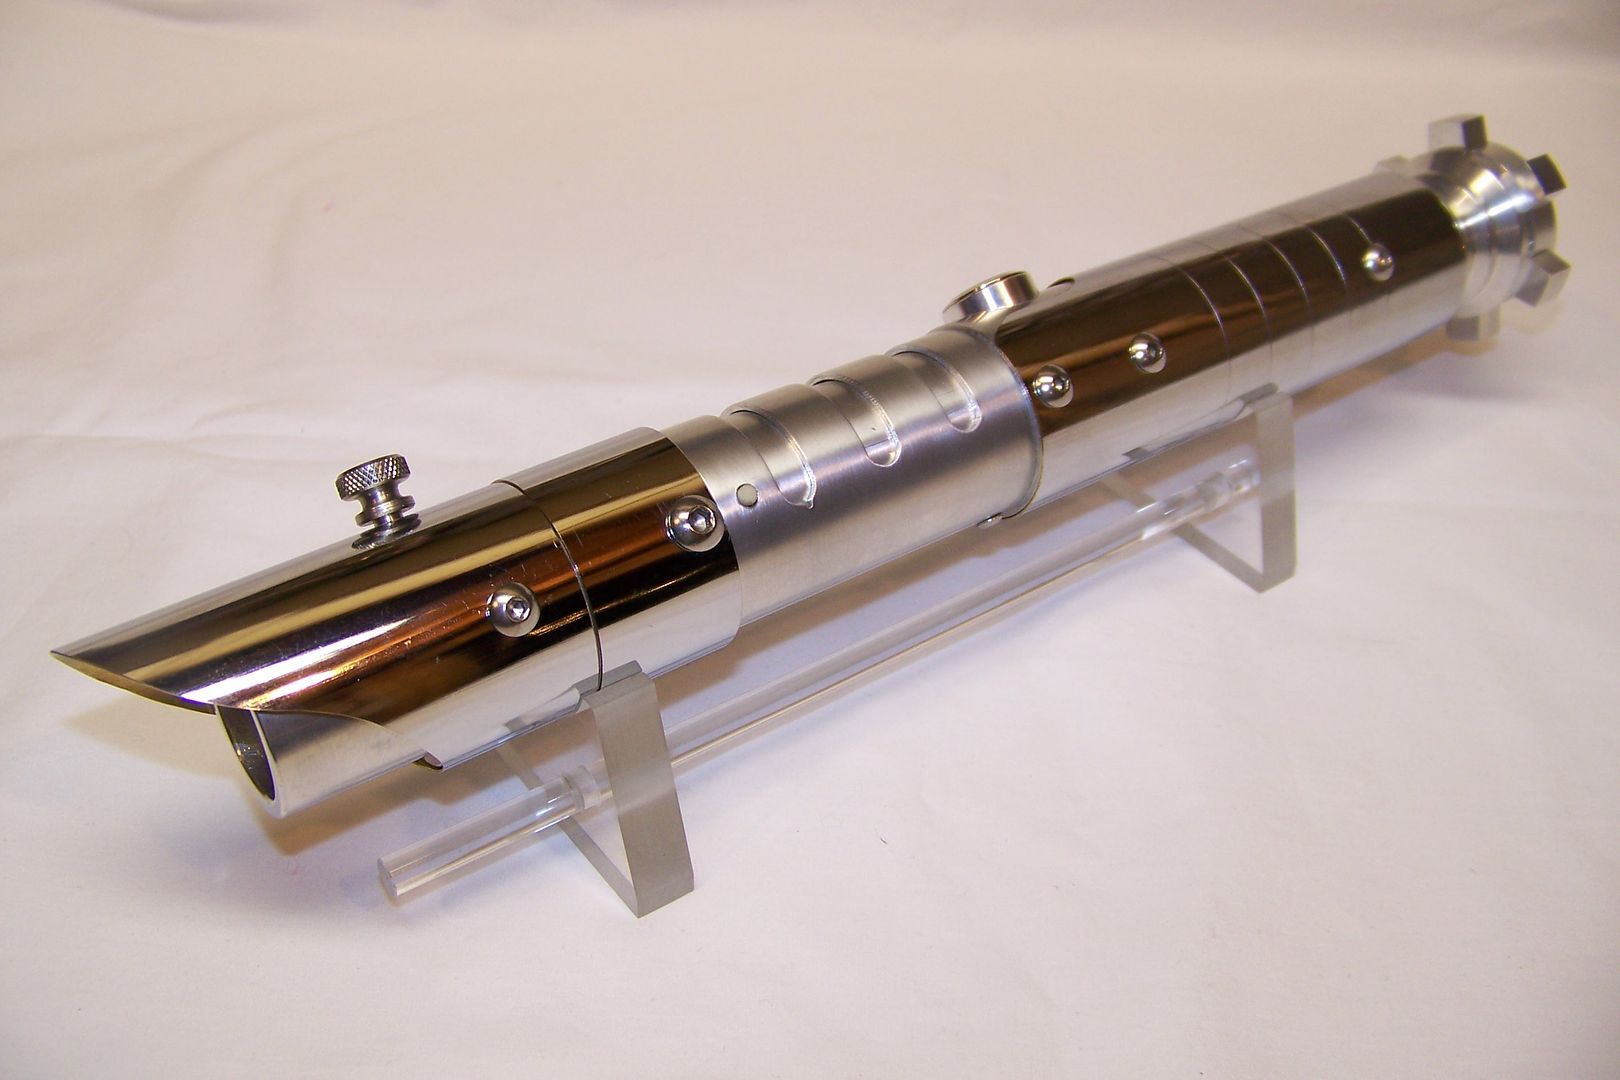
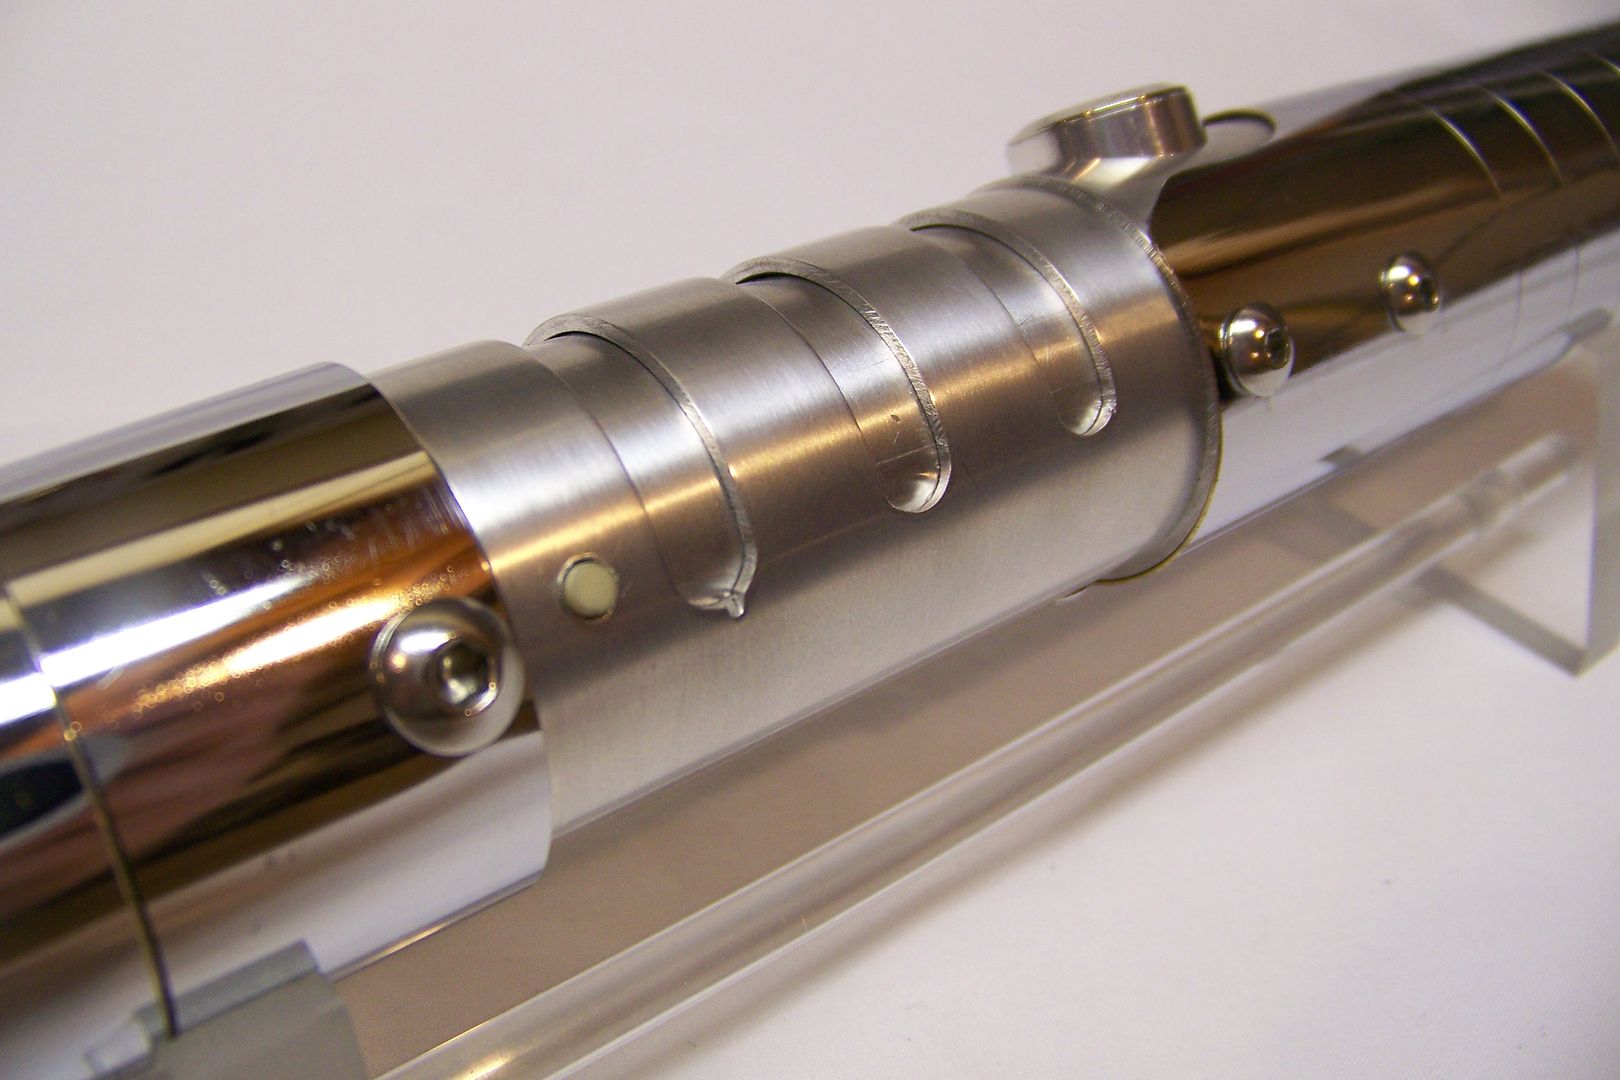
I left the satin finish on the aluminum. I like the contrast with the chrome on the sink tube.
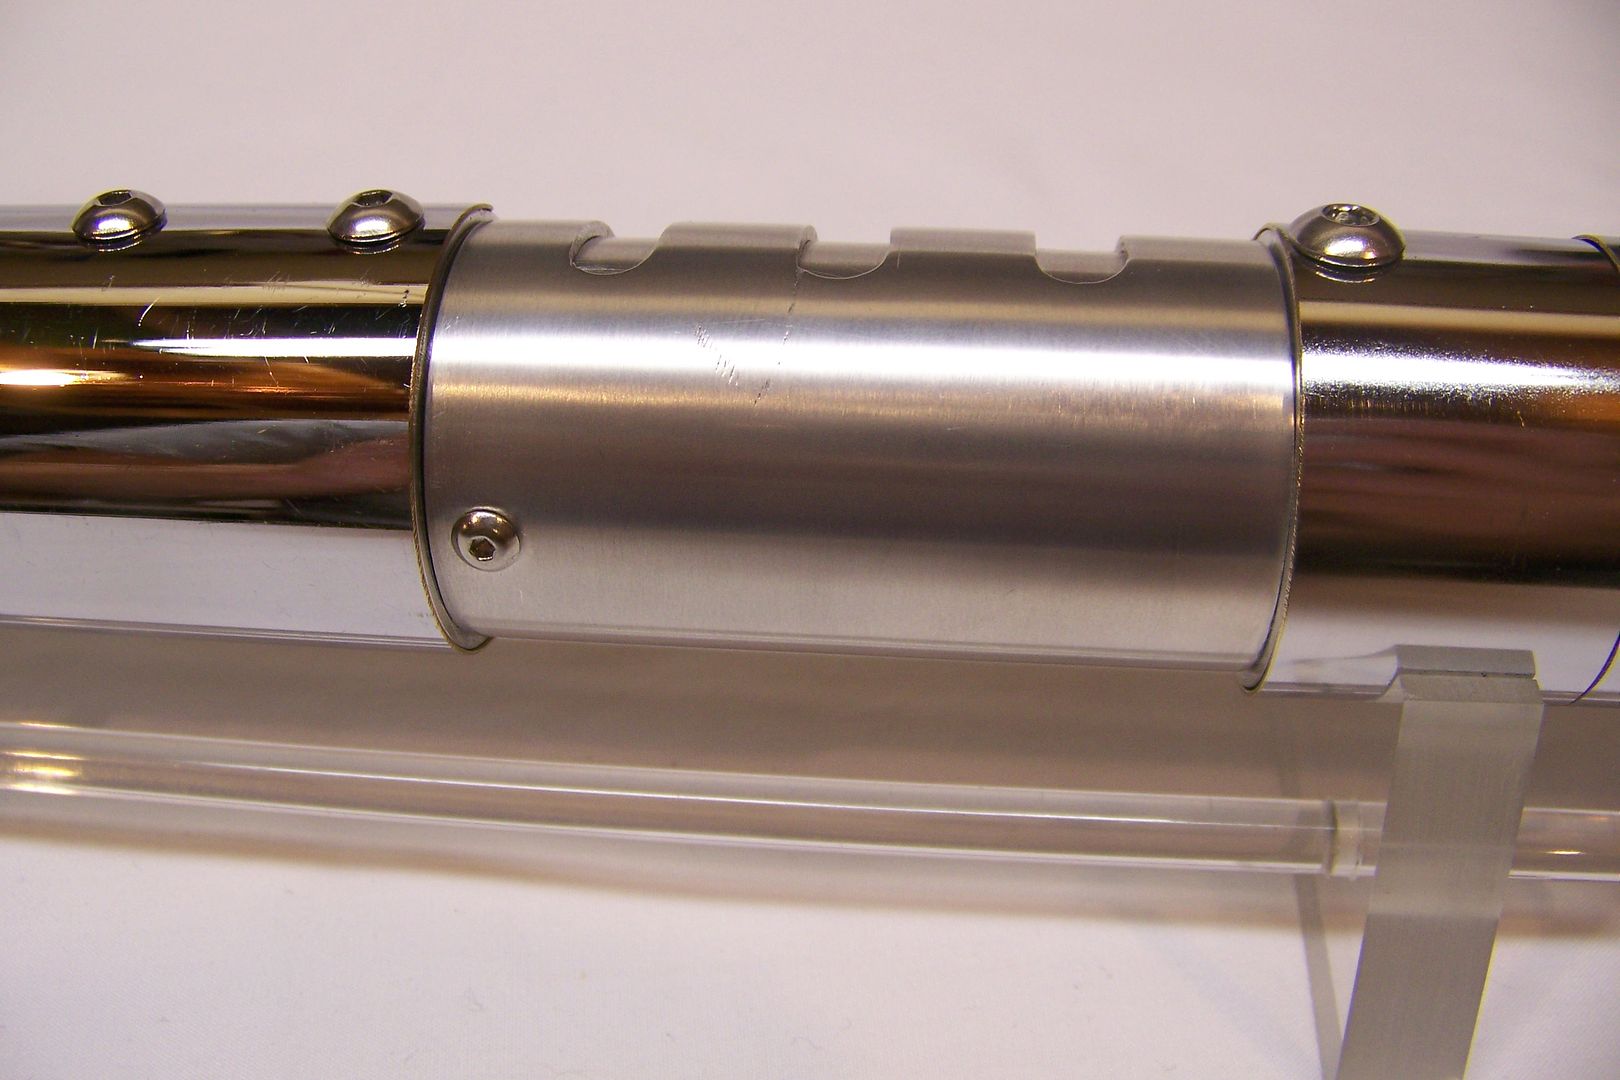
I also left all of the scratches I pointed out earlier, as they do give the saber character and give it a well-used, yet well maintained appearance.
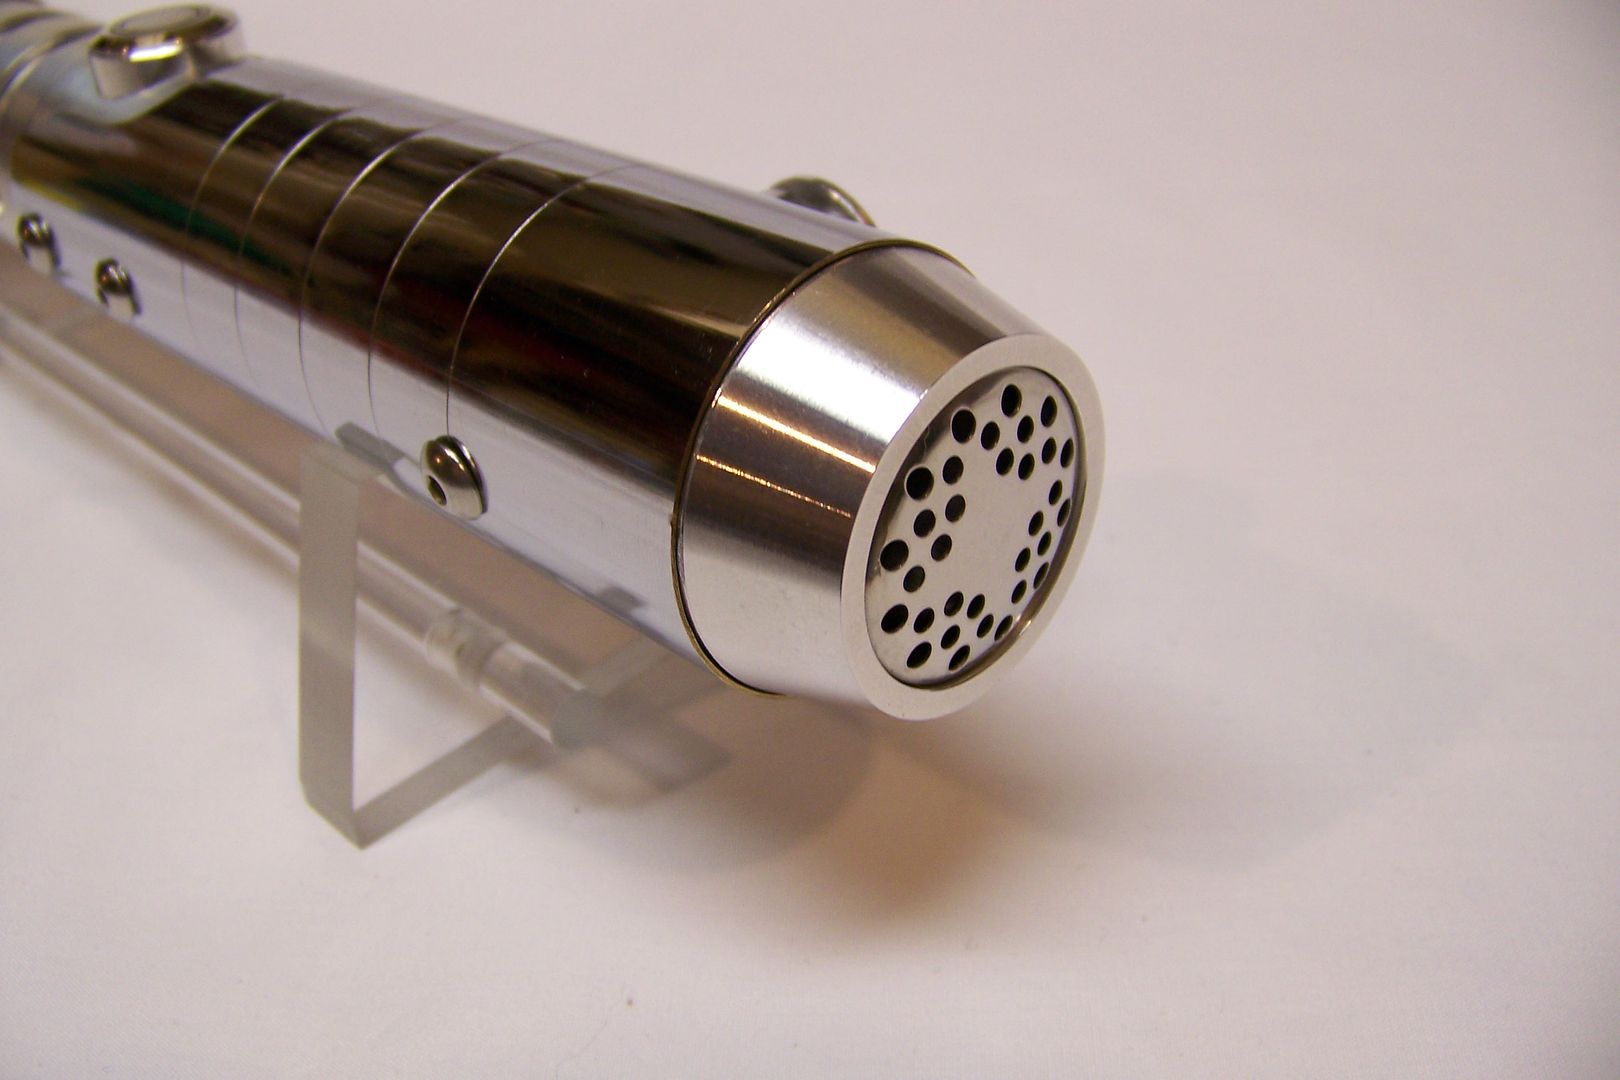
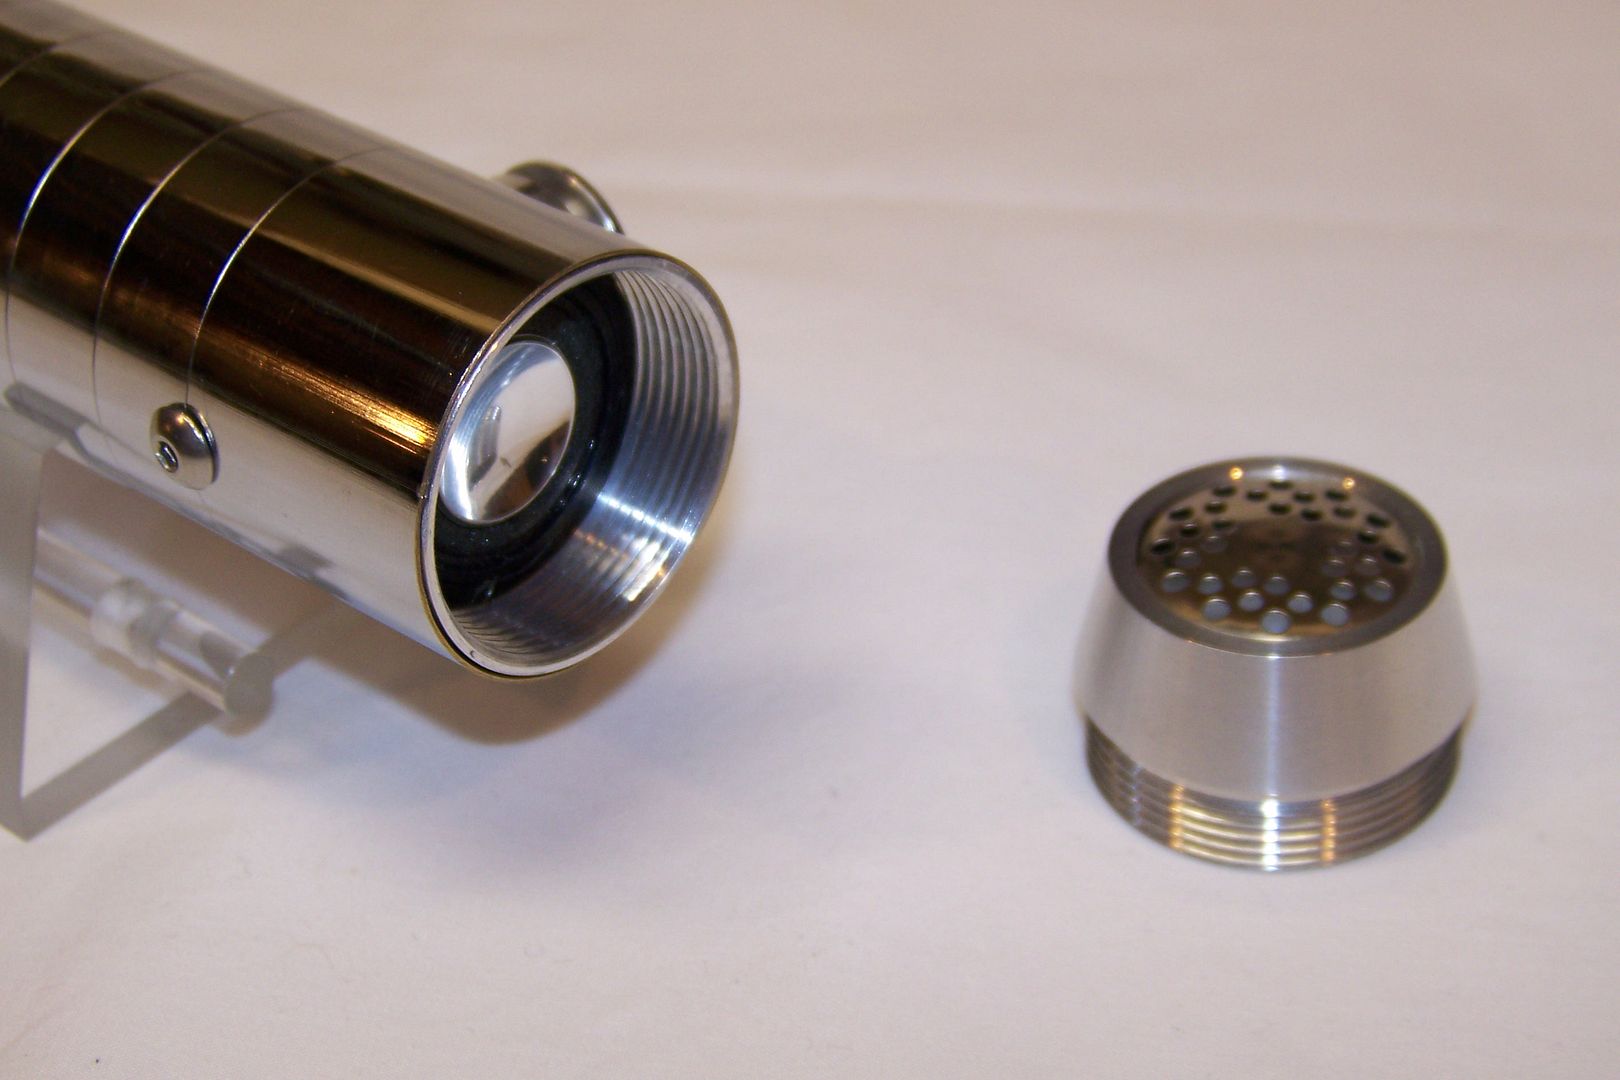
Changing the battery is easy...unscrew the pommel:
Give the saber a few gentle shakes to loosen the speaker mount:
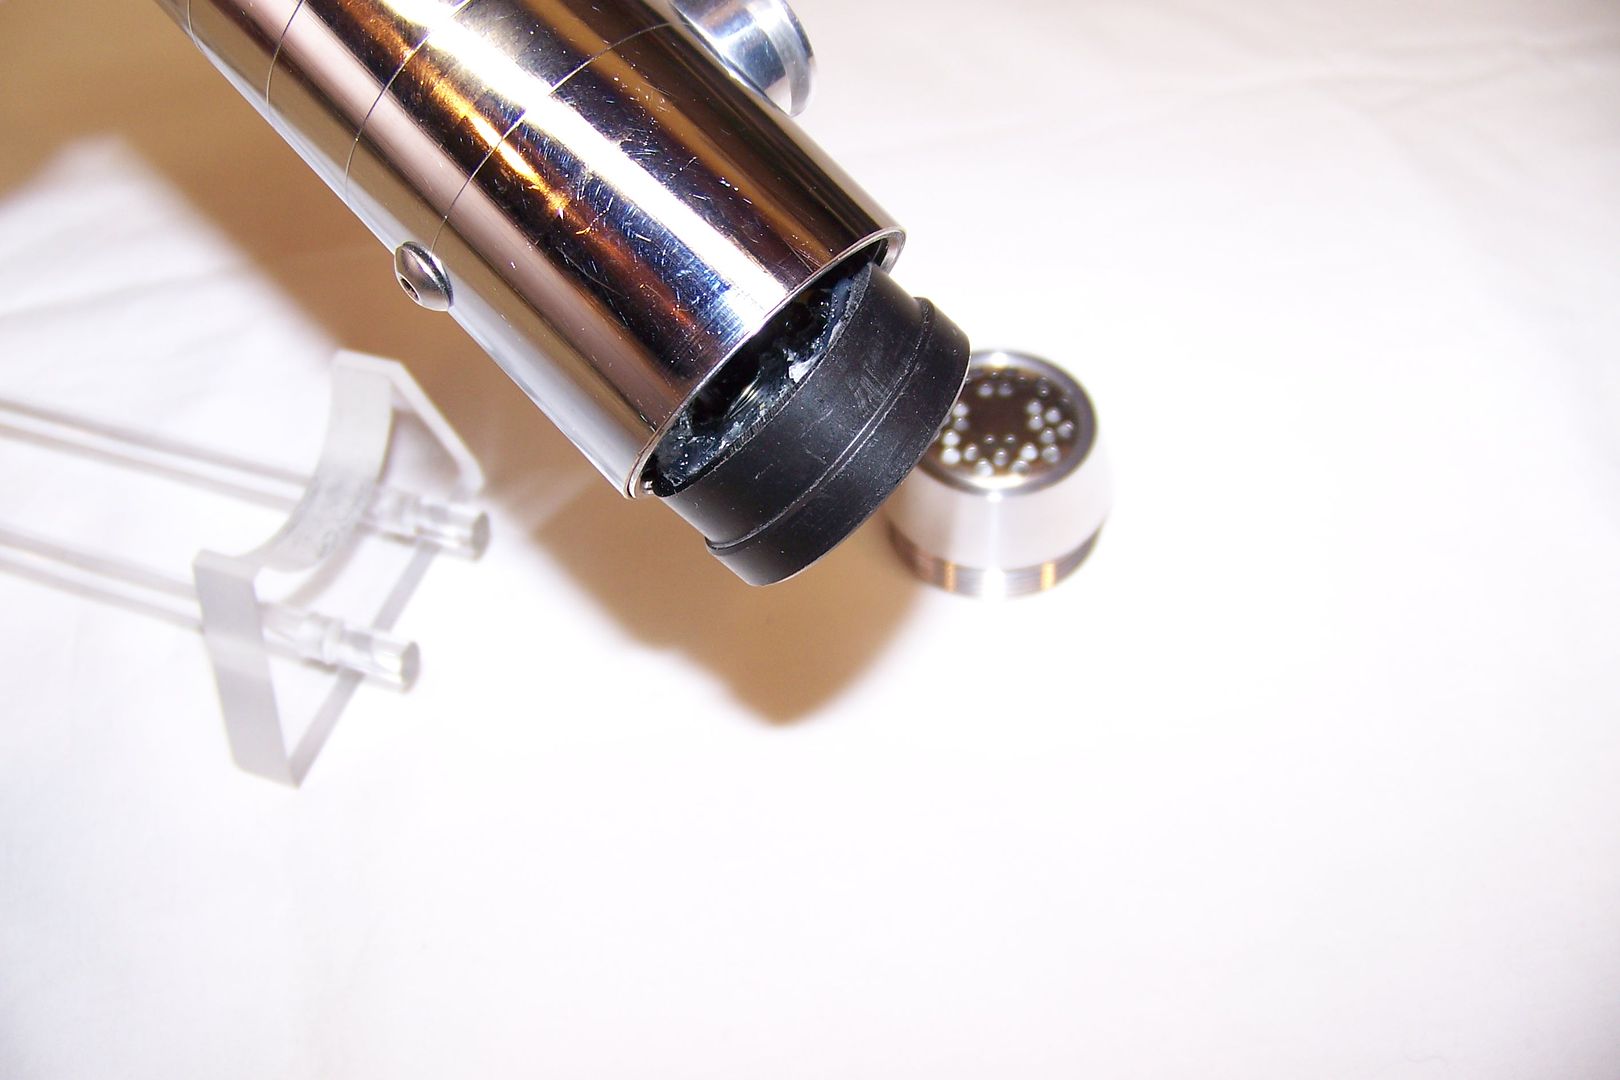
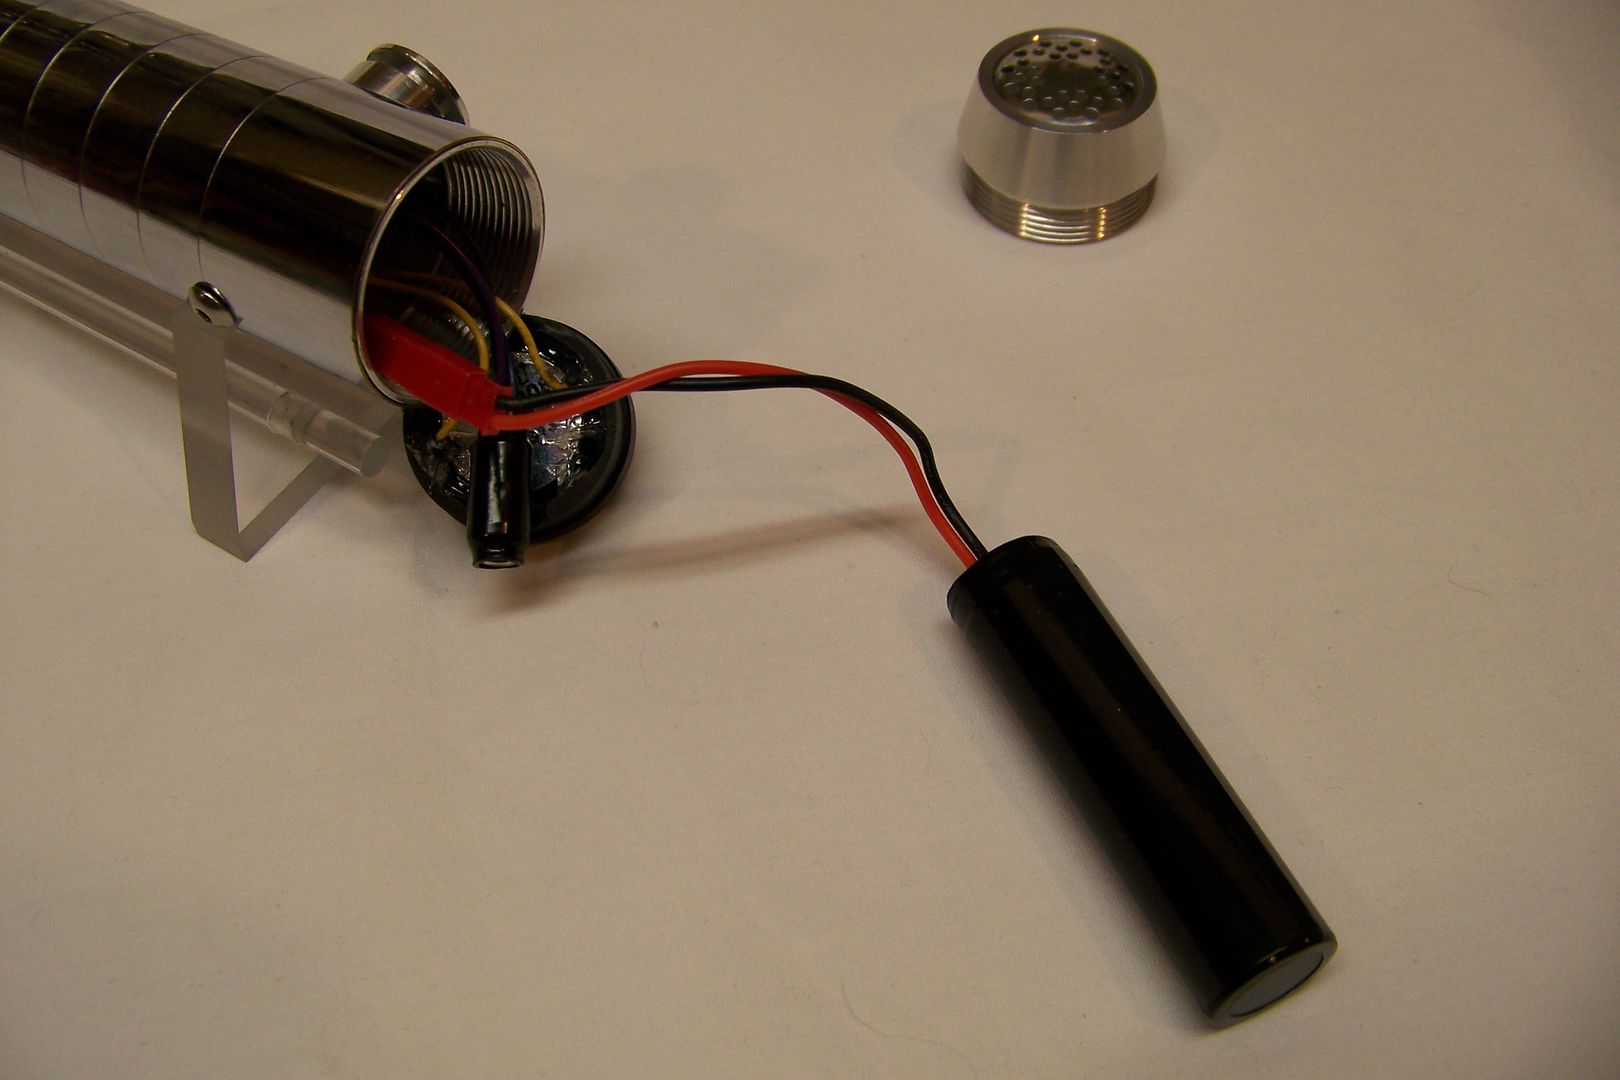
This will reveal the R.I.C.E. port and the JST plug for the battery.
Pull the R.I.C.E. port out:
Reach in and pull on the JST plug to slide the battery out:

After I was finished with it, I put a full size blade in and gave it a few swings and spins....this saber is so light due to the nature of it's construction, that the thin-walled, 34" blade I had in it was really top heavy. I tried out a shorter blade and that made a difference, as did the 7/8" I popped in after that. Then I had to try something else...to counter balance the weight of a blade, a sword has what we call a pommel, right? So, I looked through my parts to see what I had, and I tried a few (a style 3v2, a style 10 and a non-TCSS pommel I have) and this was the best looking one:

Unfortunately, that Acerocket/Orbital Machining Obi TPM is likely out of Zark's price range, since it cost nearly as much as the entire hilt of this saber (not including the electronics, of course). We'll have to try and come up with something else someday, but for now I'll stick to the basic style 4 that is currently intended for this saber. I'll try to get a video made up before the weekend and uploaded to my YouTube channel.... this one needs to be seen and heard to fully appreciate it.
Last edited by Jay-gon Jinn; 05-19-2015 at 09:35 PM.
Got a question? Start Here. Have you tried the Thread Index yet? Most questions can be answered there.

Mmm, shiny! Another wonderful saber!
I am also a fan of the occasional scratch and ding in the saber. Partly because it gives the saber a used look, and also because I'm prone to letting the dremel slip.
We all have to start somewhere. The journey is all the more impressive by our humble beginnings.
http://led.linear1.org/1led.wiz for the lazy man's resistor calculator!
http://forums.thecustomsabershop.com...e-to-Ohm-s-Law for getting resistor values the right way!
Another fine looking saber. Ever since I found this forum I've always enjoyed your build threads, thanks for sharing.
 Posting Permissions

 Reply With Quote
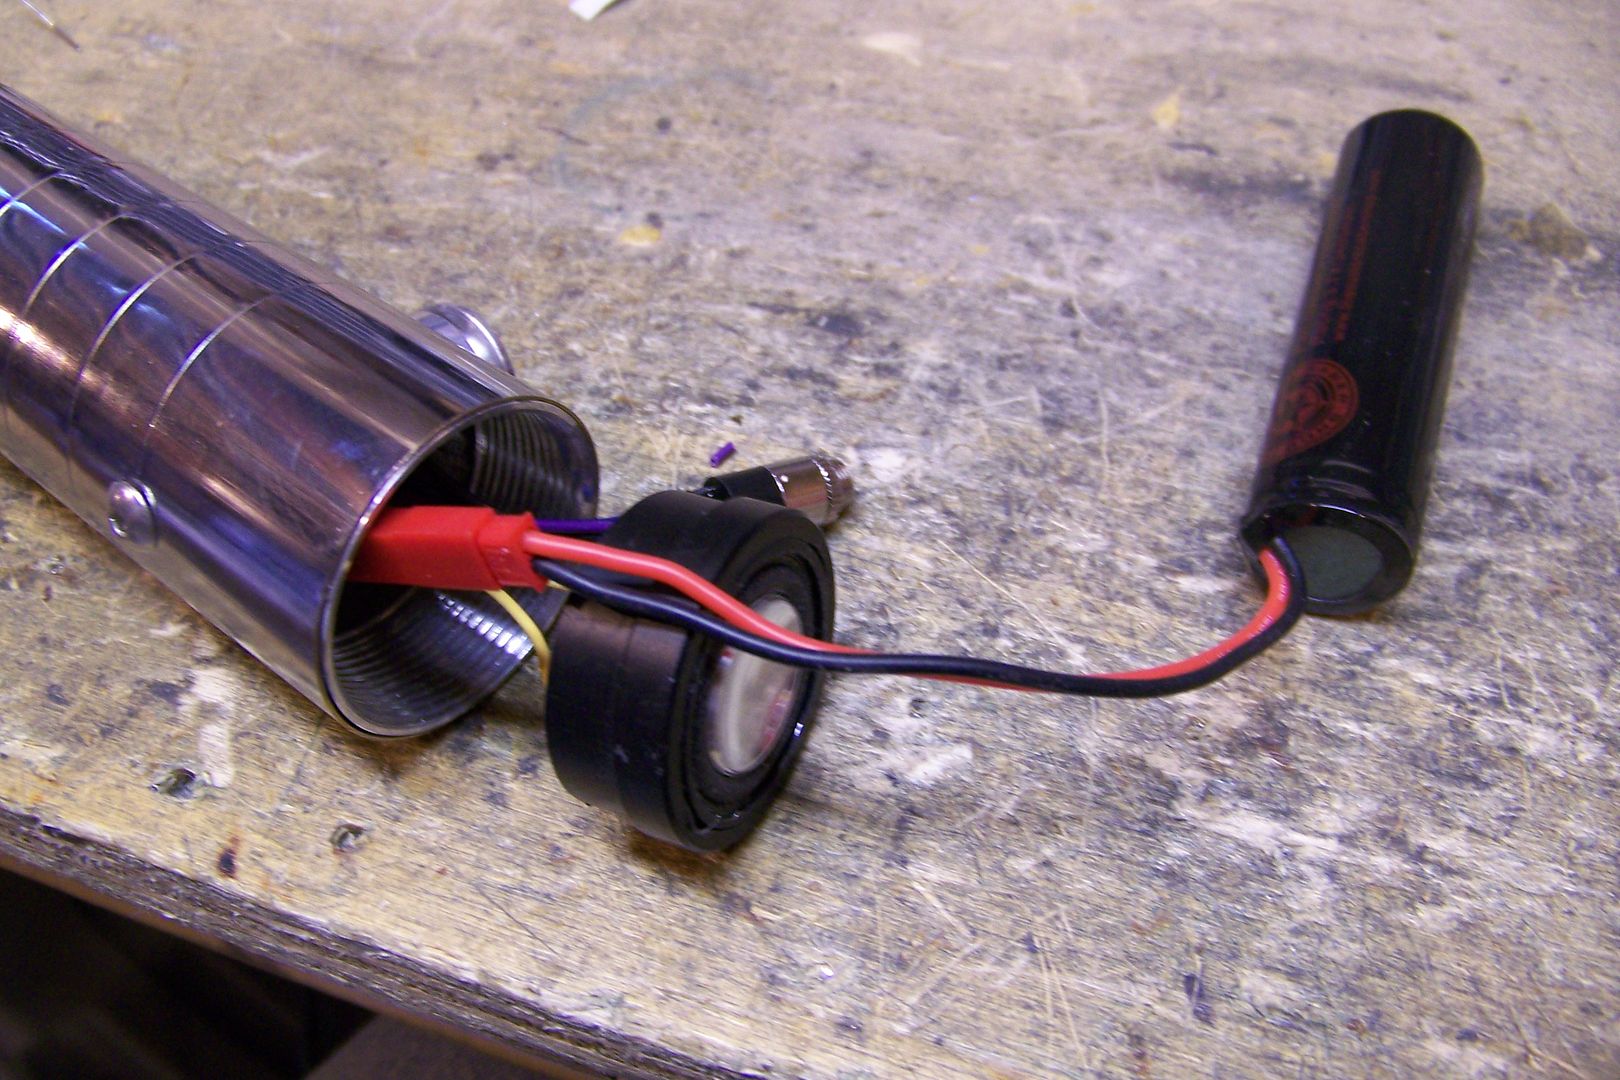


Bookmarks