


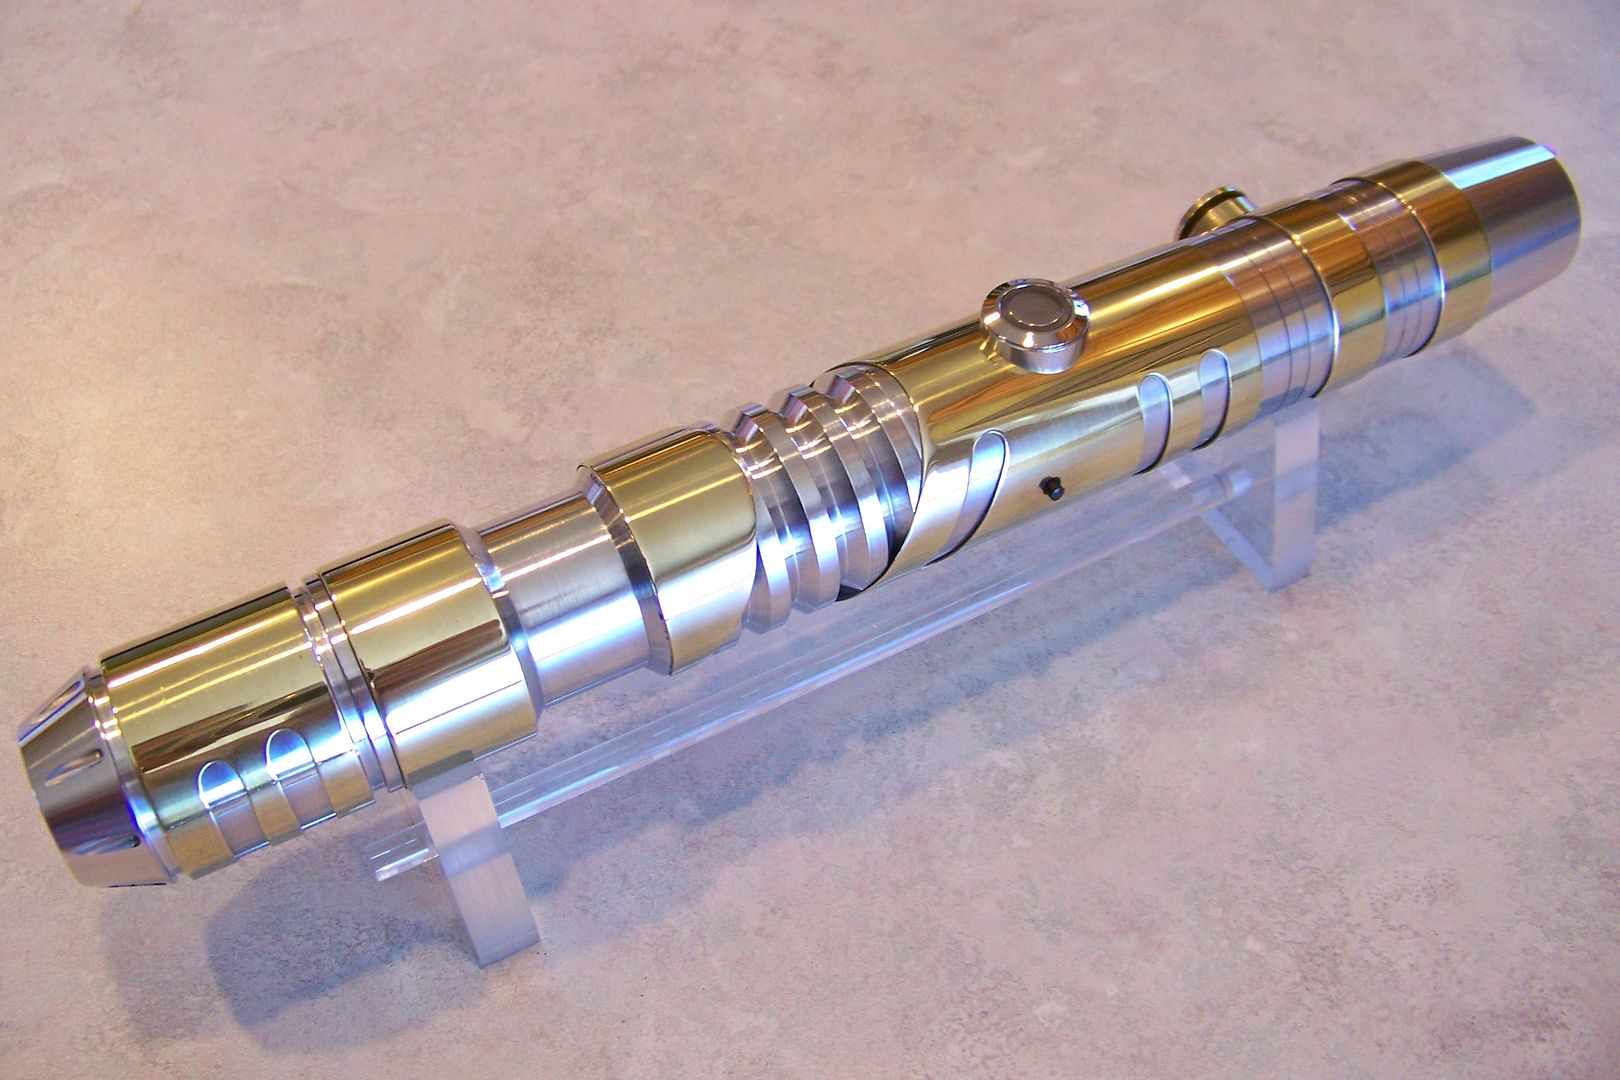
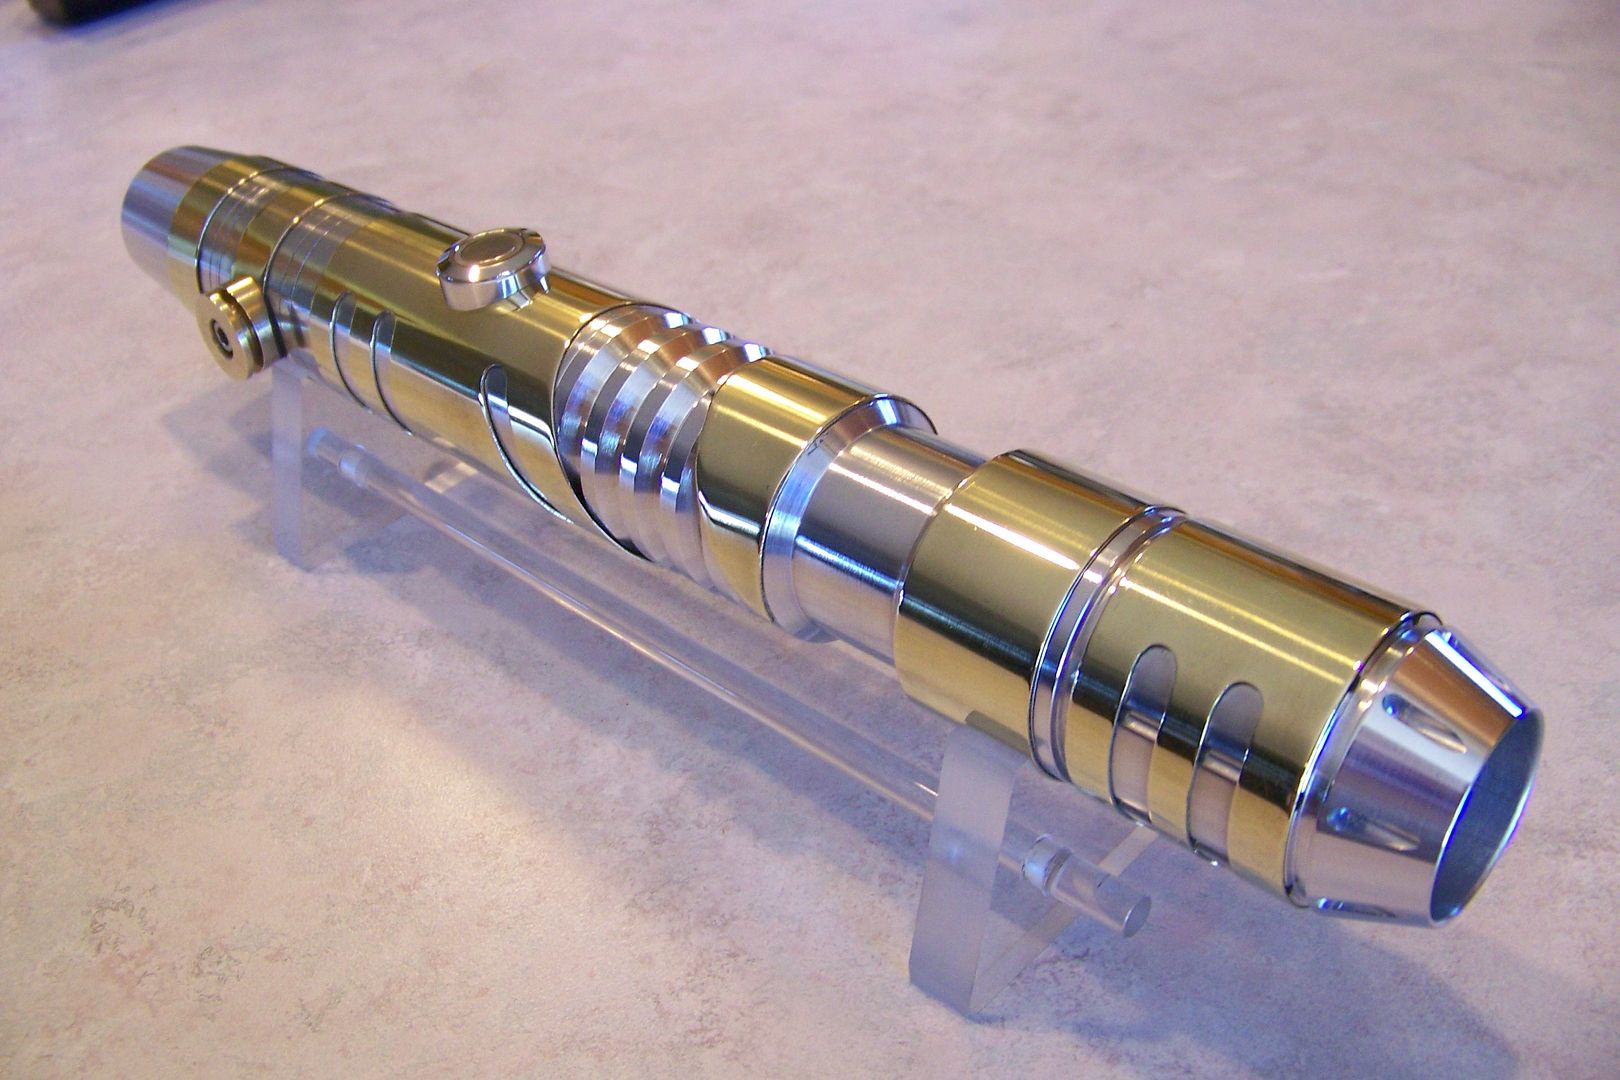
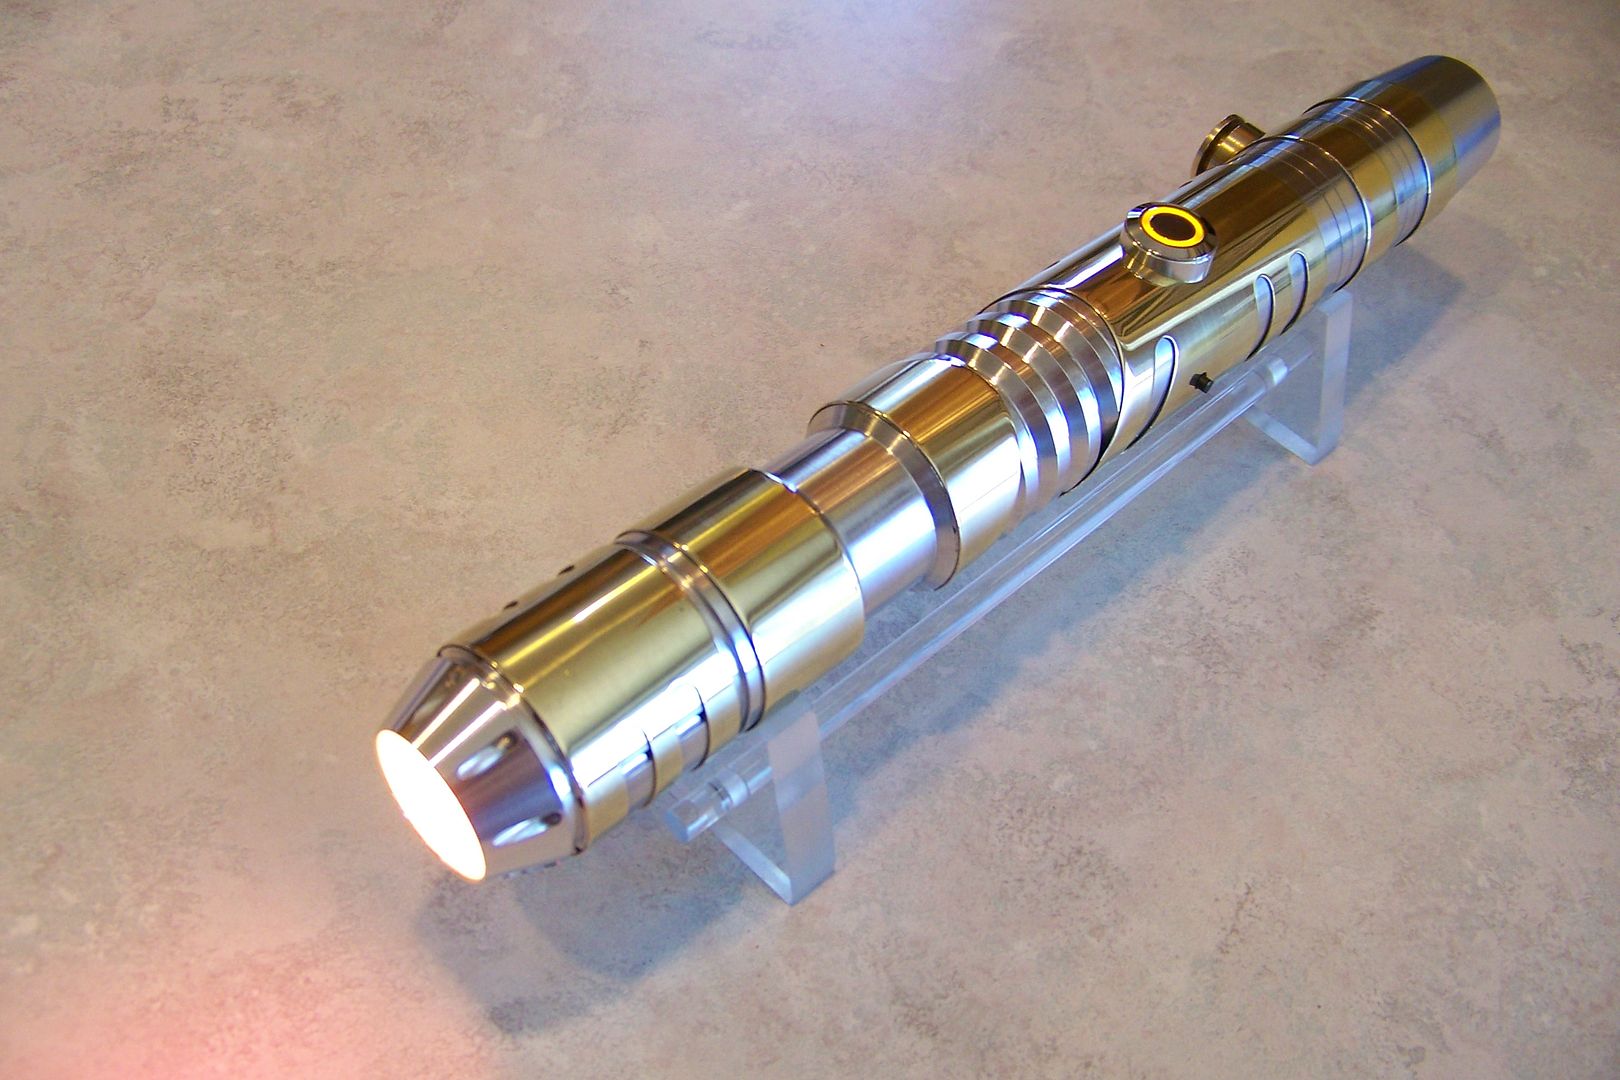
I have been working on this saber off and on over the past year, and finally managed to get the personal life to quiet down enough to get some serious time in on it the last two months. It was built for a friend of mine that I work with and is based on a design he wanted. I looked at his sketch, and figured this would be a snap using MHS parts with a bit of modification. We made a few changes along the way, and finally made a concrete decision on the electronics after getting the hilt work done in April. Here is my 29th saber in my Brass Saber series:
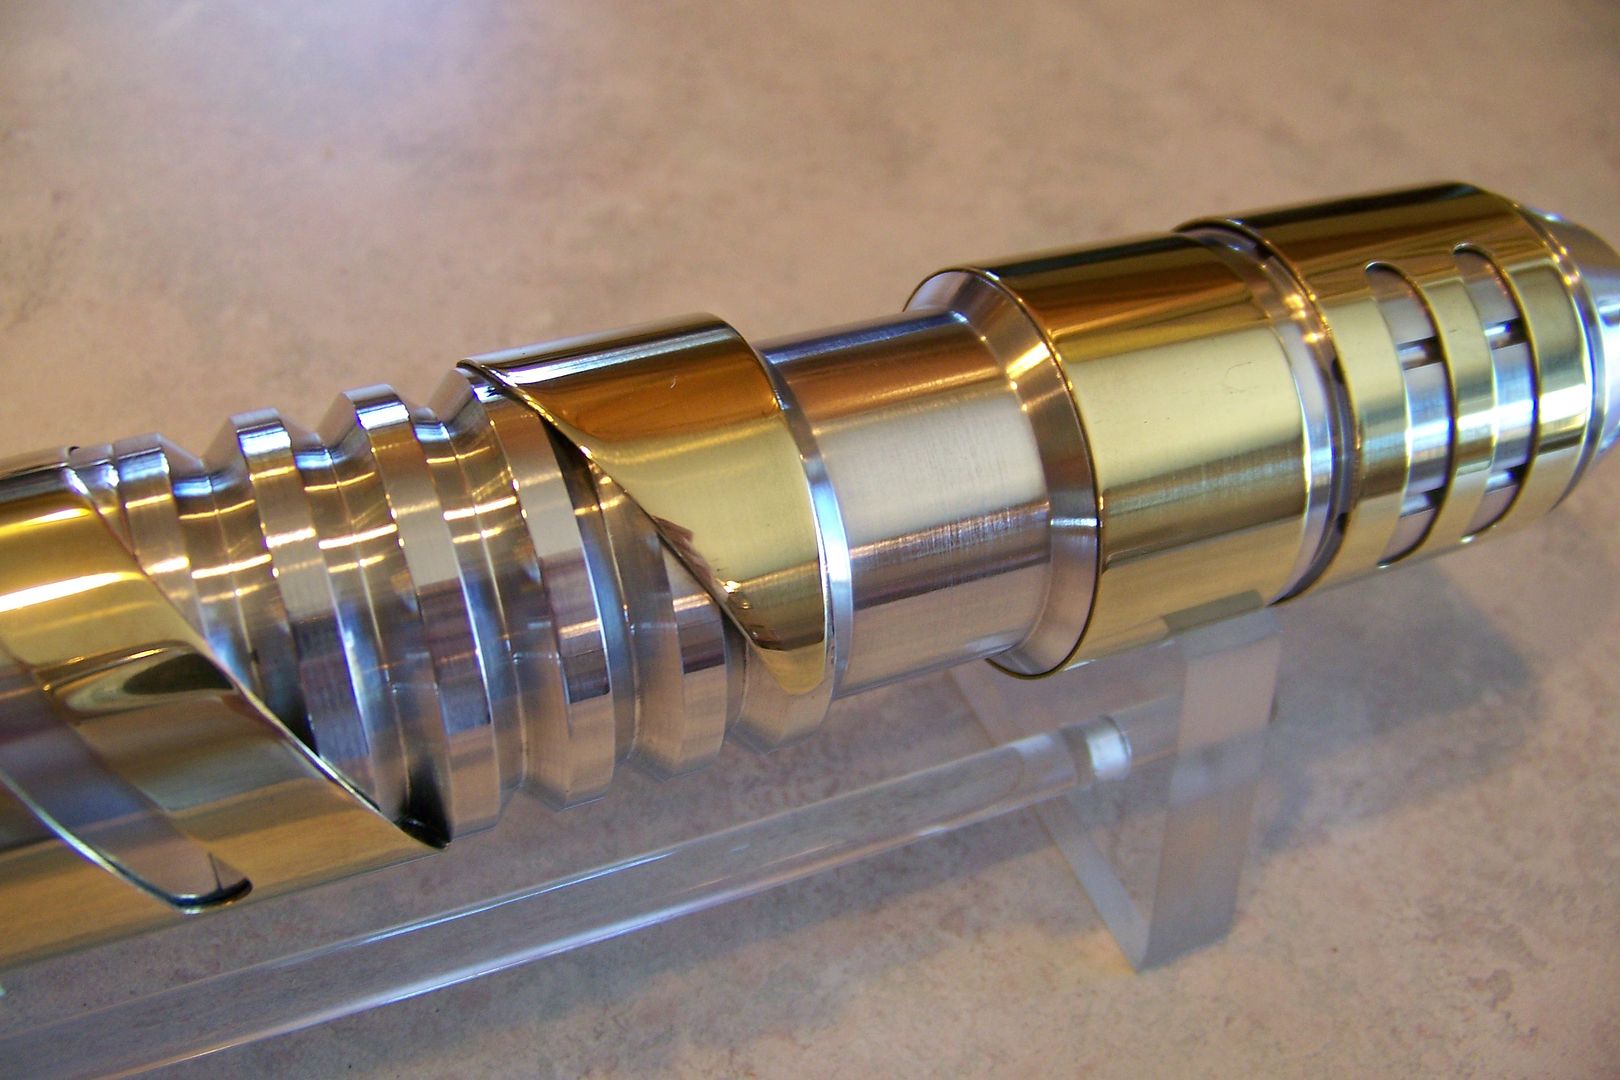
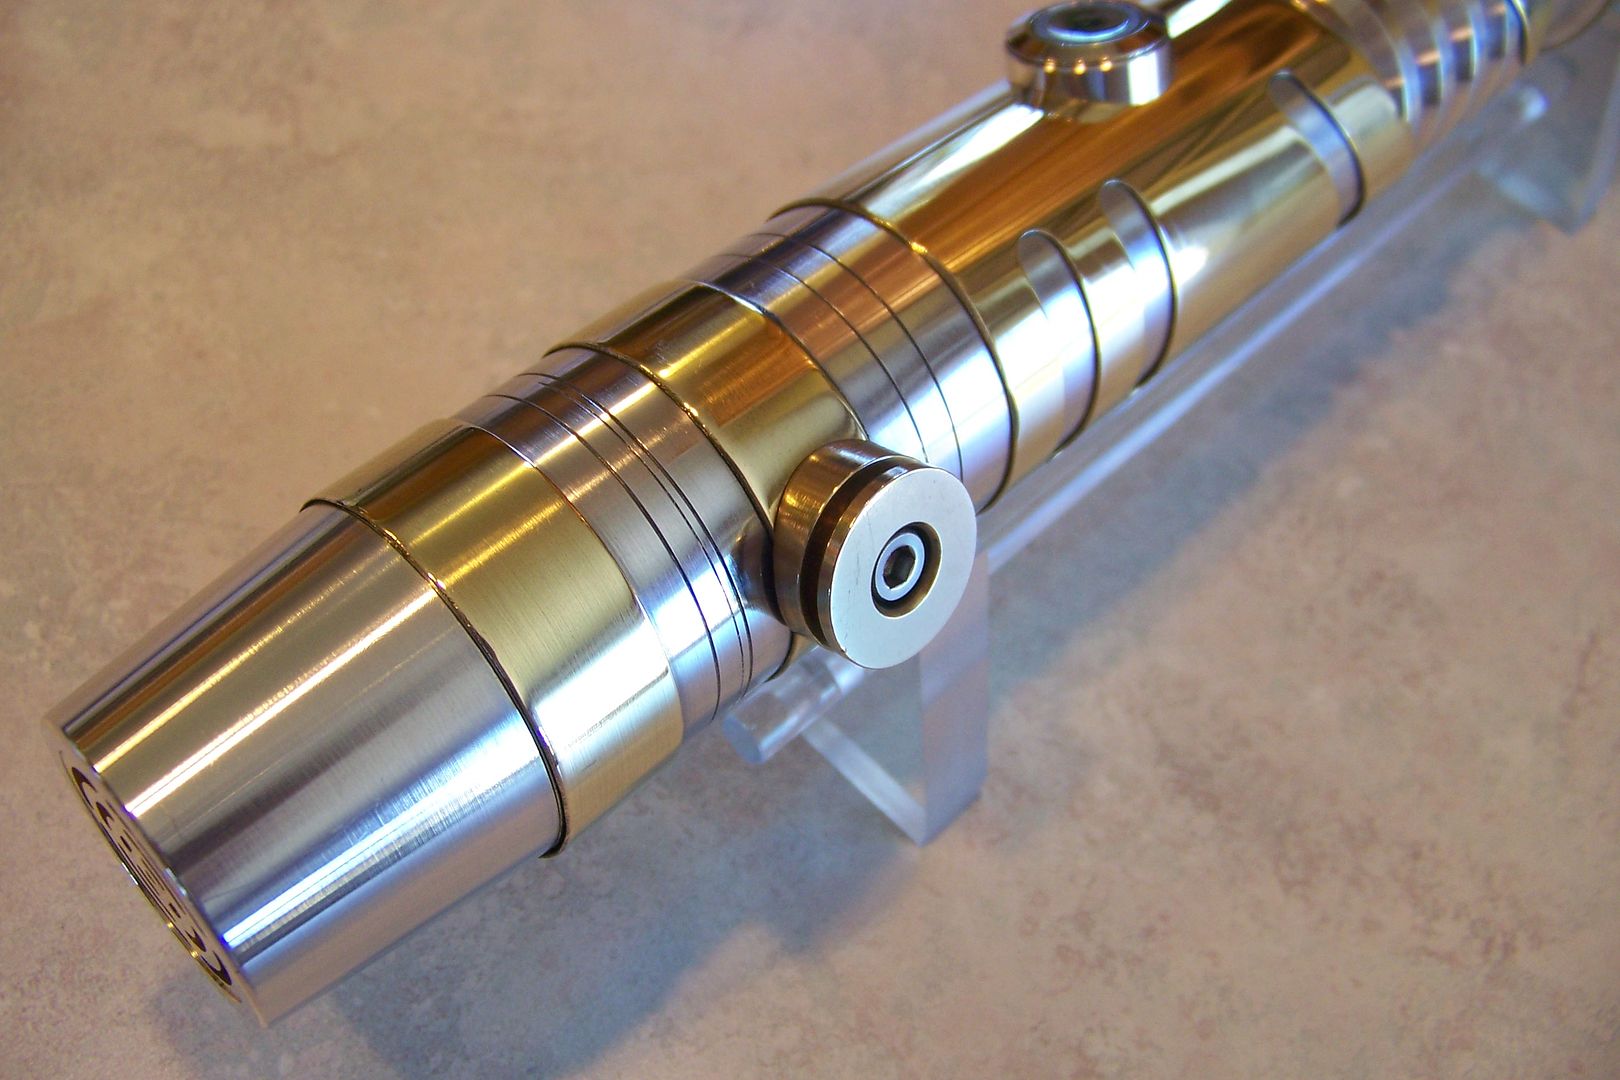
Modified ribbed extension...Tim did the machine work on this piece and it of course, came out perfect. He machined off the first three ribs from the extension creating a choke point without using a choke.
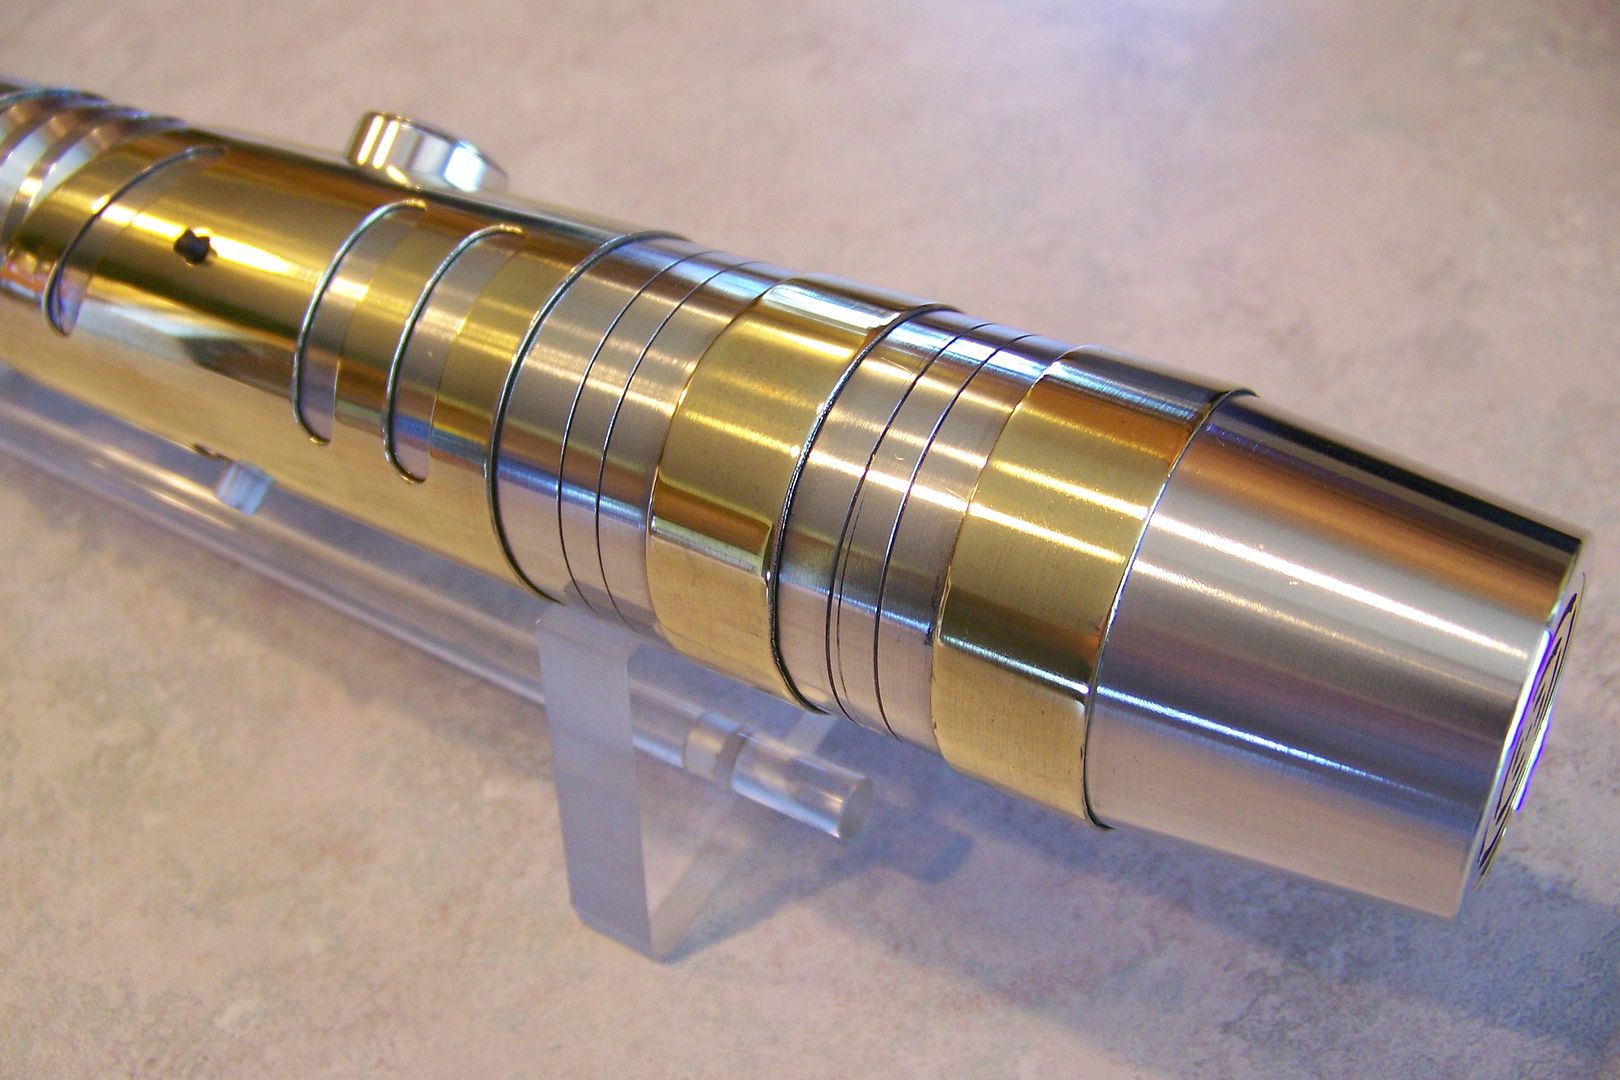
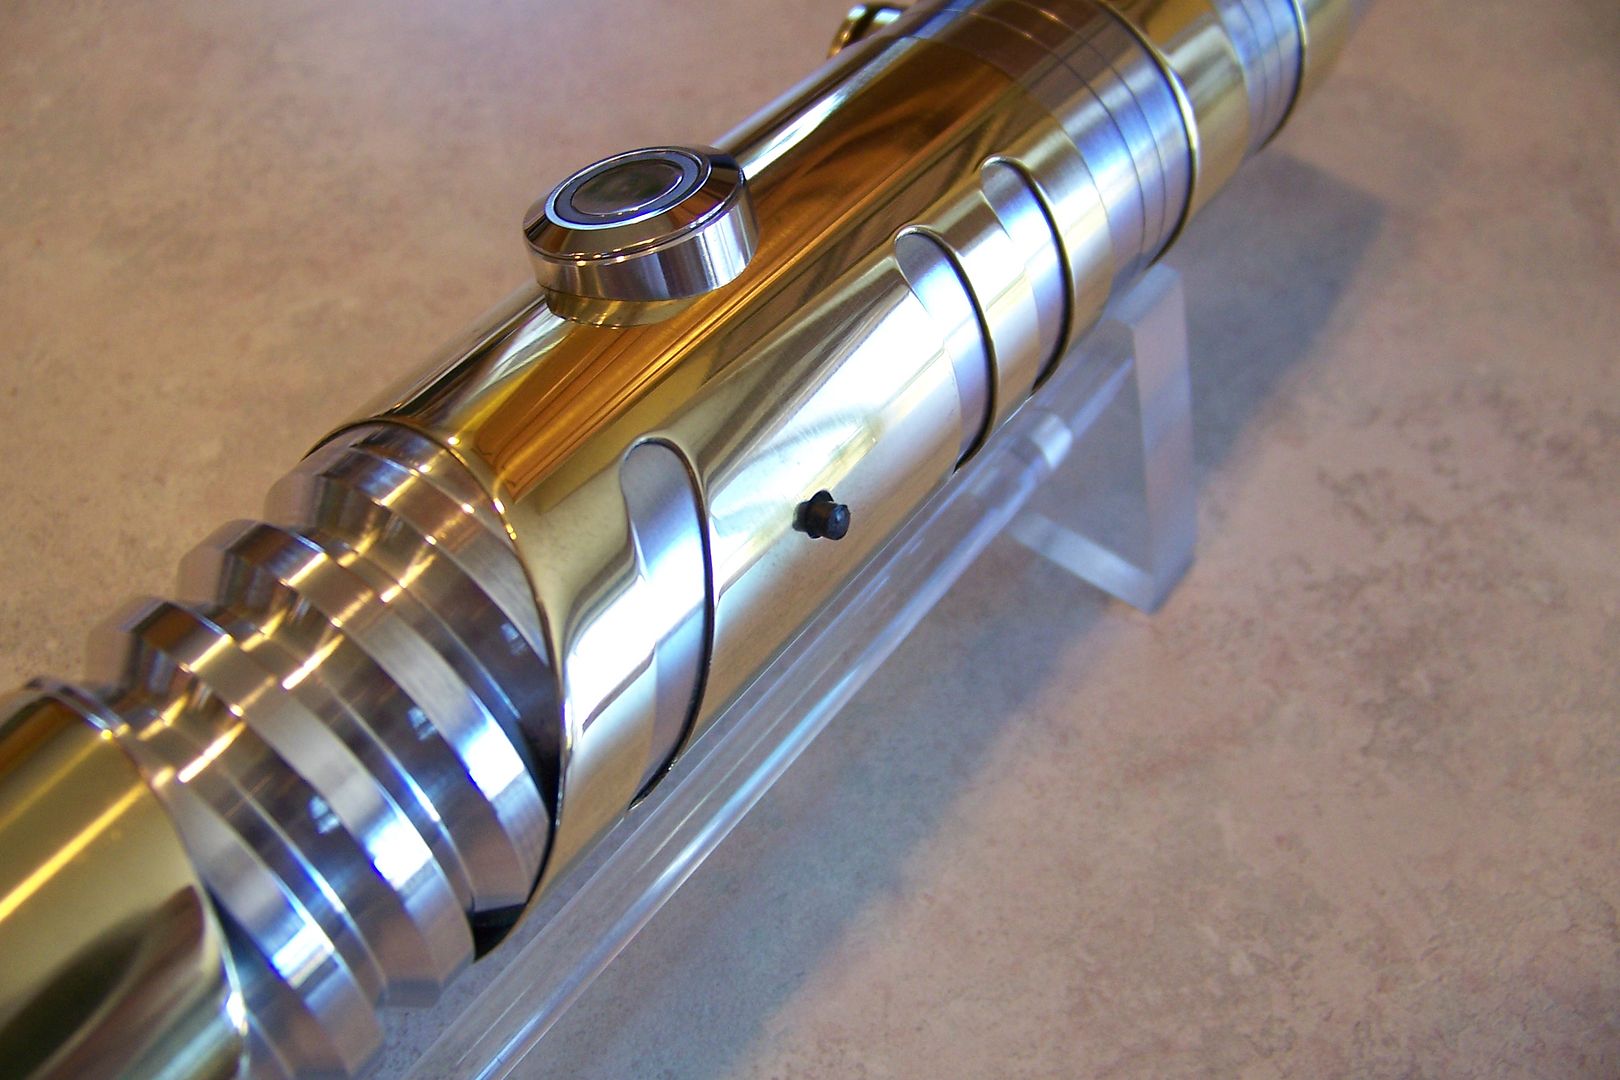
My "signature" style slots in the sleeve:
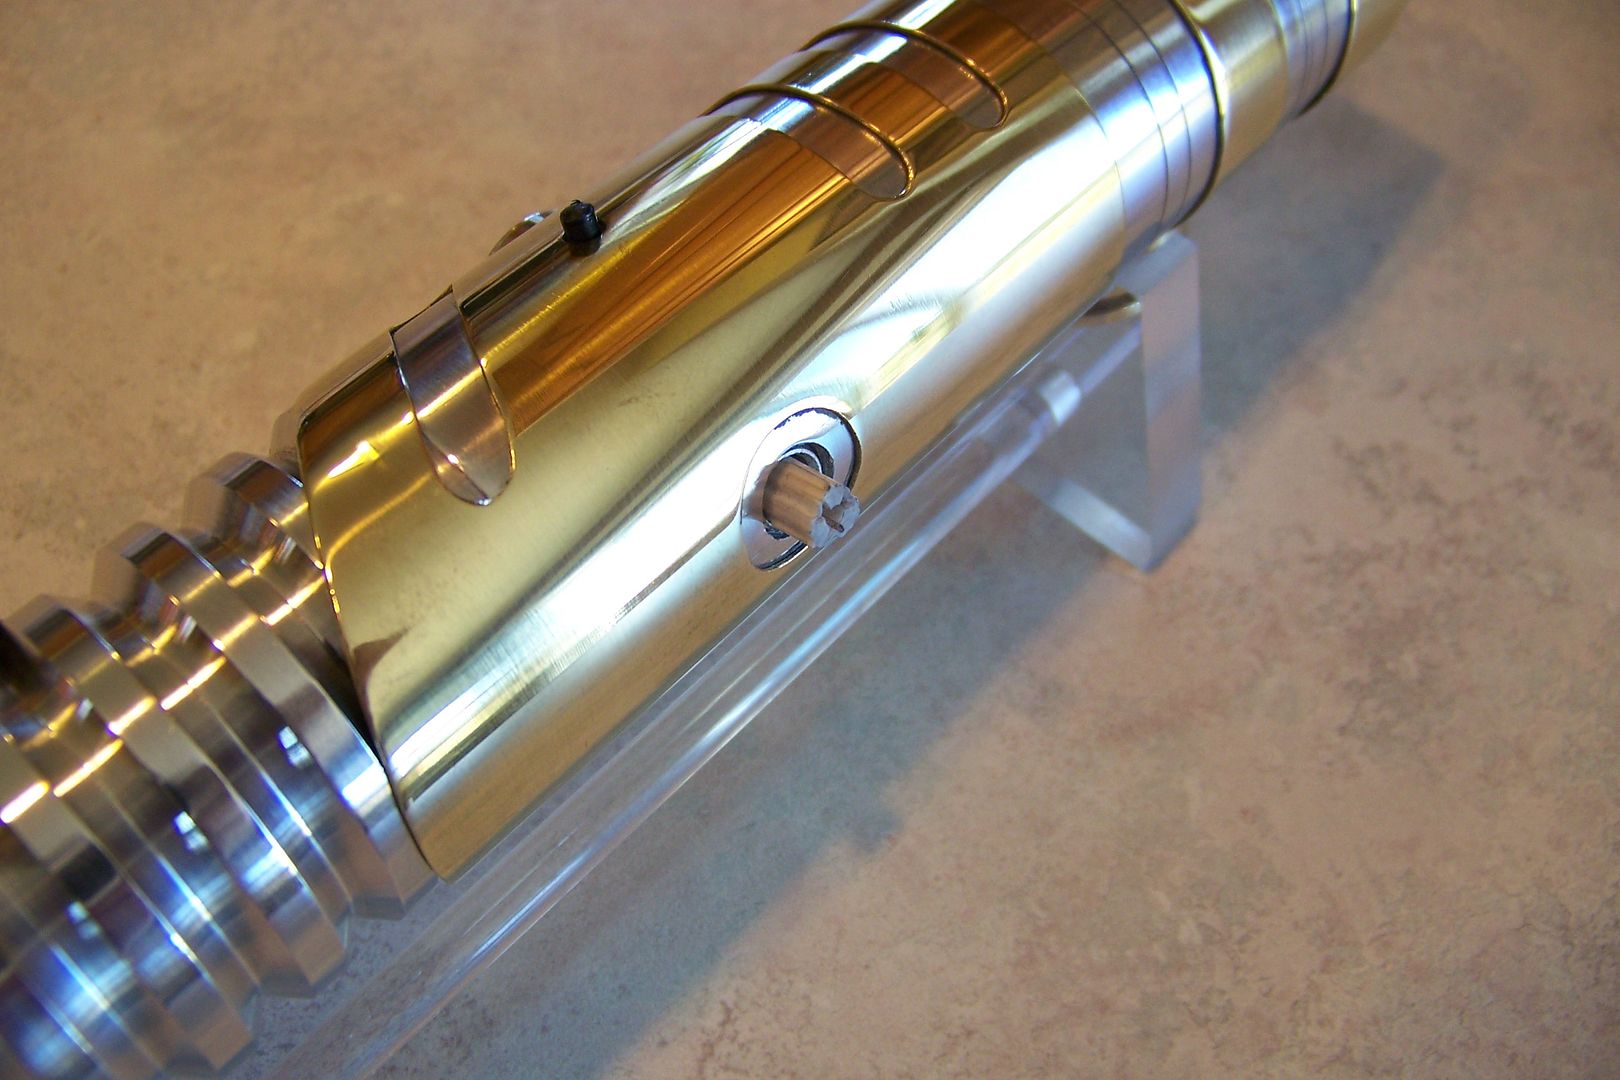
Brass CT button/wheel:
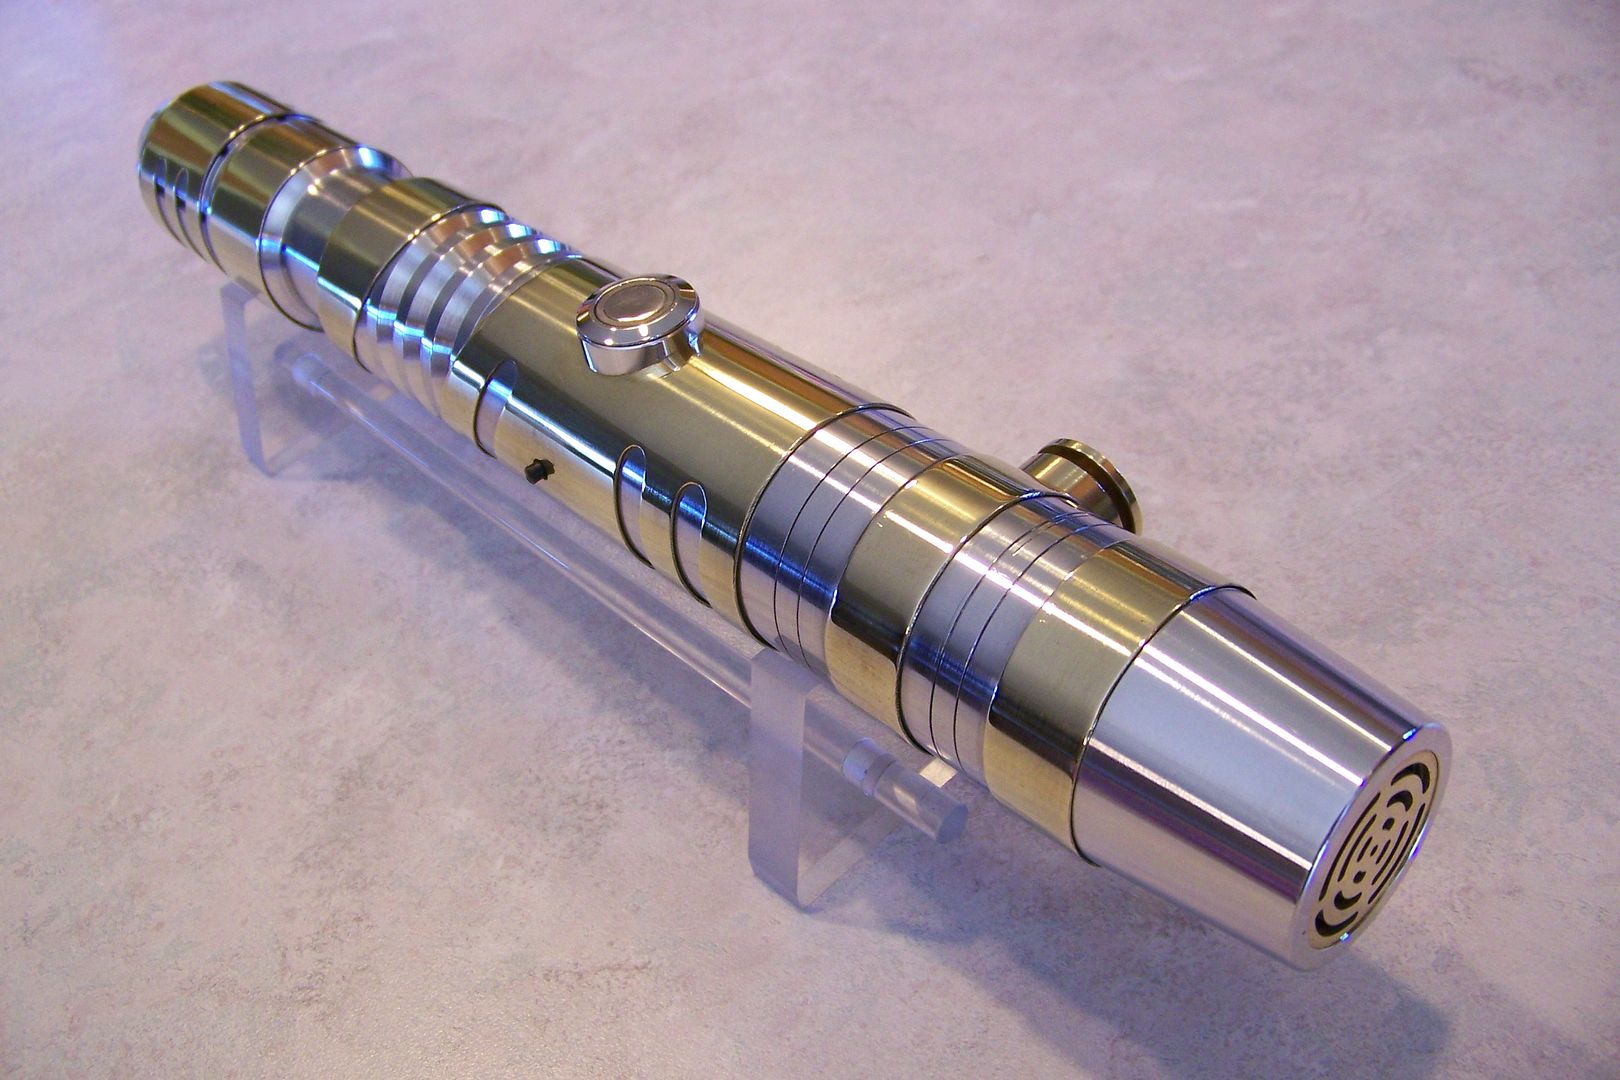
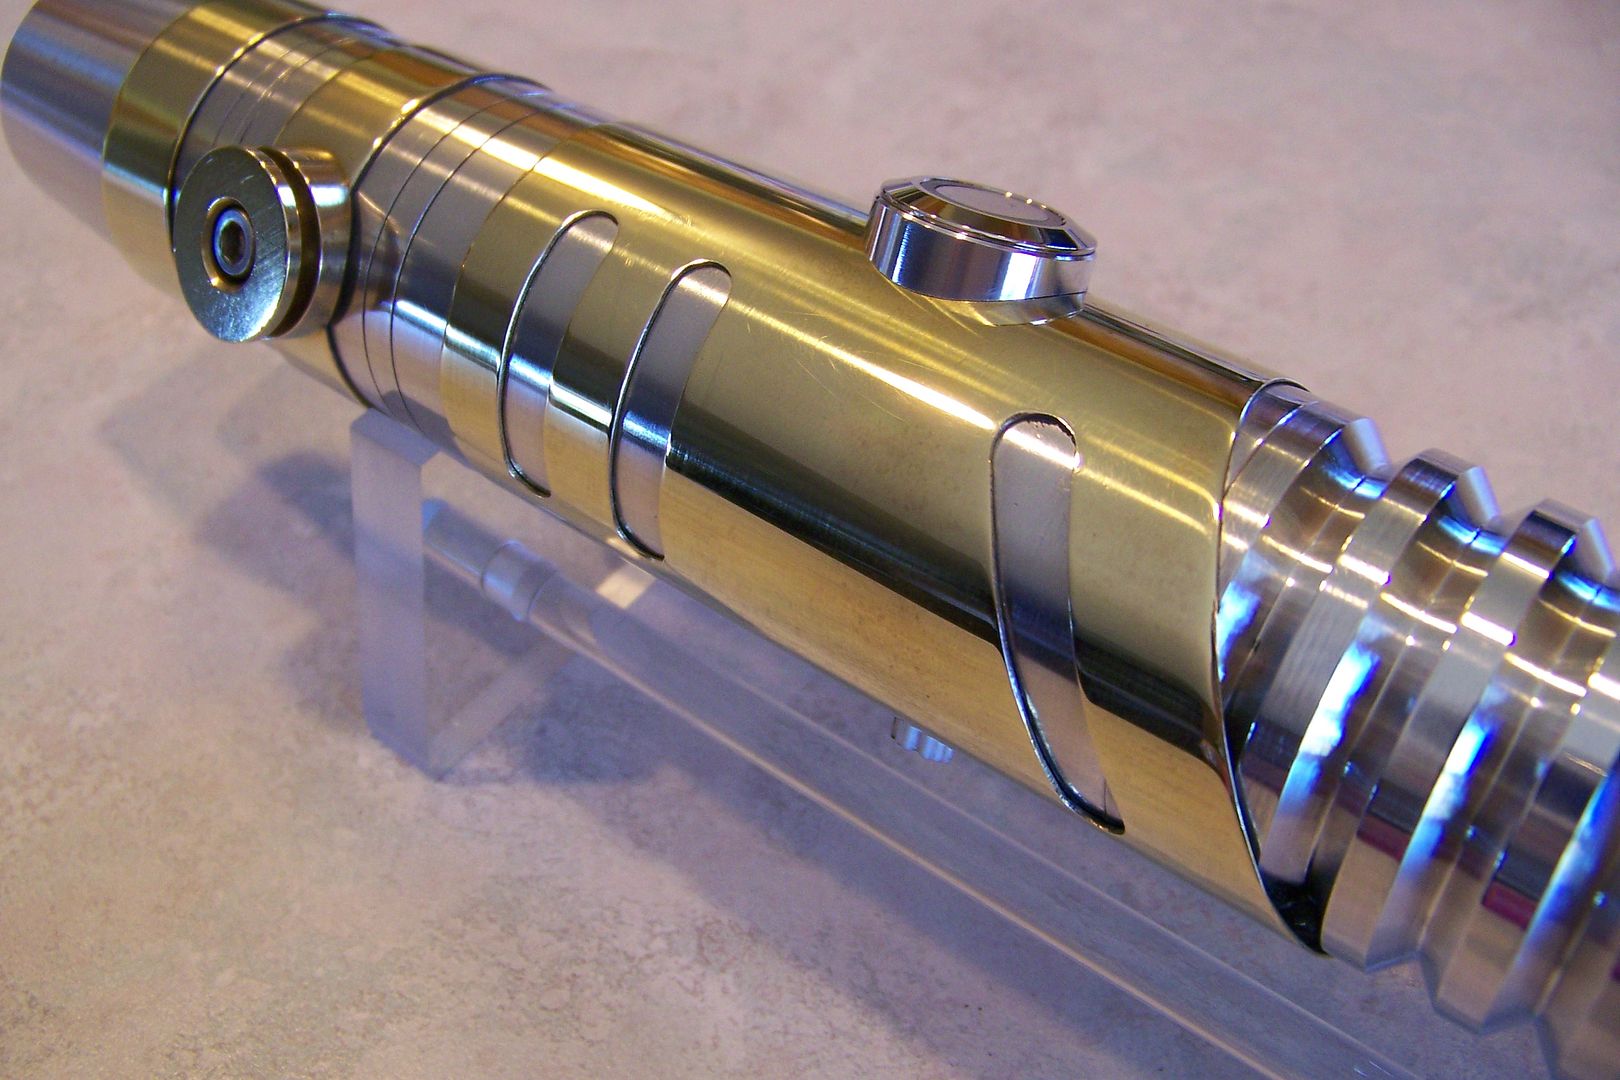
Brass insert in the pommel:
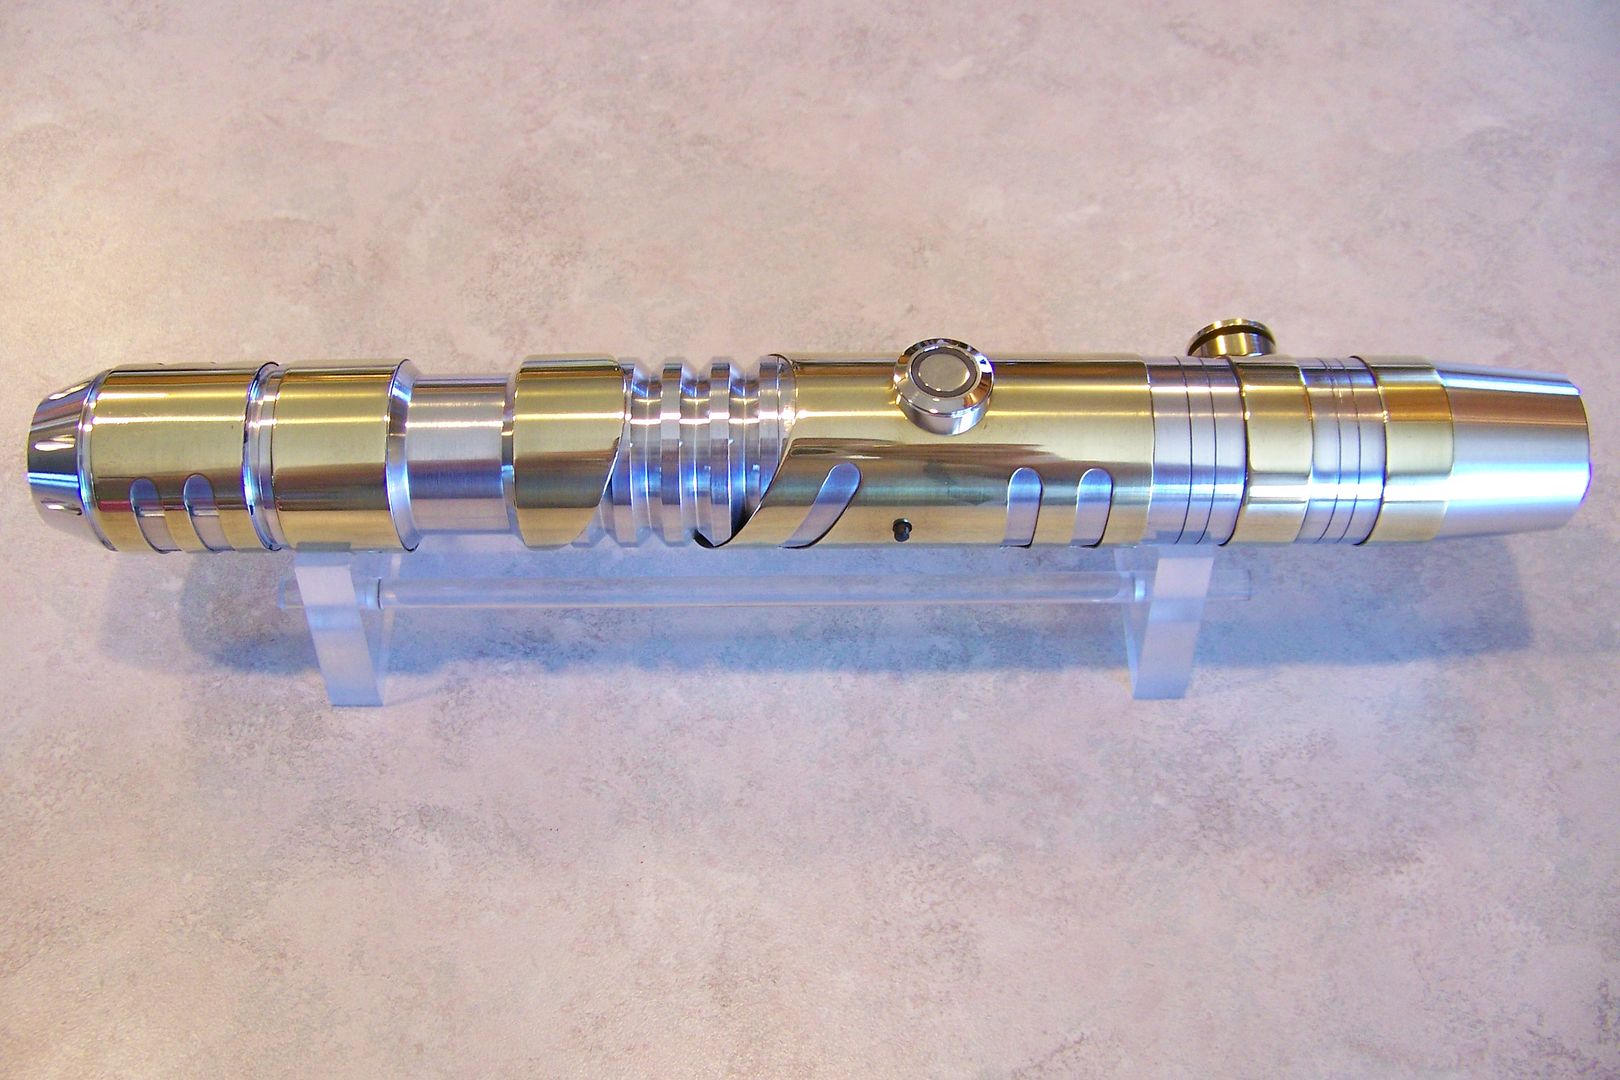
Scoring marks in between the brass grip rings were done using my usual pipe cutter technique:
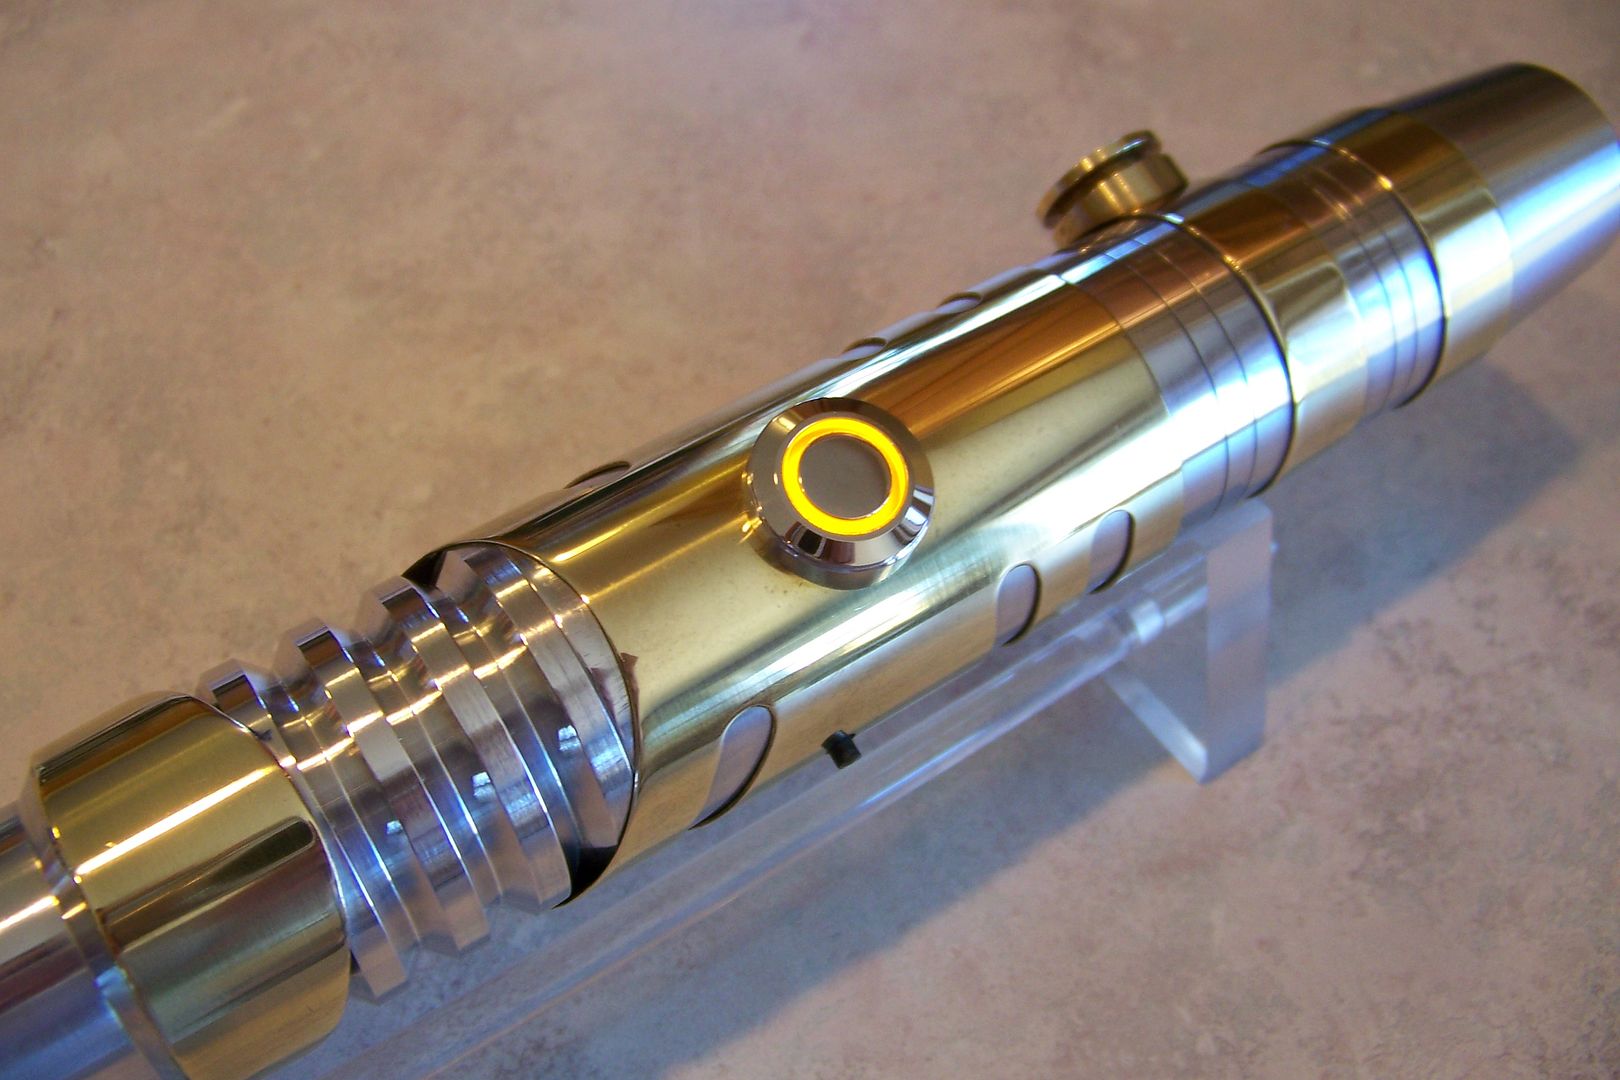
The AUX button is mounted in my trademark pvc C-Clip method:
This makes removing the switch a bit of a pain, but that shouldn't be necessary to do very often. There is a hole in the MHS section just large enough for the top of the switch body to fit through, with a corresponding hole for the actual plunger/button on the switch in the brass sleeve.
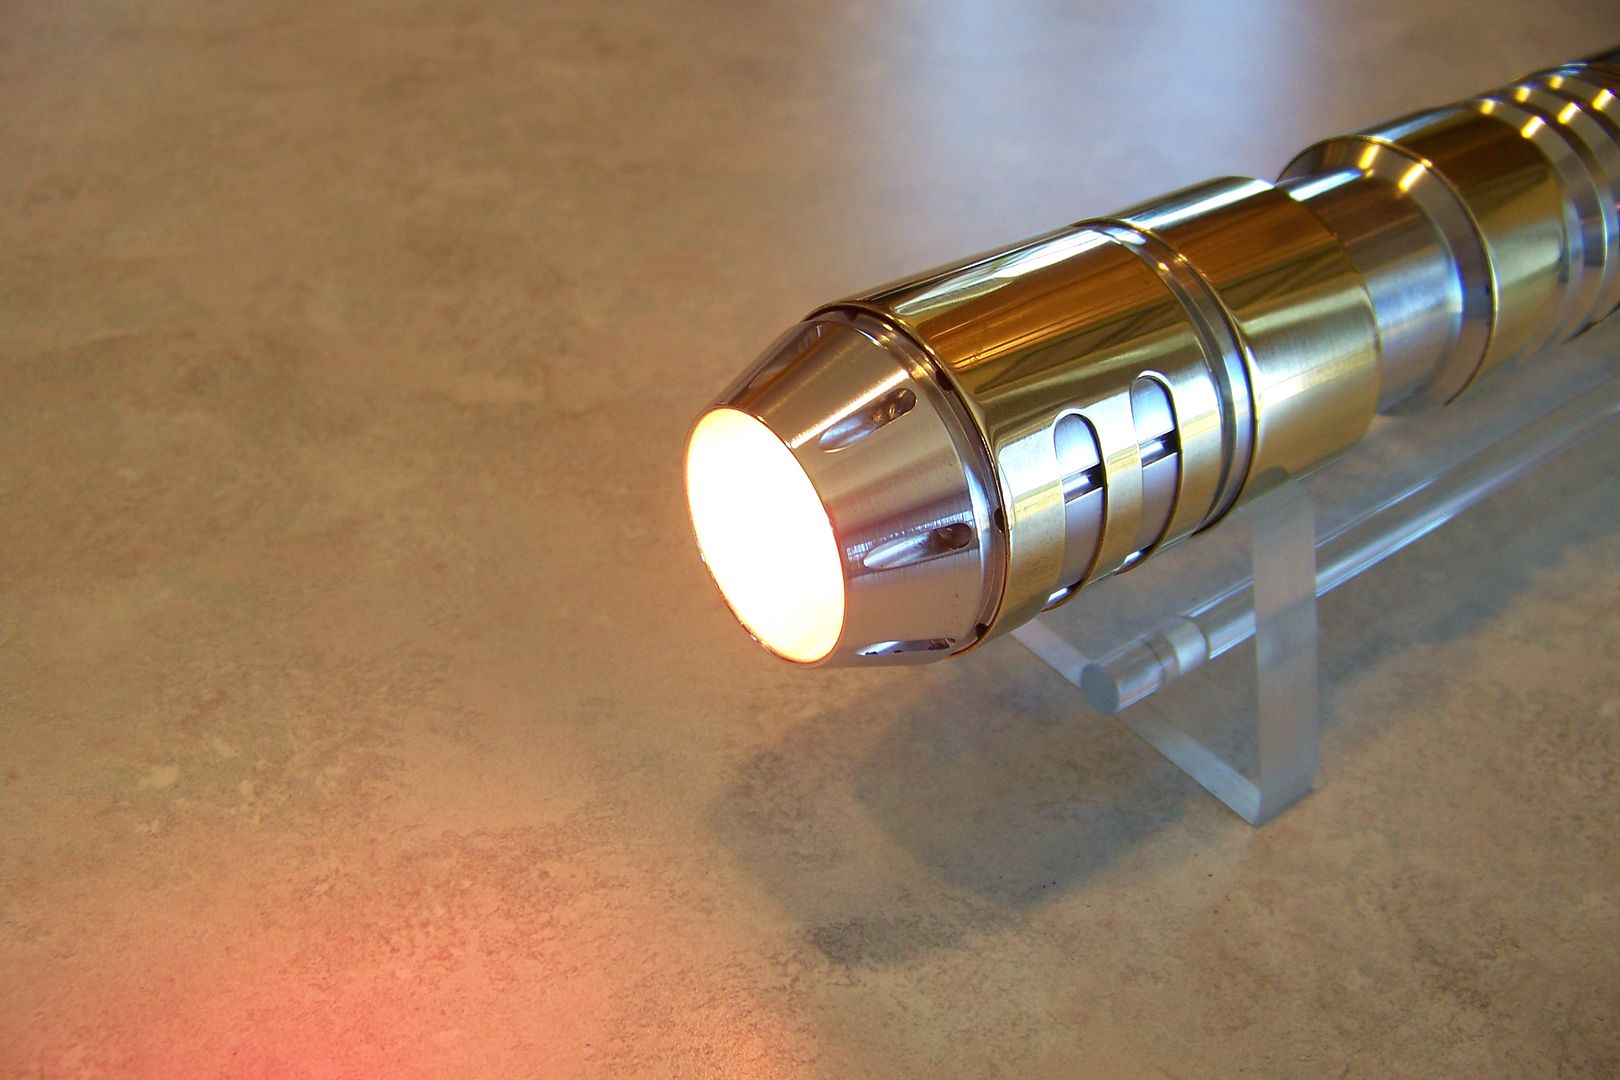
Recharge port/kill switch:
I also mounted this in the same pvc C-clip that houses the AUX button, making removal/installation extra challenging.
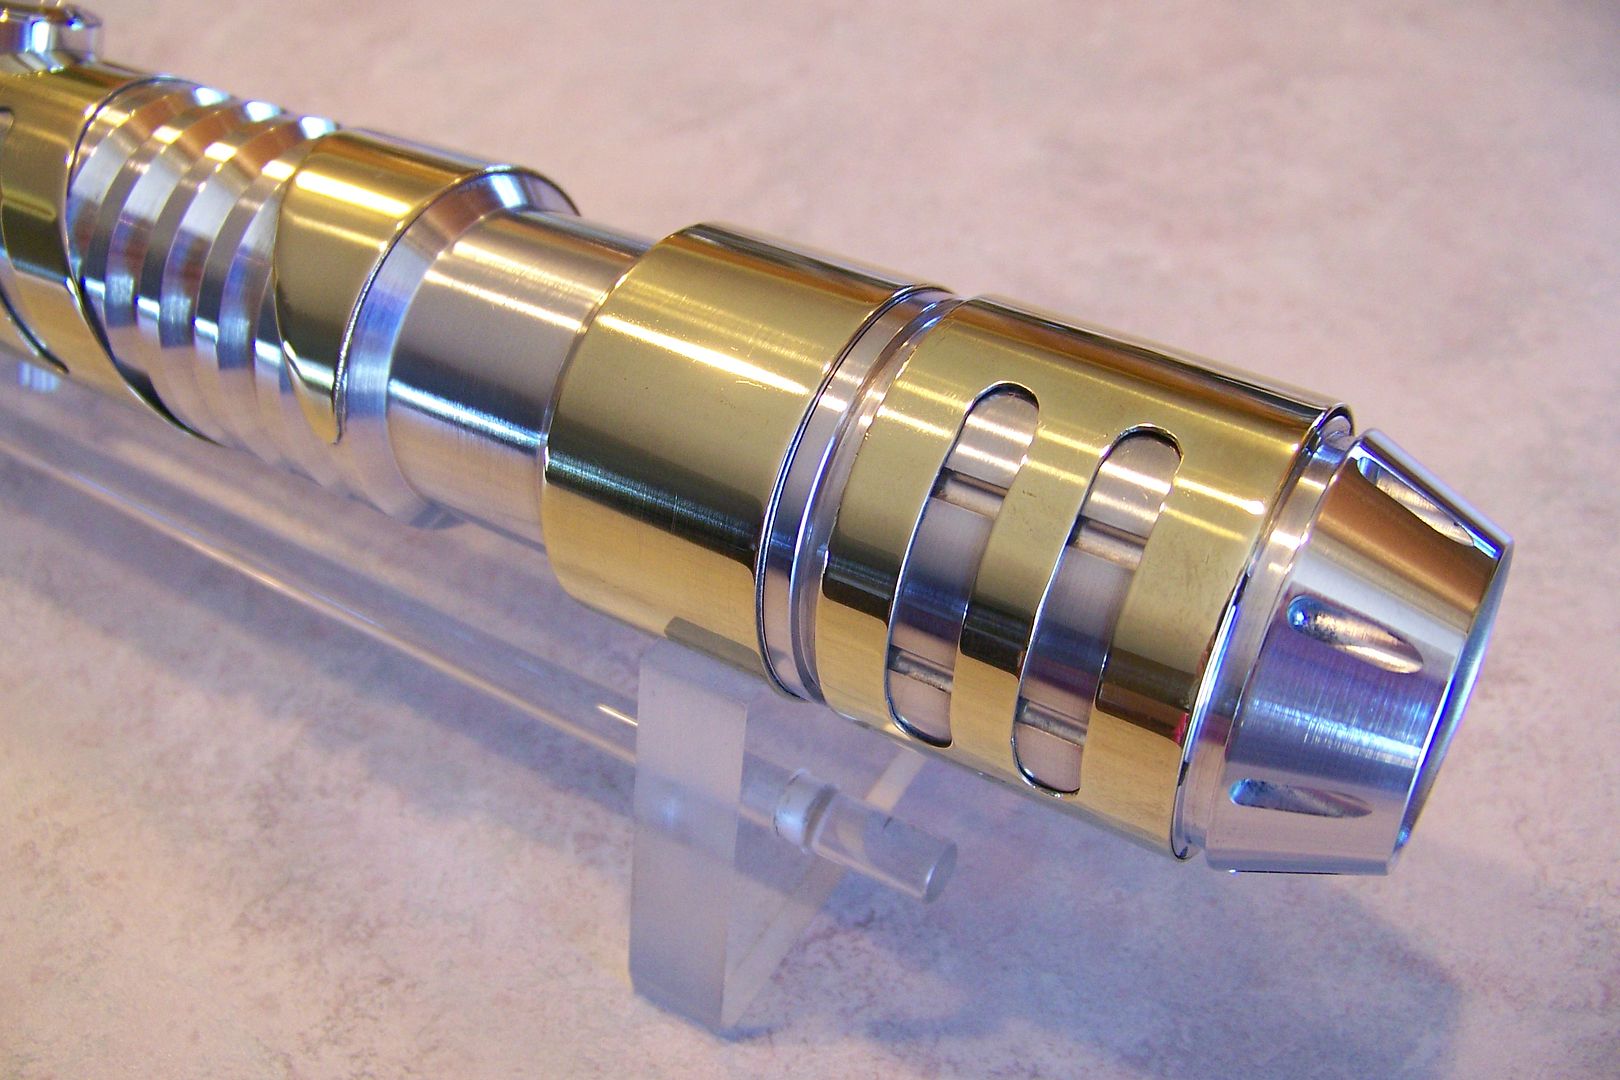
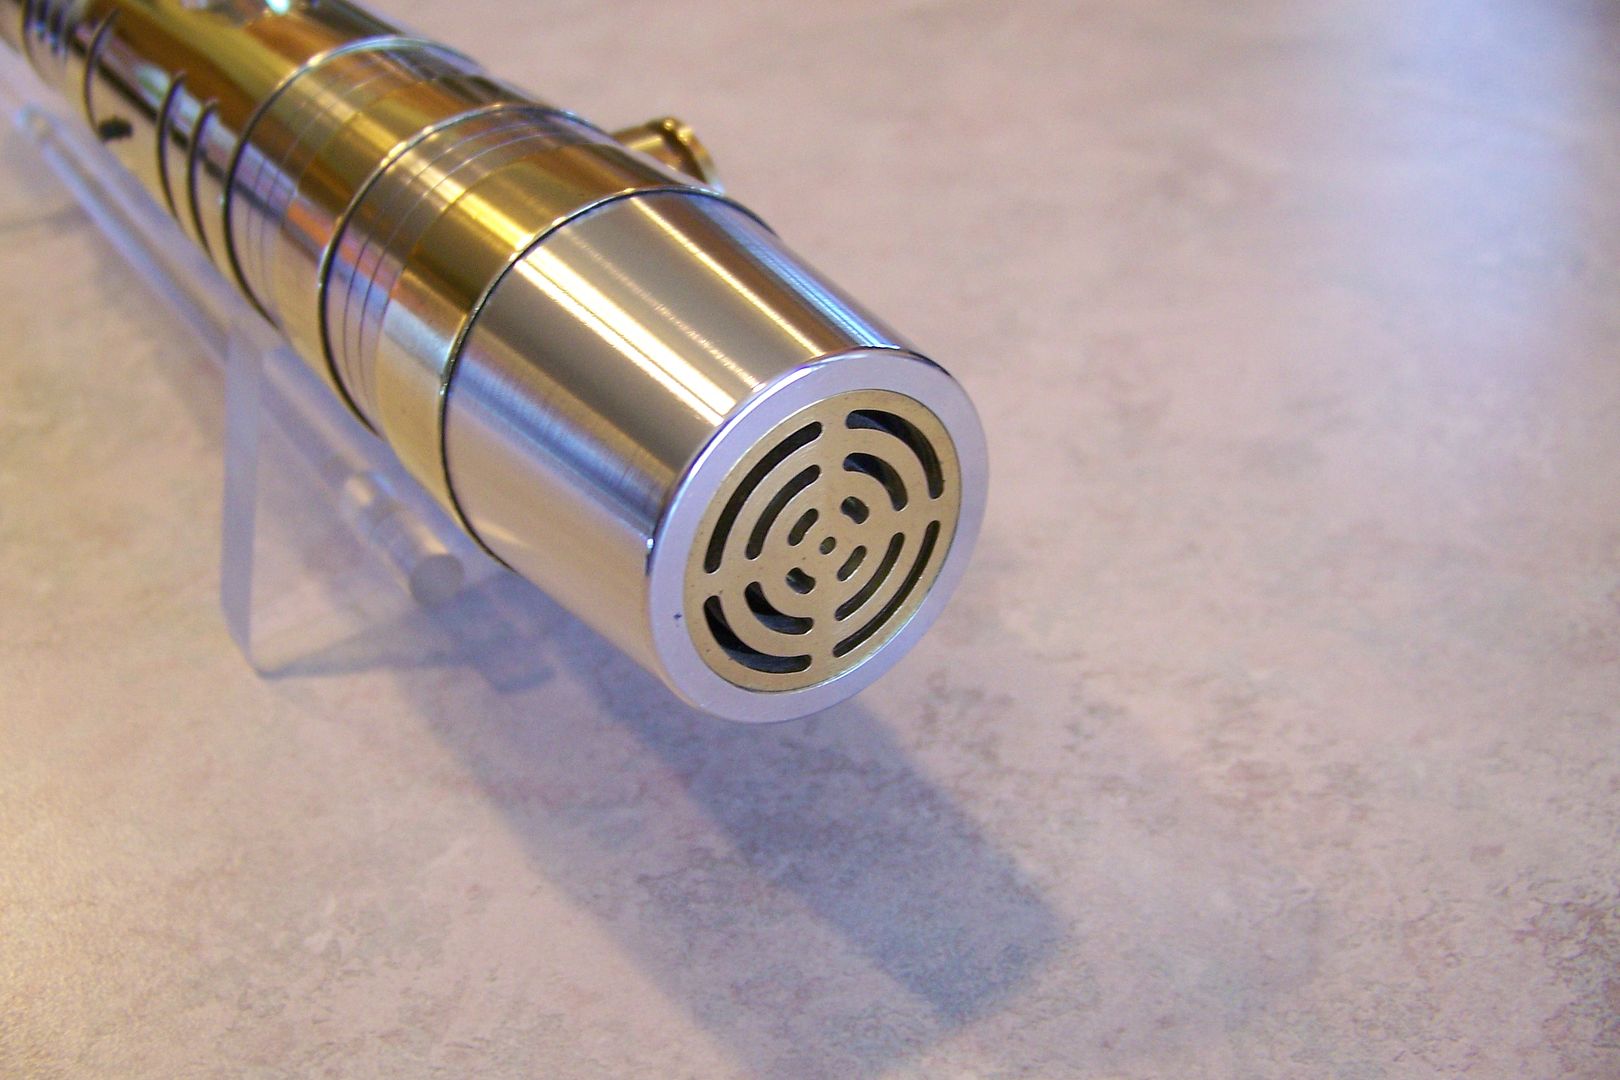
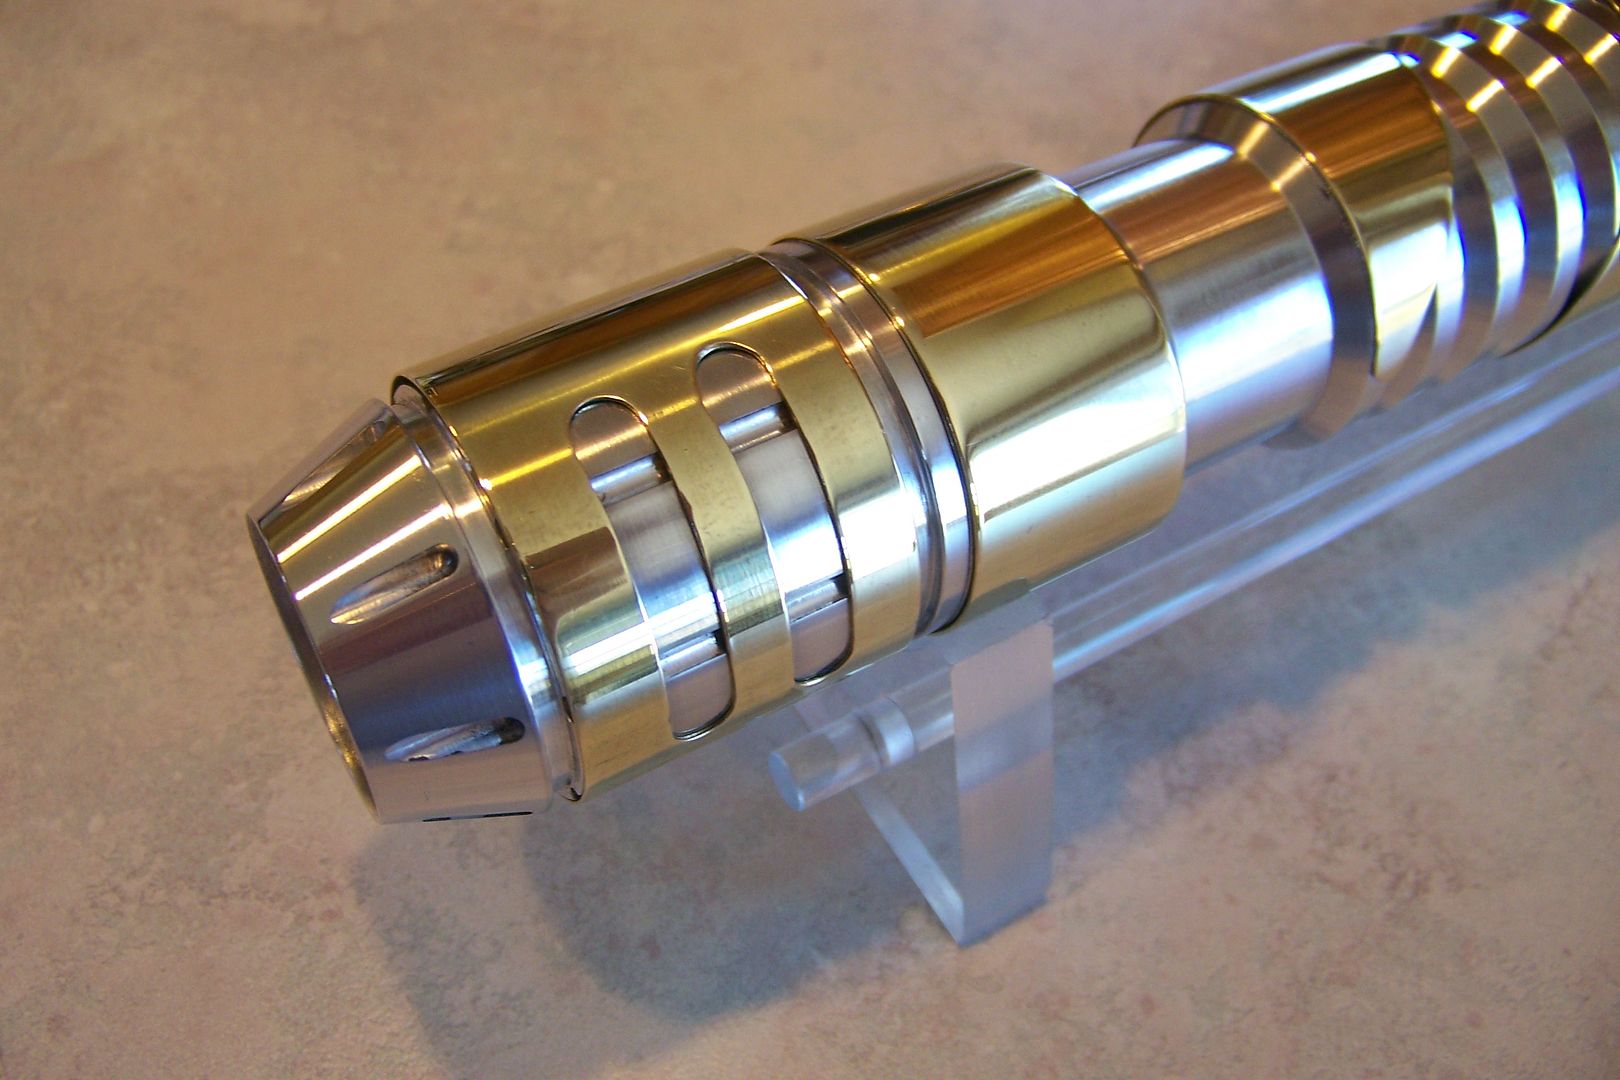
I added slots to the emitter sleeve to expose the machined lines of the blade holder because seemed like a shame to hide them, even if it was underneath a nice shiny piece of brass:
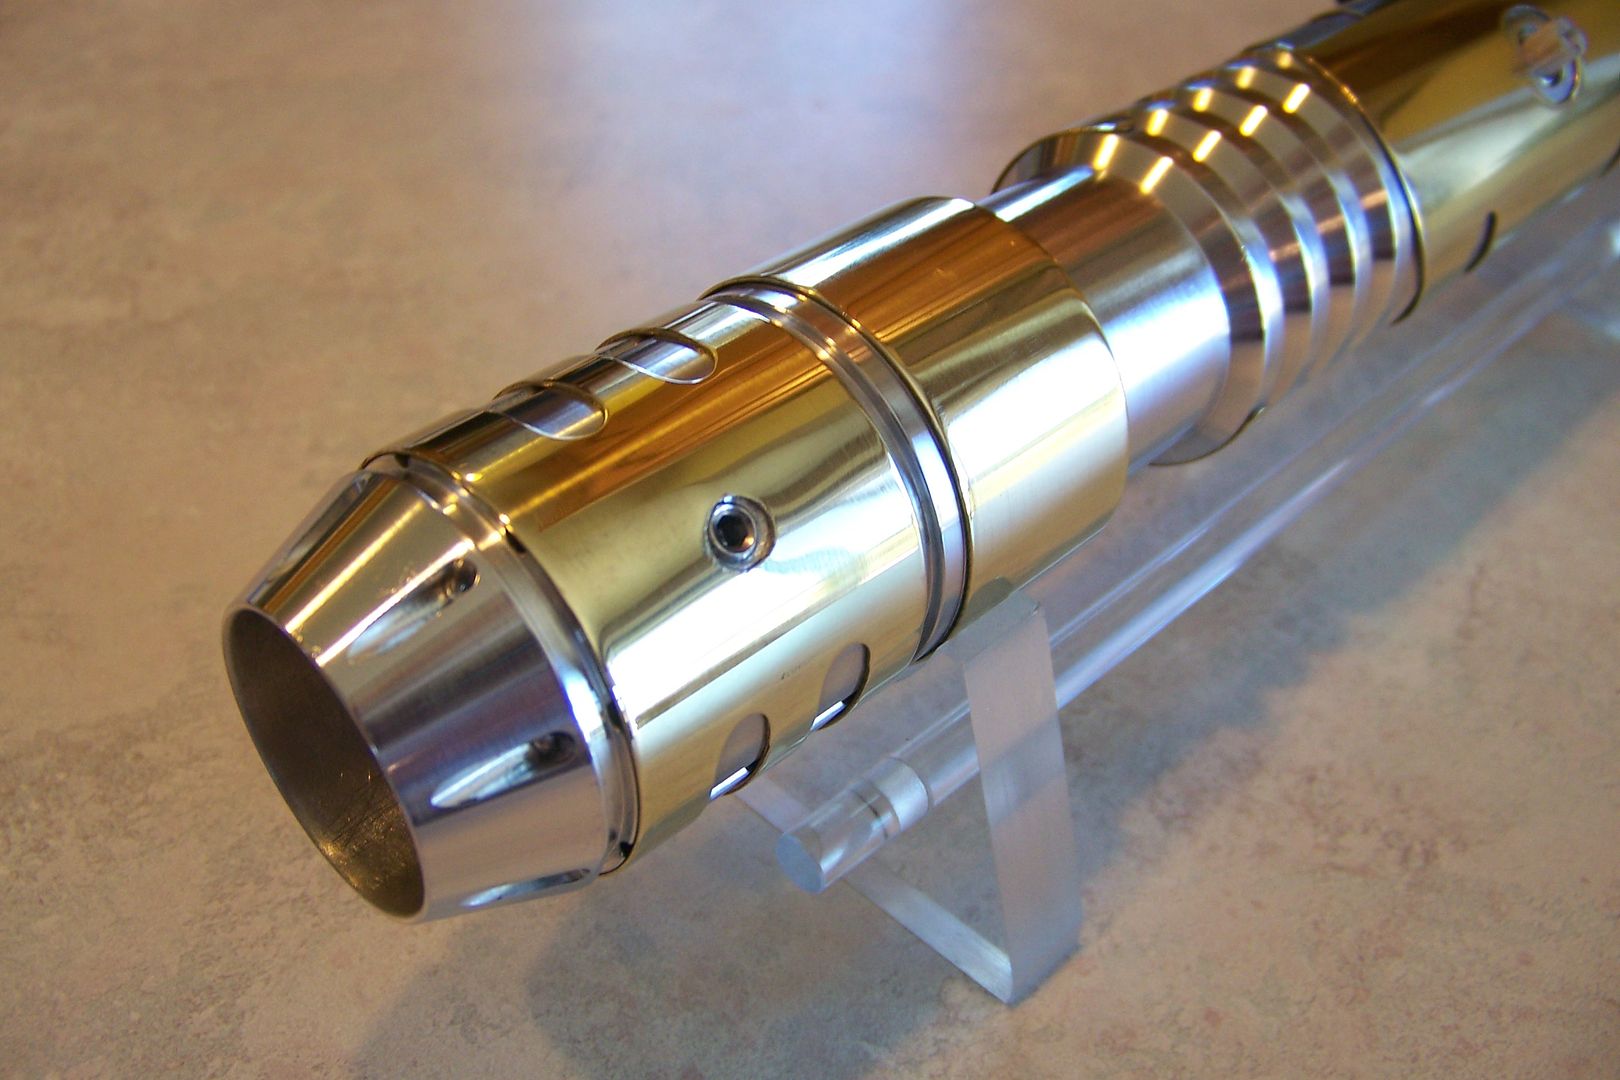
Blade is secured by a 10-32 set screw on the bottom of the blade holder:
This is a trooping saber, so the battery pack is removable/replaceable:
The R.I.C.E. port is done pig-tail style and tucks in nicely beneath the battery pack.
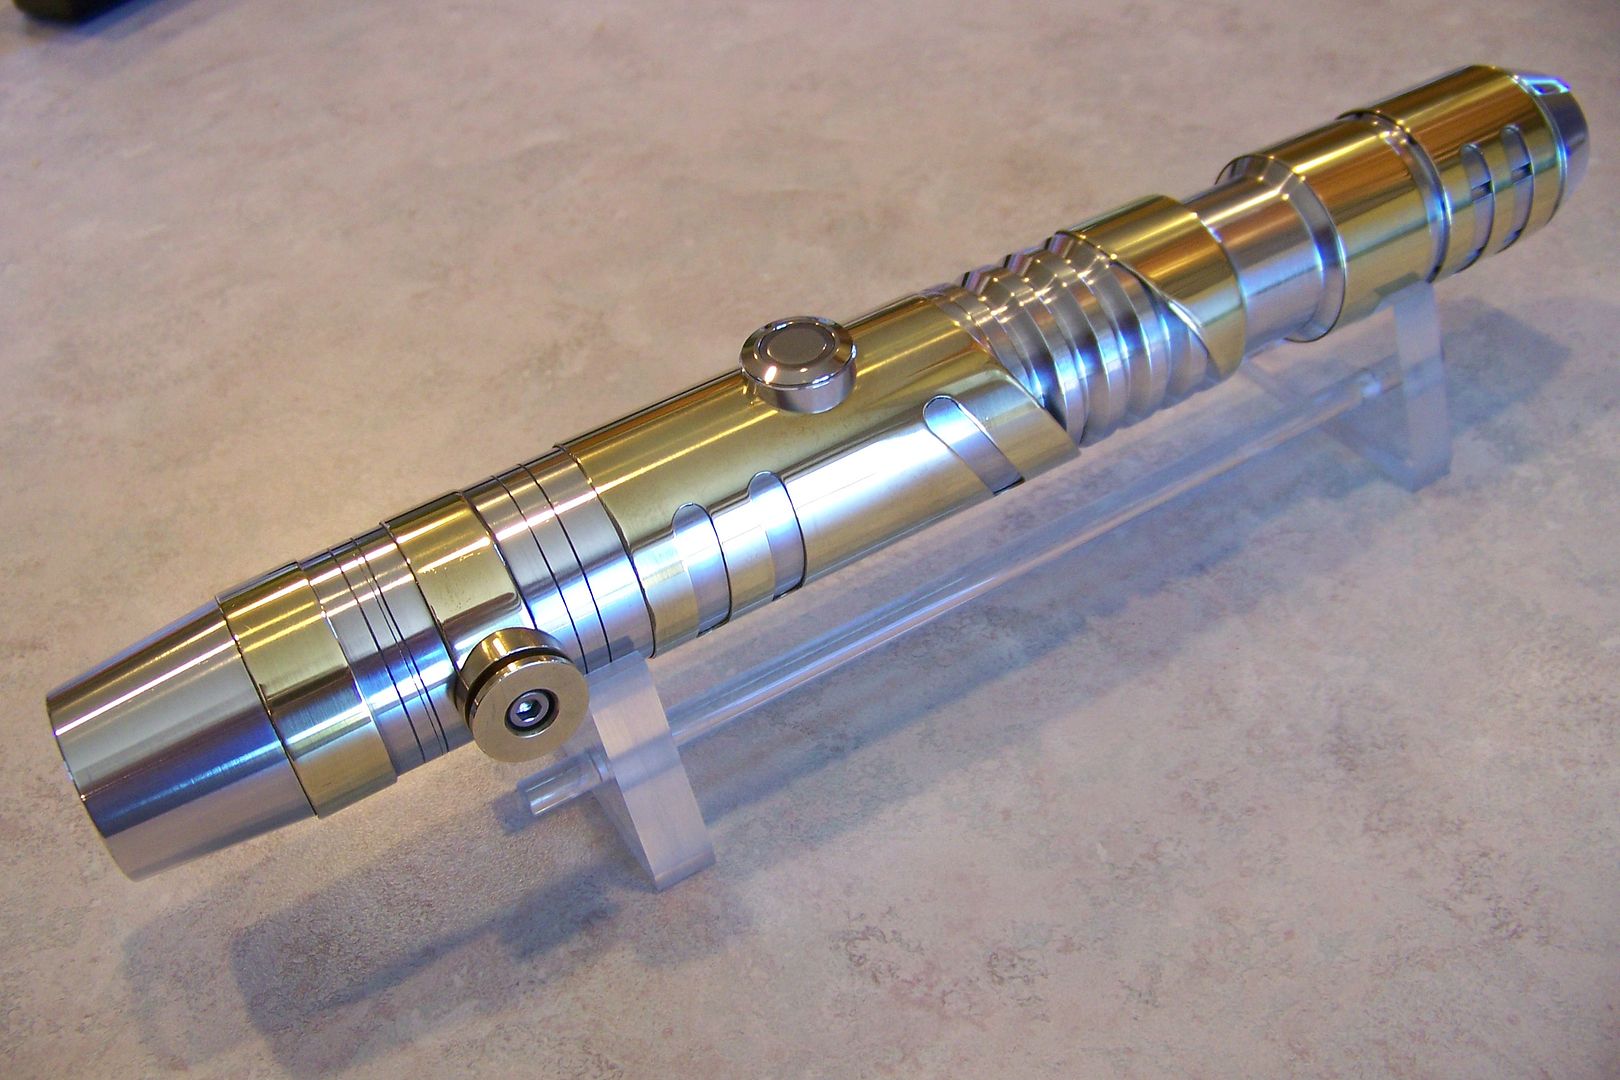
The owner wanted a yellow switch so that's what he got:
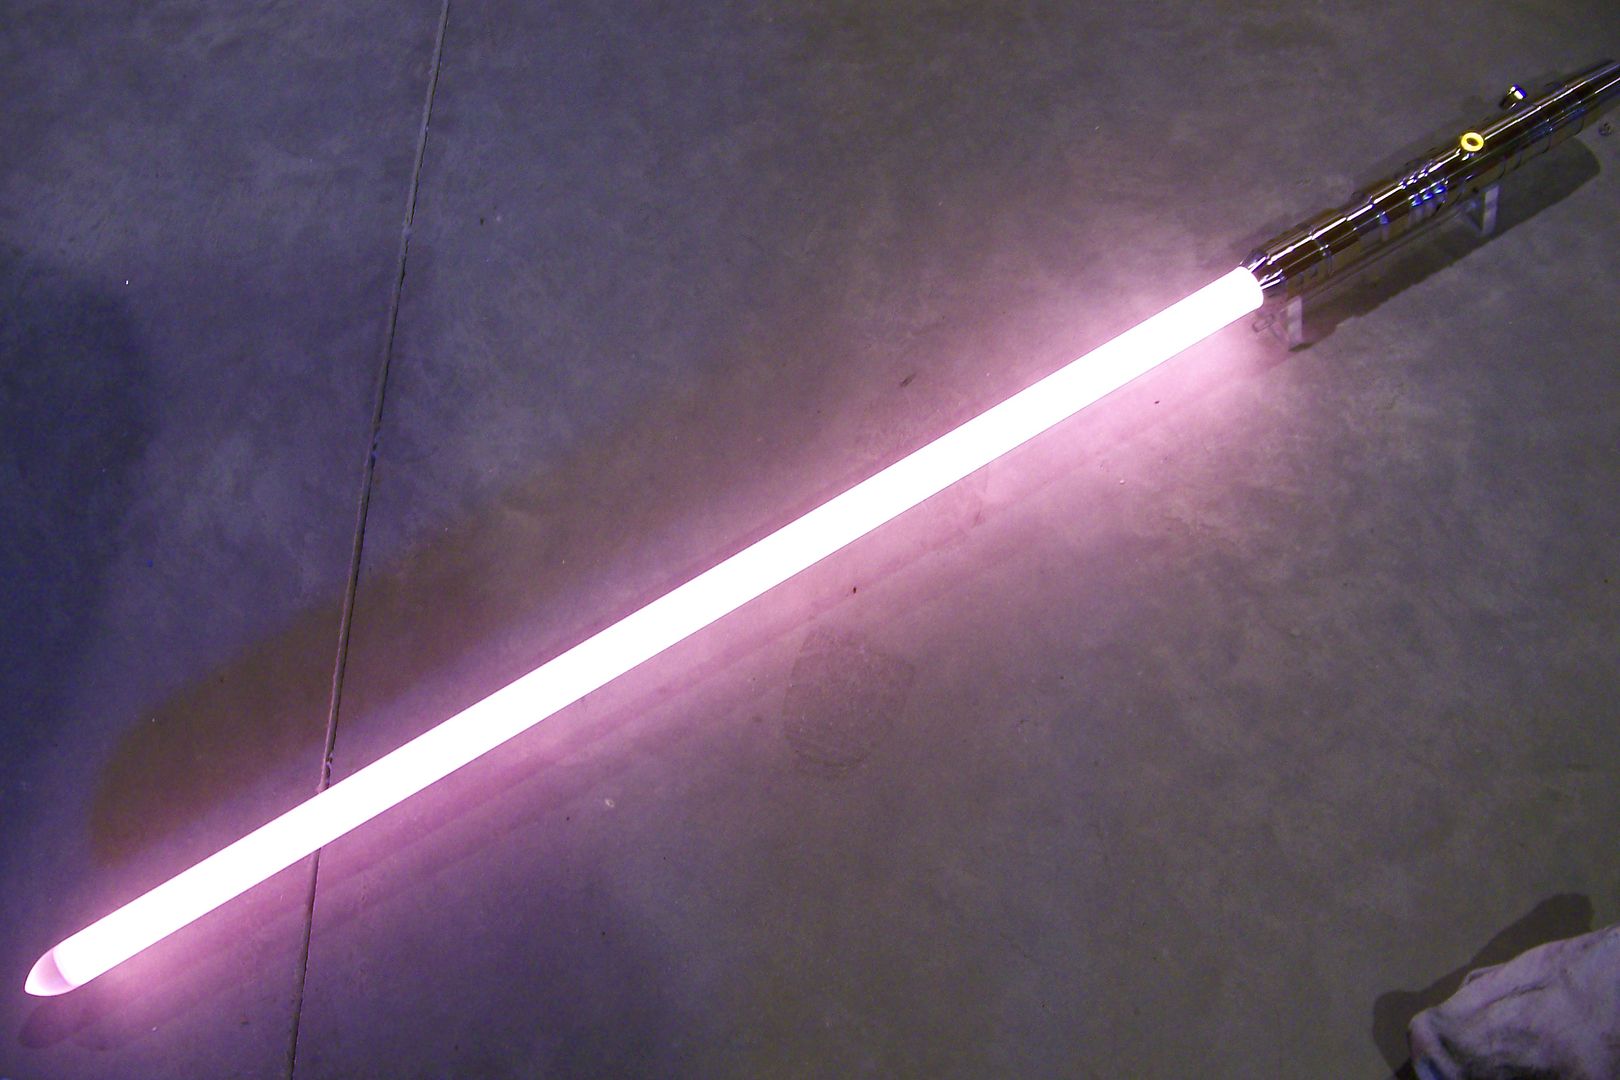
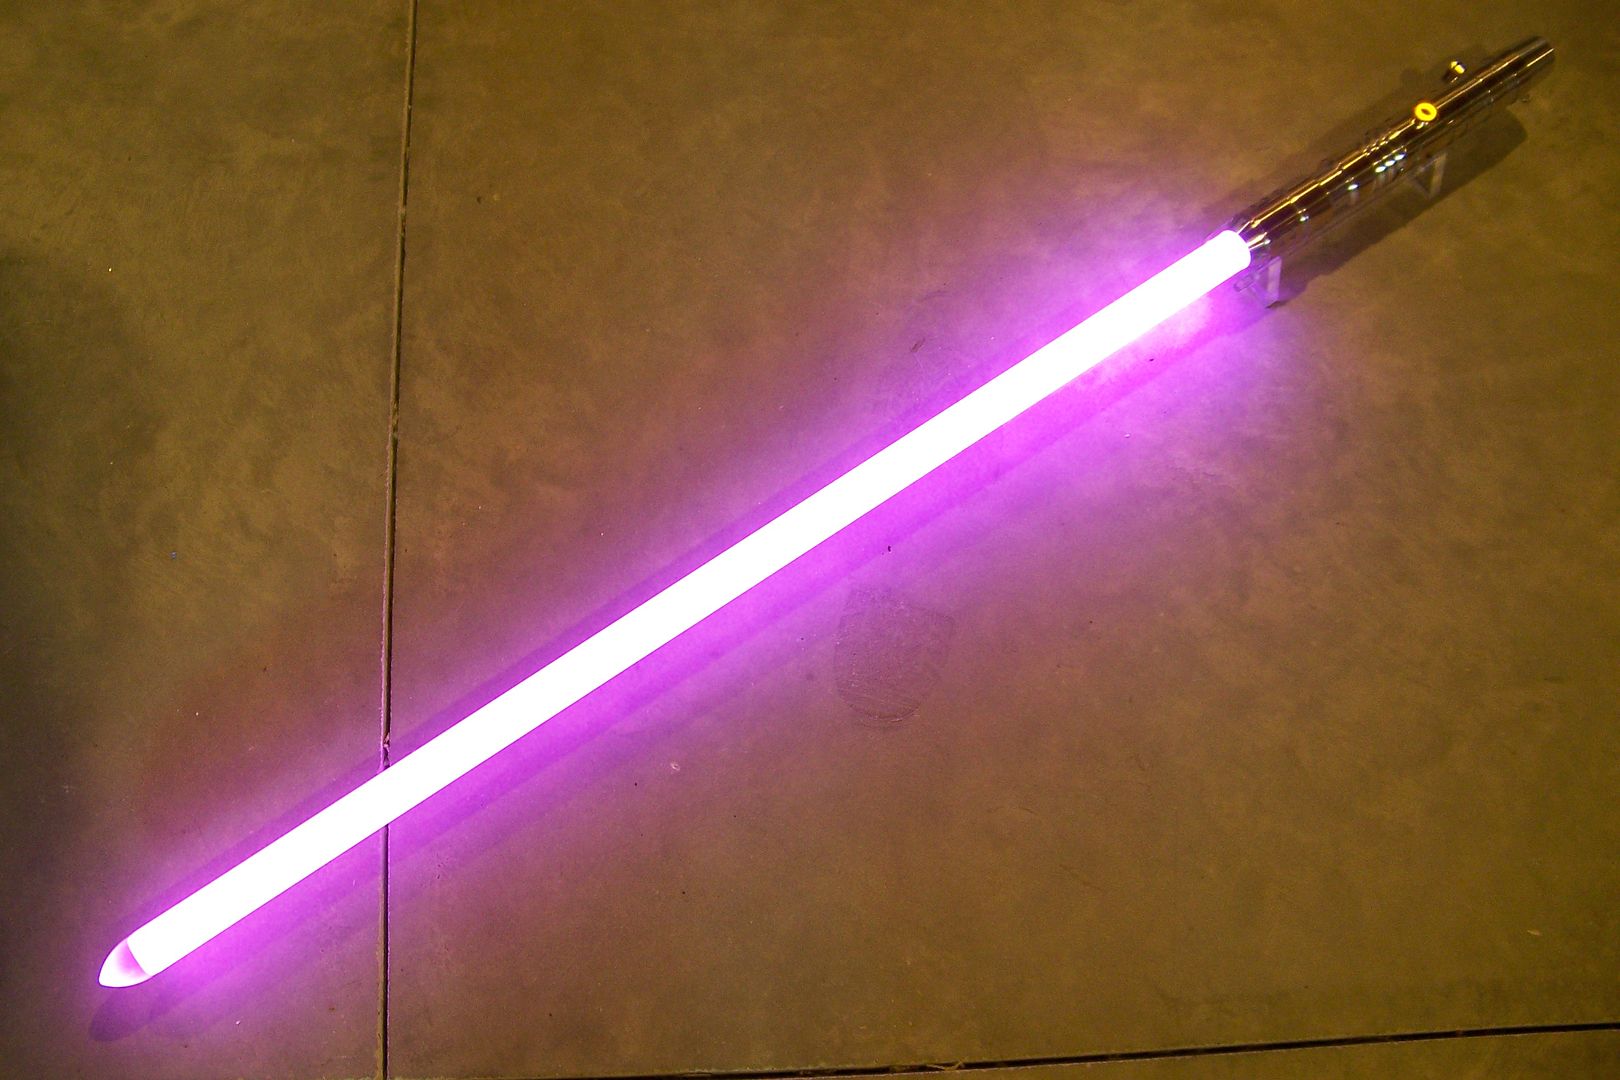
It goes well with blade color #1:
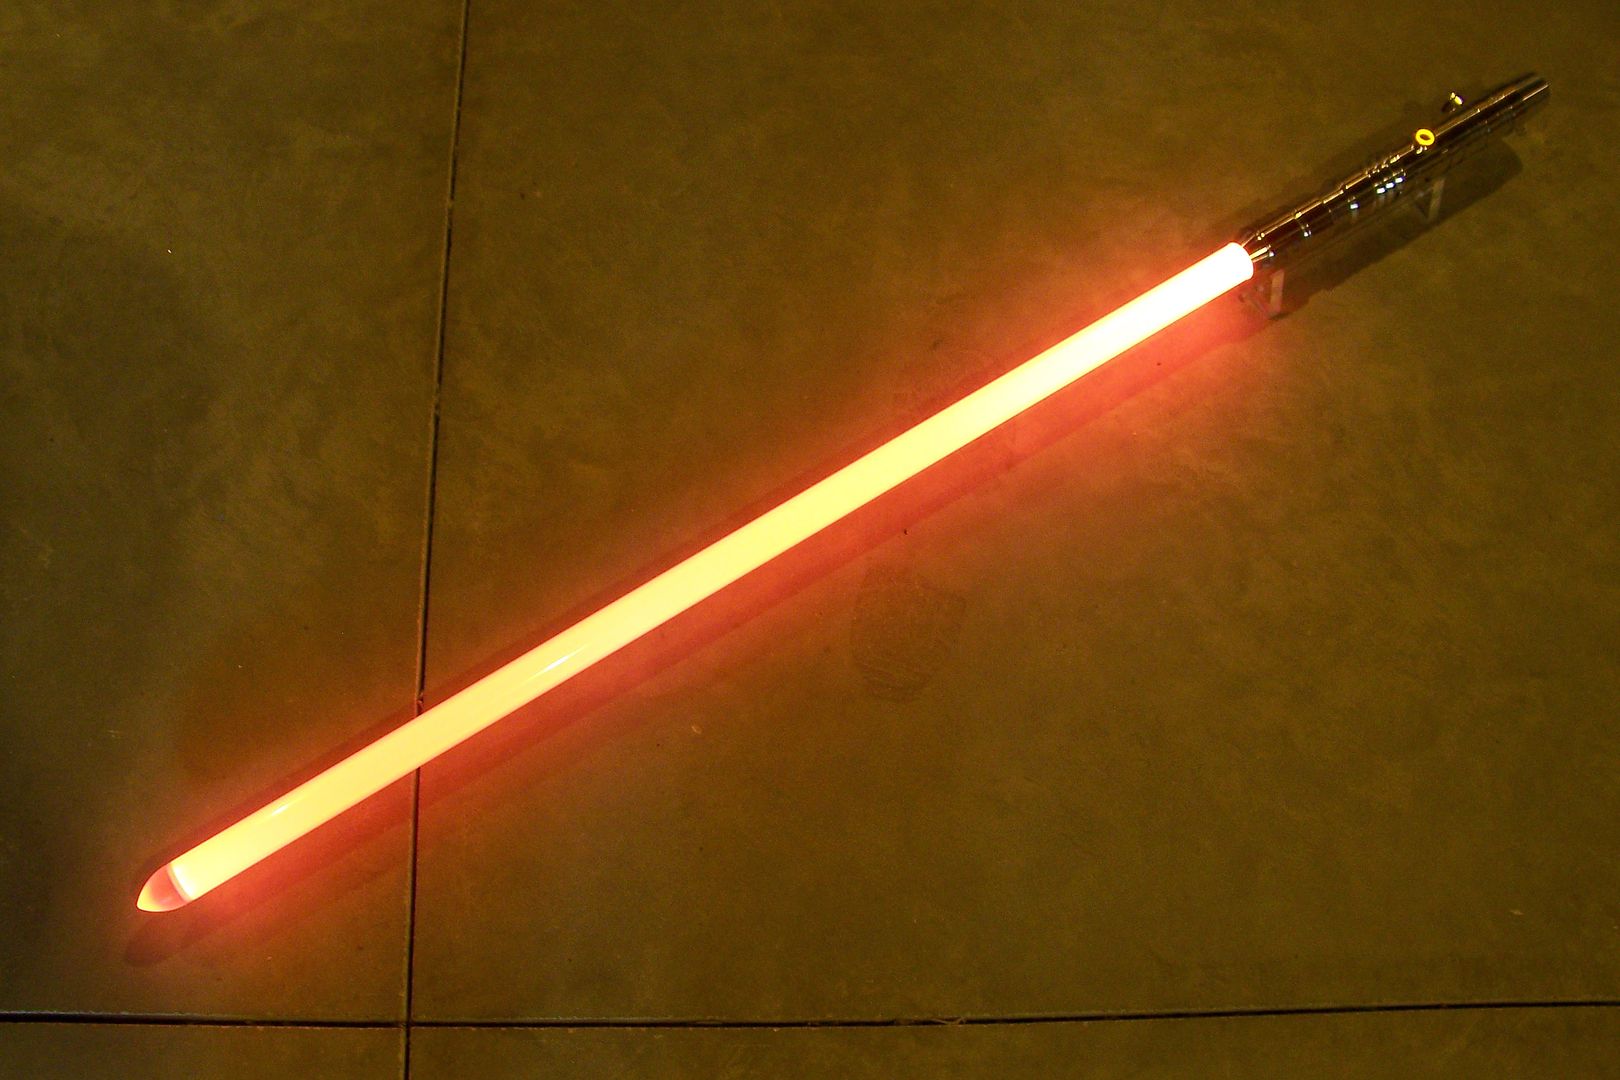
It's a very bright sweet-corn yellow in person, but my camera tends to only see the red in the blade making it look orange/gold instead:
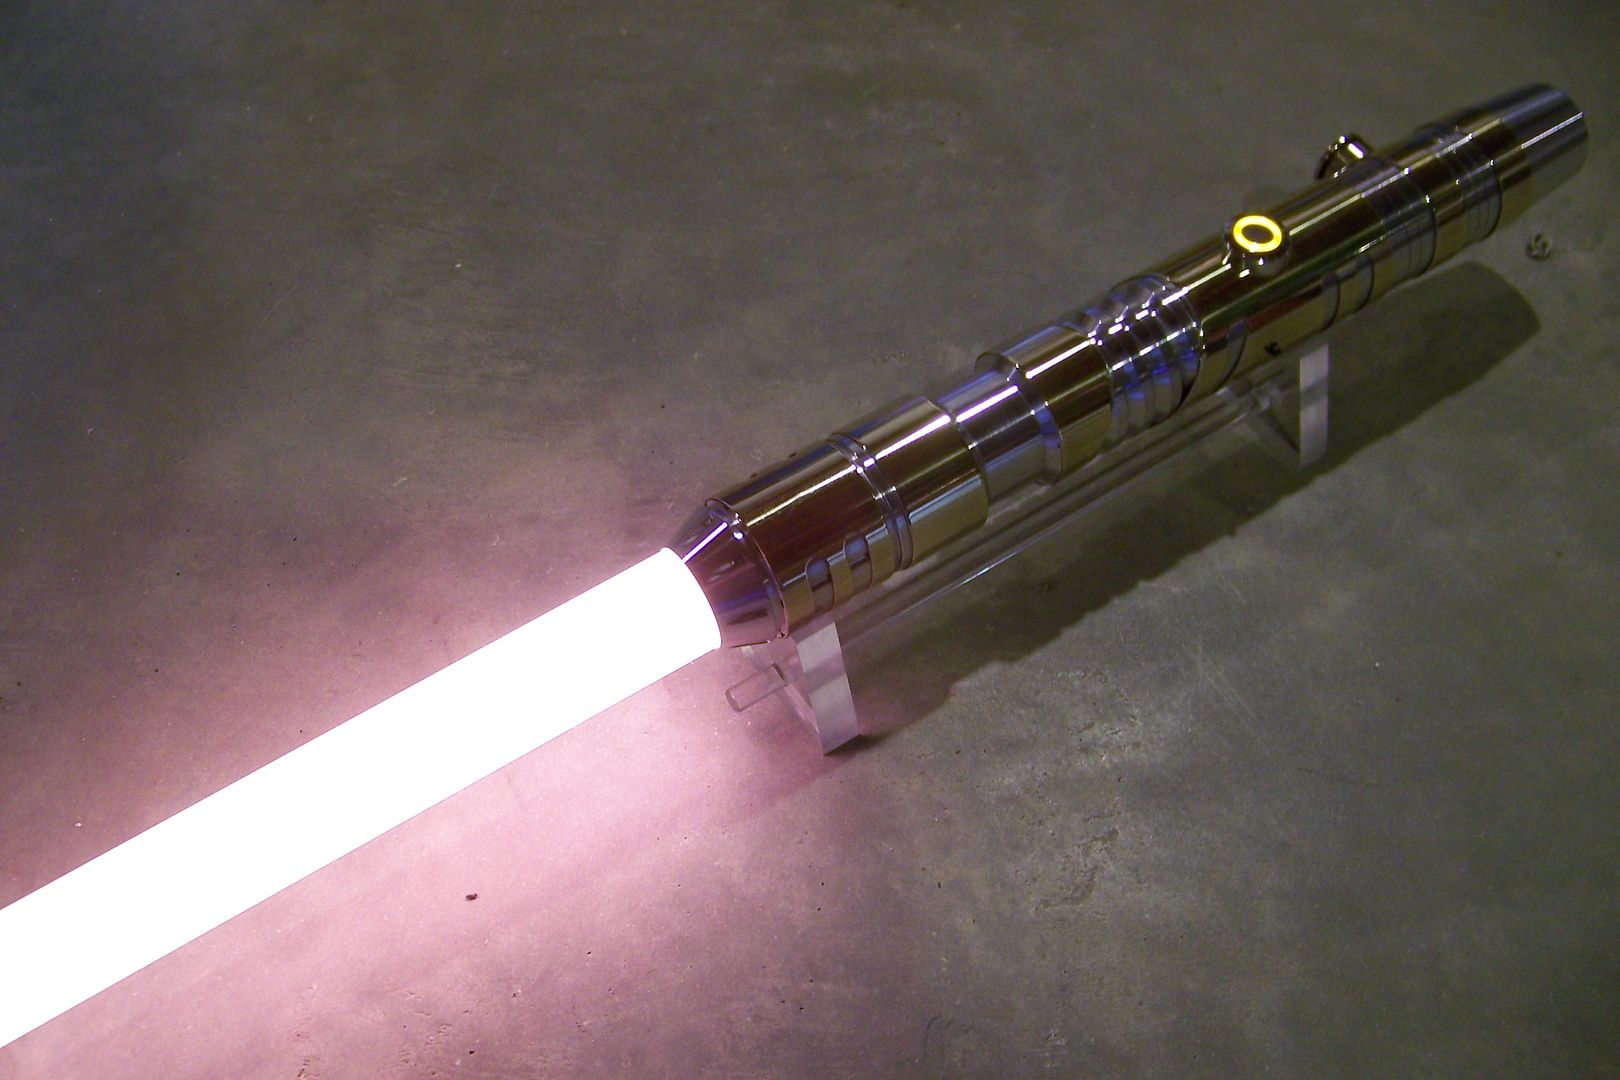
Blade color #2:
Blade color #3:
It's what I've come to call "Hot Orange" and goes well with the font in slot #3 on the Petit Crouton v3.
Specs:
MHS parts
Solid Brass sleeve material
Petit crouton v3.0
R.I.C.E. support
Tri-Rebel RGB
TCSS Tenergy 14650 7.4v, 1050mAh Li-ion rechargeable battery packs (2)
16mm anti-vandal short momentary switch
Recharge port/kill switch
33" Trans-White thin-walled blade with bullet tip


 Reply With Quote


 TCSS the #1 Part supplier of


Bookmarks