-
-
Force Aware


Gland to see someone else using a Minicam Flash, They're beautiful little flashes and they are great for a small kids' size saber. I'm using two of them to make sabers for my 2yr old and her friend.
When you say "sink tube coupler" do you mean this?: http://www.thecustomsabershop.com/MH...pter-P396.aspx
it doesn't look like it from your photo, I don't see the tapered part. I'm curious to see the parts you used, do you have photos of the parts disassembled?
The ID of my Minicam is about 1.11", so I was planning on using this 1.18 non-MHS blade holder inserted into the Mincam 3/4 of the way in and cutting the end of it in the shape of a graflex flash.
-
not i used this http://www.thecustomsabershop.com/MH...pter-P162.aspx
had to sand it to fit and also thin the minicam inner wall a smidge.
-
-
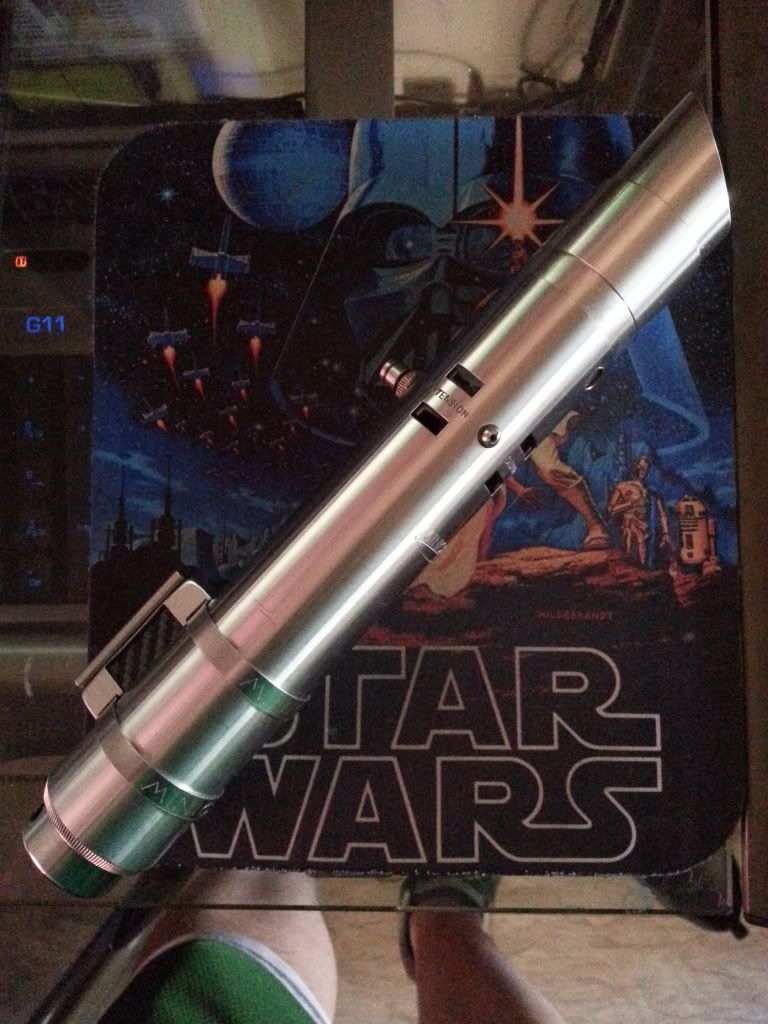
awesome nice visual reference. my fav part is the stepped pommel.
 Posting Permissions
- You may not post new threads
- You may not post replies
- You may not post attachments
- You may not edit your posts
-
Forum Rules


 Reply With Quote
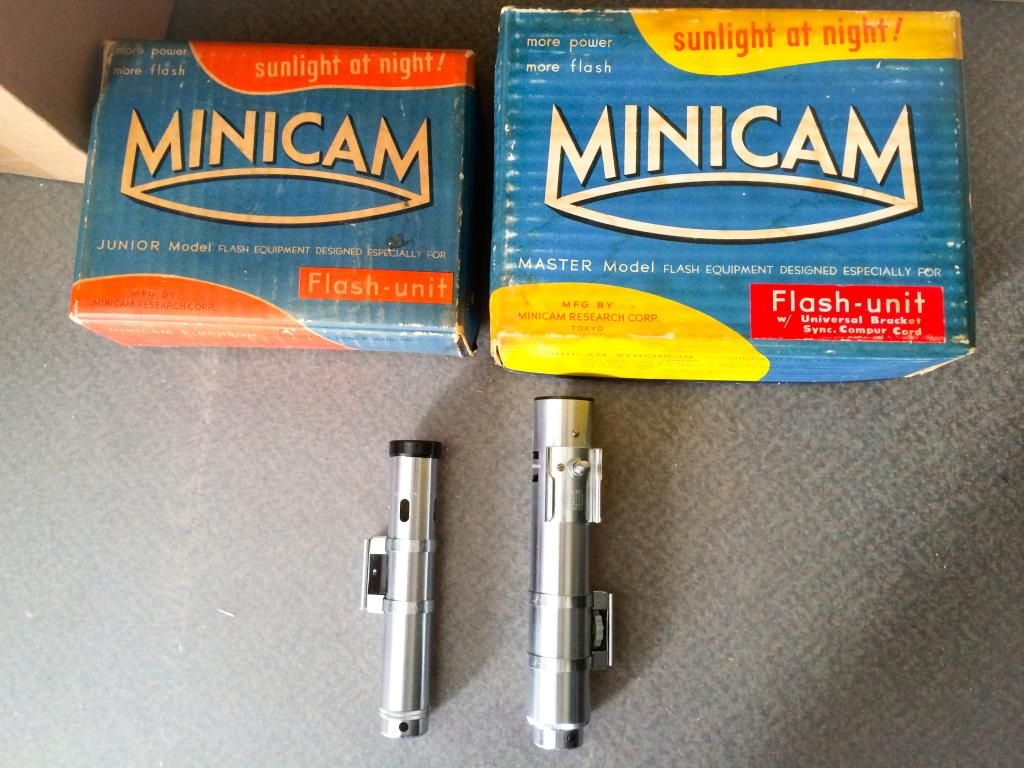
Bookmarks