Page 3 of 7 FirstFirst 1 2 3 4 5 ... LastLast
Results 21 to 30 of 67

Thread: Lord Zen's Next Saber

  1. #21

    Default Acerocket pommel

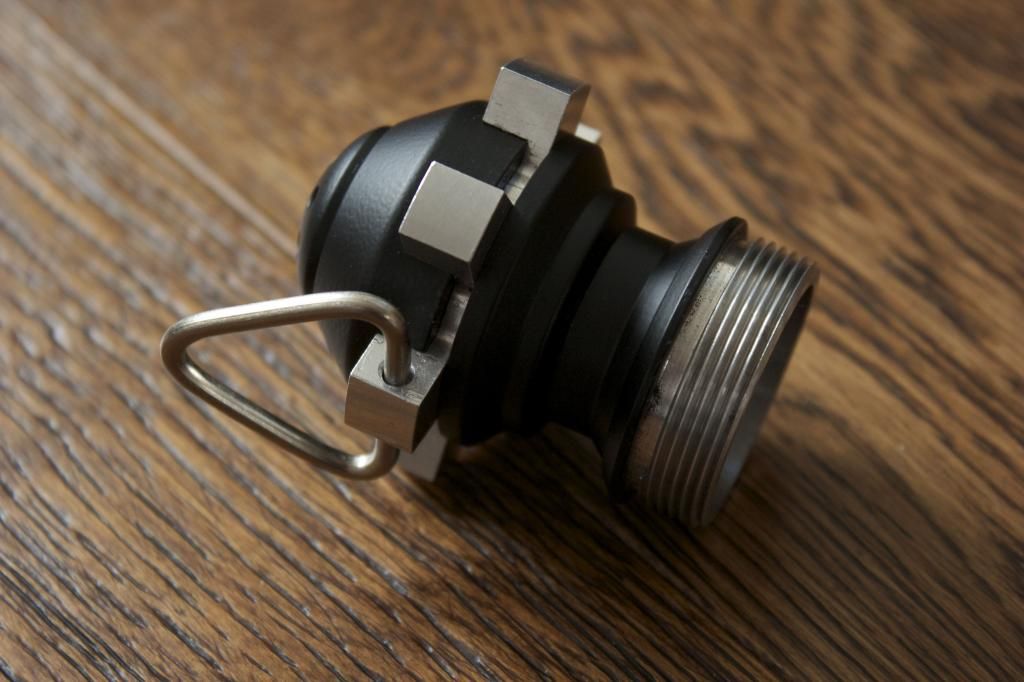
    I managed to buy a second-hand Acerocket Pommel. And it is very nice.

    It's powder coated rather than anodized, which will make it easier to weather if I opt to do that.
    It also came with with one of the blocks drilled - perfect for a triangular D-Ring:


    It took a little light sanding, and some GT-85, but the D-ring is now very snug in place. It rotates if pushed, but there's no rattle when swung around.

  2. #22

    Default Light testing a crystal

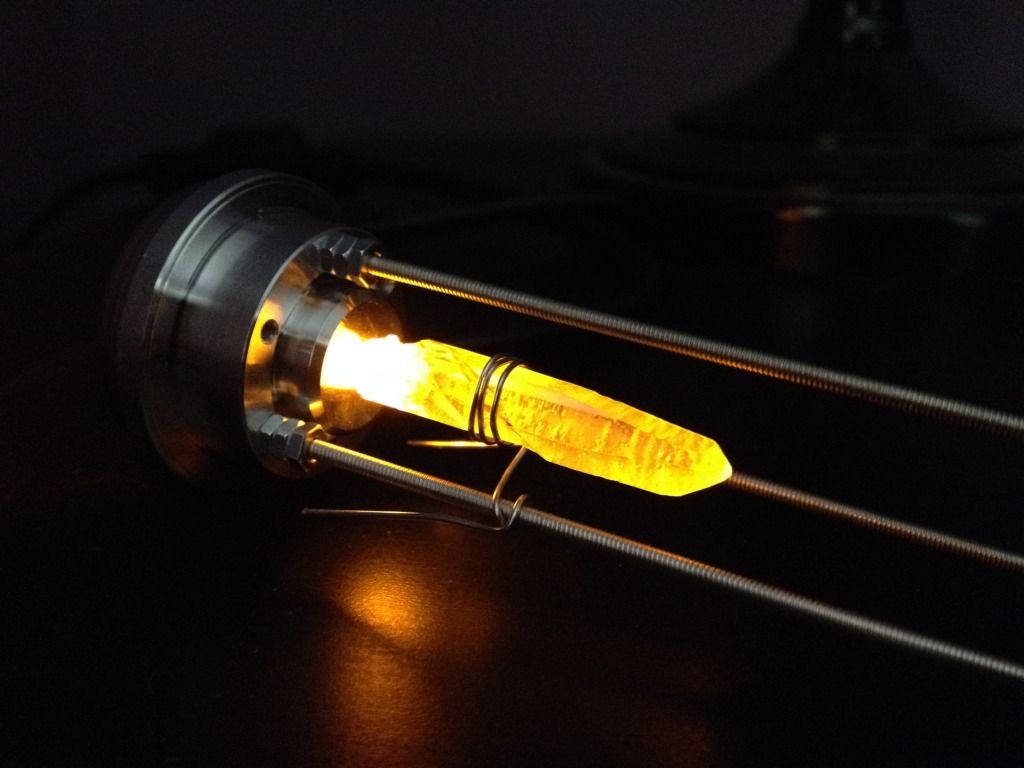
    Just playing around with some bits and pieces for the internals.
    The crystal is held in place by wrapping some wire around it, and the LED is just resting in place. I will come up with a better solution than this, but wanted to see what the crystal would look like lit up.

    It is a single point quartz illuminated by a yellow 3mm round LED:


    Will need to figure out how to put this inside the saber along with everything else


    But isn't that always the way...

  3. #23

    Default

    This is setting up to be a real beauty. I love visible crystals inside hilts. Can't wait to see some more progress.

  4. #24

    Default

    I want errything you got.

  5. #25

    Default Mucking about

    Hi all,

    I'm still doodling along with this saber.
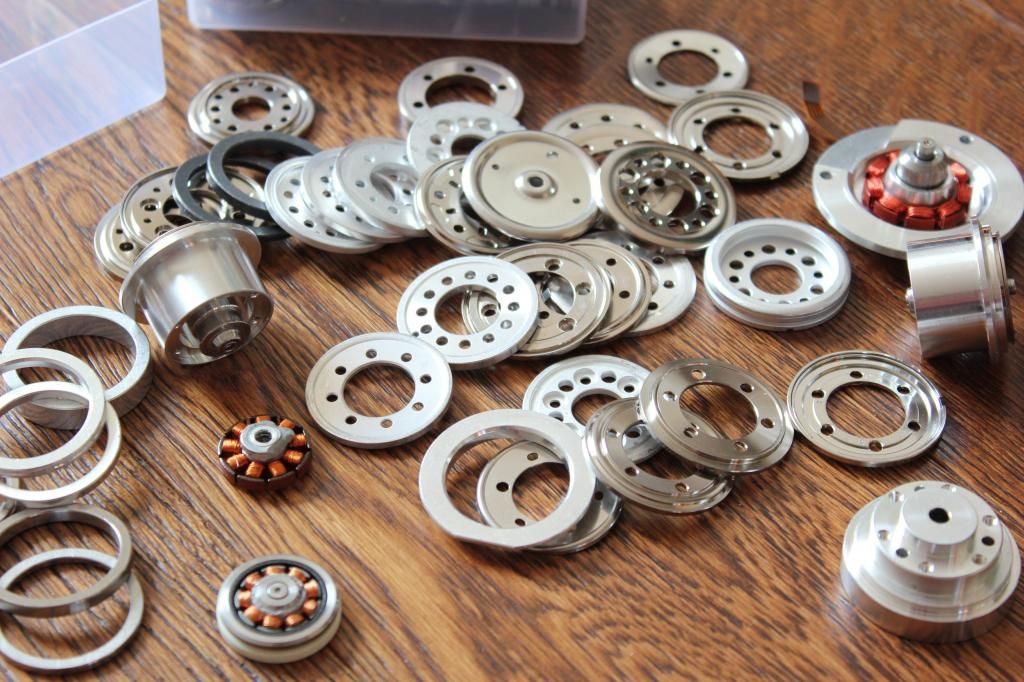
    Thought it would be fun to cobble together a crystal chamber.

    Starting with a whole bunch of stuff:


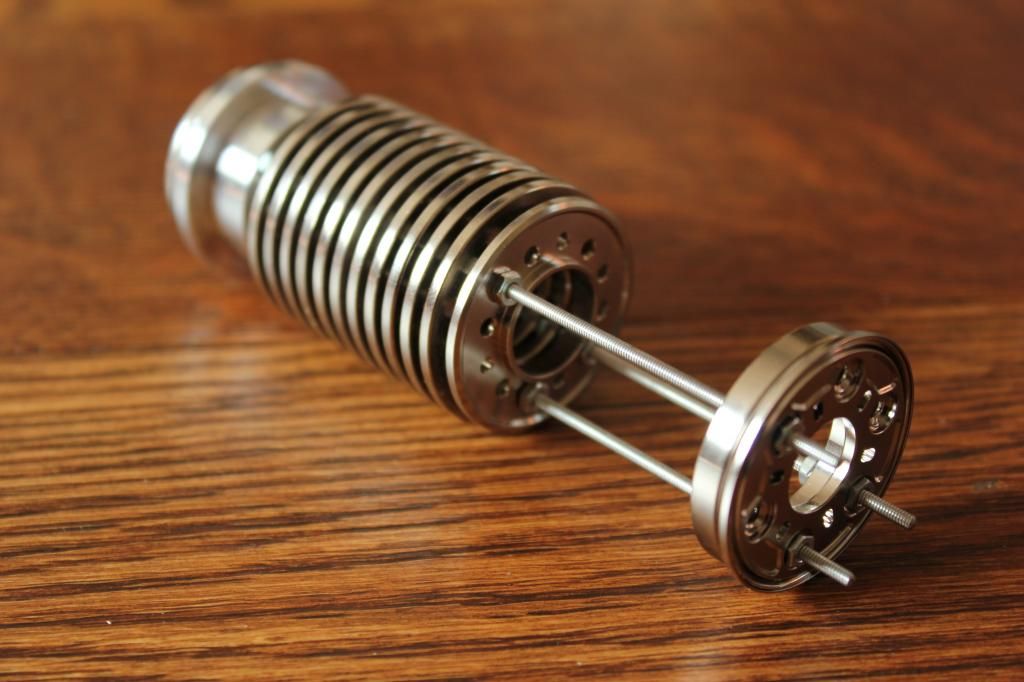
    Then assembled together using some M2 threaded bar and tiny nuts:


    This won't actually fit into the hilt, but it was good fun to put it together - makes me almost feel like a proper sabersmith


    Lined up the chamber with the rear of the ribbed section to see the comparative sizes:


    Its diameter is just a bit too large to fit inside the normal MHS double female piece.
    I might bore out the MHS piece, or turn down the chamber. However I think I will lose some of the interesting detail if I do the latter.


    Or I might just leave it alone and keep it as an interesting thing
    Last edited by Lord Zen; 09-14-2014 at 10:06 AM.

  6. #26

    Default

    looking awesome dude!
    "NO! This one goes here, that one goes there"-H.S.

    Saber building in a nut shell, as told by a smuggler

  7. #27

    Default Interesting arrangement

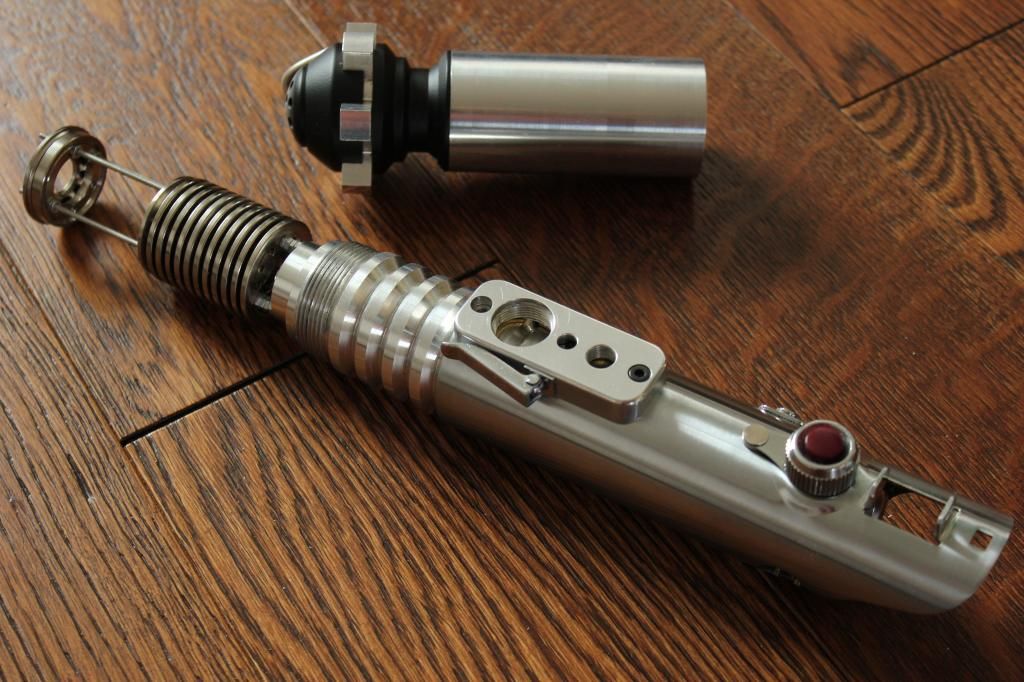
    I like to try different arrangements of saber pieces, just to see what happens. I quite liked how this looked, so thought I would share.
    It won't work as a blade holder, but might be an interesting basis for a blade plug:


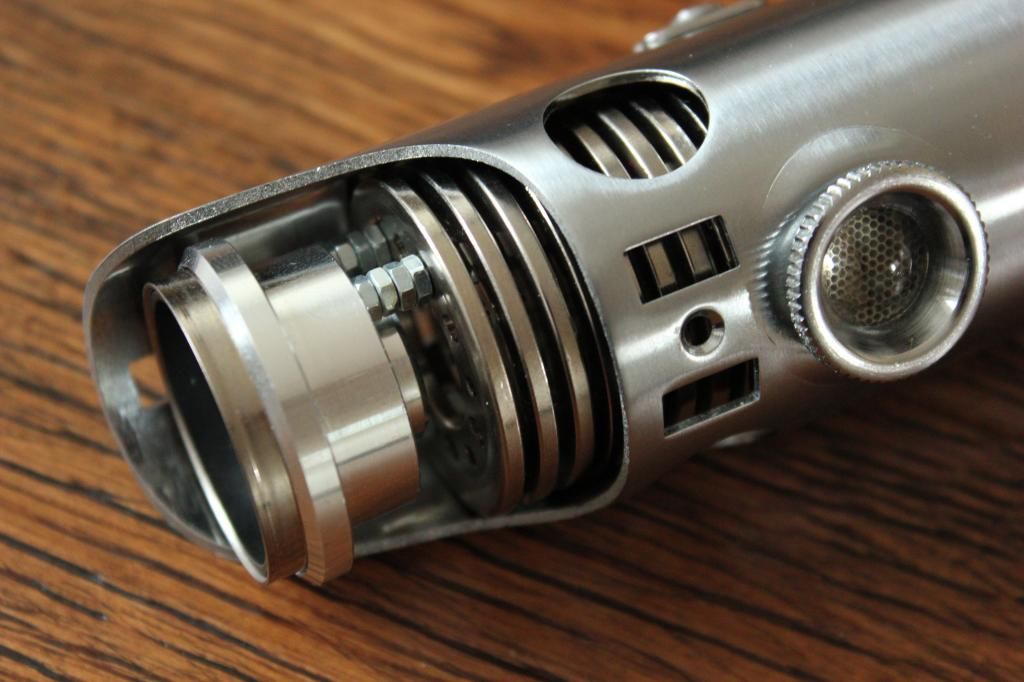
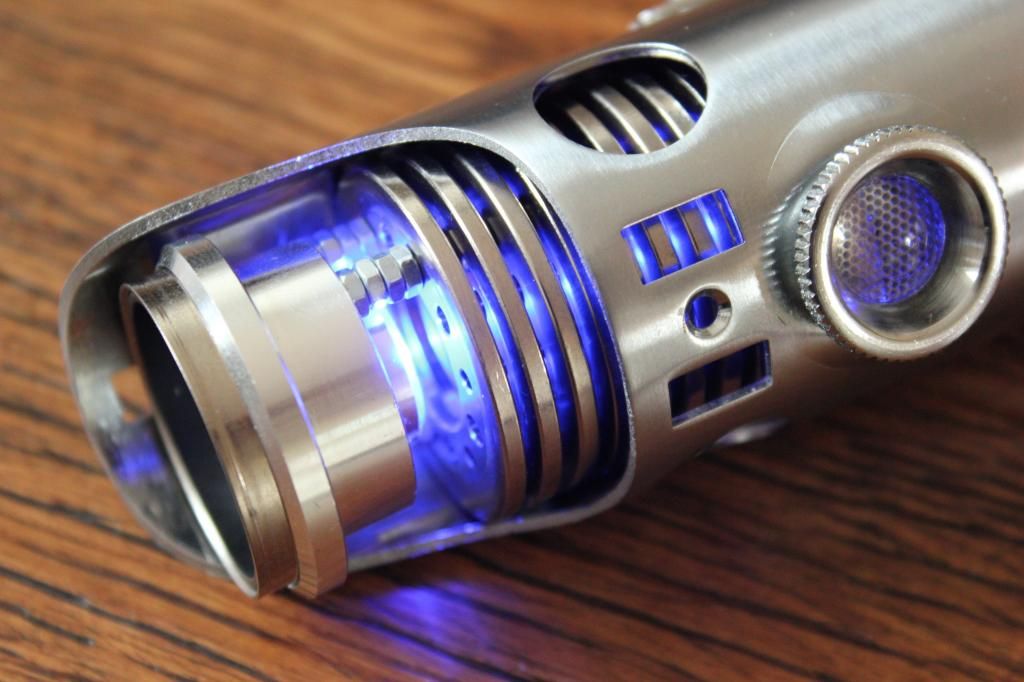
    If you look closely you can see the ribbed form of the crystal chamber behind the mesh of the glass eye.
    I really like this subtle detail.

    Shining a blue LED through the piece makes it a little easier to see:


  8. #28

    Default

    you've got a great eye dude!
    "NO! This one goes here, that one goes there"-H.S.

    Saber building in a nut shell, as told by a smuggler

  9. #29

    Default

    Quote Originally Posted by Gnar-Gnar Gin View Post
    looking awesome dude!
    Thank you

  10. #30

    Default Cutting the Graflex

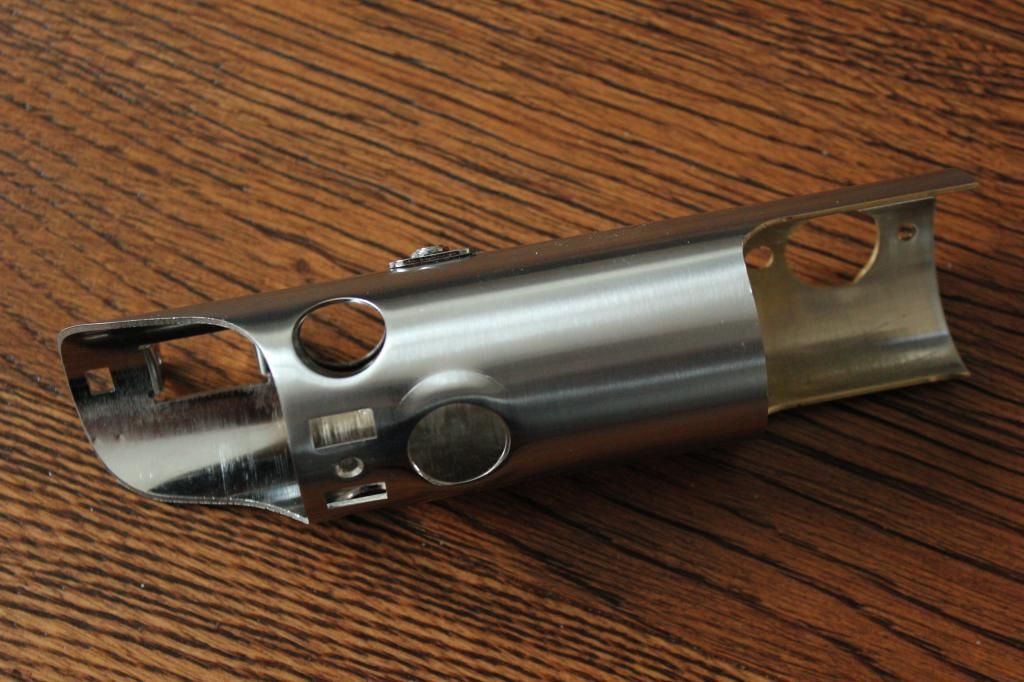
    Well I finally decided to face the task of cutting the Graflex section that helps give the Derelict its form.
    I must admit this is something I wasn't looking forward to considering the costs involved in finding a Graflex tube, and the work I had already done on the top for the activation box mounting.

    Graflex section prepared with a printed paper cutting mask and tape to prevent marking when held in the vice:


    Front radials cut along with the side edges. The paper mask didn't survive well enough to mark the rear radial cuts needed. So I will have to do these at a later point.
    Edges are filed and sanded to make them nice and smooth:


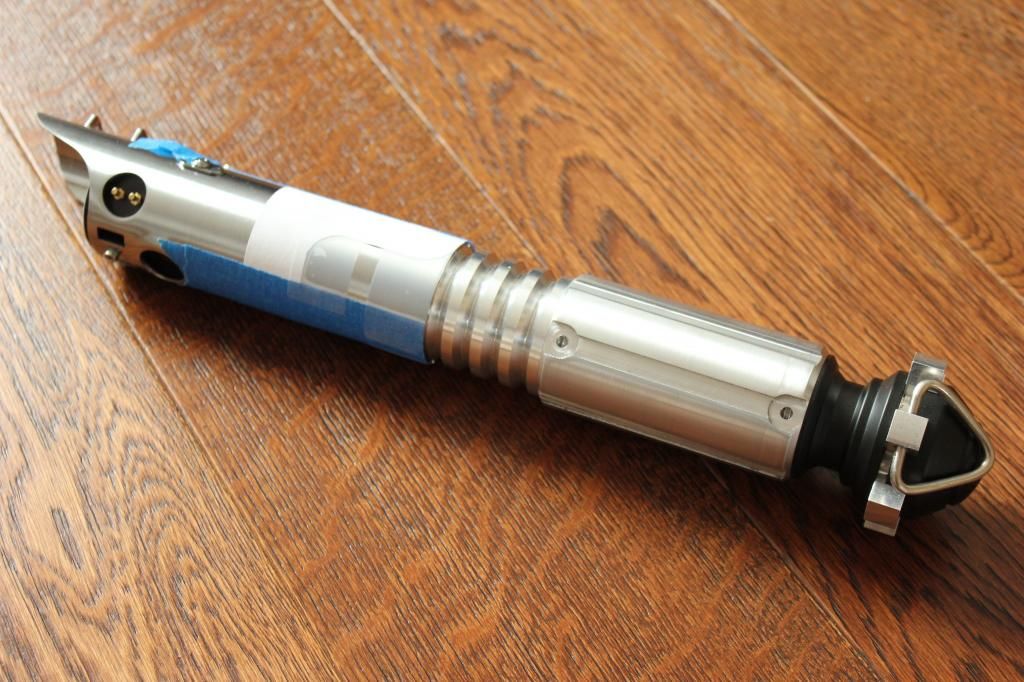
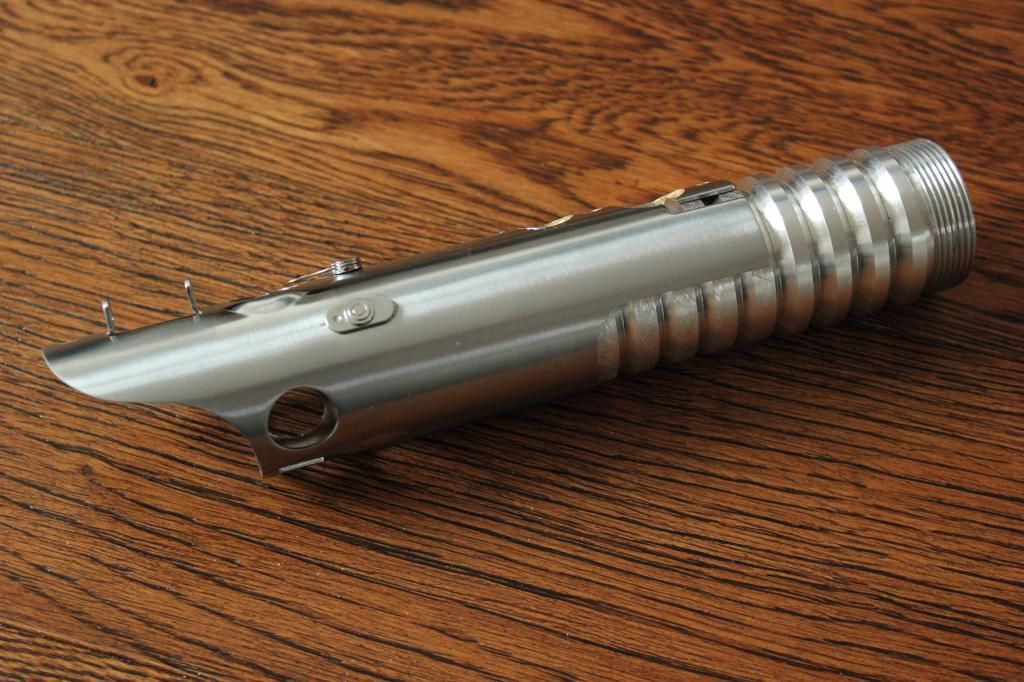
    The modified ribbed section friction fits into the Graflex piece:


    There is about 7mm of overlap and the two are held together tightly with just this. However I'm not sure how well it will hold up with any sort of saber beating, but this isn't really a combat saber.
    The rear screw mount for the activation box will also hold the two pieces together.

    You can also see how tight the fit is from the numerous scratches on the ribbed section. These were caused by sliding the parts together and apart during construction.
    I will need to sand this down a little before I get it painted.

    I have also thought about a few ways to make the attachement more secure.
    The heavy duty version is basically taking a piece of 1.10" aluminium rod to fit through the ribbed section and putting a screw thread on the end to go into the Graflex adapter.
    The diameter of the Graflex adapter's ring of 4-40 holes is a little too large to run 3 rods through the internal diameter of the ribbed section, so doesn't appear to be an option.
    Putting a screw thread on the end of the Graflex adapter so it can screw into the ribbed section is another idea.

    However, at the moment I don't think I need any of these.

Bookmarks

Posting Permissions

  • You may not post new threads
  • You may not post replies
  • You may not post attachments
  • You may not edit your posts
  •