Page 5 of 7 FirstFirst ... 3 4 5 6 7 LastLast
Results 41 to 50 of 67

Thread: Lord Zen's Next Saber

  1. #41

    Default

    Thanks for sharing Denzil, that's great.

    I've also noticed that you are also a big fan of the Derelict

    How did you attached the bushing to the Graflex adapter?


    I've been noodling over some ideas on how to make the joint stronger, and am trying some out.
    The saber has now entered into its experimental stage as I have the external look completed.

  2. #42

    Default

    Quote Originally Posted by Lord Zen View Post
    How did you attached the bushing to the Graflex adapter?
    This photo was not the actual part, just an example of a bushing I machined for my first Derelict build to improve the flex at the joint.

    I'm not sure if this is the same for you but he LED/lens/heatsink assembly for the Graflex blade adapter thread deap enough into holder that there is adequate room for a bushing to to fit in behind the LED / heatsink AND into the ribbed section. You would need to machine this custom as the ID of the grip and bladeholder are different. (The bushing would have a step in it for one end to fit the ribbed section and the other end into the blade holder). Or the blade holder's OD at the LED end could be turned down some and the bushing could fit over the blade holder.

    I would have to do some measurements but another possible solution would be to have the bushing to mount to the blade holder using the threaded holes on the holder.

    BTW: All of these solutions would require access to a lathe.

    -Denzil

  3. #43

    Default Internal construction

    So,
    This is where I am with my thinking...

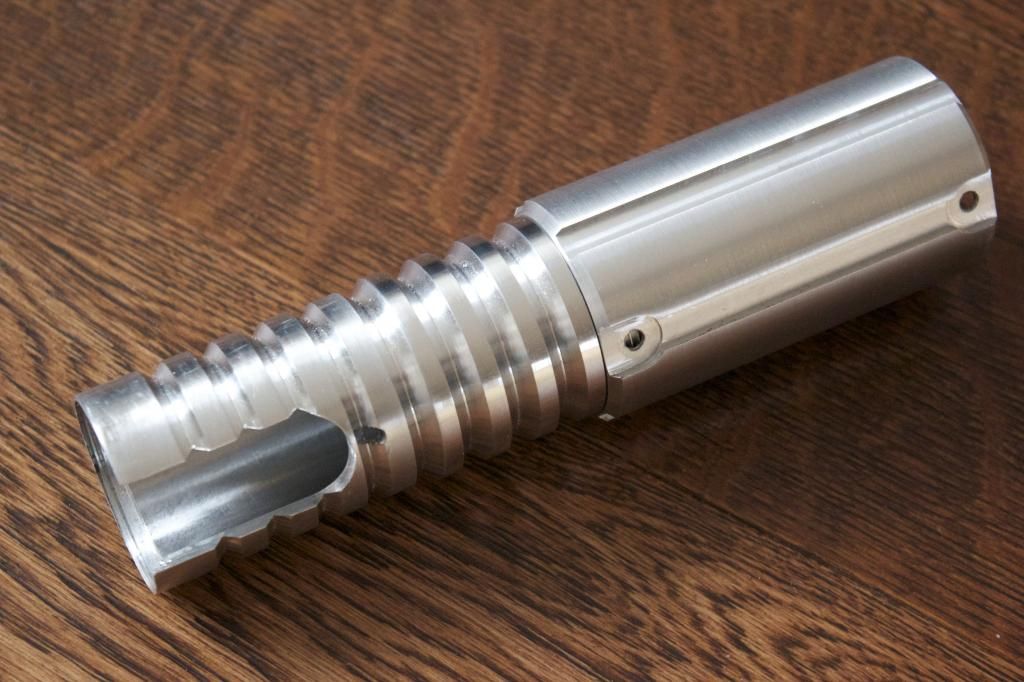
    I've cut a slot into the ribbed section so it can slide past the buttons and recharge port in the activation box.
    I've also drilled and tapped a hole so the end screw locks the Graflex and ribbed section in place:


    One day I'll get to painting or anodizing this bit black


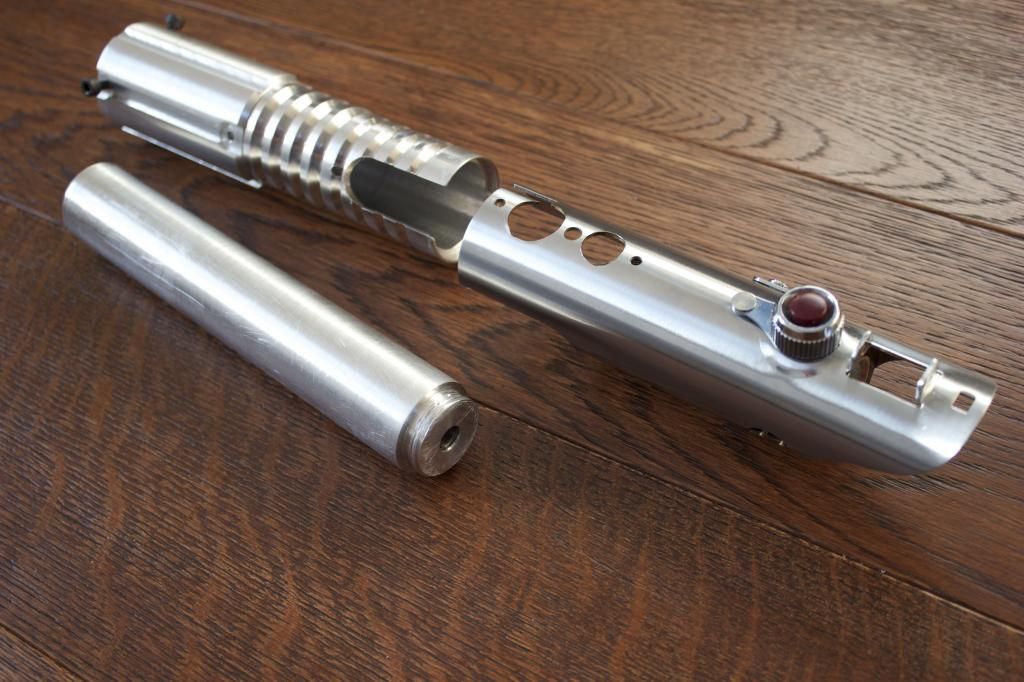
    But the ribbed section only slides in about 7mm into the Graflex section, which causes a little bit of flex when the blade is in the blade holder.
    Now I'm not sure where this is going with the idea of an internal crystal chamber and electronics, but anyhoo...

    A bit of aluminium bar-stock sized to just under 1.15" diameter, with a screw thread on the end to go into the Graflex adapter:


    Or, a really long heat-sink for the LED

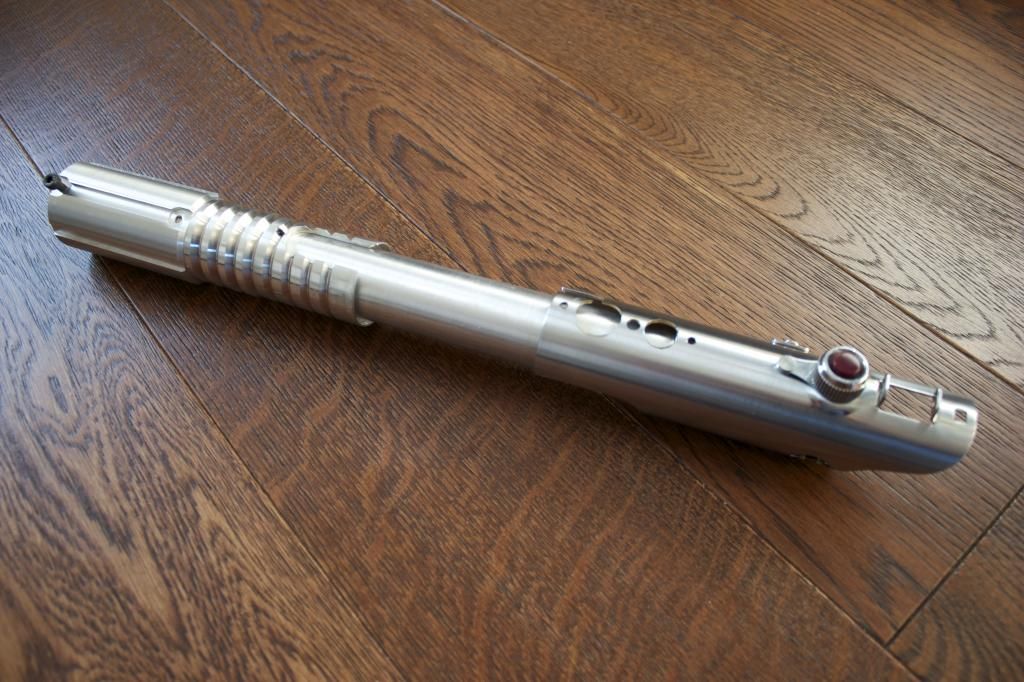
    Once in place the rear section can slide along, without interference:


    Well, that's the idea...
    Last edited by Lord Zen; 11-20-2014 at 02:58 PM.

  4. #44

    Default

    That would work.

    You might have trouble getting everything to fit inside. I found it to be VERY tight for space with CF/CeX, 18500 stick pack, button, recharge, speaker, etc.

    As you can see here, getting all this to fit into the handle / ribbed section was not an easy task.


    -Denzil

  5. #45

    Default Painted black

    Hi All,

    The ribbed section is now painted black, so it's really starting to look the part:


    It is spray painted with a basic matt black car paint.

    I started with a coat of grey etch primer, which creates a better surface on the aluminium for the paint to adhere to.
    Then 3 light coats of black were applied, each with a 15-20 minute wait in between.

    This gave a good, even coating.

    It looks so nice, it seems a shame to weather it

  6. #46

    Default Yearly update

    Hi Everyone,

    Another year, another update...


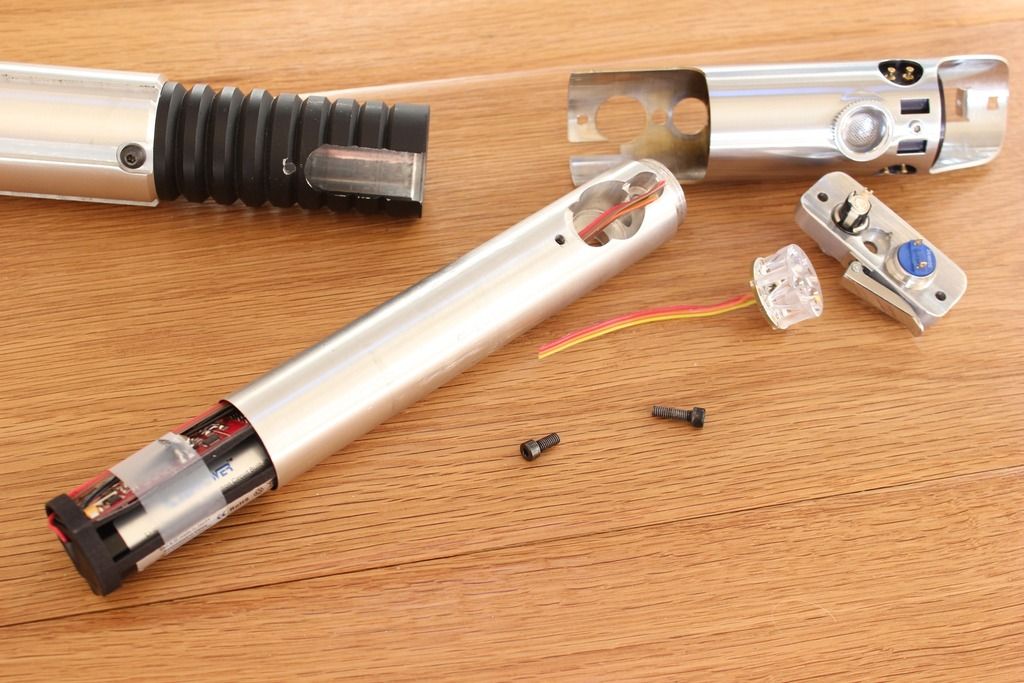
    I've bored through the central rod so I can slide the soundcard inside it.
    At the far end of the bar, holes have been drilled for the switches and recharge port to sit in.
    The speaker will also sit here, facing downwards with a grove cut for the sound to vent out from. I don't know how well this will work, but you need to try these things. I'm not after super loud, and would like the sound to come from the emitter end, rather than pommel.

    The rod screws into the Graflex adapter and holds the LED and lens in place, with all the wiring passed through a centrally drilled hole.

    I might need to open that front area a little more, but I'll see how that goes.

  7. #47

    Default Finished*

    Hi All,

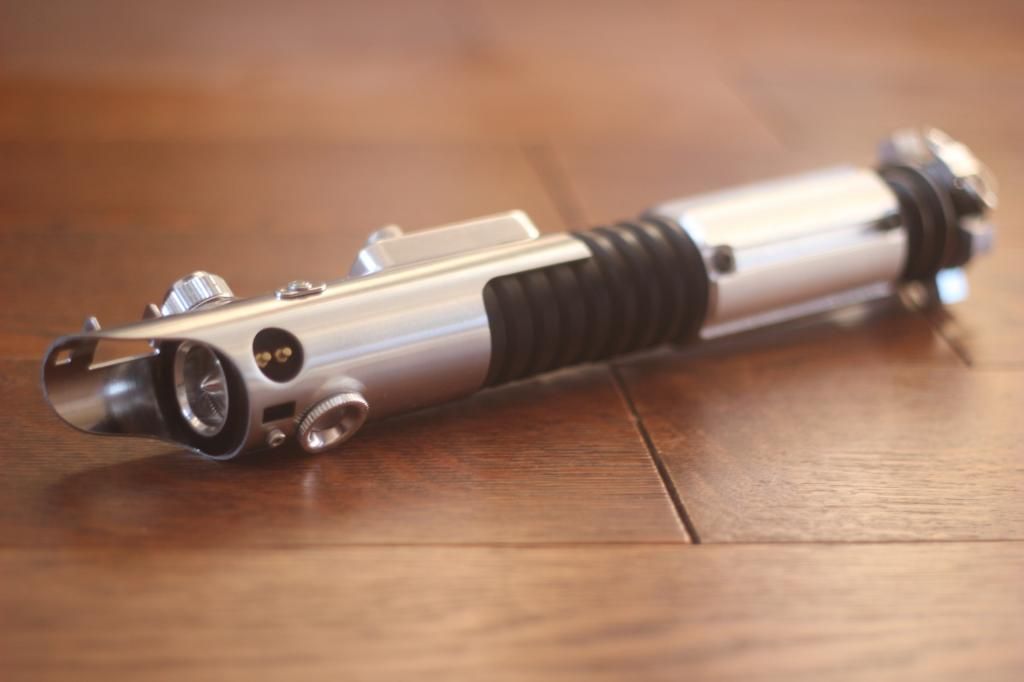
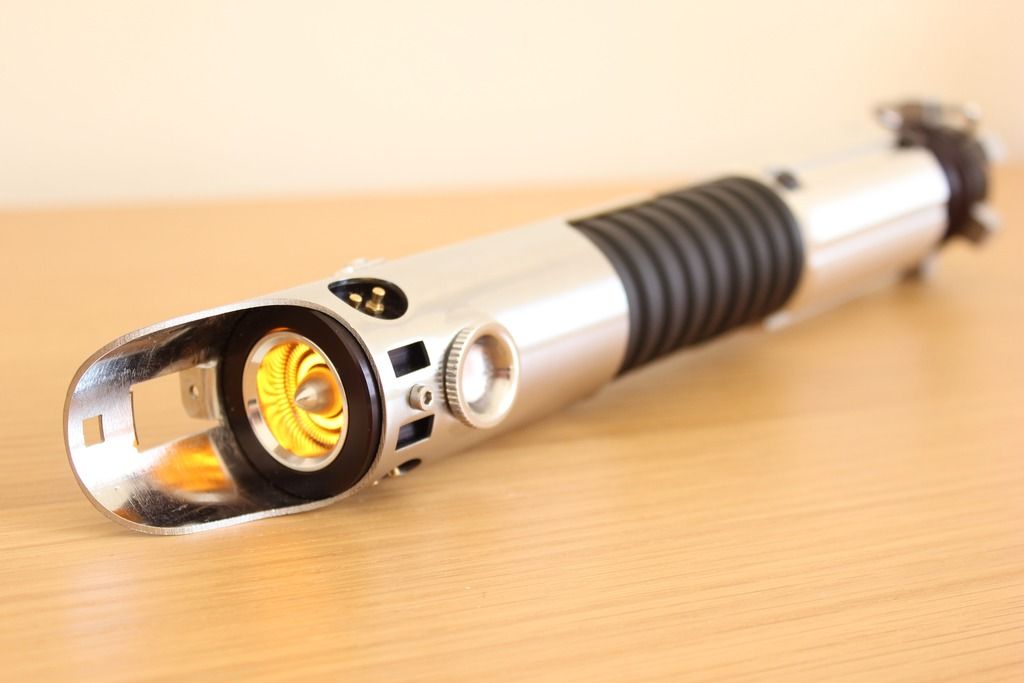
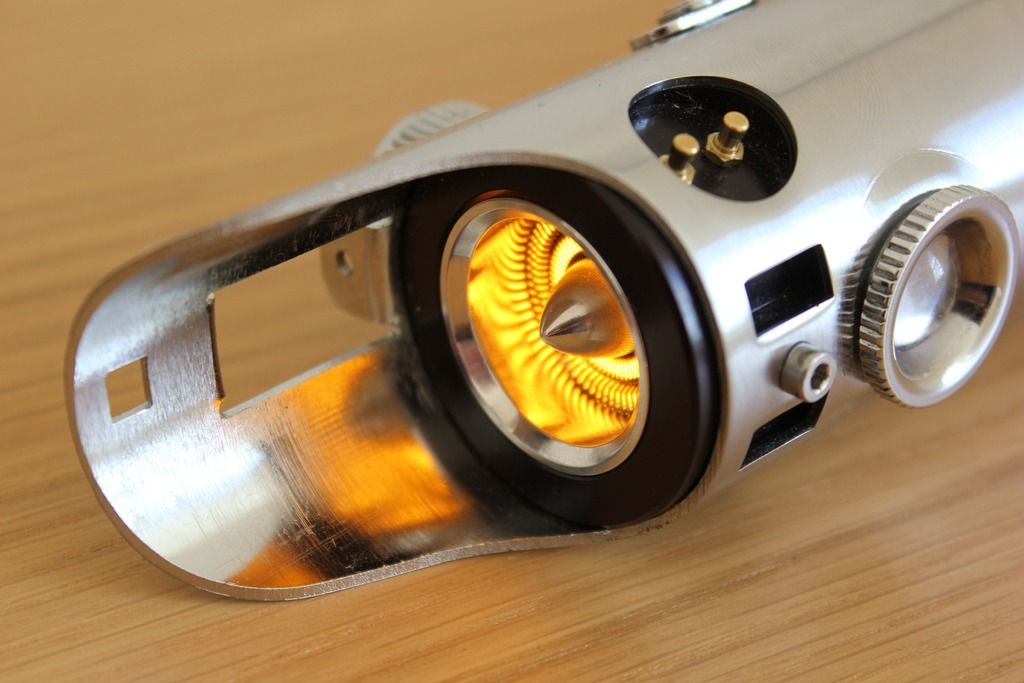
    I finally installed the electronics into my Derelict replica:


    Lit up and making saber noises:


    I installed the speaker so that it would vent towards the front of the hilt.

    And while this saber is "finished", I want to revisit this and the installation of a crystal chamber inside..

  8. #48

    Default

    nice work! Very good looking saber!

  9. #49

    Default

    fantastic build! I too am a fan of the photo etched brass mesh!

  10. #50

    Default

    Looking great! I have to say that the yellow looks great on a grafflex build.

    I also recently did a build with a forward facing speaker and I like the sound experience much better. How do you like it so far?

Bookmarks

Posting Permissions

  • You may not post new threads
  • You may not post replies
  • You may not post attachments
  • You may not edit your posts
  •