-
Force Aware


12 in the last 4 months, and i'm finishing another 3 :P
I want to finish all for my friends for christmas so i'm not having so much time to take pics 
-
Force Aware
-
Force Aware
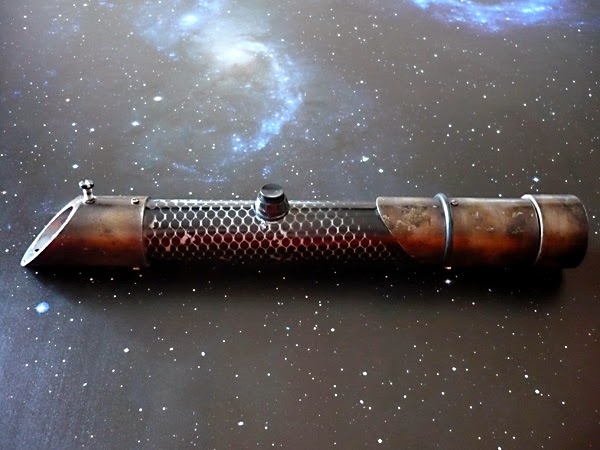
I'm testing hoow it looks a texturized airon fix (adhesive vinyl) for grip. It looks and feel like skin and it's cheap.
What do you think?

-
Force Aware
and that's how they look finished:
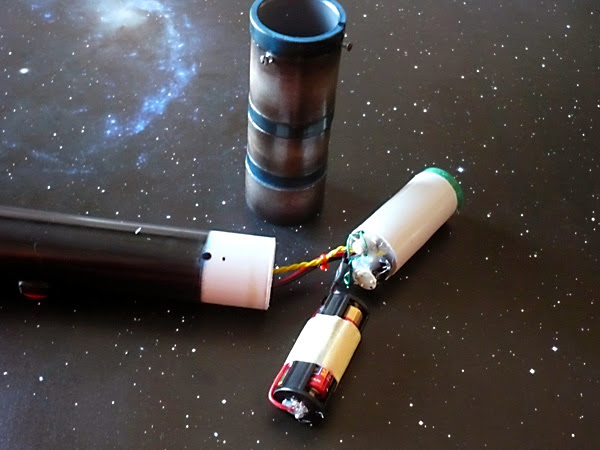
both with hasbro cheap board one red one blue.

-
They look great. What technique did you use for the weathering? It replicates that look you can get with baking olive oil on metal saber parts (but that would obviously melt the pvc).
-
Force Aware
just painting.
I'm proffesional miniature painter (plumb soldiers for those who didn't know) so in fact is more or less the same techniques as painting a scale tank model wheatered.
Basically I start from a flat metal painting and then I use airbrush to paint shadows in different tones of black and brown.
Then I add some texture pointing more paint in different tones, that pointing is done from small to big first using airbrush at low presure, then pointing with a brush and then with a spronge. I paint too some scratches with straignt lines withh black and white.
After that I aply some whases with different inks (brown, black, yellow, green... depending what you are looking for) and finally I cover all with glossy varnish.
 Posting Permissions
- You may not post new threads
- You may not post replies
- You may not post attachments
- You may not edit your posts
-
Forum Rules


 Reply With Quote
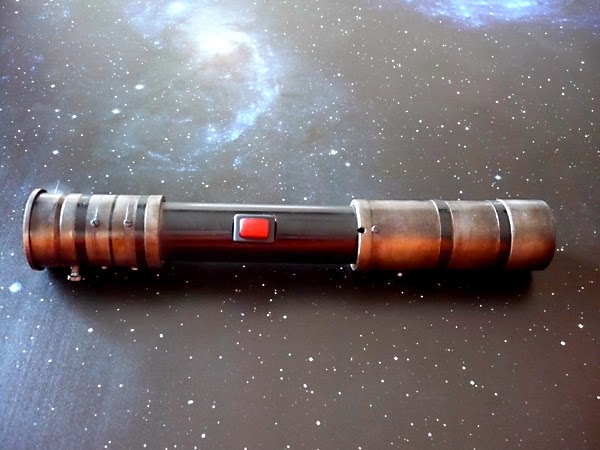


Bookmarks