


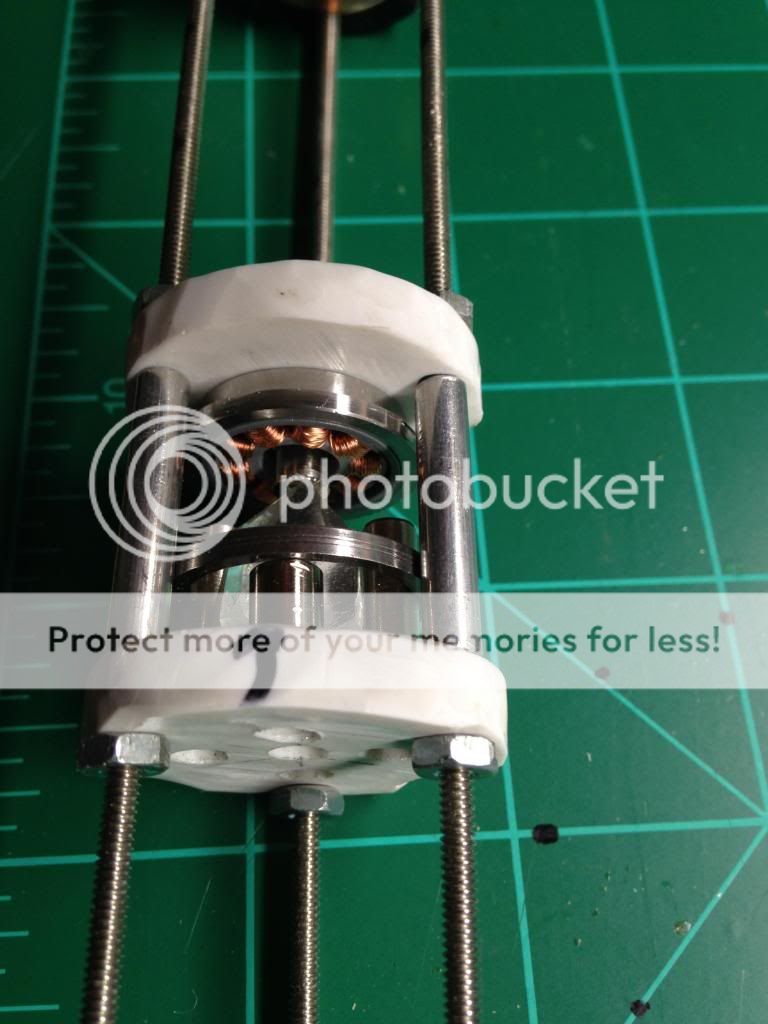
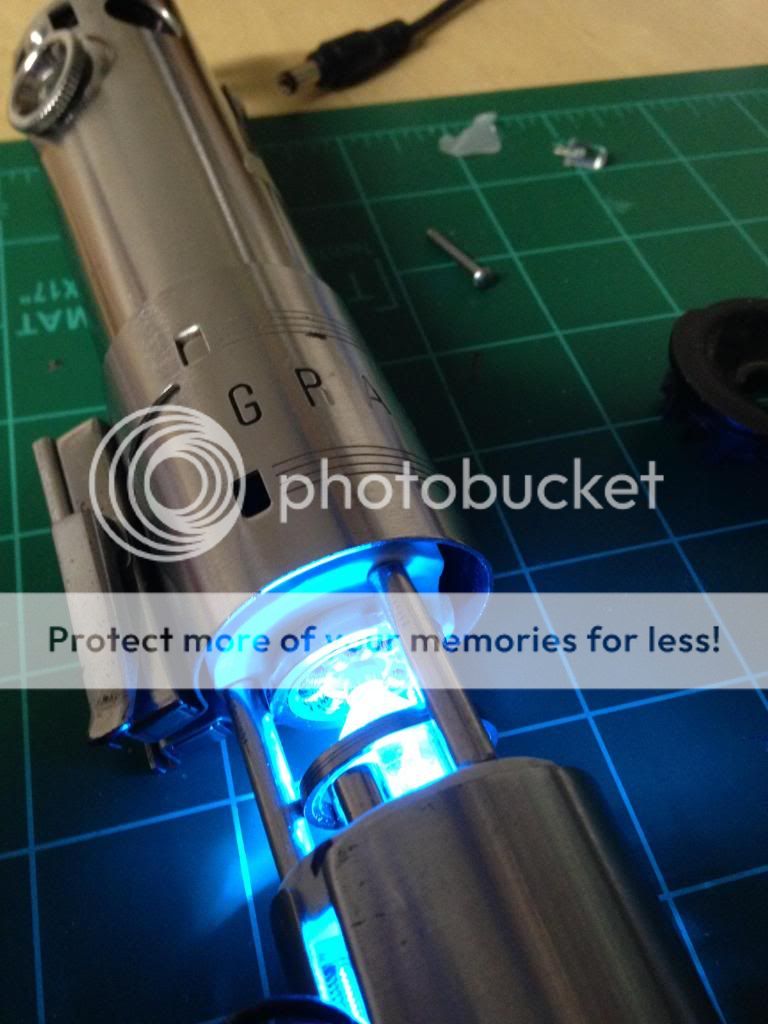
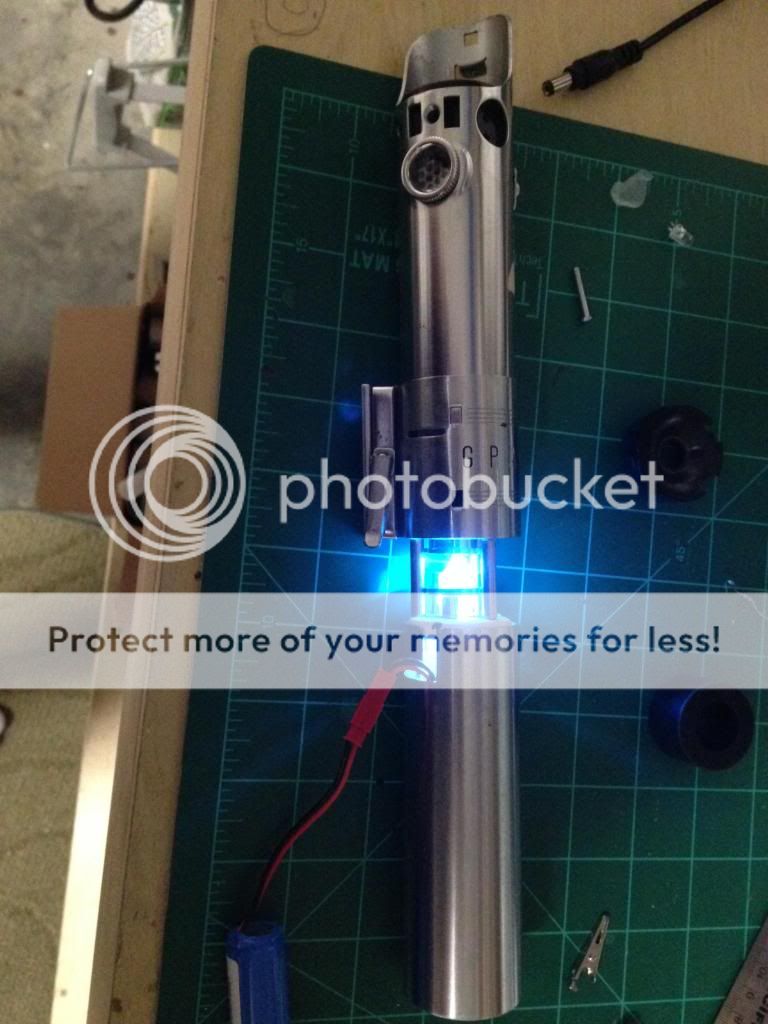
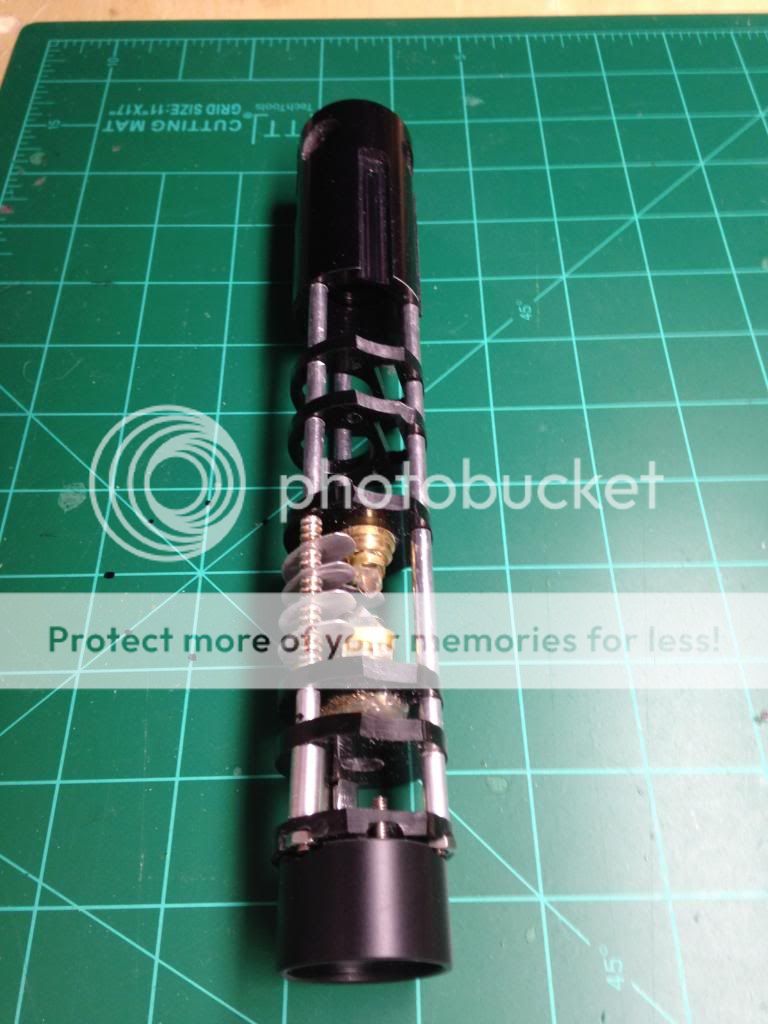
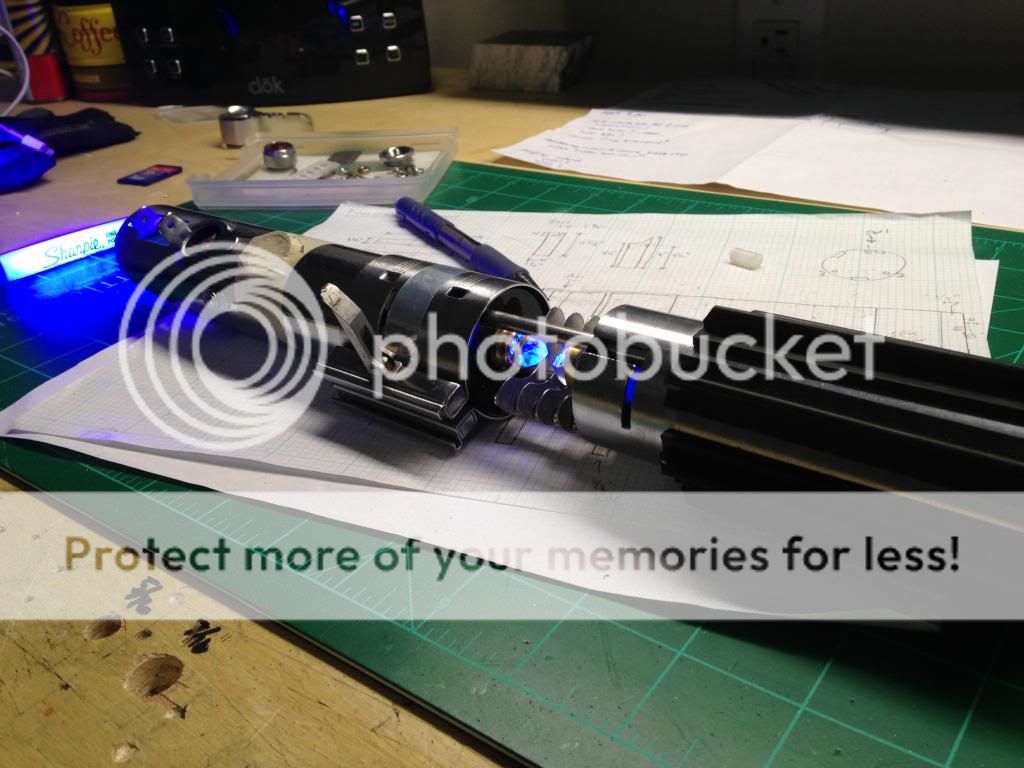
Starting my build thread for a Vintage Graflex Luke ANH. Got a 3-cell in excellent condition and dismantled it. So far I've just done a little work on the chassis and the crystal chamber. I may replace chassis disks with the acrylic ones from the store before the build is complete. Right now I've got PVC disks that I made from end caps.
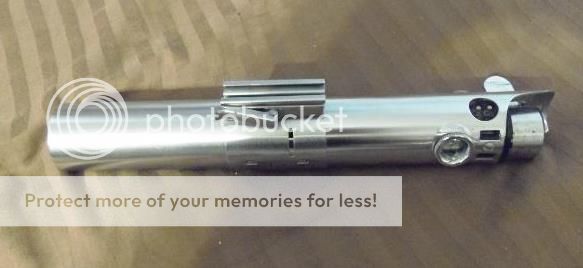
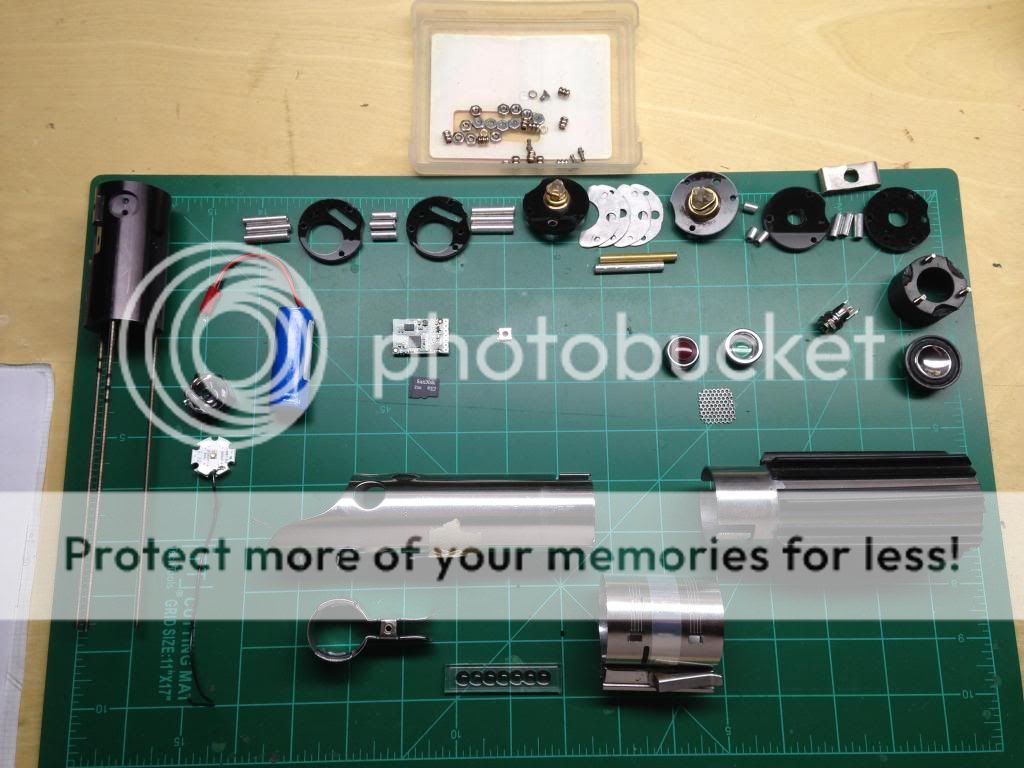
Vintage Graflex 3-cell
Nano Biscotte
3.7 V 18500 LiIon pack
2 W bass speaker
Speaker holder V4
TCSS Graflex blade holder
mini-tactile switch
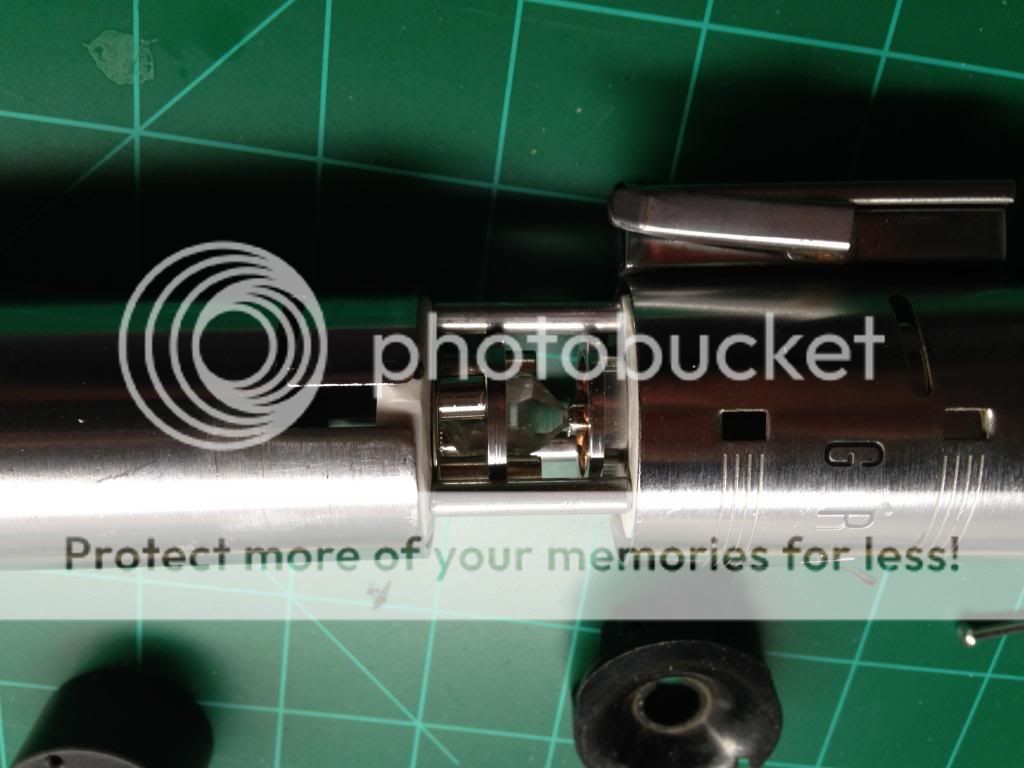
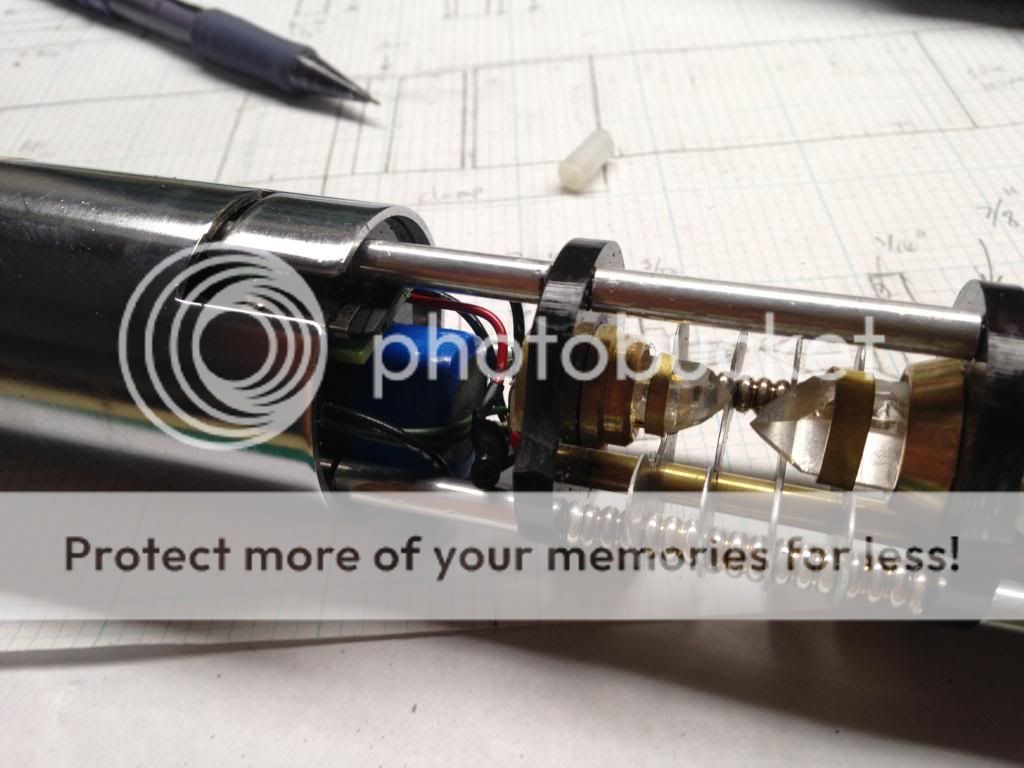
custom crystal chamber
TCSS grip strips
Bubble strip (still hunting for this)
Custom blade plug using the Graflex parts
The Graflex 3-cell unaltered
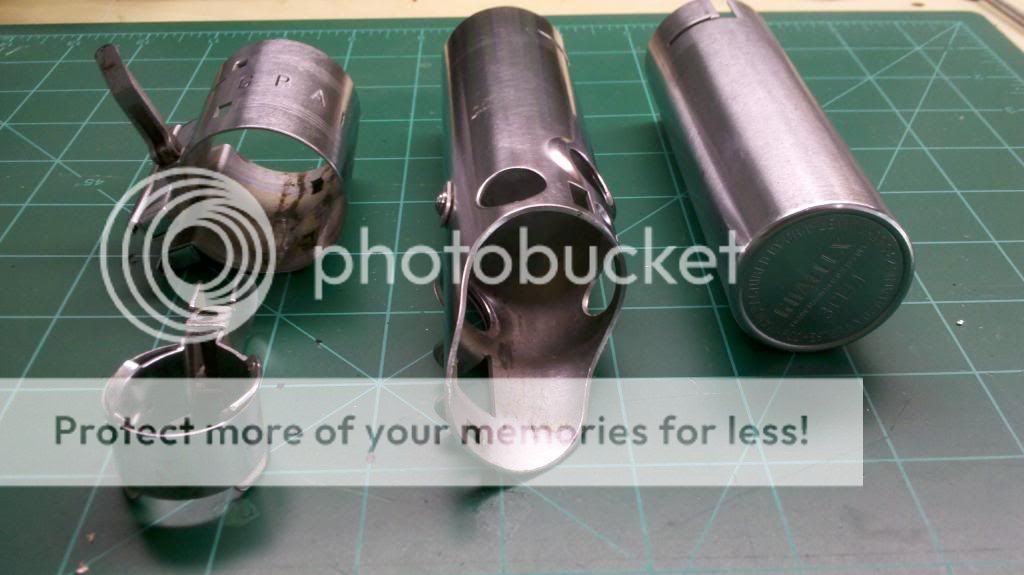
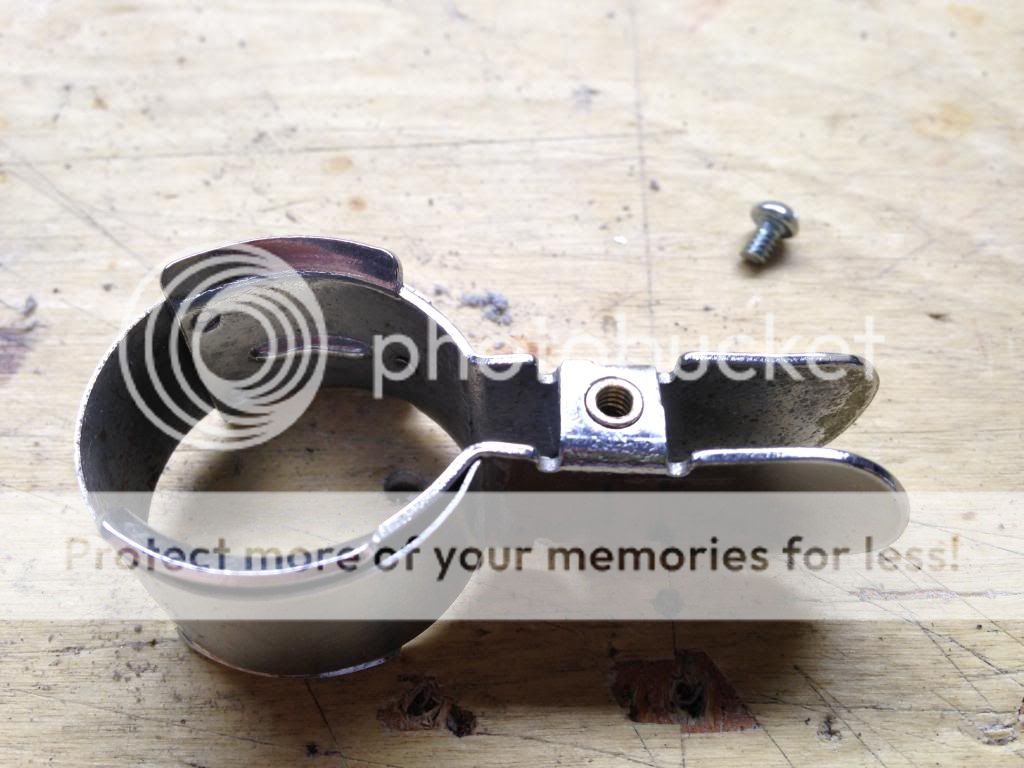
Disassembled parts, a little corrosion but nothing that can't be cleaned off easily
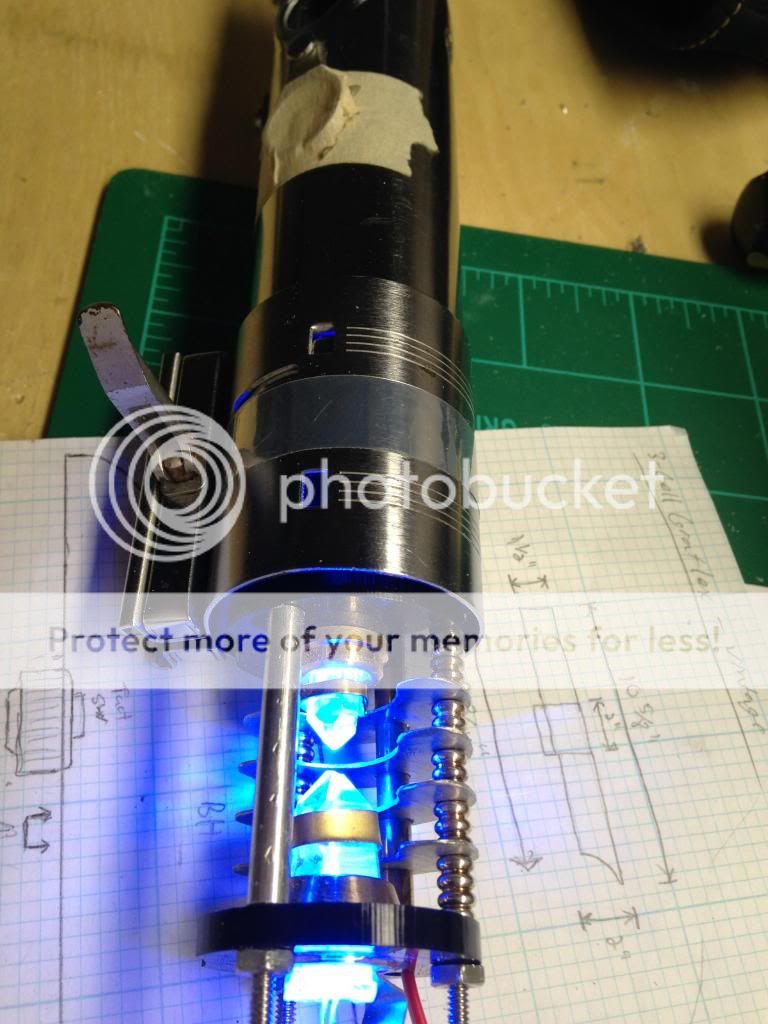
For the glass eye, I'm going to have a blade retention screw version and a show version. The show version will include the original glass eye (sanded to fit over the blade holder) and a bit of speaker mesh from an old laptop. It'll light up with the saber blade and should look great.
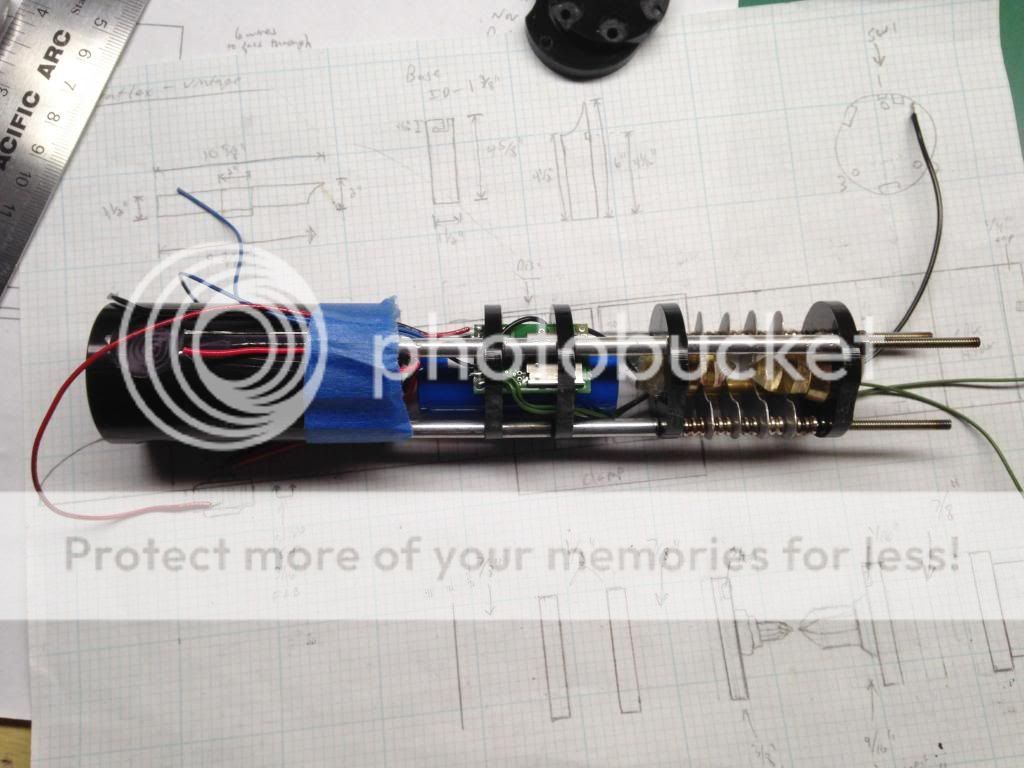
more to follow


 Reply With Quote
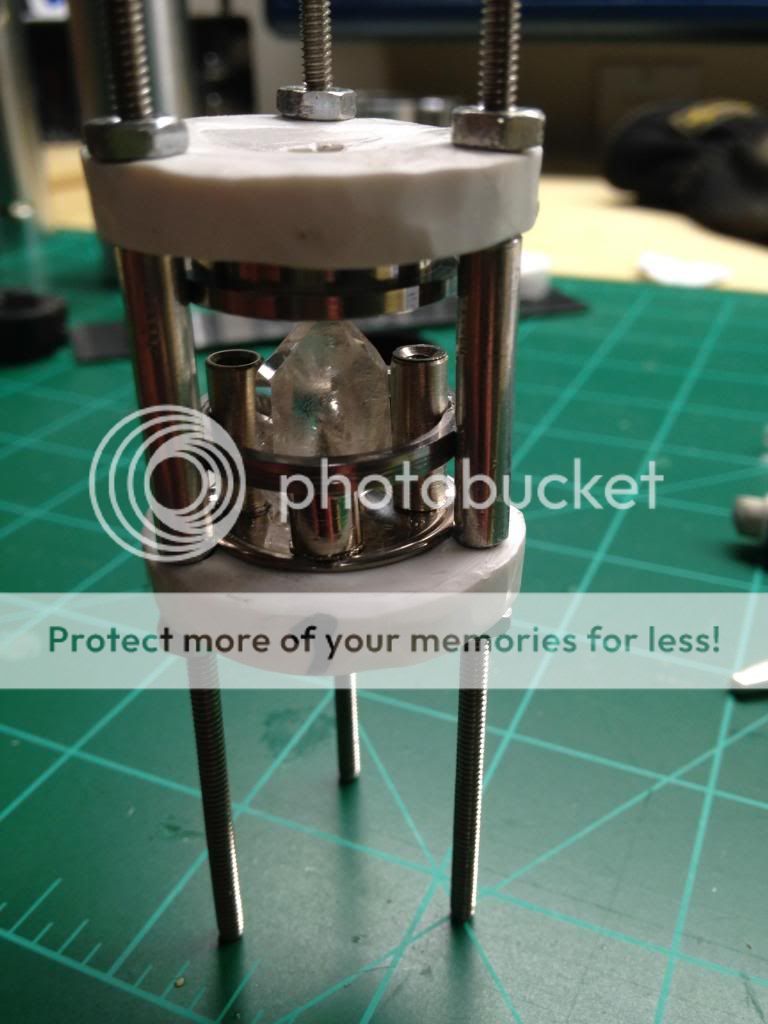


Bookmarks