


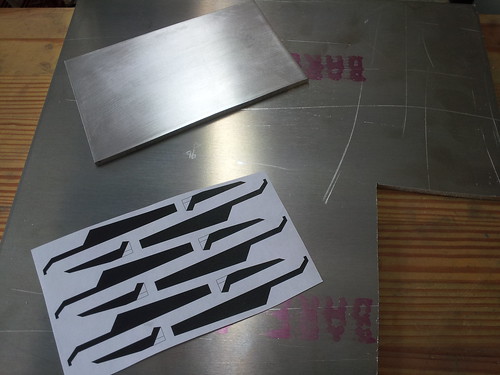
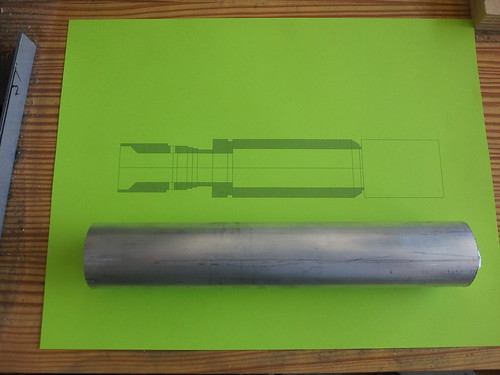
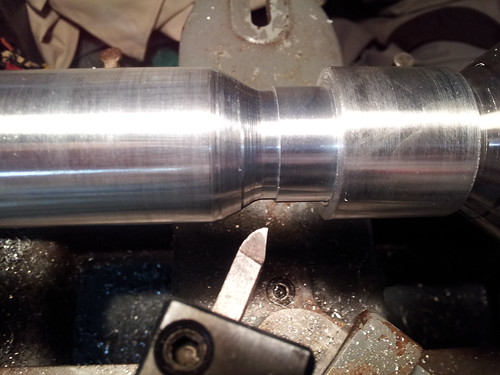
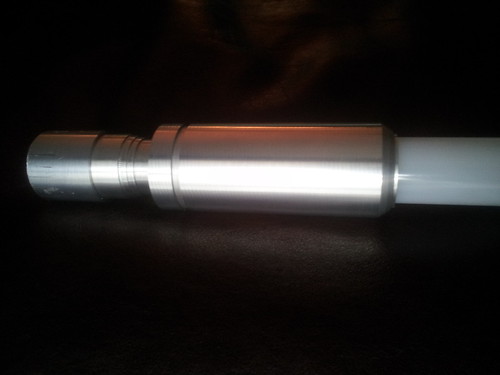
Holly was a fun first project, and now with a bit more experience, and a few new tools, I have the opportunity to revisit the design and do a more accurate version of Satele's saber. I'm tweaking the construction a bit as well as updating to accurate artwork. The first piece of my metal order arrived yesterday, and I was able to get a bit of work in this evening.
I cut a piece of the plate off for the fin template.
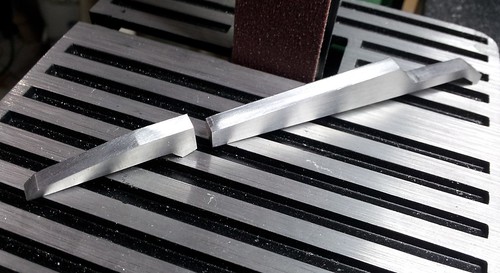
And managed to get one pair of fins cut and generally sanded. This was the first time using this small belt sander, and what an incredible addition to my shop!
Hopefully I'll be able to knock out a few more fins tomorrow since this should be ready for Dragon*con at the end of August.


 Reply With Quote
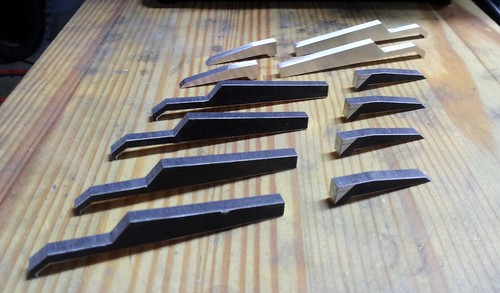


Bookmarks