Page 1 of 5 1 2 3 ... LastLast
Results 1 to 10 of 42

Thread: Rogue9607's Scrap Saber

  1. #1

    Default Rogue9607's Scrap Saber

    So perhaps the title isn't the best, but I'll explain. A few months ago I picked up an old Logan 820 lathe and have been getting it back into working order. I finally turned my first piece last week, so that means it's finally time for a saber of my own! My wife gets to go to cons and troops with her Satele saber while I've been using a Mace MR. Not a bad option, but still... I need something better. And with Star Wars Weekends coming up, I need a saber without a blade for the parade.

    Unfortunately, I've never used a metal lathe, so I wanted to do a test piece to get a feel for it before trying something more ambitious. When I bought the aluminum for my wife's saber, I got some extra in case I goofed and needed to remake a part. Thankfully, I didn't have to use any of that extra, so I set about designing something that I could make out of that scrap, hence the "scrap saber" title. If all goes well on this build, I should be able to make a pair of these, which seems appropriate since they're fairly short.

    This was an older iteration of the design that's been tweaked a little (mostly the pommel length). The pommel and the light grey piece at the front will have etchings in a similar style to my Satele saber, though I haven't finished the design yet. My plan for the emitter is to try anodizing it and dying it black/grey, but I haven't decided if I want to try that or not - I'll see how I'm doing for the SWW deadline. The large grey section in the middle will be charcoal leather. I have a full hide from another project that ended up not using it (fwiw, it's the photo backdrop for most of my Satele shots ).


    I've made reasonable progress, though I haven't been nearly as good about documenting the process this time as I was last time. I just started polishing the pieces to remove the milling marks, but I think all of the pieces are cut. I'm undecided if I want to bevel the emitter like the sketch above, or leave the hard edge.
    Last edited by rogue9607; 05-01-2013 at 01:35 PM.

  2. #2

    Default

    Looks great! Personally, I would bevel it. I like how emitters look with a softer edge, sort of flowing into the blade.
    "We don't have to win. We only have to fight." - Mace Windu (Shatterpoint)

  3. #3

    Default

    Quote Originally Posted by Kyaryo Ysoyav View Post
    Looks great! Personally, I would bevel it. I like how emitters look with a softer edge, sort of flowing into the blade.
    Thanks! That's the way I'm leaning, though I think I'll get the cutout, etching, and leather grip done before making a decision on it.

  4. #4
    Jedi Knight cannibal869's Avatar
    Join Date
    Sep 2008
    Location
    Home of NUCLEAR JEDI SABERS
    Posts
    1,027

    Default

    really liking the design so far. Good luck with the beveling! Just a note though - beveling an angled cut like that I think might require CNC? I don't think you can easily do that on a lathe, but I could be completely wrong...
    LOCKHEED

  5. #5

    Default

    Quote Originally Posted by cannibal869 View Post
    really liking the design so far. Good luck with the beveling! Just a note though - beveling an angled cut like that I think might require CNC? I don't think you can easily do that on a lathe, but I could be completely wrong...
    You're right, it wouldn't be doable on a lathe. If I did the bevel it would be all hand work - and a lot of work at that.

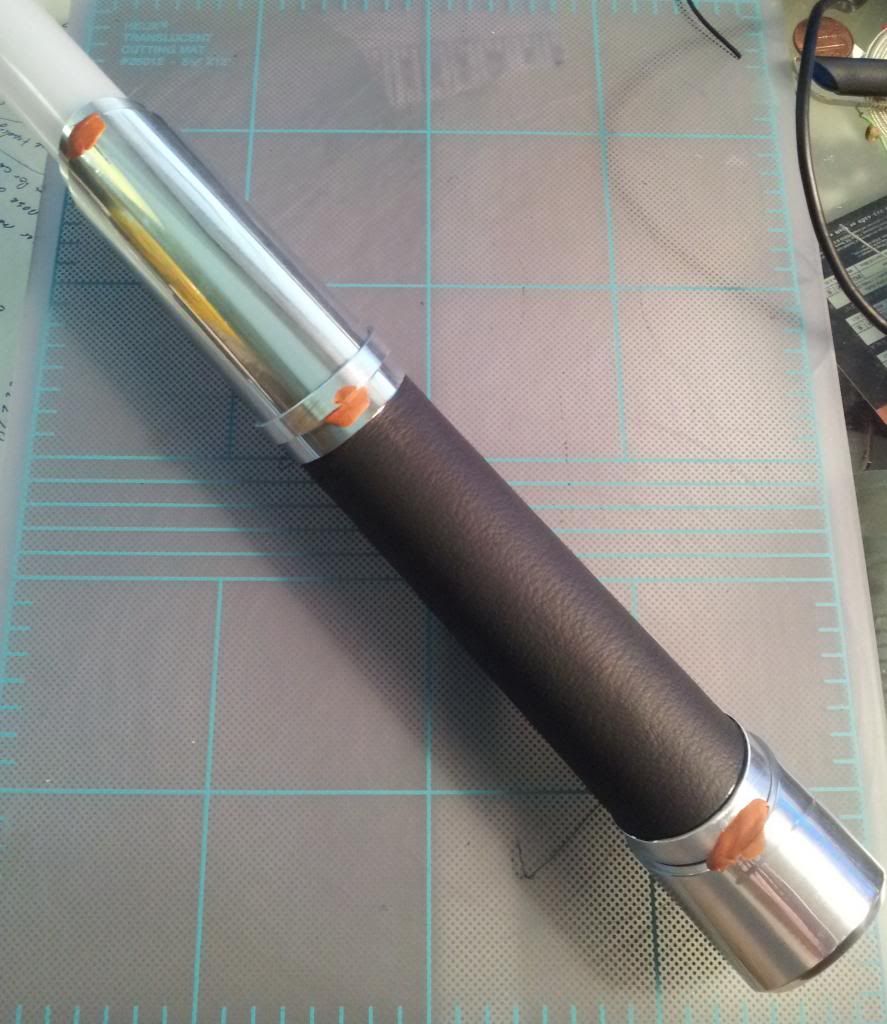
    I've had the saber tacked together while I work on a template for the leather grip, and I've been considering a design change. The front section gives me a nice surface for artwork/etching without the cut out. I'll finish the grip, then work on the etch design, and I think that'll naturally help me decide on the cut out and beveling.

  6. #6

    Default

    Your 'Scrap' saber looks better than many of my 'non-scrap' saber designs.

    I really do think you have a unique talent for this kind of work.

  7. #7

    Default

    Thank you Hedgehog!

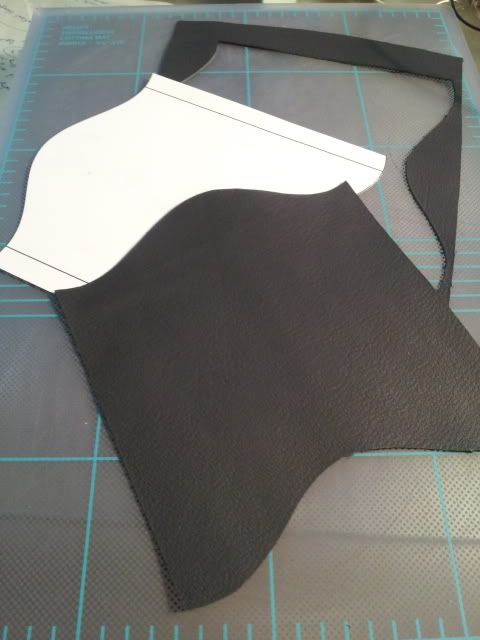
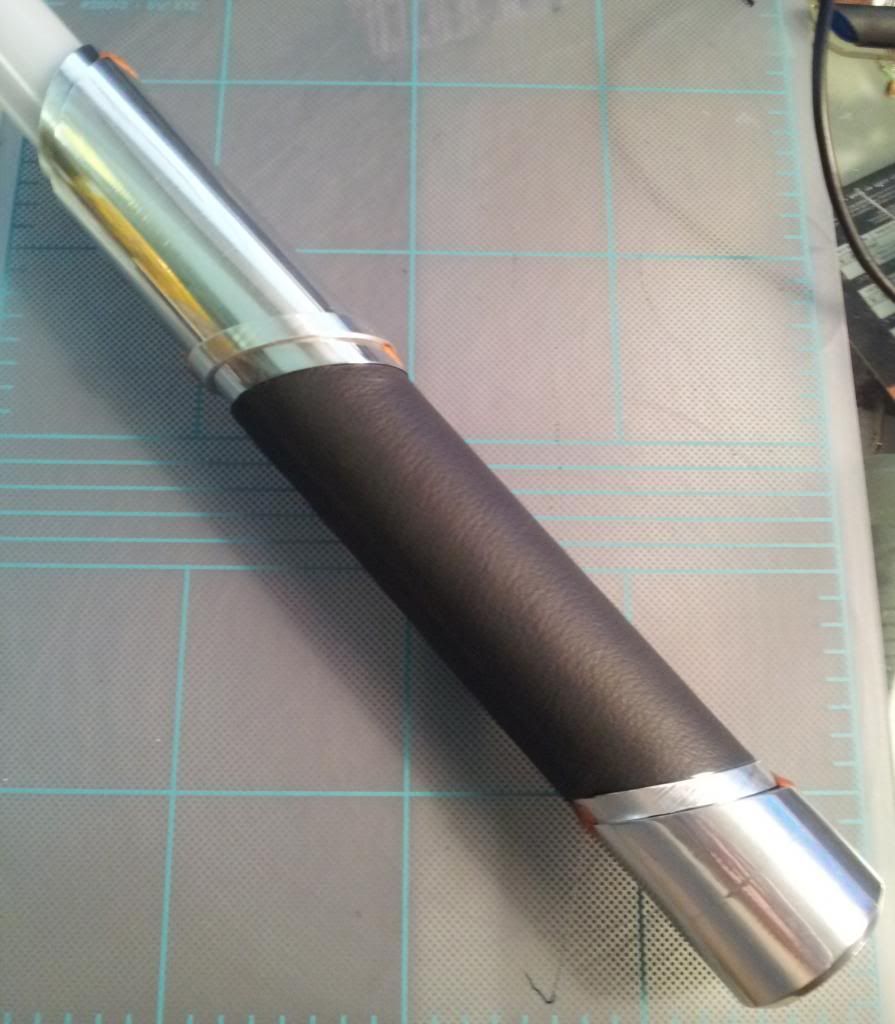
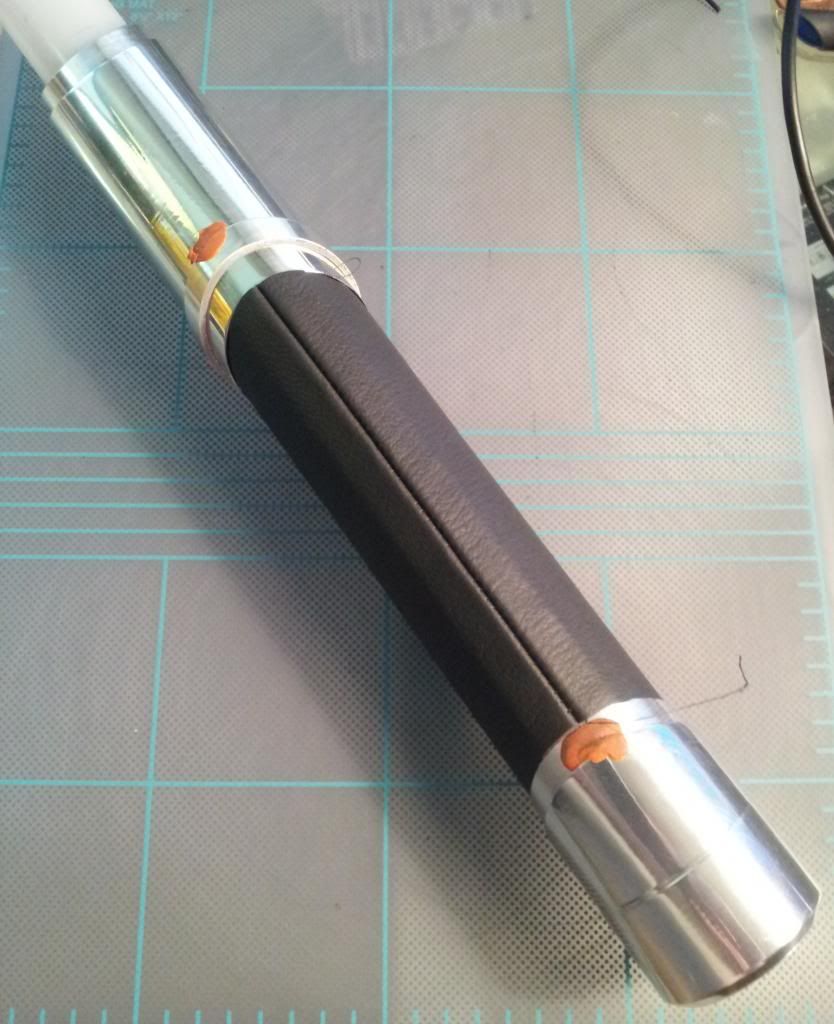
    I haven't had a chance to work on this the past week until today. I made the template for the leather grip, cut the leather, sewed it into a tube, and put everything back in place. I'm really excited how it's shaping up!


  8. #8

    Default

    Sweet leather work... and a beautiful looking hilt. Extrapolating those angle cuts out onto a 2d surface still baffles me, so there is envy going on across a variety of elements.

  9. #9

    Default

    Thanks you. The template was actually easier than I expected. I had the hilt pieces together and traced the angles onto the main tube with a sharpie. I then wrapped the tube several times with clear packing tape, and cut it along those lines with an x-acto knife. I flattened the tape template onto a piece of paper, scanned that to my pc, and then traced the edges in Illustrator to give me a template. I printed the template on card stock, cut it out, and then used that template to cut the leather. The lines on the edge of the template were my 3/8" seam allowance for the sewing machine.

    Having written that all out, it doesn't sound very easy, but I felt pretty simple as I was doing it.

  10. #10

    Default

    ^^ That's how it's done.
    It sounds like a lot when read. But, though an exception to the rule, it's actually easier DONE then SAID. : )
    ~ The Yin ~

    “Yeah I’m pack’n heat! It’s to prevent anyone from making me cold.”

    For the saber building Younglings and Padawans: Basic Saber Building and The Saber Building Dictionary!

Bookmarks

Posting Permissions

  • You may not post new threads
  • You may not post replies
  • You may not post attachments
  • You may not edit your posts
  •