


It's not a saber but it does still use MHS and Plecter products, so I thought I'd share this with you guys. I built this for my Mandalorian costume.
Mods please let me know if I need to resize images.
So I'm a fan of canon weaponry, even if that canon is ambiguous or not well known. The Charric is a weapon like a blaster from Chiss space. Wookiepedia's image of it looks like this:
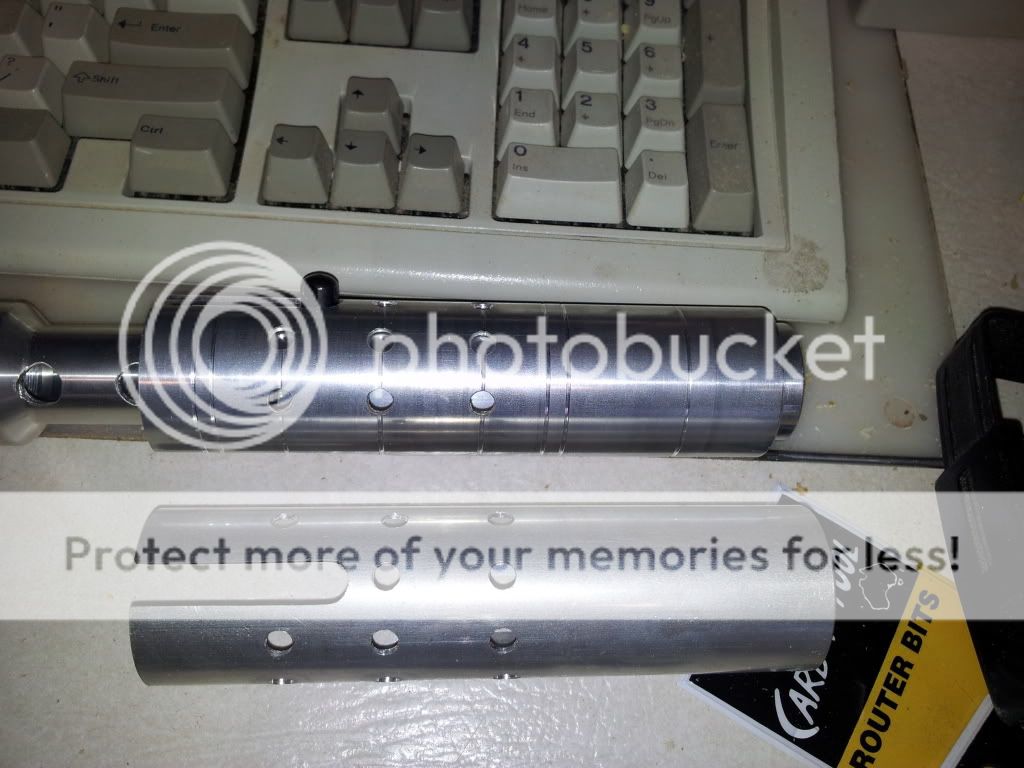
The top one has been done by someone on The Dented Helmet, I think they may be a member over here too but I'm not sure. I'm going for the bottom one, it has more appeal to me.
So I started with The Custom Saber Shop. The barrel looked really easy to put together from the MHS parts there. Then I 3D modelled those parts and the pieces that would become the handle and that front bit, which I have no name for.
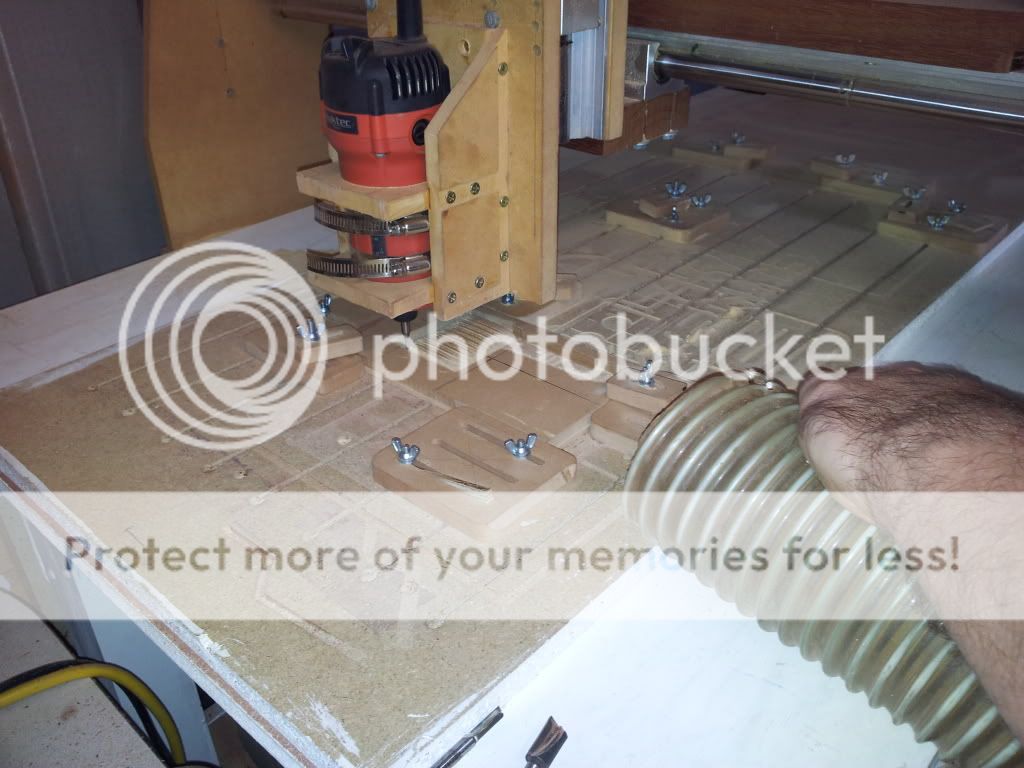
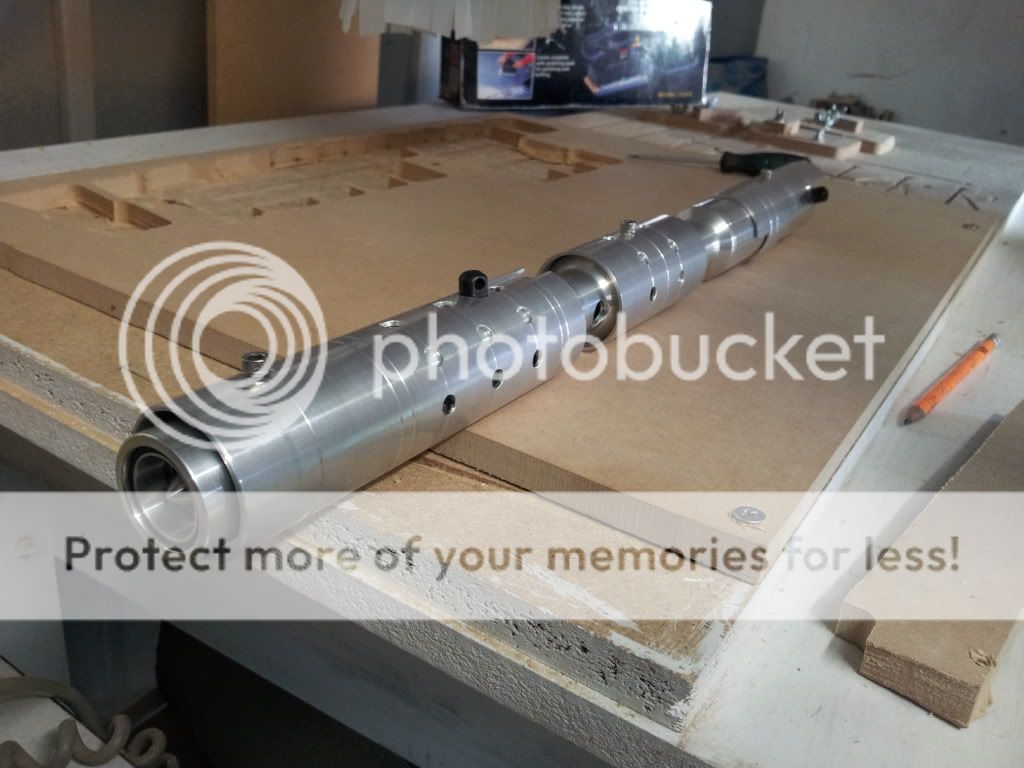
Looks pretty good huh? I thought so, so I moved the files out to run them on a CNC router, which I just casually happen to have access to from time to time. Here we are setting it up and testing the first piece - (We is my brother and I)
The handle sides are MDF, so keeping the dust down is important -
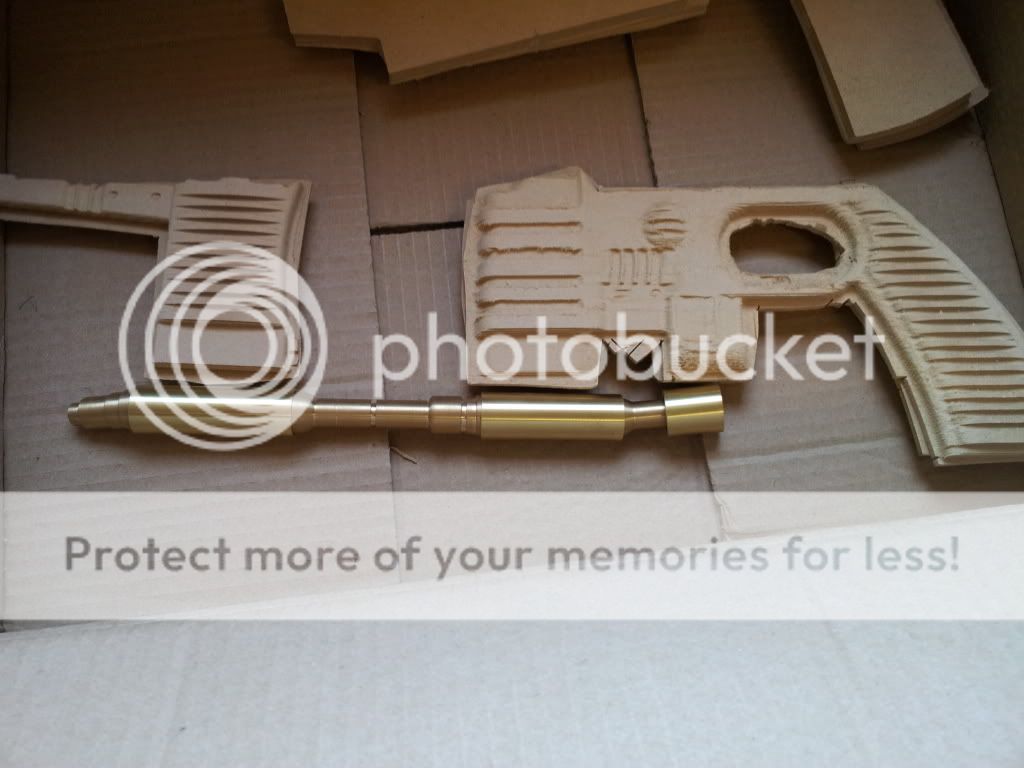
And the first finished piece, fresh from the CNC -
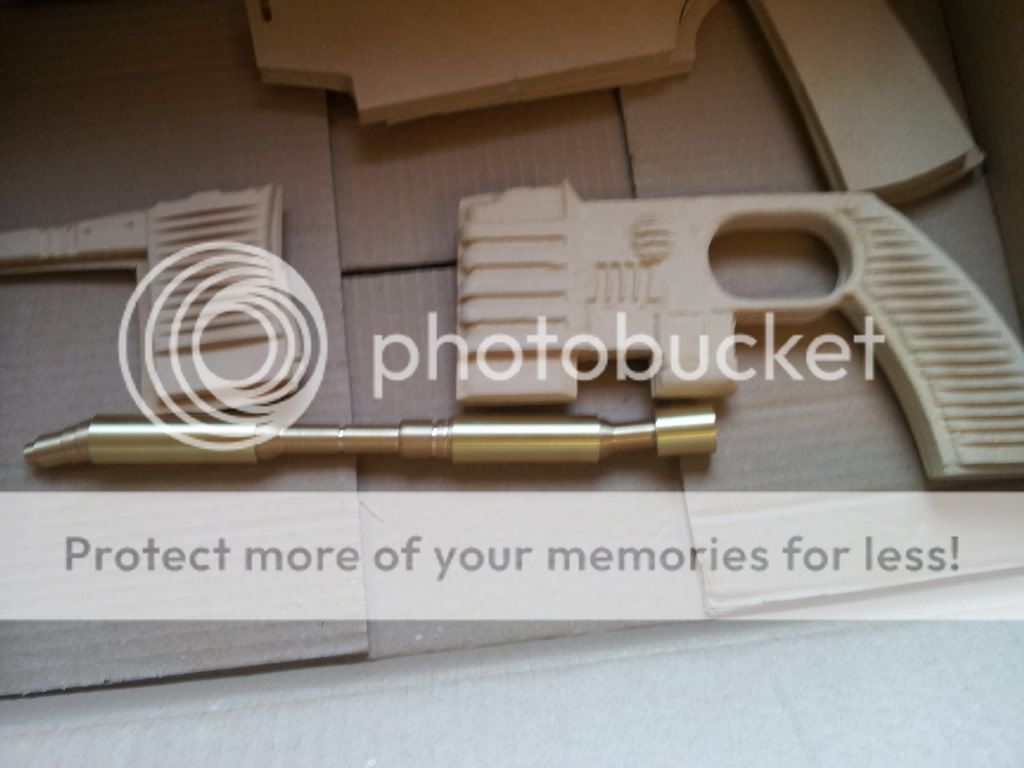
That worked well, so we moved on and did the other side as well as the handle pieces -
And cleaned them up a bit -
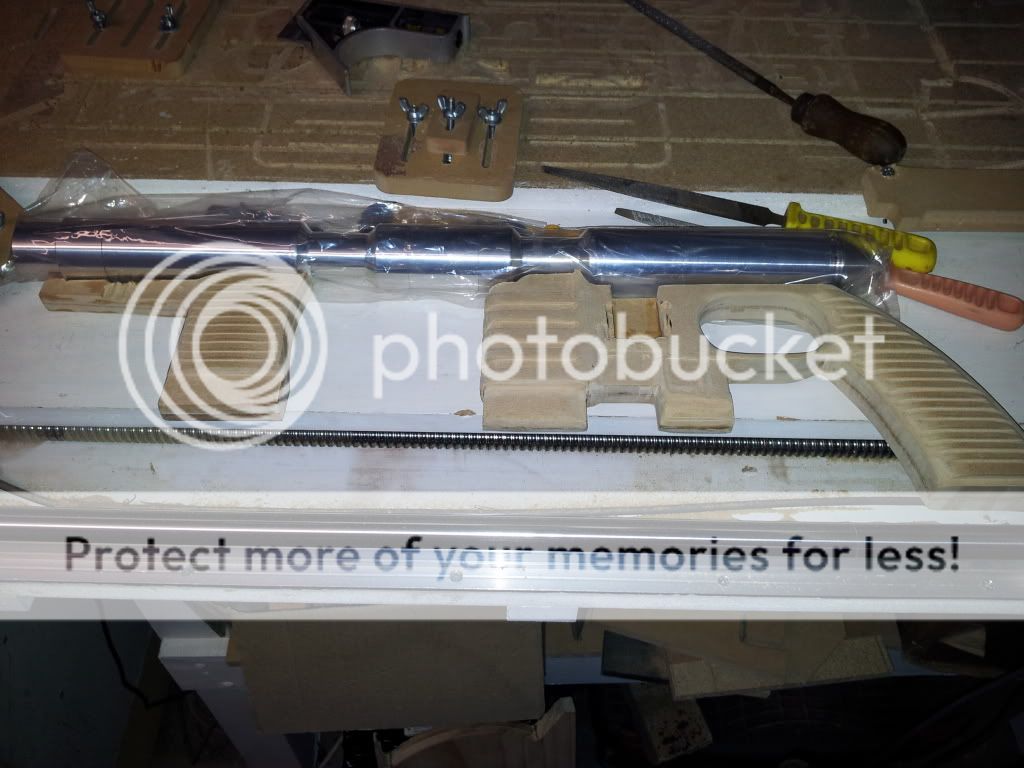
Glues the sides together and did more cleanup, and then the order from TCSS came in.
So I carved out the top of the handle pieces so they would fit the barrel
Drilled a whole bunch of holes. Mounting points for the sling, holes for the LED's to sit in and shine through, holes for screws to mount the handle pieces to the aluminium barrel
Cut up some brass
And put it together to see how cool it looked :P
So the front shroud wasn't doing it for me. I decided to make a new one. Comparison shot:
And then cos that worked so well I followed those design cues for the rest of the shroud work:
So that's about 80% of the metalwork done.
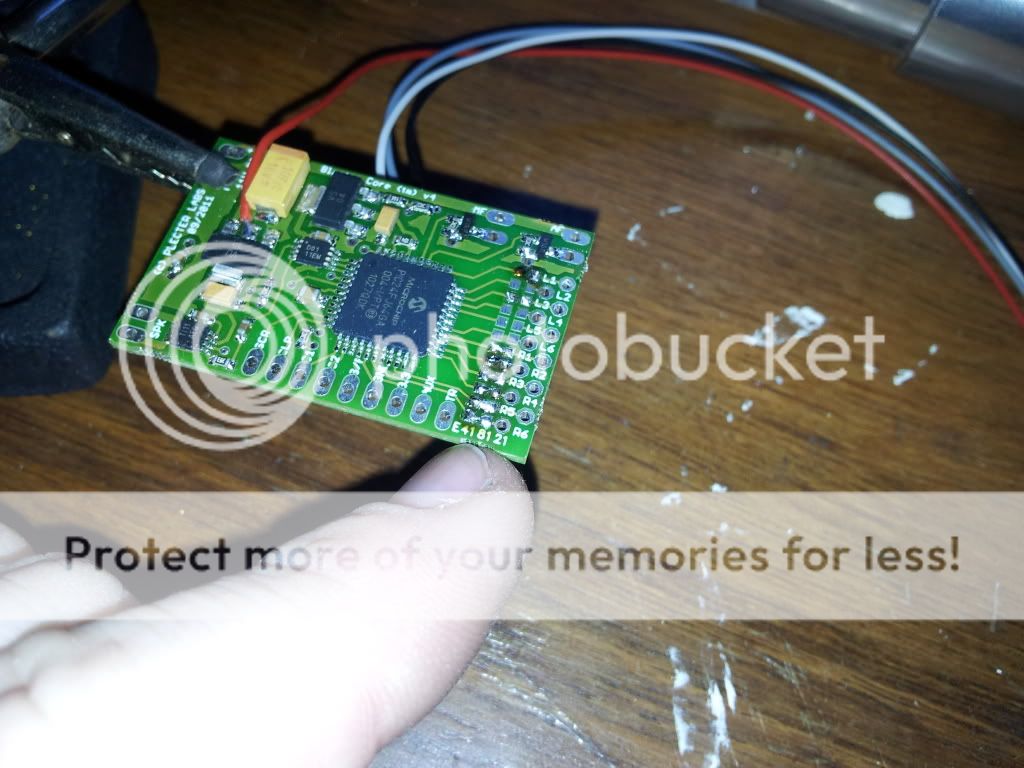
So I started work on the electronics by bridging the SMD solder pads for resistors on the Blaster Core -
I'm not using the 6 LED ammo counter, the screen will be used for that purpose instead. So the bridged pads are the ones where the barrel ray LED's connect.
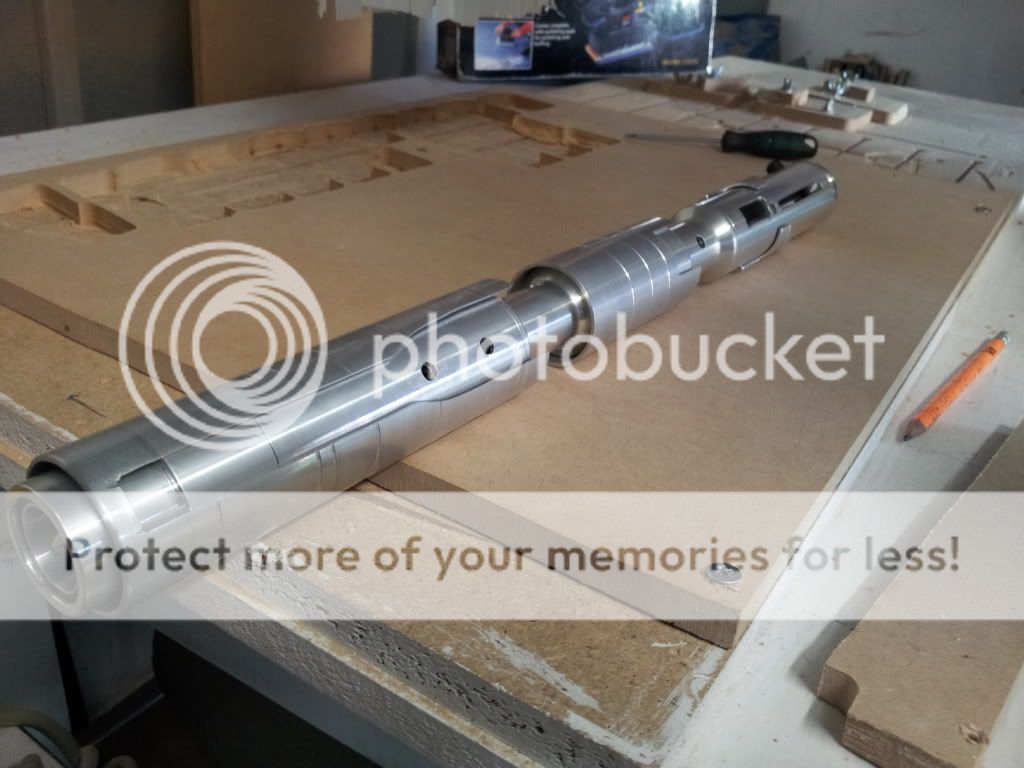
I also completely finished the barrel -
So there's now screws holding each shroud piece on. I stripped the threads on one of the central MHS pieces for ease of construction and it's now held together with a hidden set screw.
Here's an underside view, showing the holes for the mounting screws and the channels for wires at the handle end -
And in both of those you can see the ARKM razor blade plug, which totally makes this gun. It really does.
Got a bit of wiring done, nearly there...
The Blaster Core with the wires attached for the switches, trigger, etc
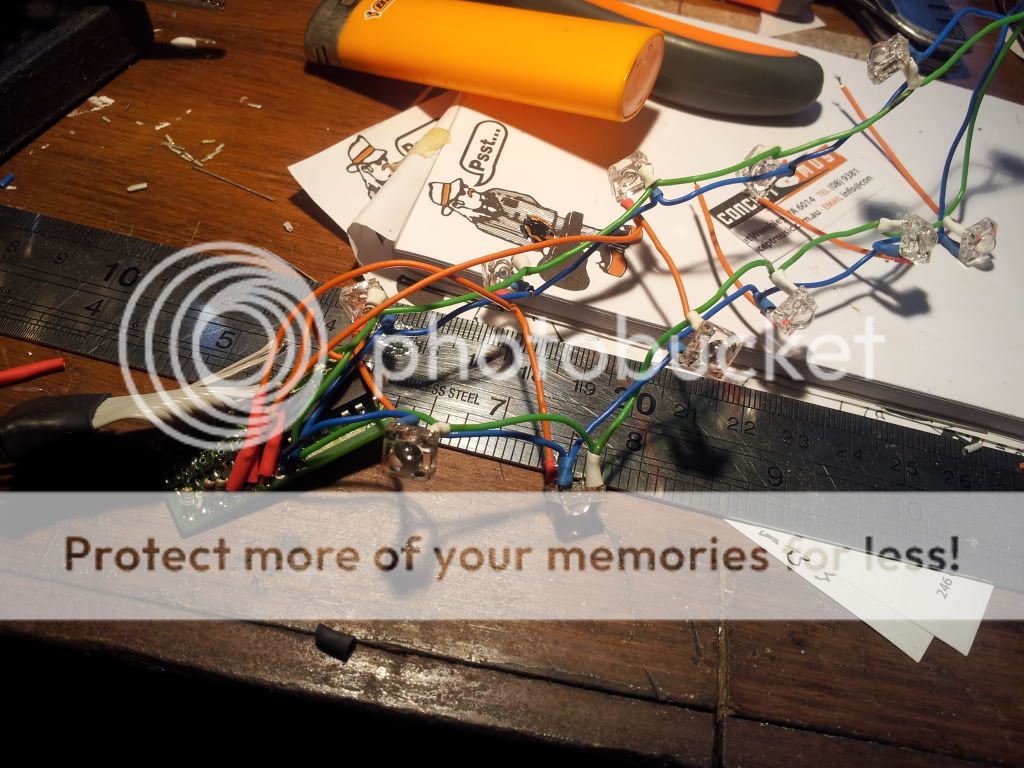
Halfway done with the barrel ray. The blue and green are common colour wires, the orange is individual control of each pair of LED's. You can see the resistors placed at the circuit board.
I accidentally soldered the wire for LED pair 1 to spot six... and 2 to five... and then realised and had to redo it :/
The main LED module all wired up. There's a Ledengin 10w RGBW LED in there, I'm using the green and the blue only.
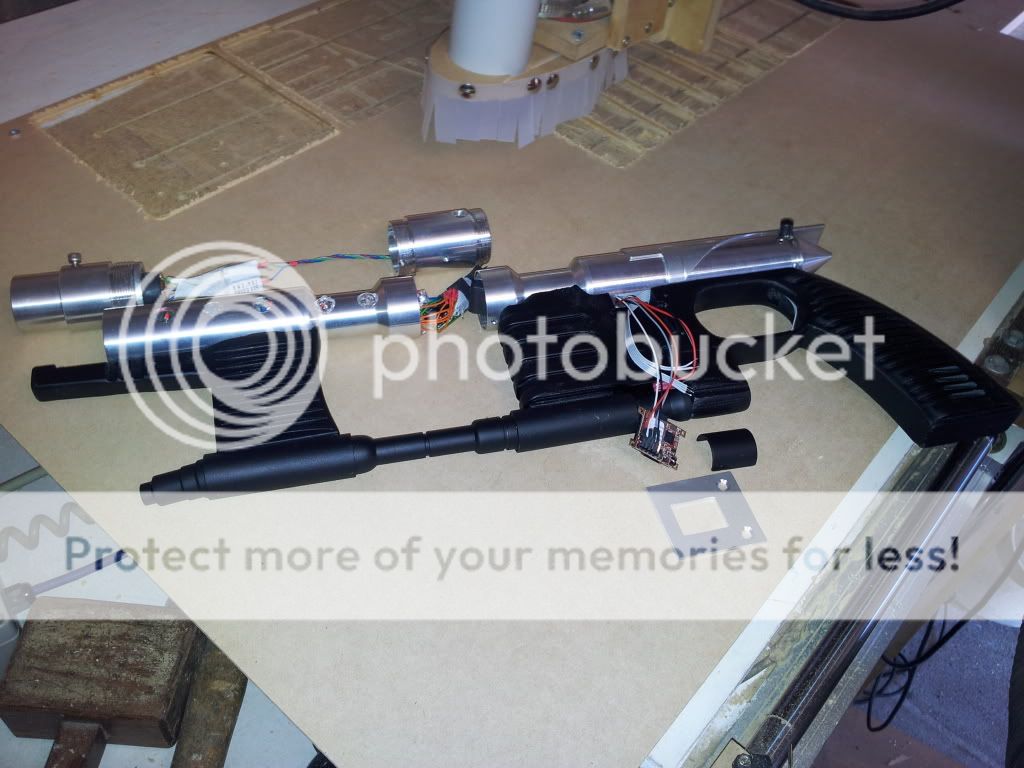
Blaster core all wired up...
The handle section...
Nearly done...
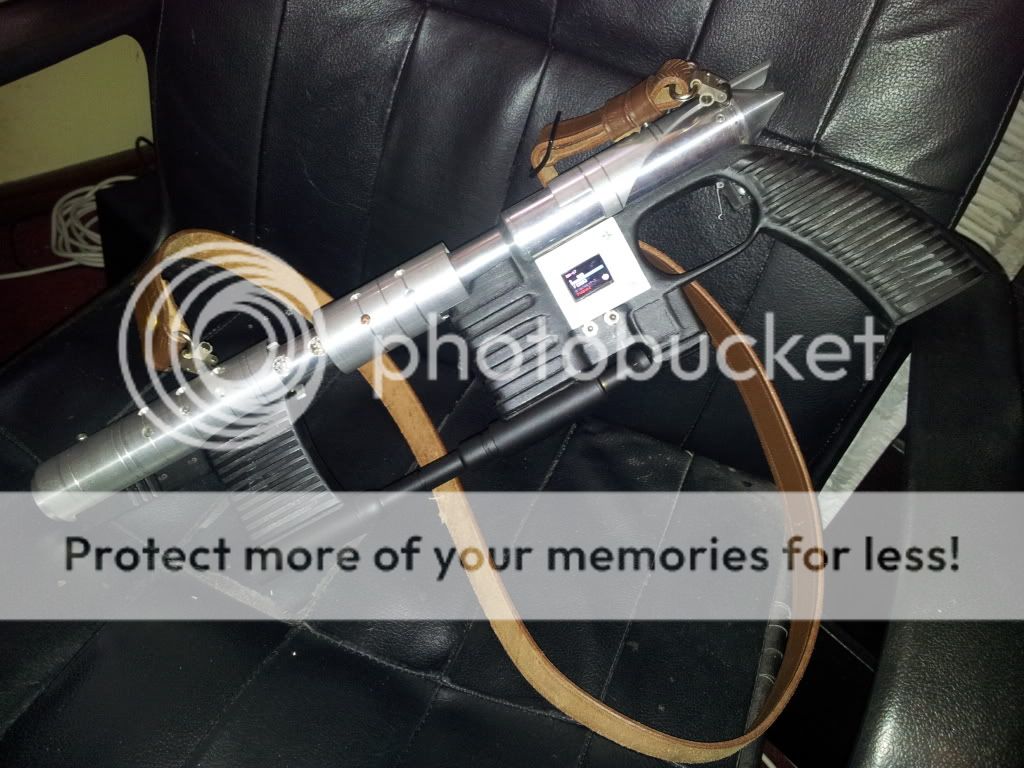
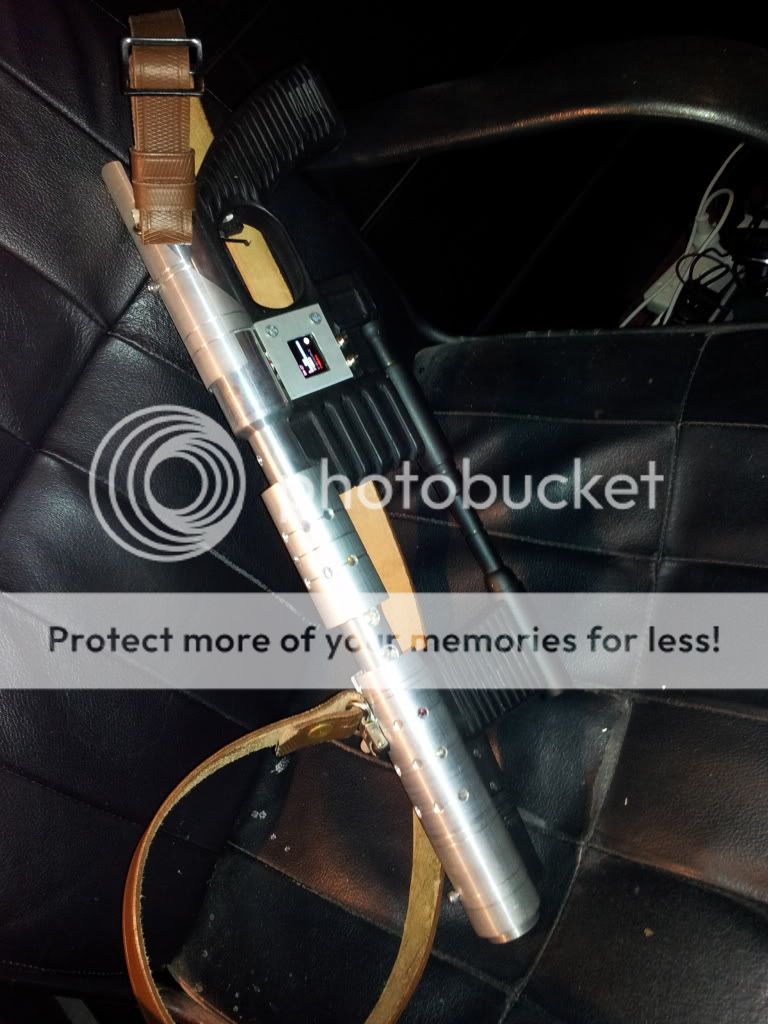
Finished pics before taking it to C6...
I'll have to rewire it. There's a few changes to make to get it to a point that I'm really, really happy with it - but it's PRETTY good.
Changes for the future include:
- making the main flash be the right colour, finding the fault which makes the main ray colour not work (At present only Stun mode works)
- Recharge port and 2x18650 or similar stick battery pack instead of removable AA's
- Relocate the speaker further forward for better "audience effect"
- Cutting out the MHS under the rear shroud to better access the Blaster Core, and therefore require less wire mess inside
- Better looking trigger or cover for the switch that's there
- Couple more holes on the end of the barrel for the main flash to shine through the side as well
- Custom sound fonts. I am qualified to make such thingsAnd blaster sounds are SO much fun to make.
- Utilise the 6 segment ammo bargraph
- Add a single shot/full auto switch and indicator light
Things that I'd do differently next time:
- Remodel the 3d file for the handle pieces to include mounting points for the screen
- Run the CNC slower to get more detail into the handle pieces
- Use standard round 5mm RGB LED's instead of the square ones for the barrel ray. Much easier to mount. OR-
- Use a single LED per segment instead of two, mounted in the bottom of the barrel facing upwards. The holes still show the progression of light through the barrel. <--- May do this anyway as an upgrade
- Drill more accurate holes in the barrel


 Reply With Quote


Bookmarks