


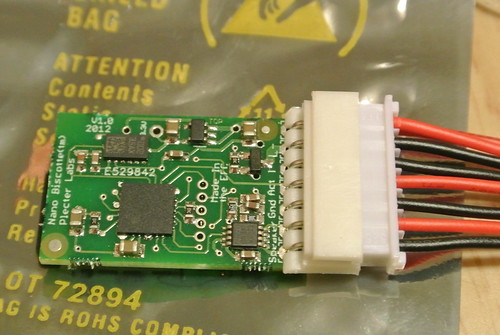
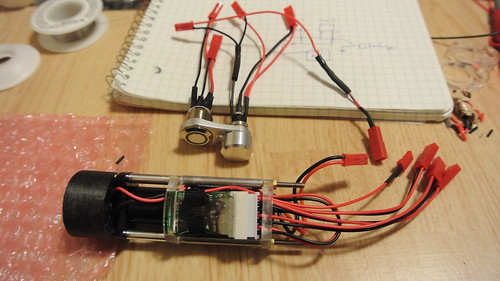
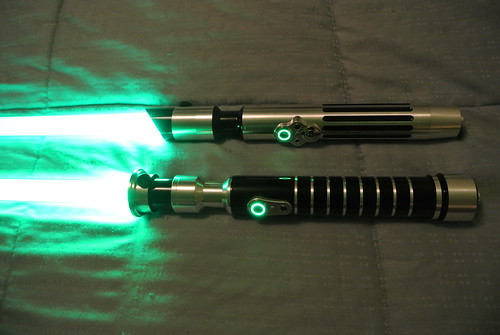
Well I'm happy to say I've completed my first basic saber. I have just the lights working for now, and I have a lot of other things in place for the PC board, when I can get one. I stumbled onto the tcss website about 7 weeks ago, and after a lot of homework, and a little background in dc circuits, I am happy with my creation. I have put more money into it than I thought I originally would need to, and I've bought extra parts just in case. I am really happy with the powder coating, and the overall modular system. I have the activation box 14, and had tcss dill the holes in the hilt, as well as the blade holder. I was really pleased to find that the activation box was threaded and did not rely on a rear nut, which would have been really hard to do in such a cramped hilt. The biggest problem that i face is space and organization, I just dont' see the space i need for a full chassis that I planned for. The excess wire bunches up and causes all sorts of problems. I bought the LED module with the luxeon rebel star, and went with jedi green, I really like the way the module fits in the blade holder, and how it seats inside the choke, there was a little friction when screwing the blade holder down onto the choke/hilt, but I made sure not to twist the wires. I used JST connectors for everything, and created a fully remove-able wire harness, which could be shortened, but I did enough soldering for one night. AV switches were intimidating at first, but really really simple after I found this thread: http://forums.thecustomsabershop.com...=switch+wiring
Another helpful thread is this one about recharge port wiring:
http://forums.thecustomsabershop.com...ge+port+wiring
and this one on the RICE port wiring:
http://forums.thecustomsabershop.com...ce+port+wiring
I don't have the recharge port hooked up yet, or obviously the rice port. I just charged the battery with the smart charger, and JST adapter, took about an hour, I haven't tested the battery life yet, so far so good but I've only ran it maybe 15 minutes. . I will have to open the pommel and pull out the battery to recharge for now. I did some original circuits with a 9v battery, just to test the led and accent switch lights, and to brush up on my soldering skills until the Lithium battery arrived.
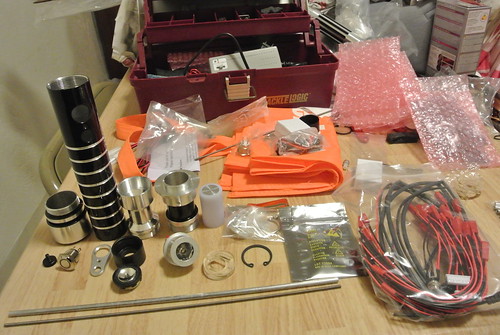
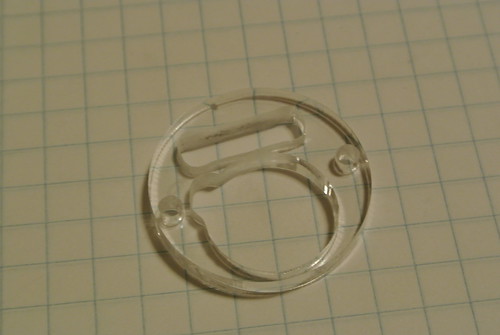
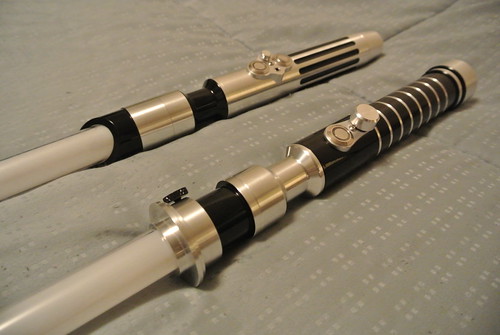
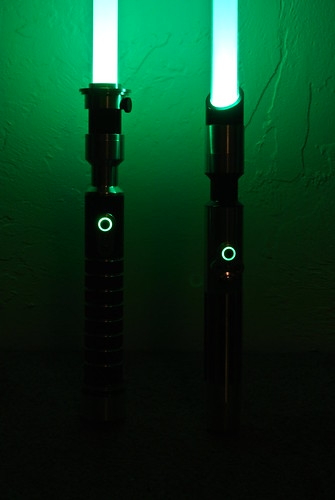
Here are some build pictures:
20120723_190553.jpg20120725_183235.jpg20120726_122751.jpg20120726_180342.jpg
Here is a video:
This is the complete list of parts:
1 of: 7" Fluted with standard style switch hole
1 of: Screw on LED blade holder style 12
1 of: Main Body Powder Coating (Wet Black) (DFS2)
1 of: Blade Holder Powder Coating (Wet Black) (B123)
1 of: Drill & Tap Hole (8-32)
1 of: MPS Pommel style 8
1 of: MHS choke style 1 short
1 of: Choke Powder Coating (C1S3)
1 of: MPS Clip
1 of: MPS Insert style 6
1 of: 3.5mm R.I.C.E. Port Style 1
1 of: 2.1mm Power Jack
1 of: 16mm Anti Vandal Latching Green Ring Switch
1 of: 16mm Anti Vandal Momentary Green Ring Switch
1 of: 8-32 x .3" black thumb screw
1 of: Rebel Star LED & MHS Heatsink Module
1 of: LED "TCSS style" Show blade 1" OD (38 inches)
3 of: Dual 22 gauge wire (sold by the foot)
8 of: 2 Wire quick connector
2 of: 1/8" Heatshrink tubing (I recommend a lot more, had to buy some at radioshack, and it was way overpriced)
1 of: Box 14 Mounting holes service
1 of: Activation box style 14
1 of: Tamiya to JST charger adapter
6 of: JST connectors
1 of: 4-40 Button Head
1 of: 7.4v Li-ion 800mAh 14500 Battery Pack
1 of: 4.7ohm 5w resistor
1 of: 3.7V-14.8V Li-Ion Smart charger
I ordered more parts, but all of these were used partially or completely in this saber, not to mention the new soldering iron i had to buy because the old one fell of the table and broke the tip off, leaving the threaded end inside the tip.
...to be continued with more pictures

 Reply With Quote
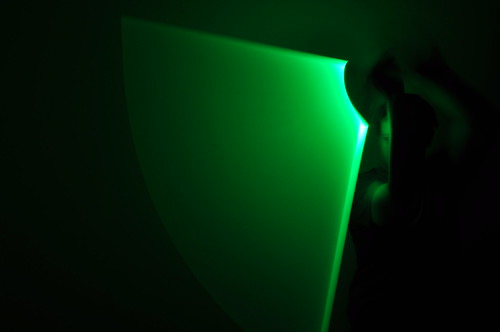


Bookmarks