Results 1 to 6 of 6

Thread: My Makoto 2012 V3 Starkiller 6 Color Change Saber

  1. #1

    Default My Makoto 2012 V3 Starkiller 6 Color Change Saber

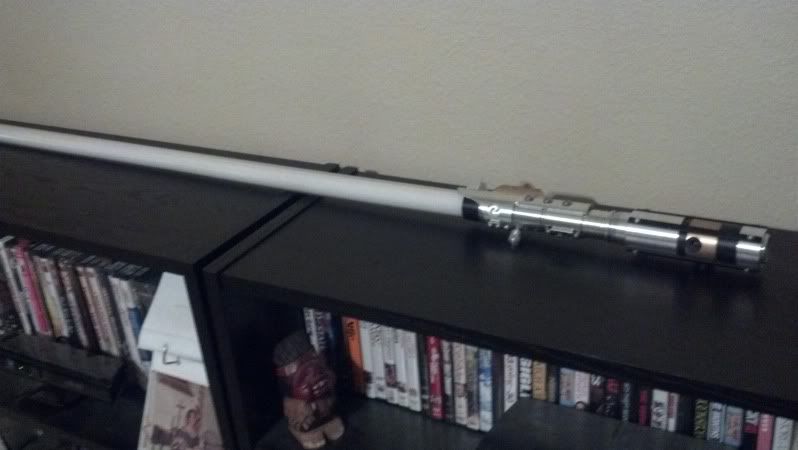
    Hi everyone! I'm new to posting on here, but I definitely researched and read a lot on these boards when making my decision this year on what saber I wanted for myself. Thanks to Brad at Sloth Furnace, Marc at LDM, and SpaceWindu for all of their words of advice. And of course to Makoto for all of his fine help and masterful work!!! Here's my new baby!

    video review: http://youtu.be/Xw3hcmIGark


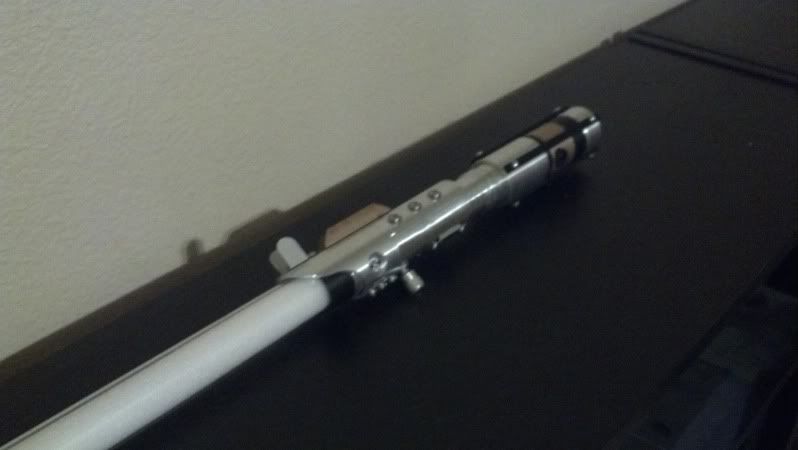
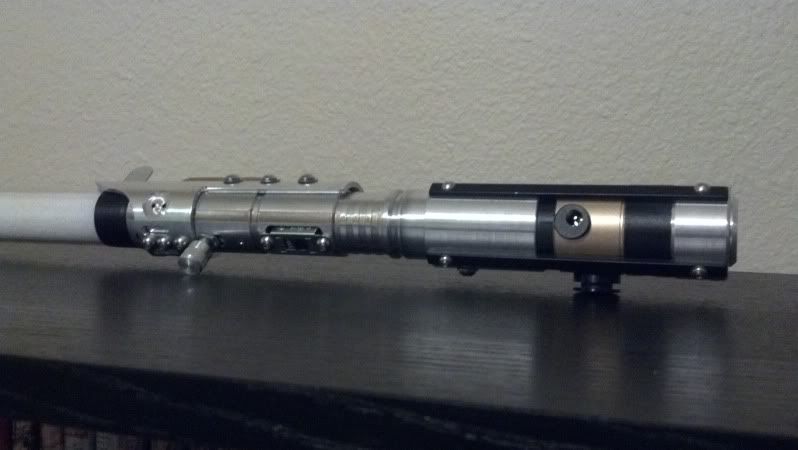
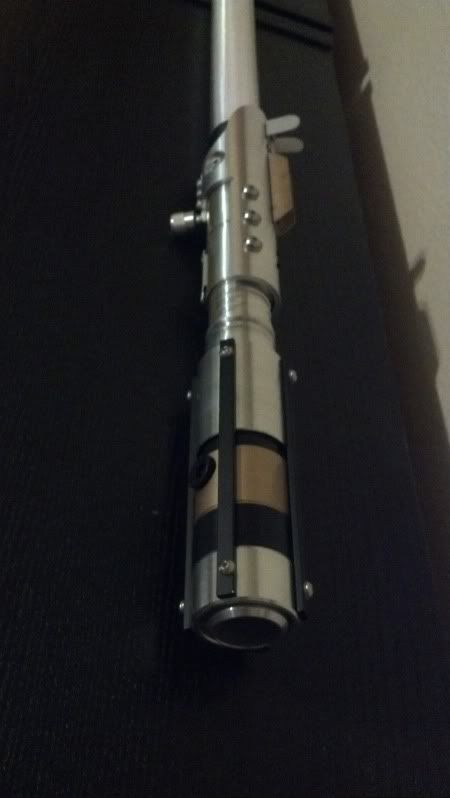
    For this new and improved version, Makoto added great modifications! There is now a recharge port on the bottom side of the hilt, as well as an M key to change sound modes (Jedi, Sith, Gundam for his 2.0 soundboard) and an A key for extra sound effects per mode, both as black buttons on the OUTER hilt. No more opening the bottom to charge, or change sound modes!


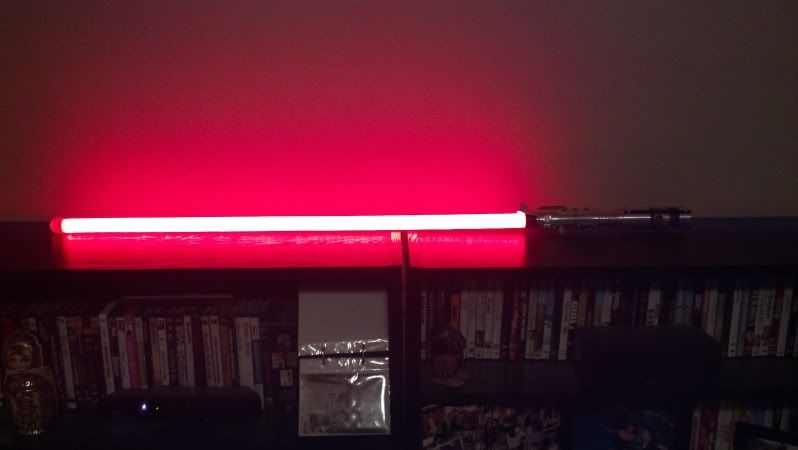
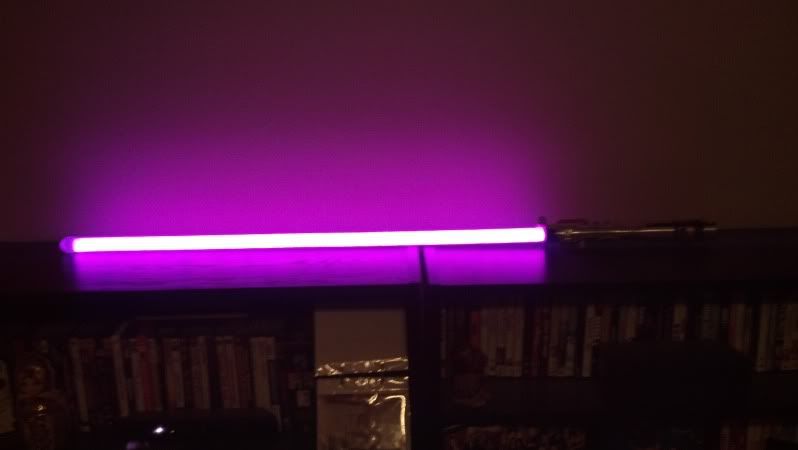
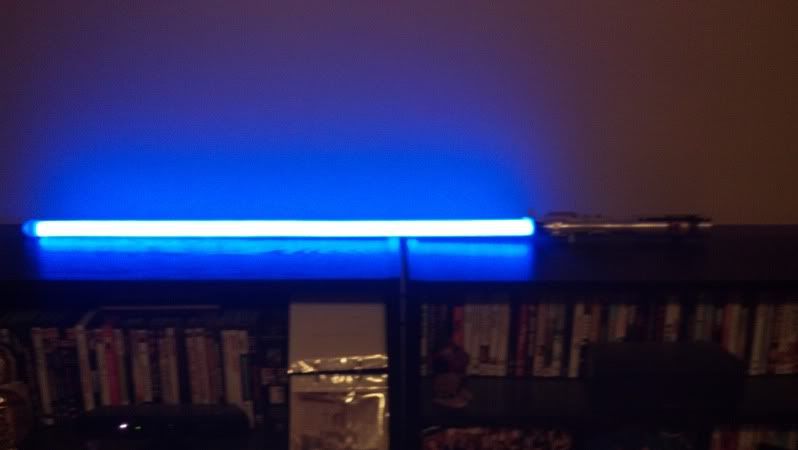
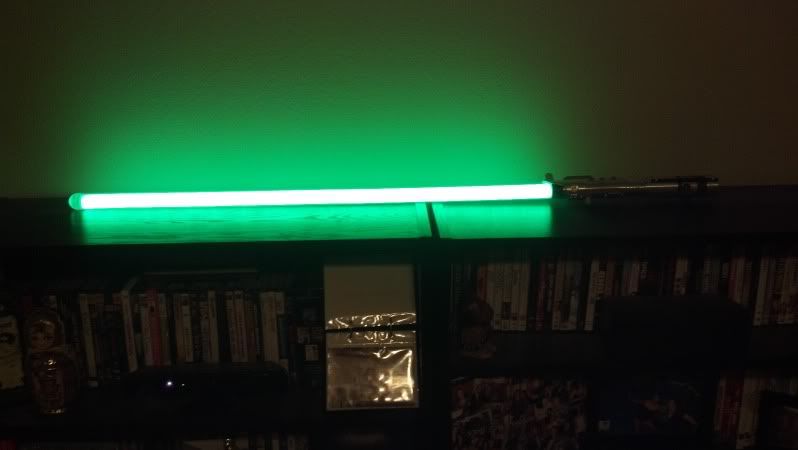
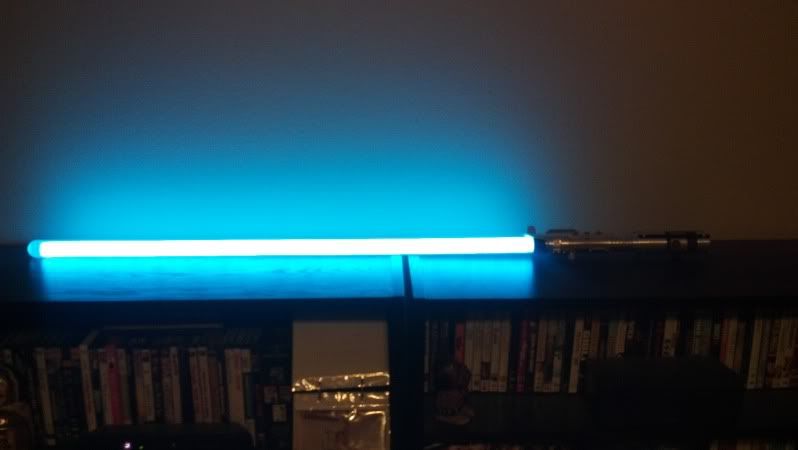
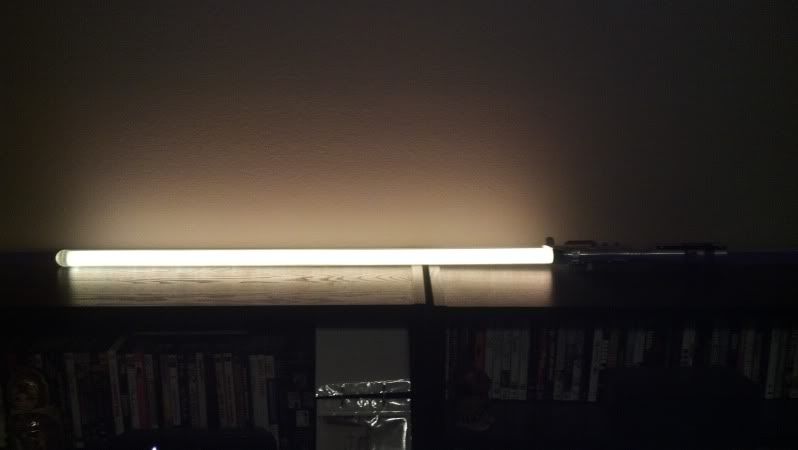
    colors (he added "yellow" free of charge. usually only comes with 4: blue, red, purple, and green. I added Cyan as well):


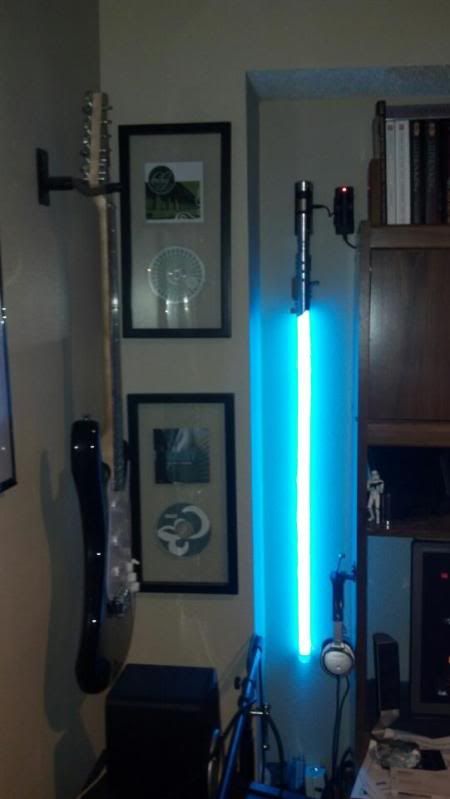
    It was ordered, completed and shipped within 13 weeks. Its slim, he's added the "bunny ears" to it, and the light "pulse" effect is awesome. The best part is I didn't know the modifications were going to happen, so wonderful surprise, right??? Great work Makoto, thank you! Feel free to pm with any questions. Take care guys.

    -Chris

  2. #2

    Default

    Awesome saber. Congrats.

    http://s6.photobucket.com/albums/y23...0Saber%20Hilts

    From Wikipedia: "Internet Explorer slows down GIFs if the framerate is 20 frames per second or higher and Microsoft reports that Google Chrome and Safari also slow down some GIF animations."

  3. #3

    Default

    Thanks!

    (wall-mount with recharge)

  4. #4

    Default

    How did you get the saber mounted to the wall that way?

  5. #5

    Default

    It was surprisingly easy. Makoto's color-change sabers have this knob that sticks out from the hilt, and I was going to use two nails (one under knob, one under "bunny ears" piece) to let it sit on top of. The knob kindve "sunk" into the first nail tho, and it just sits there - so I didn't even hammer in the other. Its not too heavy, and although it doesnt balance 100% perfectly straight, I used a clear push tack at the bottom to keep it straight.

    one nail under knob, one tack to straighten. it just looks like its floating there really, heh.

    I put some velcro on the back of the charger and stuck it on the wall nearby, that way it could charge anytime it was hanging. Pretty easy setup for such nice visual payoff.

  6. #6

    Default

    ok, last one. I thought it'd be cool to get all 6 in 1 photo. obvious photoshop, but oh well:
    Do or do not. There is no try.

Bookmarks

Posting Permissions

  • You may not post new threads
  • You may not post replies
  • You may not post attachments
  • You may not edit your posts
  •