


Greetings Saberfans!
As many of you know, The Custom Saber Shop holds an annual contest for saber builders. I entered the contest for the first time last year with an MHS entry, Sith'ari. The saber did well for my first time out and I was very happy with the build. At the same time I was blown away by the quality of other builds in the contest like Blood Wyrm, Praxis, Scourge, Planet Elemental Saber Found on Kashyyyk and all of the others. In the middle of the 2011 contest, I decided it was time for me to step up my game. I started roughing out drawings and concepts for the saber that would eventually come to be known as The Purge.
There were many early iterations of the saber. I did a ton of drawings and played with a number of different parts. The earliest version of it was a curved saber with a vacuum tube handle but that didn't make it very far. It was also a time when the high-end soundboard options were the PC 1.5 and the CF5.0. I purchased a number of CF5.06 boards in one release and had plans on using one for the build. After the release of Igniter and the extensive work I've done on installs and testing, I decided that it was the board for this build.
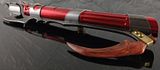
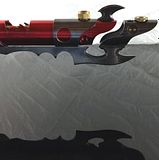
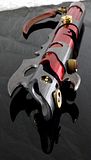
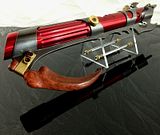
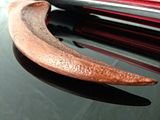
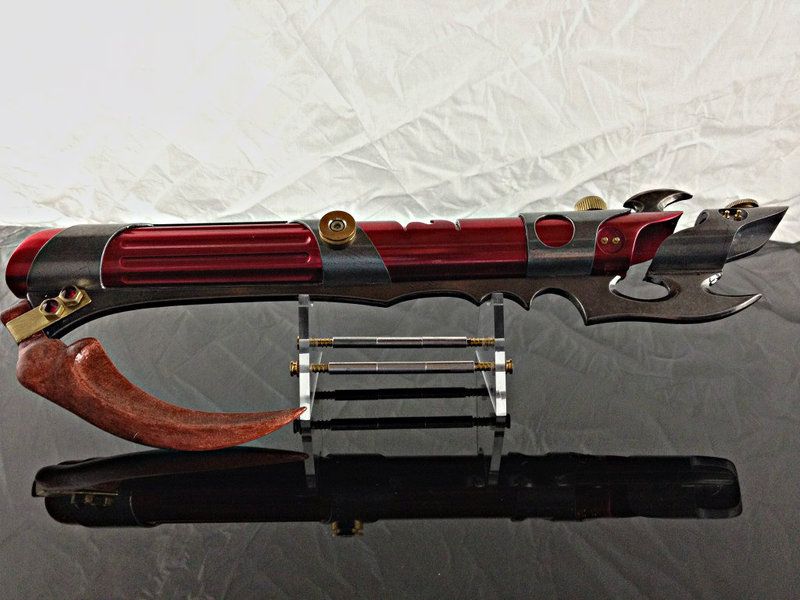
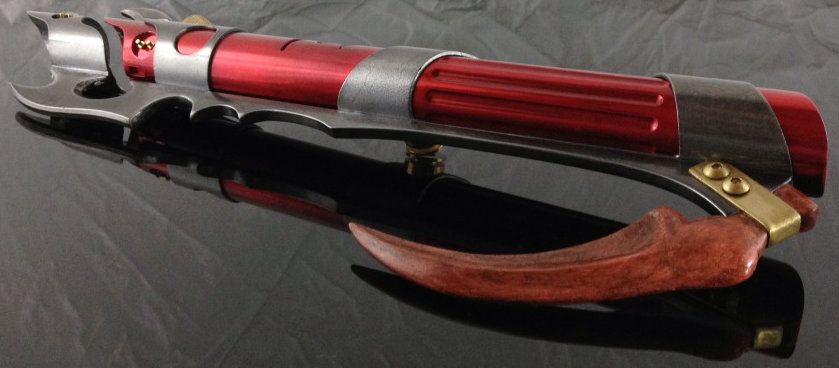
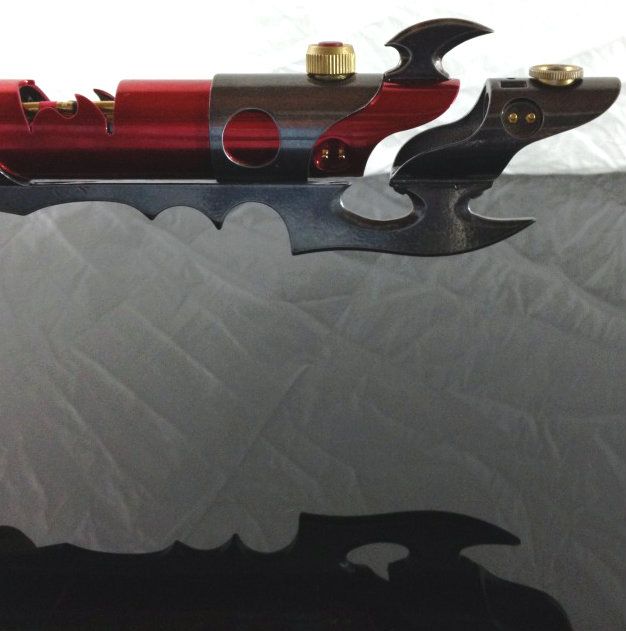
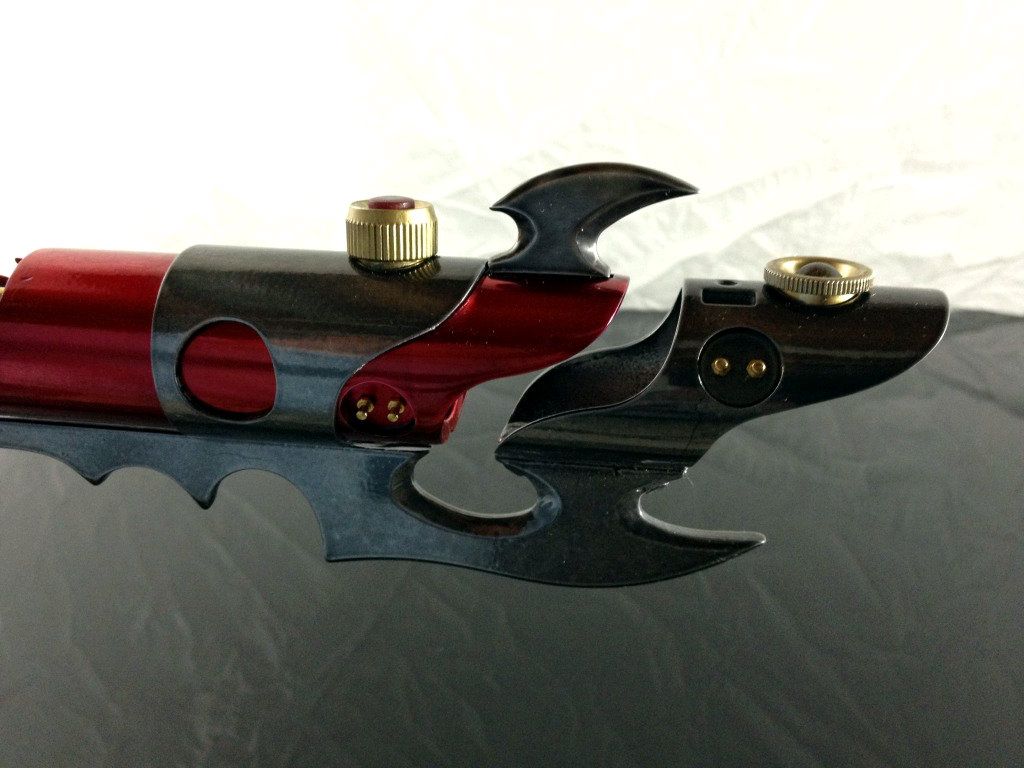
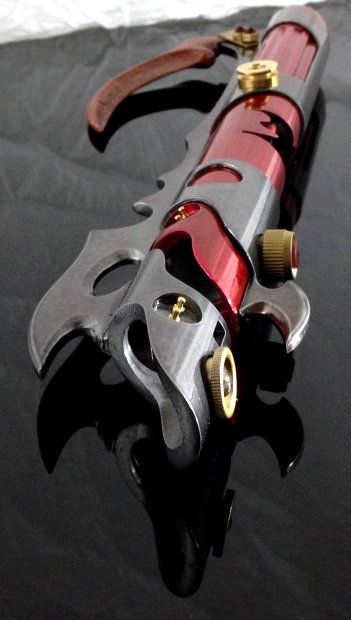
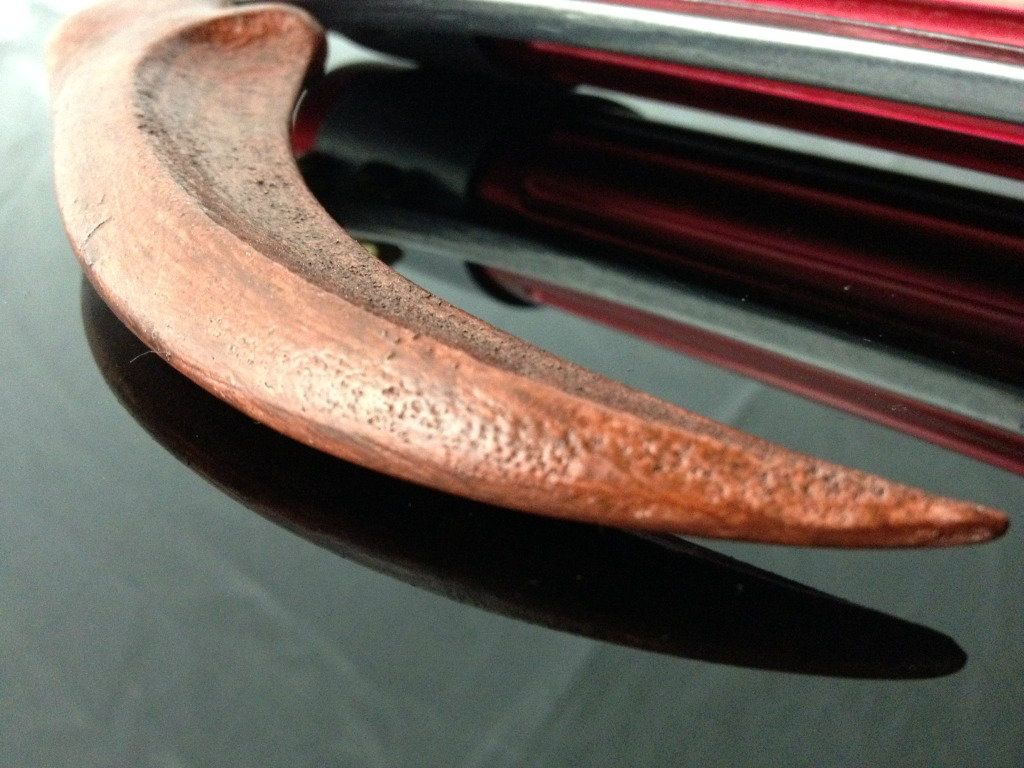
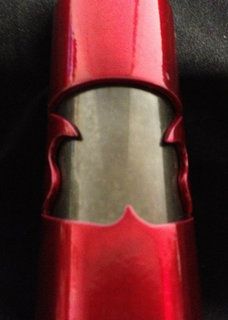
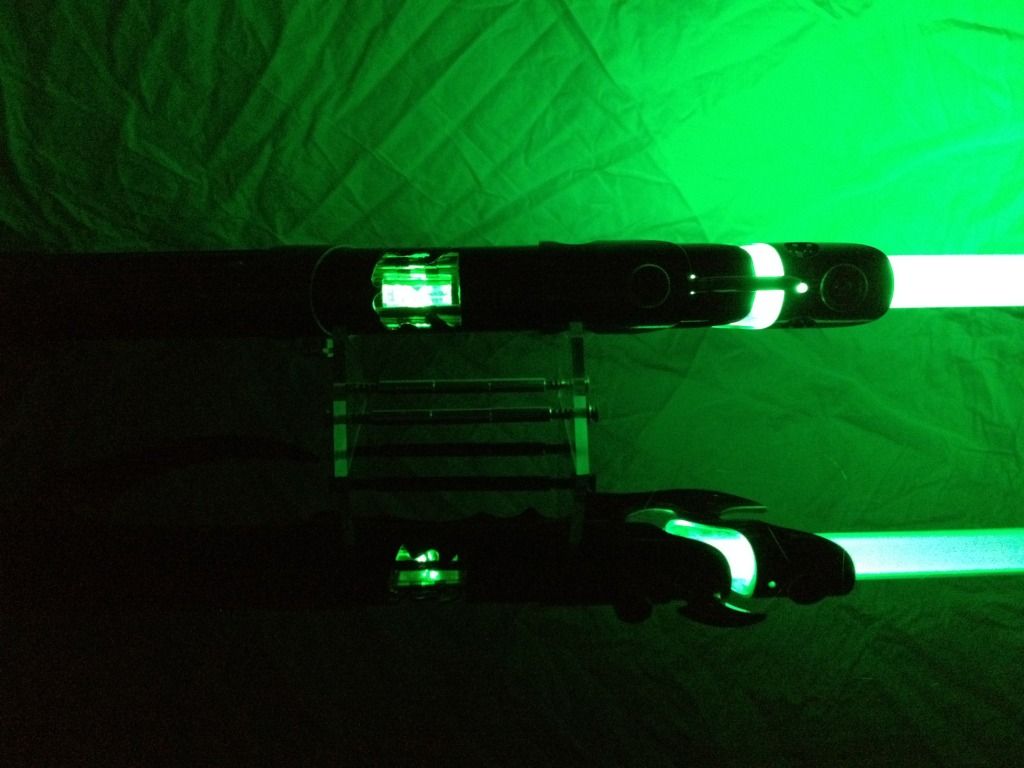
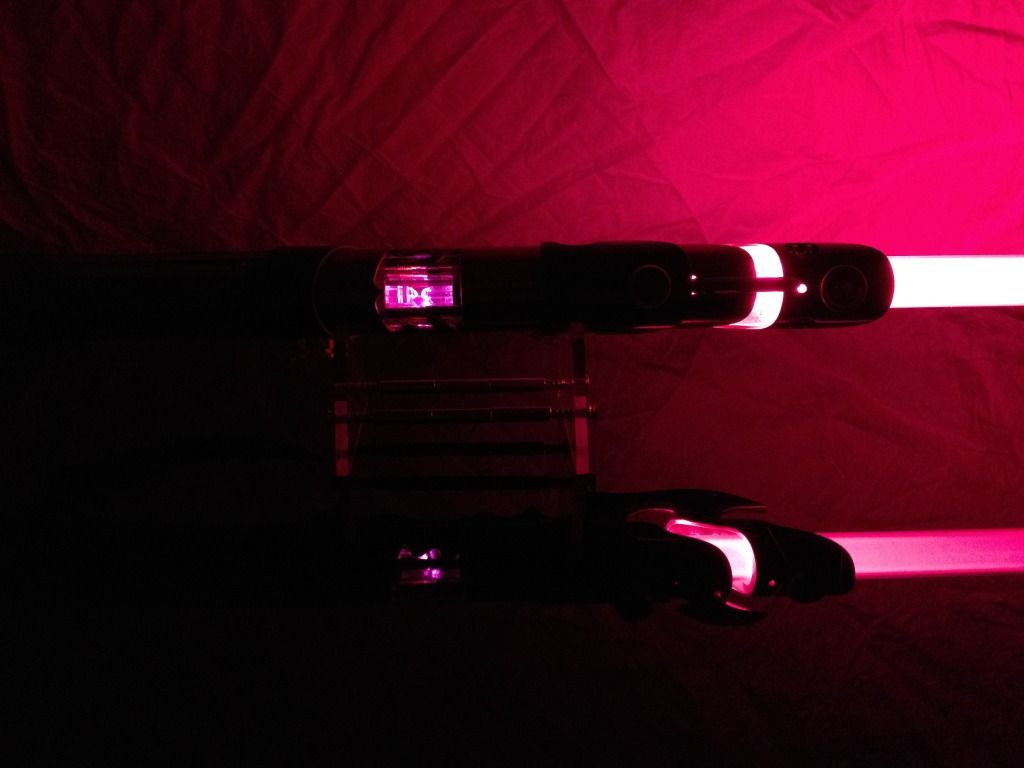
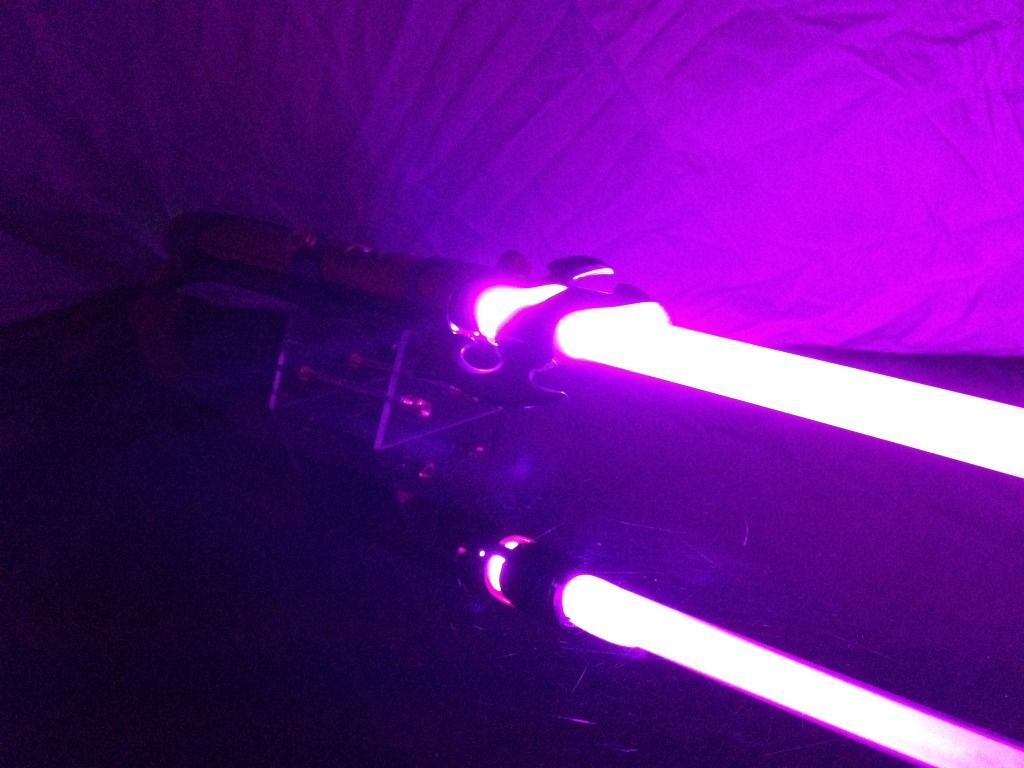
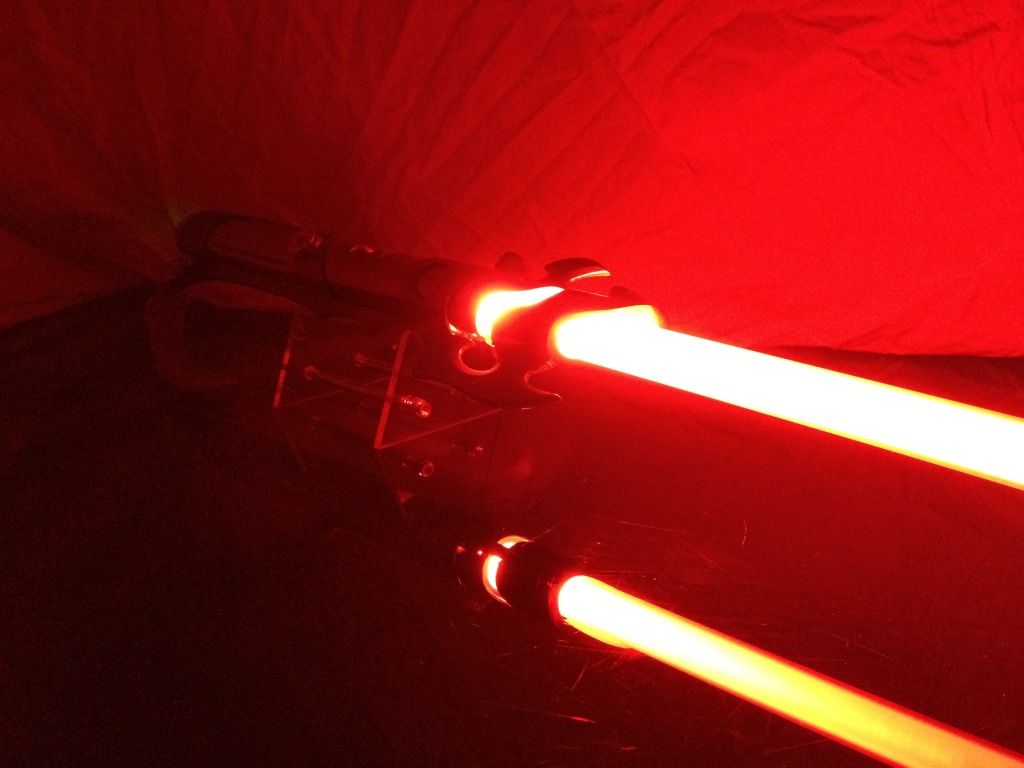
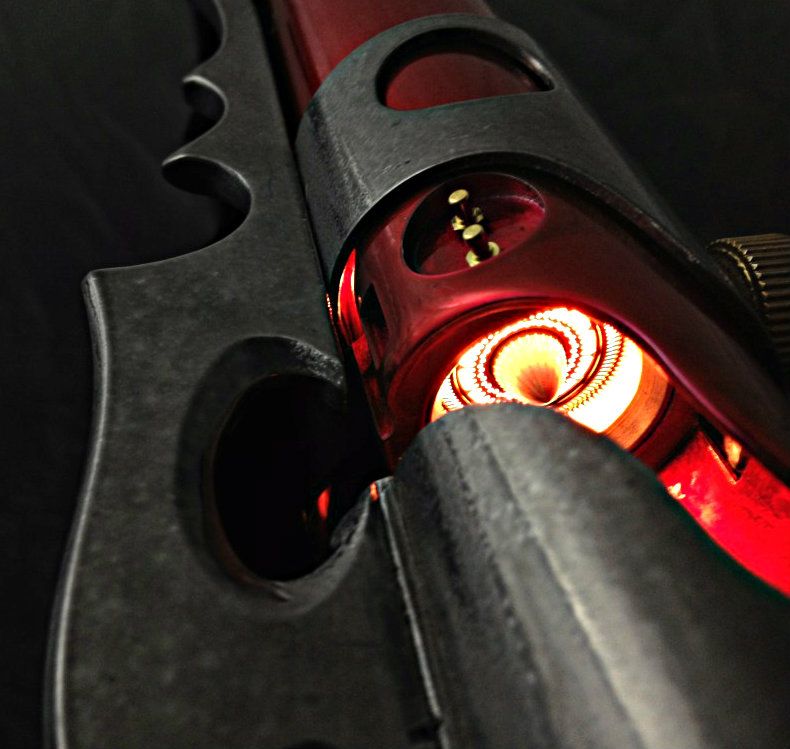
The main saber is a mix of custom and MHS parts. I cannot produce custom parts myself so I drew renders of the parts I needed (the pommel, choke and crystal chamber) which I sent on to Arkhan. He didn't know what they were for and I had no idea he was entering the contest as well (Sith Hornet is an AWESOME saber BTW). For the claws and shroud I decided to look outside of the community. I tracked down a prop builder that actually makes REAL swords. Tim H. is one of the coolest guys I've ever had the pleasure of working with. He does some amazing things with metal and I could not possibly be happier with the results. He really helped me bring my drawings to life. The Graflex-like emitter shroud is actually a second BH20 from TCSS chopped, turned and modified. The claw started out as a matte black cast of a raptor claw. I hand painted that over a number of weeks to make it look like dinosaur bones you would see in a museum. I wanted to keep a curved element to the saber and the claw was the perfect answer for me. I modified all of the Graflex parts and brought them to brass. The pins are replica Graflex short pins (from TCSS).
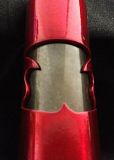
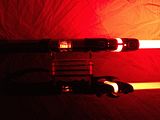
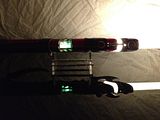
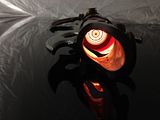
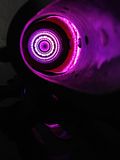
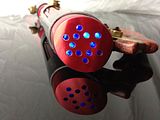
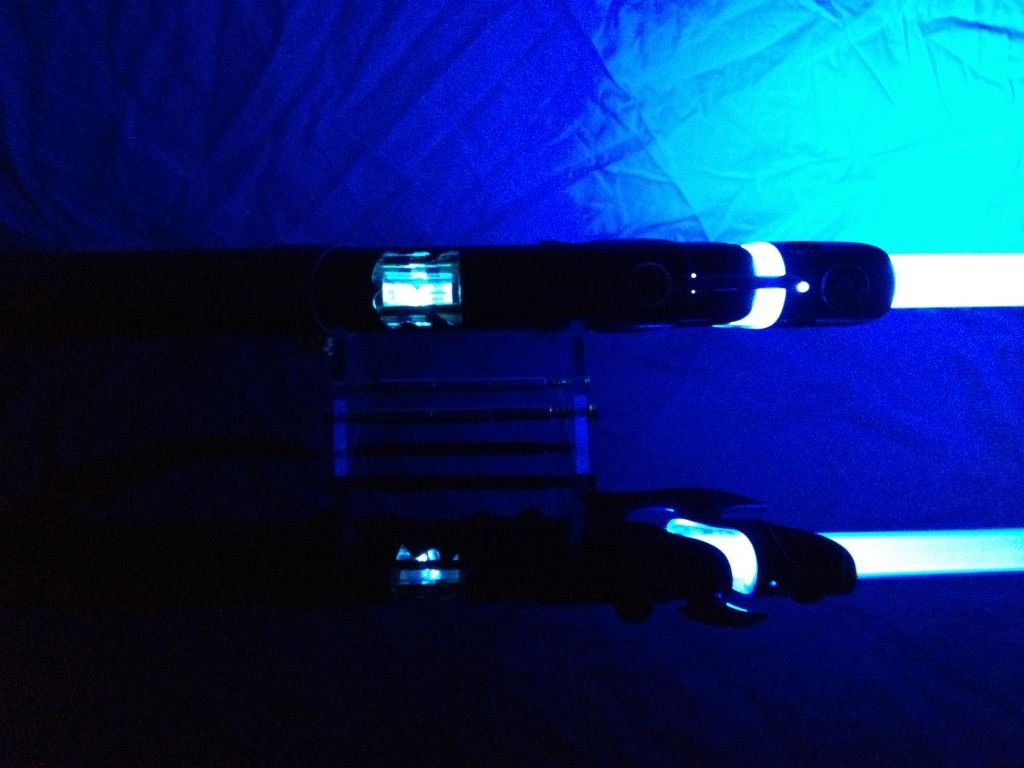
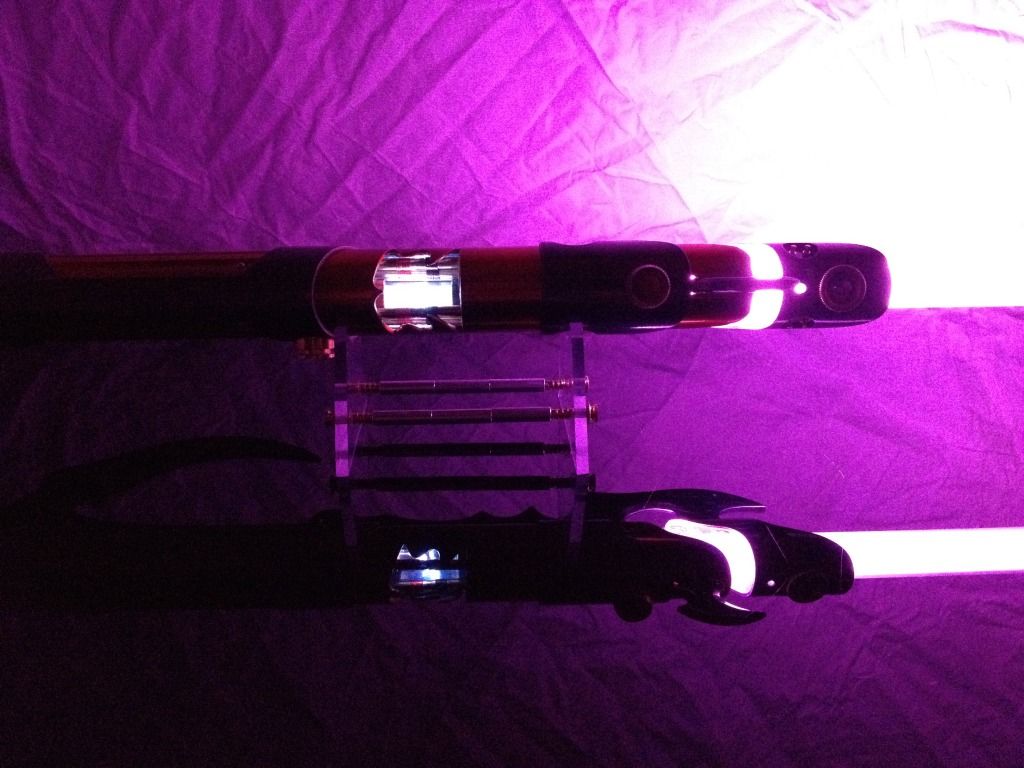
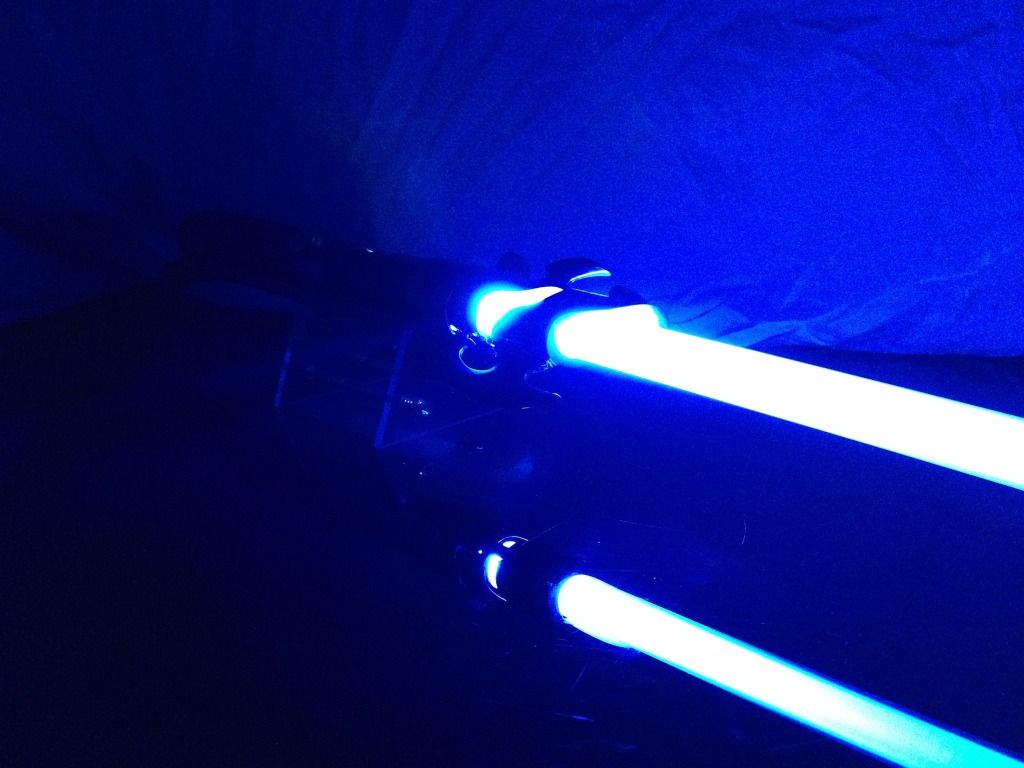
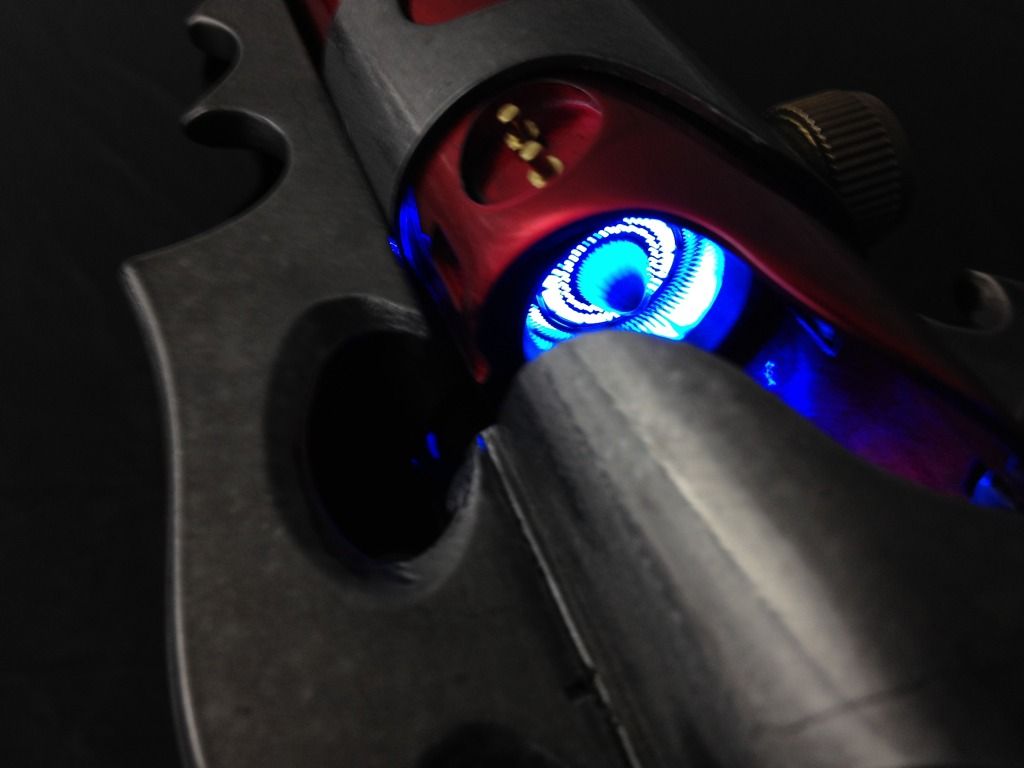
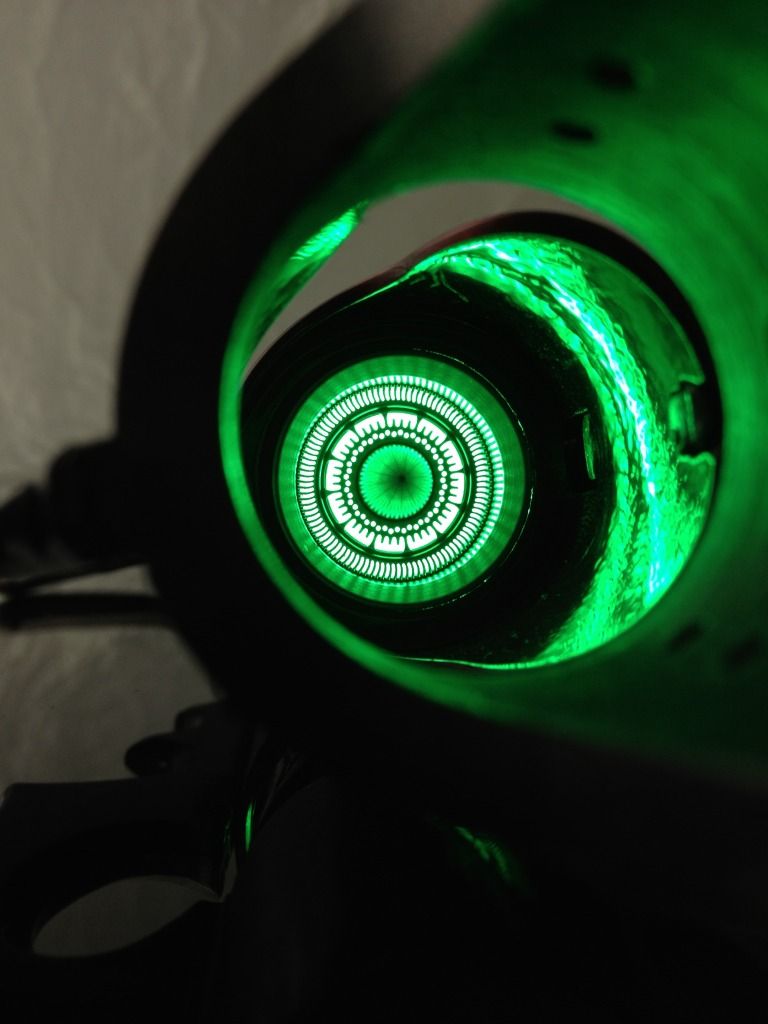
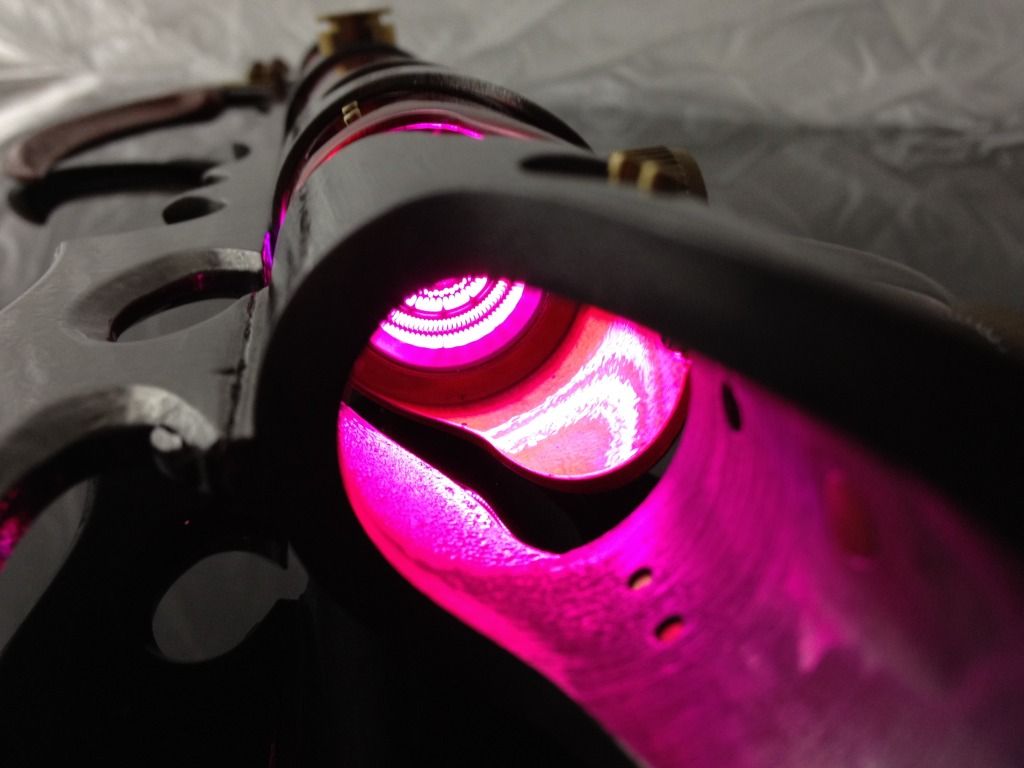
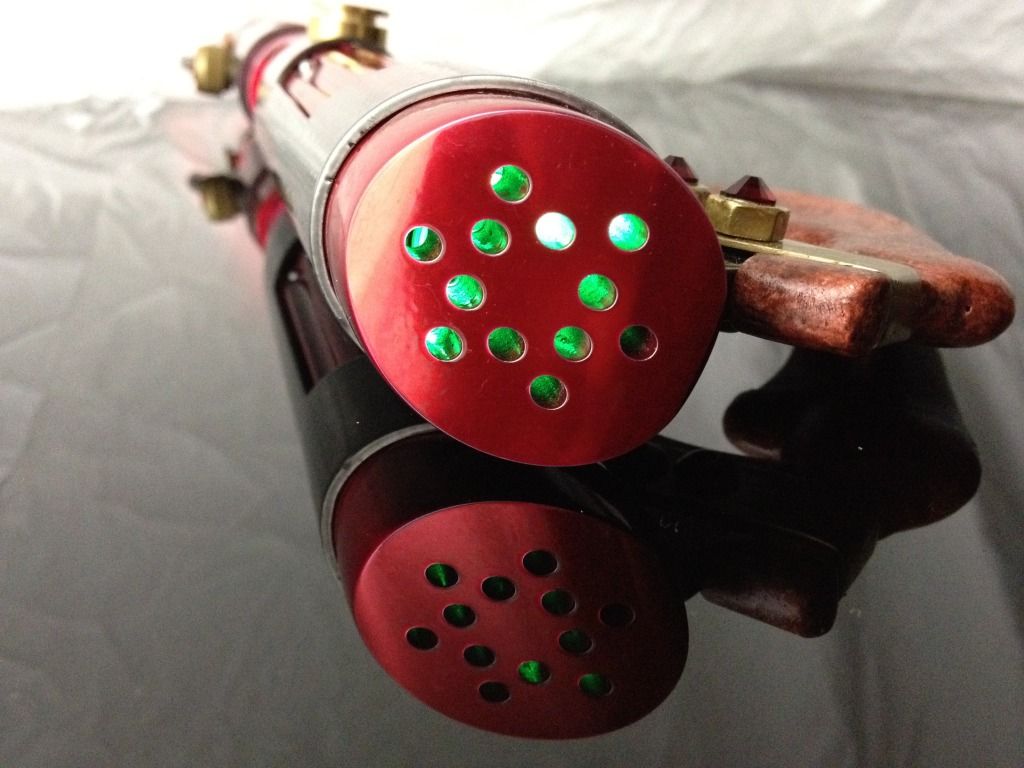
The install was by far the most challenging thing I've done to date. There is very little space between the heatsink (which I removed about 60% of) and the crystal chamber. Behind each crystal in a small well is a 5mm RGB. Getting the wiring for the RGB and for the LEDengin in that tight space and in through the wiring channel under the chamber was exceptionally difficult. I spent countless frustrating hours working out how to get that to come together. I actually re-wired the LEDengin to make it work but didn't get pics of it to post for the contest. The pictures were of the original (first try) wiring. Now the LEDengin has all of the + pads bridged on the star with one lead coming off instead of the four I originally had. My first thought was to do the + wiring on the back side of the CC but it just wasn't going to fit. The green dies are in series but those are wired at the back of the CC as originally planned. The RGB's for the crystals have a common annode. All of the complementary wires (the green dies/LEDs, blue, red and annodes) are all wired together directly behind the CC where I had a decent amount of space to work. The clash sensor is adhered to the CC and provides excellent responsiveness. The rumble motor is in the main body so you can feel the responsiveness without having it interfere with clashes. The battery solution is a 4x14500 pack which is the PERFECT size for mounting Igniter and TruColor and allowed me to use that as a chassis. I didn't get pics of the final wiring (though I do have a couple of short videos of the first time I tested everything which does show the set-up) but it is all secured to the battery with only the wires needed to drive everything. All of my bridges are in the choke behind the CC. Everything is nice and clean which was really the only way I was going to get this to work. The switches are mini tactiles like the ones I used in CorSec. They are on top of the saber up near the hilt shroud. I don't know how visible they are in pictures but I'll show them in a video if I ever get around to making one. The speaker and the sequenced crystal pommel (another 5mm RGB) are inside of the custom pommel. The pommel end-cap is removable for easy access to the uSD card.
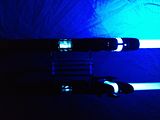
All in all, I am very happy with the resulting saber. The amount of time and effort that went in to this build is staggering. It is not an exaggeration to say that I spent a year or more working on this from concept to final product. It drew blood, sweat and even some tears (mostly of relief when it was finally done). This build and the others I've completed have given me a sense of accomplishment that I can't describe. It keeps my love for the hobby burning and keeps the design wheels spinning. I'd like to thank everyone in this hobby, you are all amazing. Special thanks to Arkhan, Naigon, ARKM and Tim H. You guys are the best! Now on to the good stuff...


 Reply With Quote


Bookmarks