


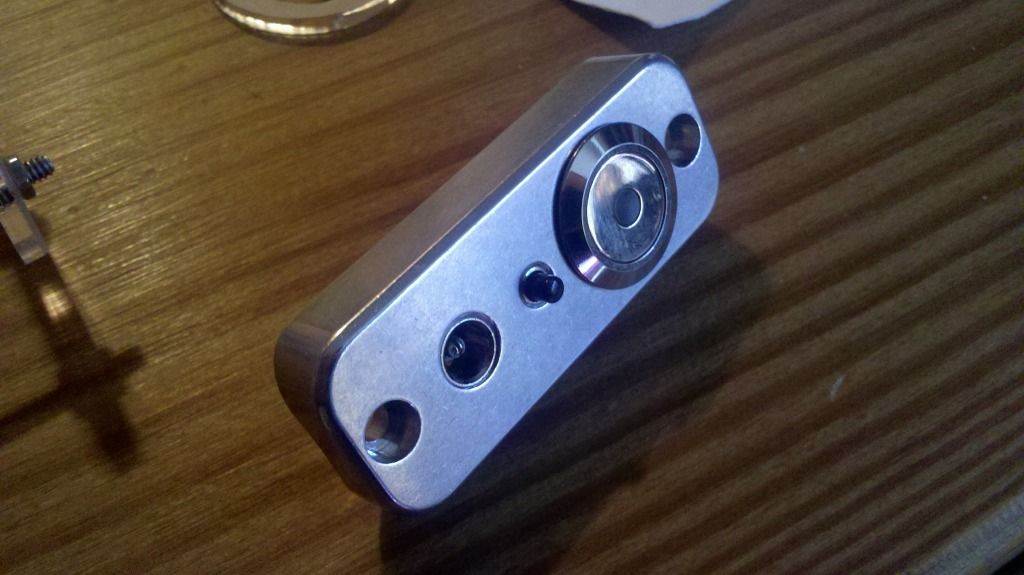
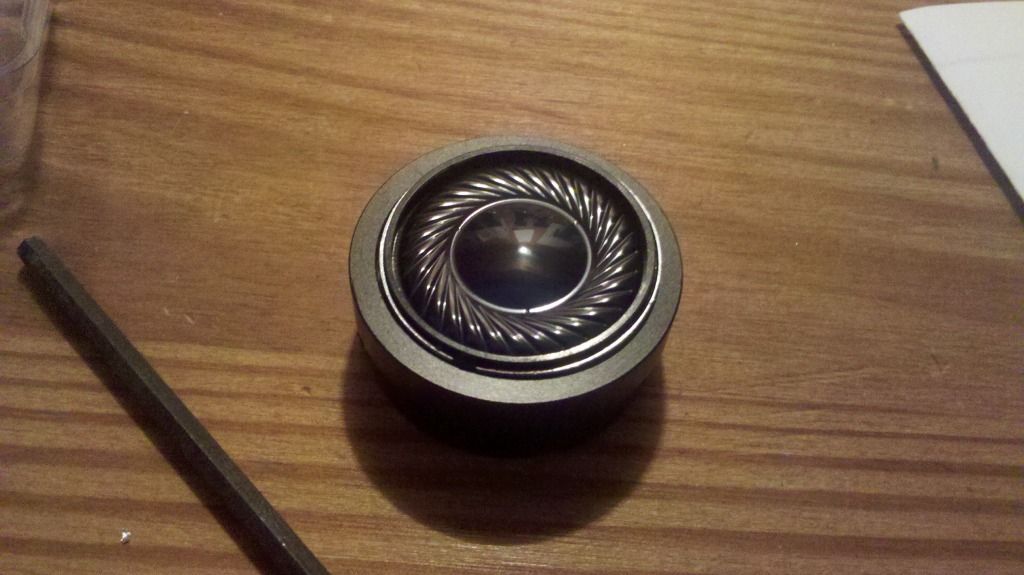
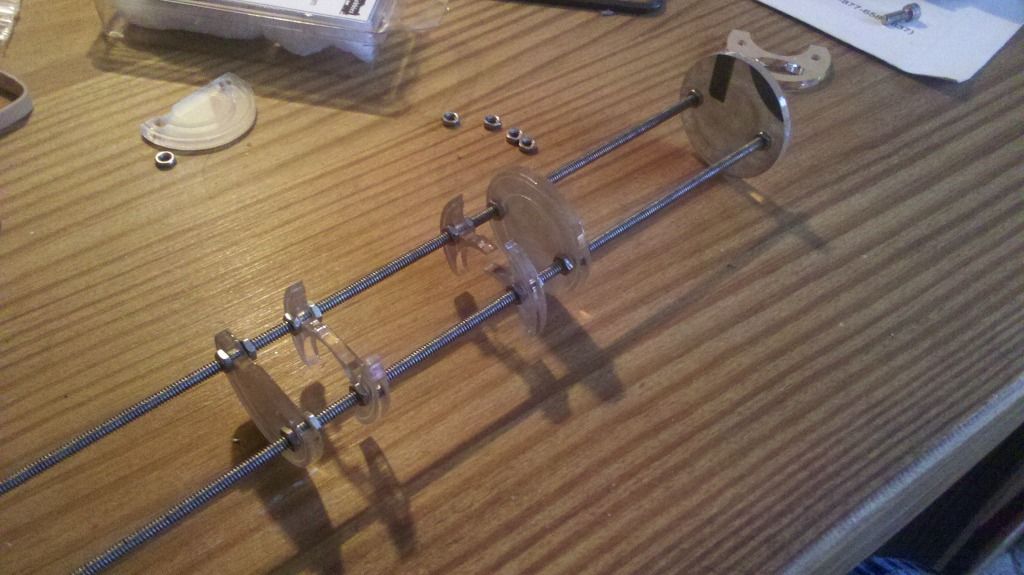
Great news, I have placed the order for the remaining parts I need from Tim and they should hopefully be here next week! I'm also waiting for my new soldering station to arrive as well. Once they are here, building will begin and construction pics will start rolling in! I know how excited many of you are to see those chassis disks in action.


 Reply With Quote
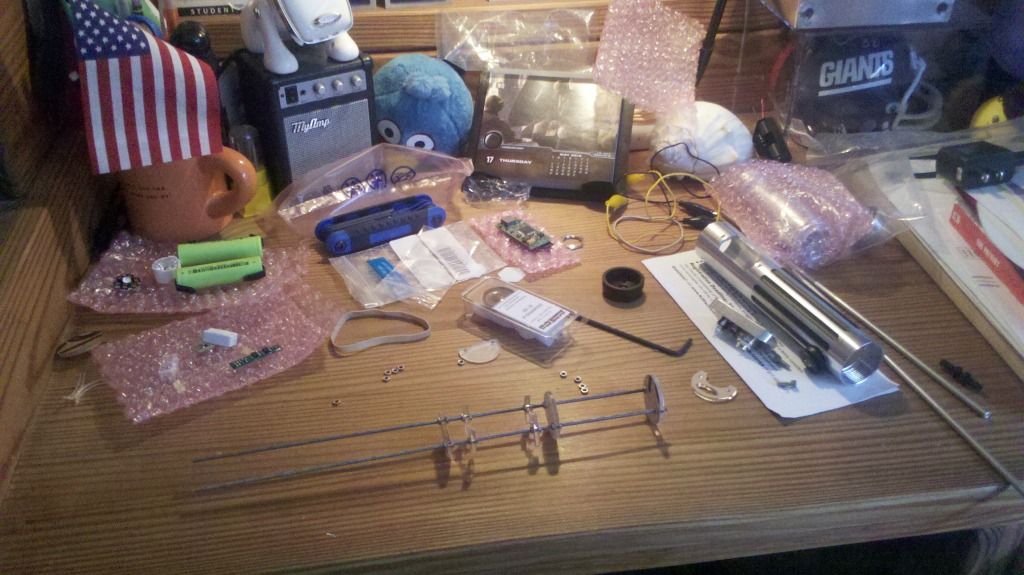


Bookmarks