


Some time ago I sold a saber I used for stage combat (at least a few parts of it). As I wanted its new owner to be satisfied with the saber I rebuilt the chassis and wired everything again. He would be using this sabers in combat either so everything inside had to stay in place.
I started with a 32mm PVC Tube and a PVC profile.
Cutting out a huge window into the shortened tube.
Inserting the batteries into the holder and cutting a small PVC disk.
This disk is glued with double-sided adhesive tape on the battery holder. Now you see its function: it prevents the battery holder from sliding through the tube.
Another panel is made to hold the battery holder in place.
It prevents the battery holder from rotating.
I made a cutout into the panel to place the constant current source (1,4A) in it.
The current source and the panel are both glued with double-sided tape on the battery holder
Now I had to trim the side of the tube which would be near the emitter so the switch would fit.
Then I wired everything up.
The whole interior, parts of the hilt in the background.
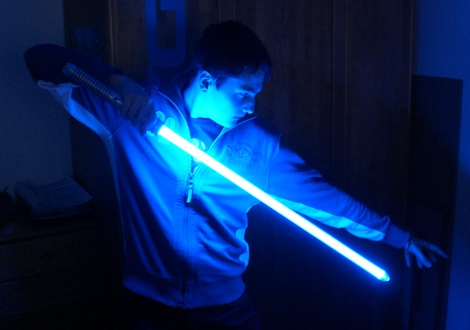
Finally, a few impressions of the finished saber.
http://saberproject.de/other/bertuzz...telian_019.jpg
http://www.saberproject.de/other/ber.../telian_019.pg
It not a spectacular saber but its quite robust.
Specifications:
- MHS-Hilt with flat black powdercoating
- Green and blue Seoul P4 LED, connected to the rest with a quick connector
- 1400 mA constant current source
- 4x 2000 mAh eneloop NiMH-battery
- 2,1mm Recharge Port
Hope you like it


 Reply With Quote


Bookmarks