Page 1 of 5 1 2 3 ... LastLast
Results 1 to 10 of 49

Thread: Boshwan527's Satele Shan Saber Build

  1. #1

    Default Boshwan527's Satele Shan Saber Build

    hello everyone,

    While I wait to get my Starkiller parts back from being anodized I decided to start on my next saber...Satele Shan's double bladed saber from the old republic trailers. I only have two and a half months before I graduate, which means I'll lose my shop access. So basically I need to get this done quick, not like the year and a half it took to do my starkiller.

    first-off I need to thank master slothfurnace for getting me started, and for making an awesome saber that I wanted so bad I just had to make one myself. His build can be found here...though I'm sure everyone's seen it:
    http://slothfurnace.com/sabers/TORConsular_01.html
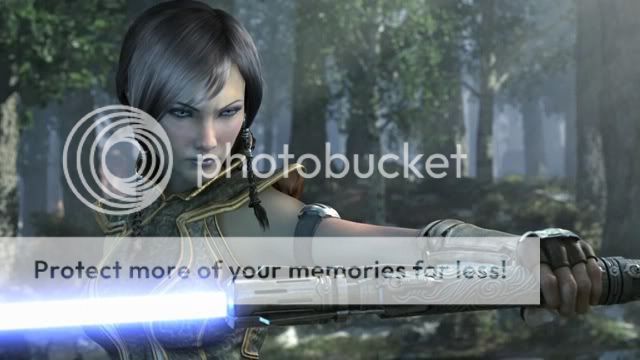
    The original saber:


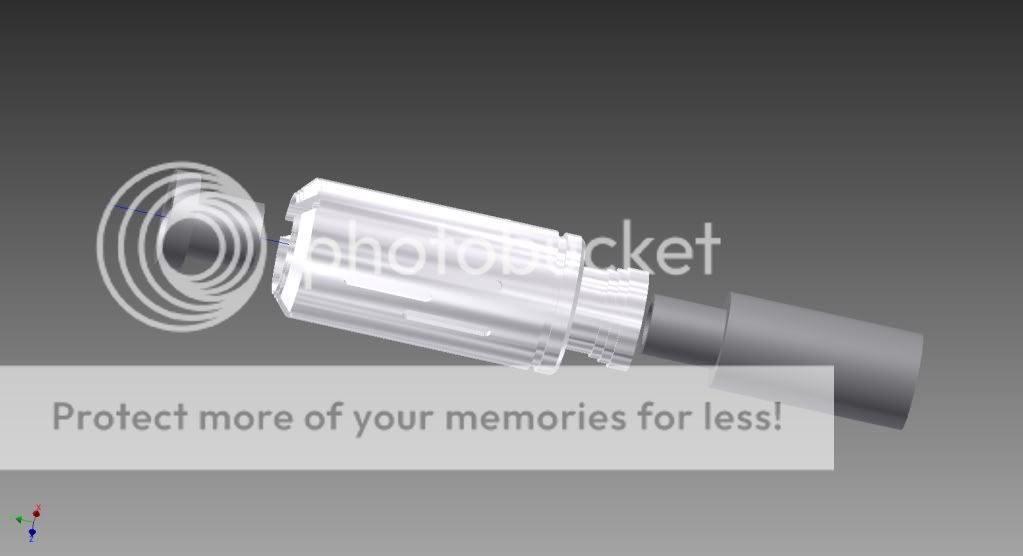
    Anyways...here are my preliminary models:


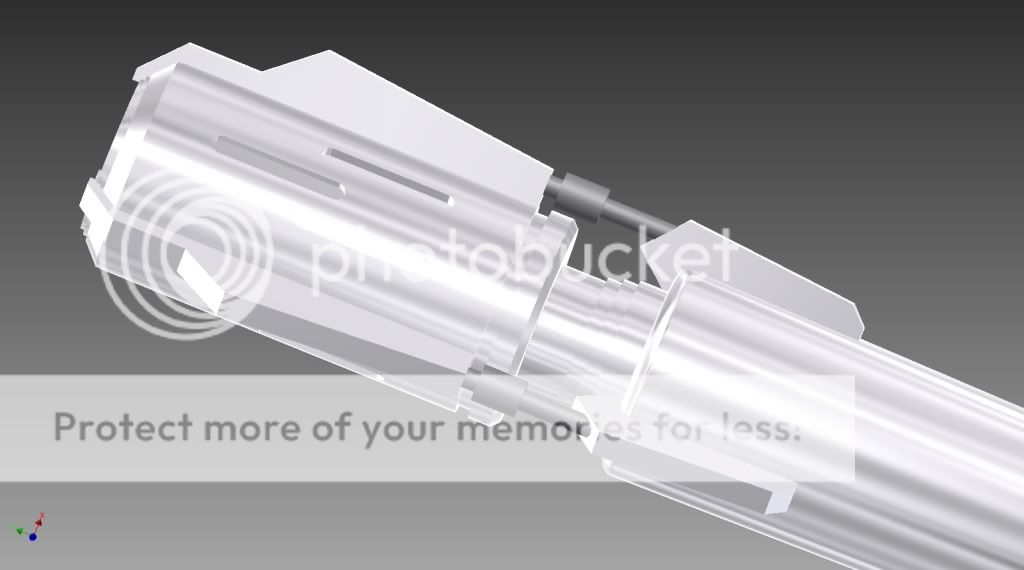
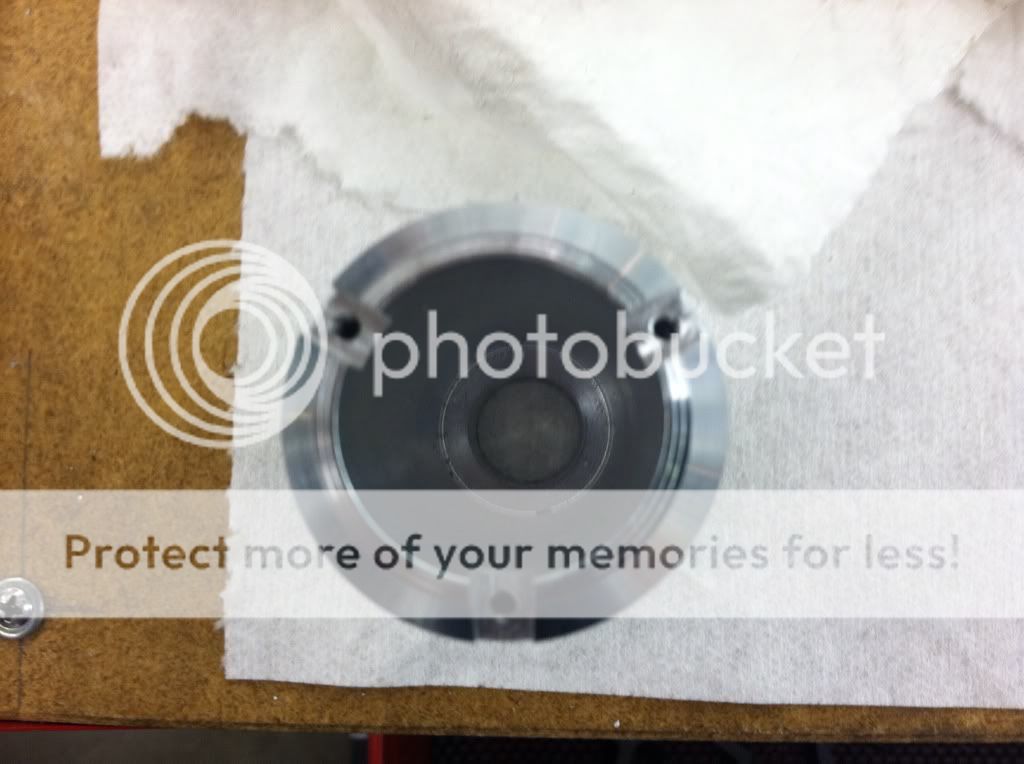
    I was very excited to see Tim release the blade holder for this. That was really the catalyst for me to actually start this because without it I'm not sure I'd be able to finish in such a short amount of time. Unfortunately, the MHS threads didn't really fit with what I had planned...so OFF WITH THEIR THREADS!!!


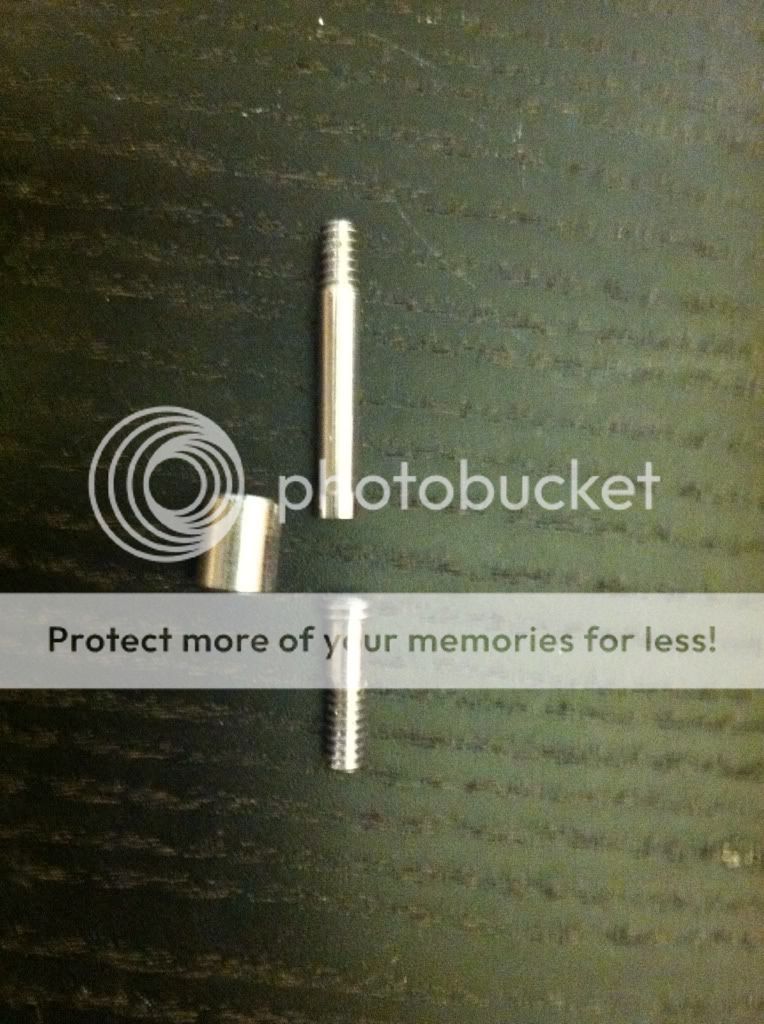
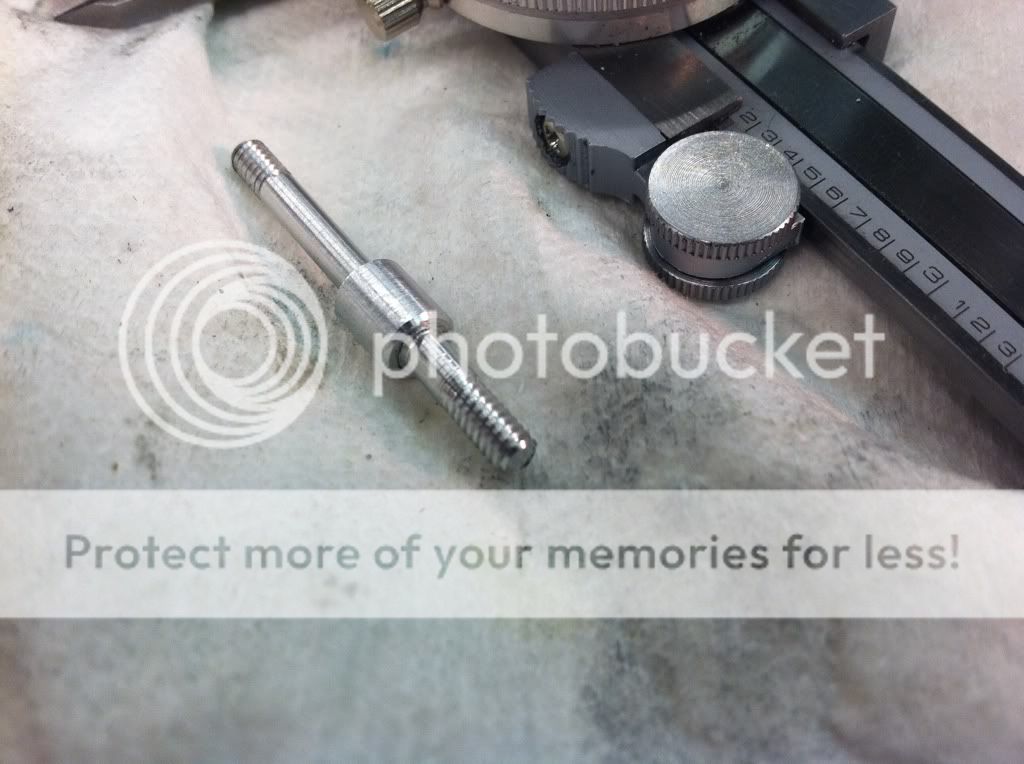
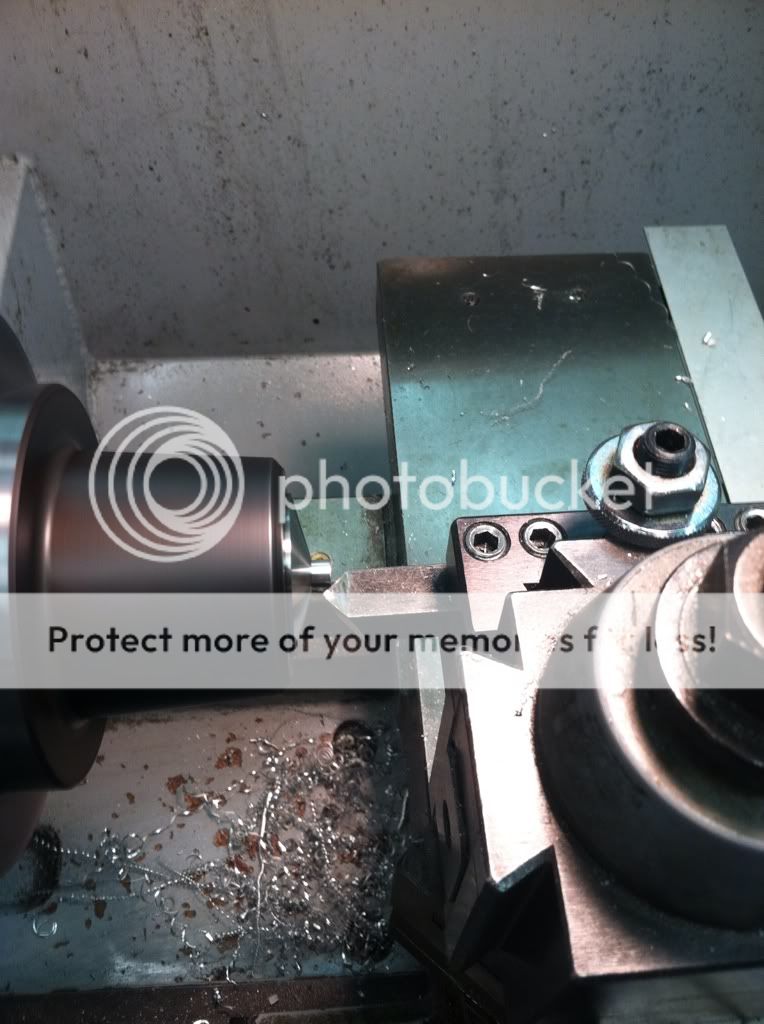
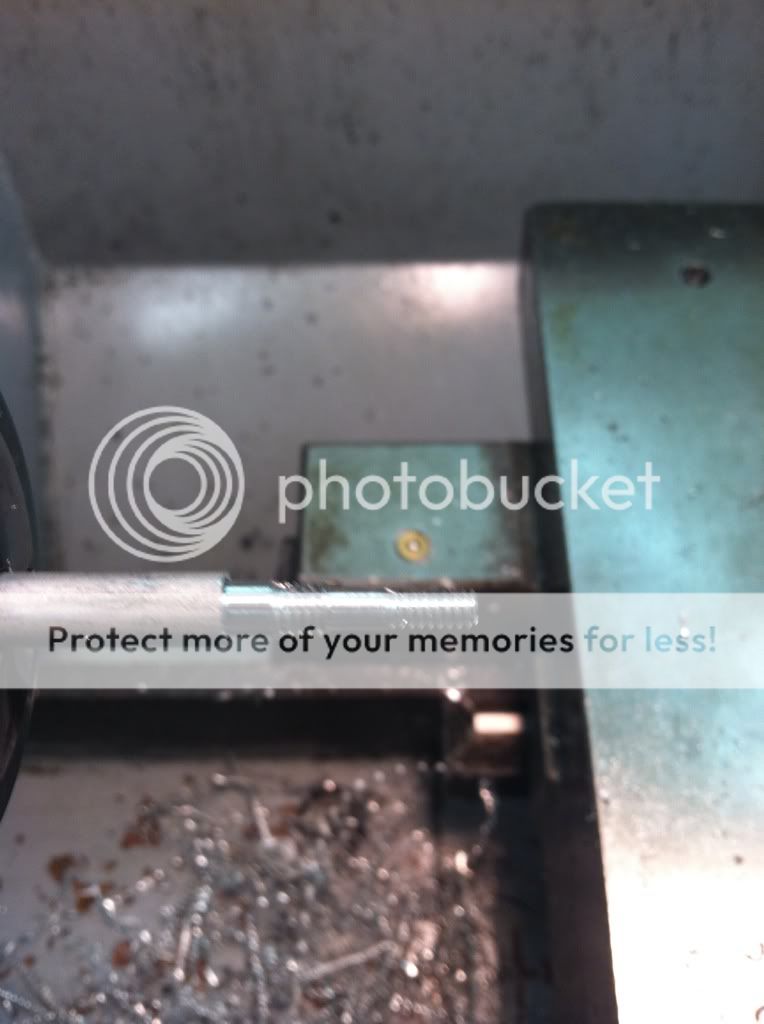
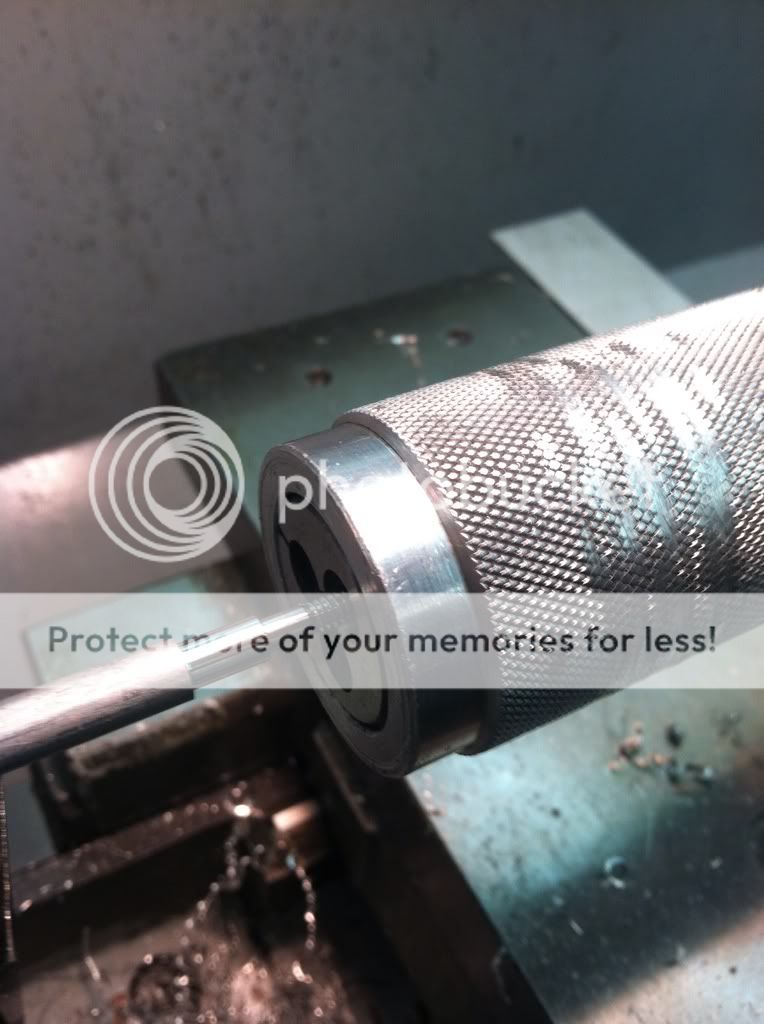
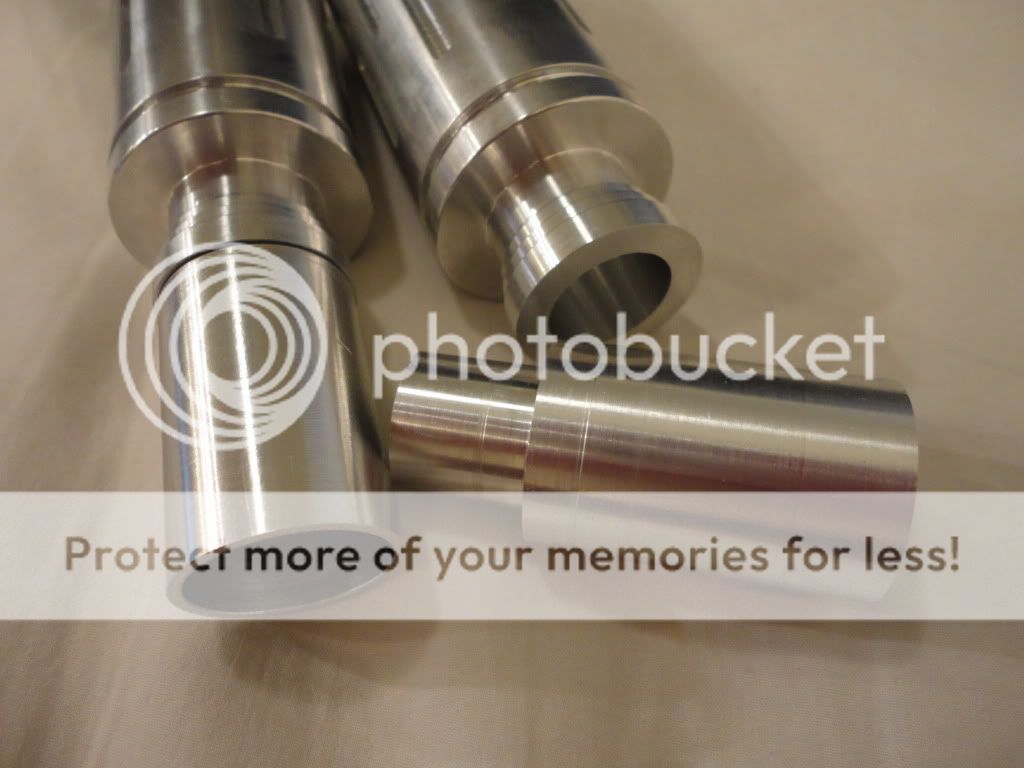
    This made me sad cuz it's a beautiful part so I hate to do that to a perfectly good part. But it had to be done I suppose. To attach it to the main hilt I designed an adapter that will pass through the blade holder and screw into an adapter in the hilt...like so: (the skinny part will be threaded obviously)


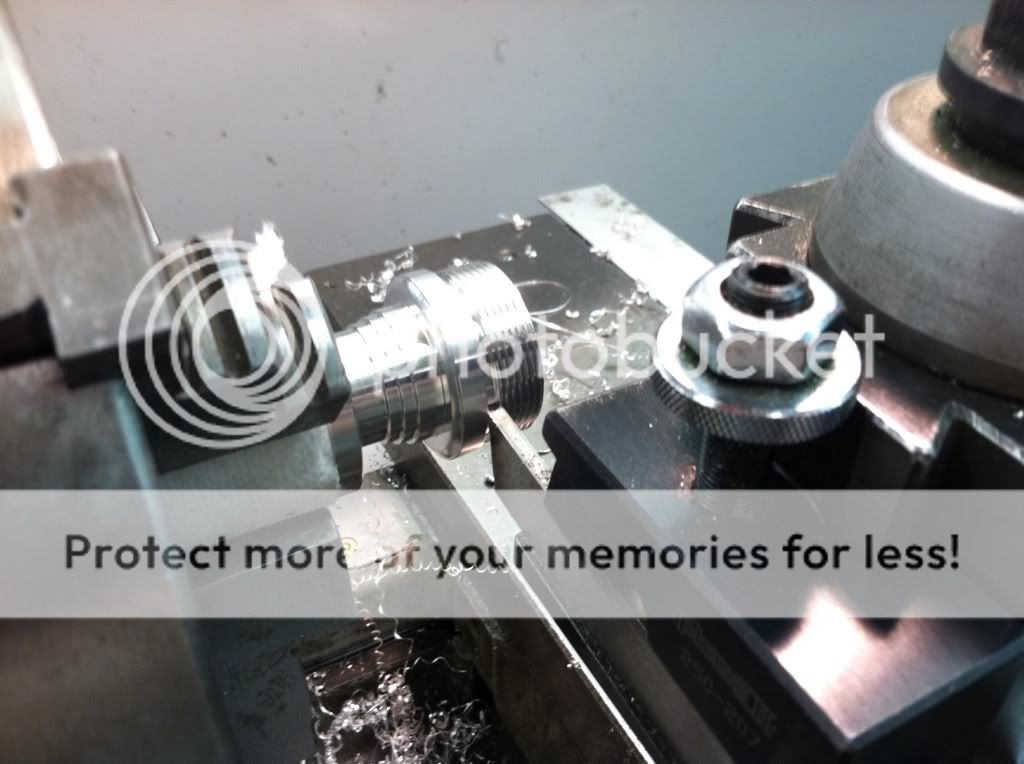
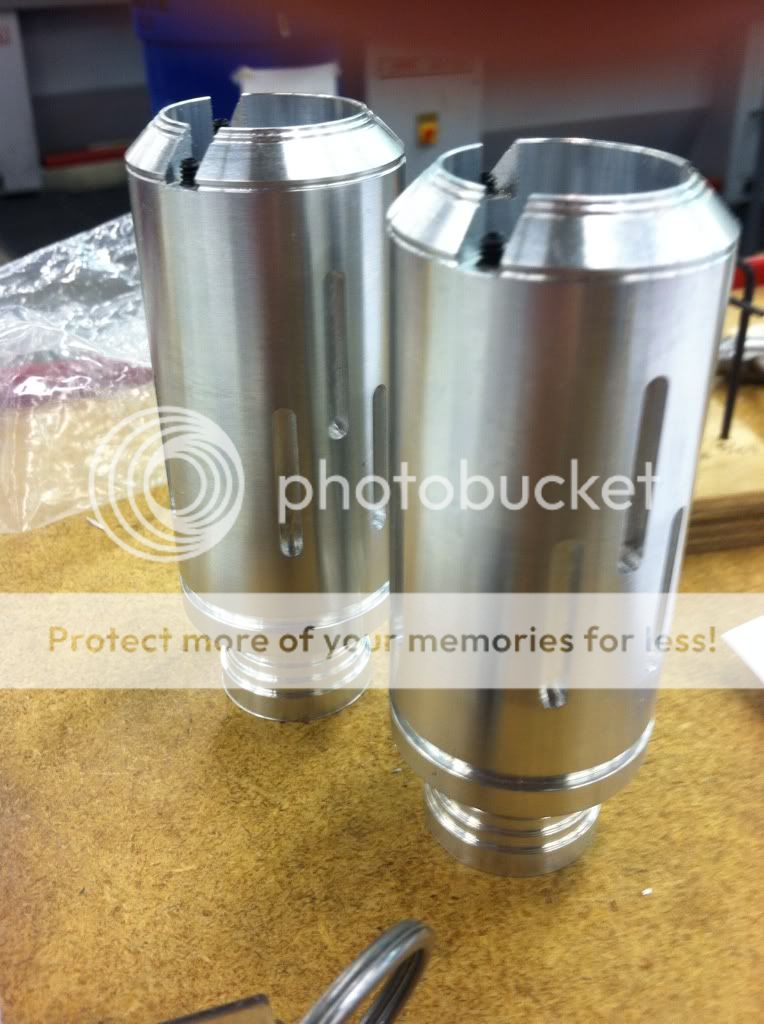
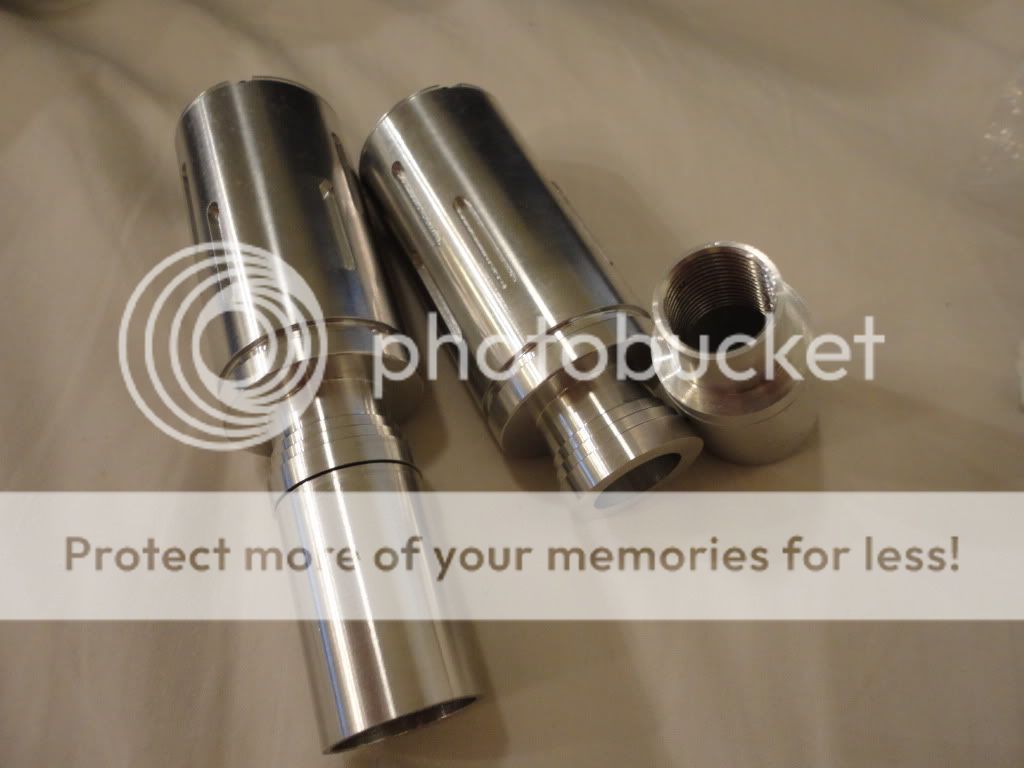
    Next I milled out the slots for the fins. To line it up, I put a flat plate tangent to the slot on the side, which is 180 degrees from the fin slot. This actually worked out really well for me. The three slots look 120 degrees apart, which was the goal.


    Next I drilled/tapped 4-40 holes in the center of each milled slot. This is how I knew my technique for lining the slots up worked. I did all three holes at once after all the slots were milled without rotating the part...and they all seemed to end up in the middle of their respective slot...if that makes sense


    Next I just threaded in some 4-40 set screws. These are basically just gonna be pegs that will fit into some clearance holes I'll drill into the fins. That'll keep them on the blade holder, along with the tension from the rods (which I plan to left-hand-thread the back)


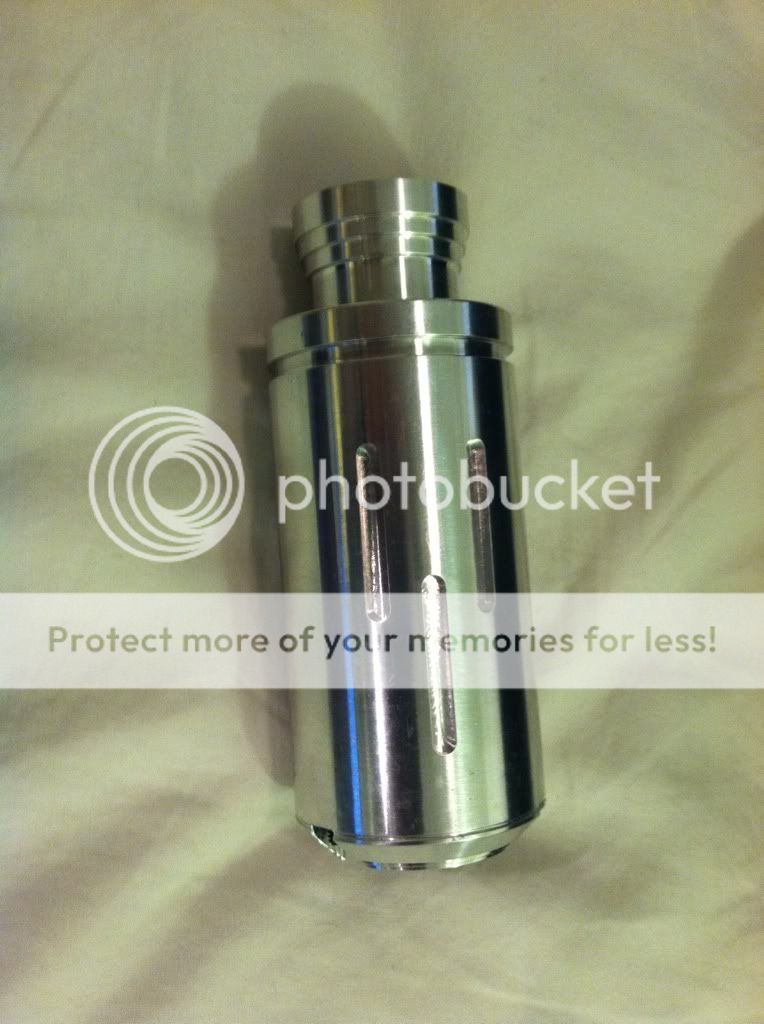
    Two blade holders done!


    For the switches...I can't decide between the new short SPST ring switch, the long DPDT ring swith (for the price/finish), or the long DPDT dot switch like sloth used.
    http://www.thecustomsabershop.com/16...itch-P703.aspx
    http://www.thecustomsabershop.com/16...itch-P435.aspx
    http://www.thecustomsabershop.com/16...itch-P436.aspx

    I think I still like the dots the best. Theoretically I could buy some and if I don't like them I could switch them out really easily with quick disconnects. We'll see I suppose

    wow, sorry that was so long haha Thanks for reading this far

    EDIT: I forgot to mention the fins will be cut on a waterjet machine which should save me a ton of time
    Last edited by boshwan527; 03-01-2012 at 06:34 PM. Reason: they should call me darth sucks at proofreading

  2. #2

    Default

    Good start!

    If I were you I'd use the non lit AV switch and one of the new boxes with similar shape as the one in your reference pic. Lit AVs are over done IMO and not the most reflective of the movies aesthetic. I don't completely dislike them but have mixed feeling about them. My vote is for non lit but it will look great either way I'm sure. Keep up the momentum!

  3. #3

    Default

    Looking good so far! I hadn't seen the new style blade holder.

    It really is a fun saber design. Are you going to do any of the hilt detail?

  4. #4

    Default

    Quote Originally Posted by Crystal Chambers View Post
    Good start!

    If I were you I'd use the non lit AV switch and one of the new boxes with similar shape as the one in your reference pic. Lit AVs are over done IMO and not the most reflective of the movies aesthetic. I don't completely dislike them but have mixed feeling about them. My vote is for non lit but it will look great either way I'm sure. Keep up the momentum!
    That's a fair point. My plan for now is to just cross the bridge when I get there haha!

    @rogue: I don't have any plans to right now, but we'll see what the future holds I guess. Some people had some good ideas on Sloths thread. How about you? Did you plan n doing the detail on yours? If so,, what's the plan?

  5. #5

    Default

    I didn't do any reduction in diameter of the main body of the hilt and intend to etch the inverse of the raised detail. That should leave me with the raised artwork/center bands. I'm still working on the art for the hilt and plan on a toner transfer for the resist and then using hydrogen peroxide and hydrochloric acid to etch. I'm hoping I can get some decent depth on that etch, but it's rather untested, so I'll just have to try a sample and see how it comes out. For the coloration differences, since aluminum doesn't patina, I was going to polish the aluminum to the final shine, spray with graphite, buff the high spots where i want to keep the bare aluminum, and then shoot with a lacquer.

  6. #6

    Default

    Looks good so far.

    http://s6.photobucket.com/albums/y23...0Saber%20Hilts

    From Wikipedia: "Internet Explorer slows down GIFs if the framerate is 20 frames per second or higher and Microsoft reports that Google Chrome and Safari also slow down some GIF animations."

  7. #7

    Default

    Quote Originally Posted by rogue9607 View Post
    I didn't do any reduction in diameter of the main body of the hilt and intend to etch the inverse of the raised detail. That should leave me with the raised artwork/center bands. I'm still working on the art for the hilt and plan on a toner transfer for the resist and then using hydrogen peroxide and hydrochloric acid to etch. I'm hoping I can get some decent depth on that etch, but it's rather untested, so I'll just have to try a sample and see how it comes out. For the coloration differences, since aluminum doesn't patina, I was going to polish the aluminum to the final shine, spray with graphite, buff the high spots where i want to keep the bare aluminum, and then shoot with a lacquer.
    Cool! I'm looking forwards to seeing that. More than likely I'll end up keeping mine plain. Maybe I can figure out some other embellishments to spice it up.


    Thanks ARKM! I'll definitely be looking to get the same blade plugs that Sloth has in (when the time comes)

  8. #8

    Default

    Ok, so initially I was gonna left hand thread the back of the rods and just make them out of a single piece. I started thinking about how annoying that might be, so I went with Sloths method of passing a rod through the big cylinder, then threading the back of another rod into the big cylinder. The long one then spins freely.


    And just some machining pics:


  9. #9

    Default

    So I finished the rest of the rods:


    I also made the couplers that will connect the blade holder to the main hilt. I changed my plan a bit from the original design, where I planned on making a cap screw that would pass though the blade holder and thread into the coupler. I started thinking about it and it hit me that the three rods would clamp the two pieces together perfectly...so why do more work. I threaded the couplers anyways, in case it's not sturdy enough or something so I wouldn't have to go back and do it later. All I would have to do is make the endcaps...


  10. #10
    Jedi Knight cannibal869's Avatar
    Join Date
    Sep 2008
    Location
    Home of NUCLEAR JEDI SABERS
    Posts
    1,027

    Default

    Strong in the force this one is....

    watching you closely we shall...
    LOCKHEED

Bookmarks

Posting Permissions

  • You may not post new threads
  • You may not post replies
  • You may not post attachments
  • You may not edit your posts
  •