What a nice shop equipment... If i were to show you what we had when i was in HS you would cry and laugh... then probably laugh some more...


What a nice shop equipment... If i were to show you what we had when i was in HS you would cry and laugh... then probably laugh some more...
Corbin_Das: If I got a tattoo below my waist, it'd say "Found someone you have I would say, hmmmm?"

If it makes you feel any better I'm in college, not high school haha I don't think my high school had a shop at all
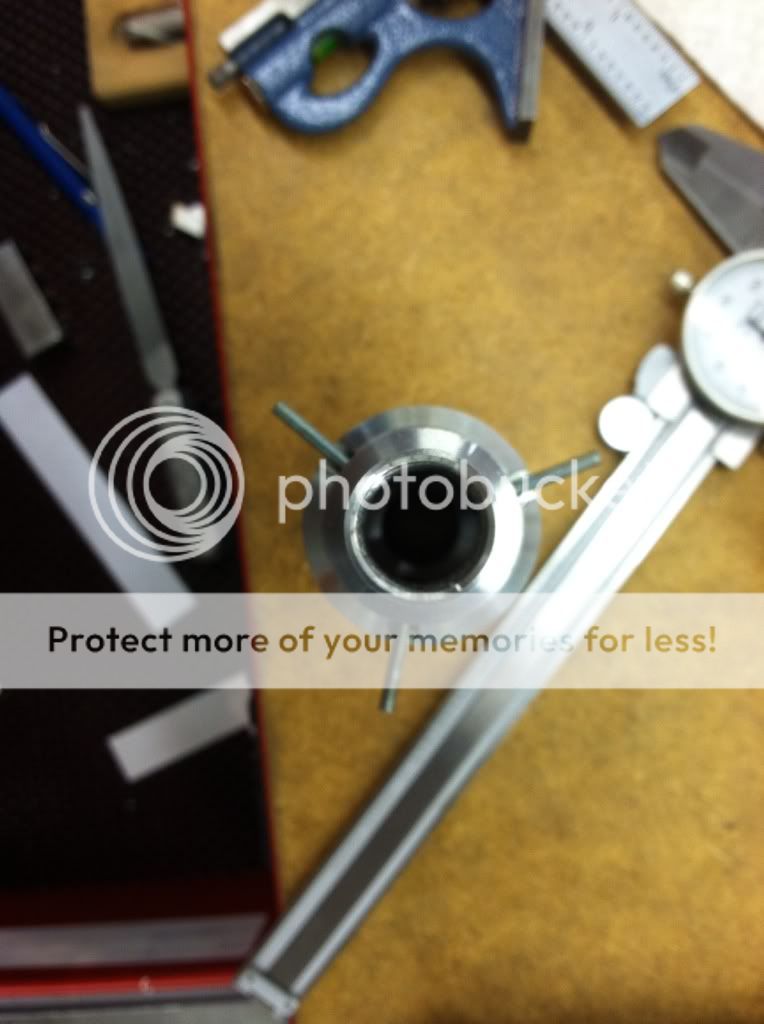
So today I drilled some holes in the adapter that the rear fins will fit into. I needed to find a good way to make sure the holes were 120 degrees apart. So first I started by marking the back of the adapter at 60 degree intervals using a center drill:
Then I used a square to make sure that two dots were perfectly vertical, and drilled a hole through both walls (one hols will be used to put an allen wrench through
I put some screws through the holes and dropped the piece in the blade holder to see if the slots lined up with my new holes, which it appears that they do
that's it for today
Being the huge fan of The Old Republic I am, I am extremely excited to see this build come to life. I will be watching like a hawk! I wonder, will you be doing the detailing and weathering that the trailer showed? (Sorry if this was mentioned before)
At this point it's not in my plans. At this point I'm just trying to get everything machined before I graduate, then I might think about the detailingOriginally Posted by Jedi_Knight_Zekk

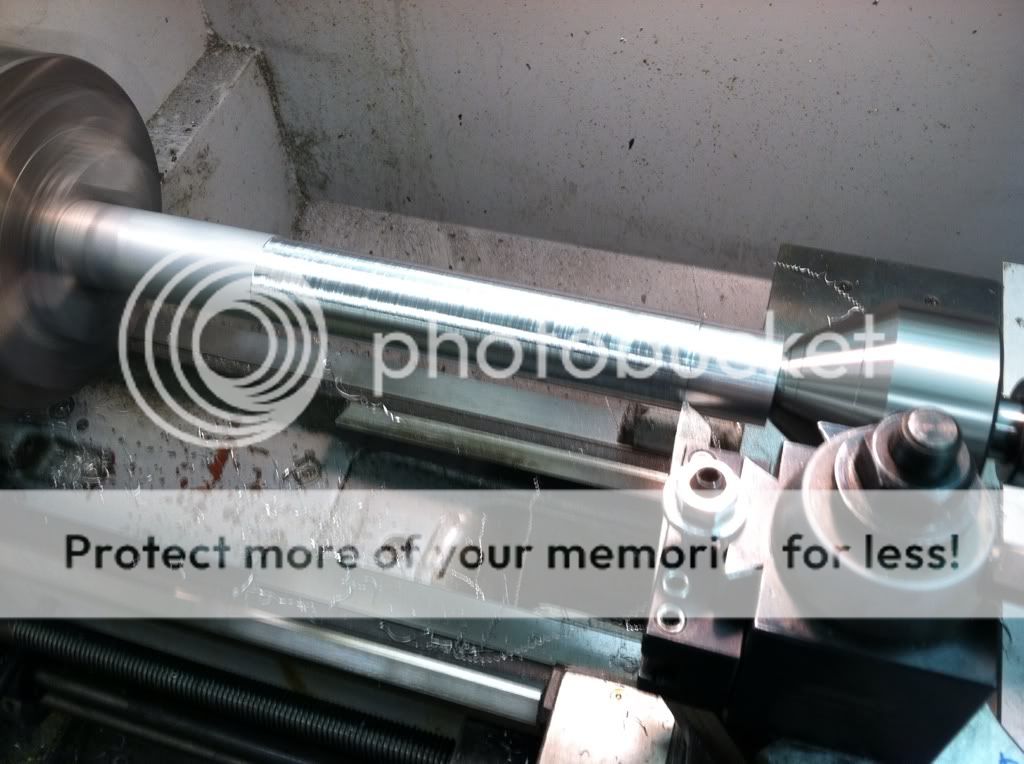
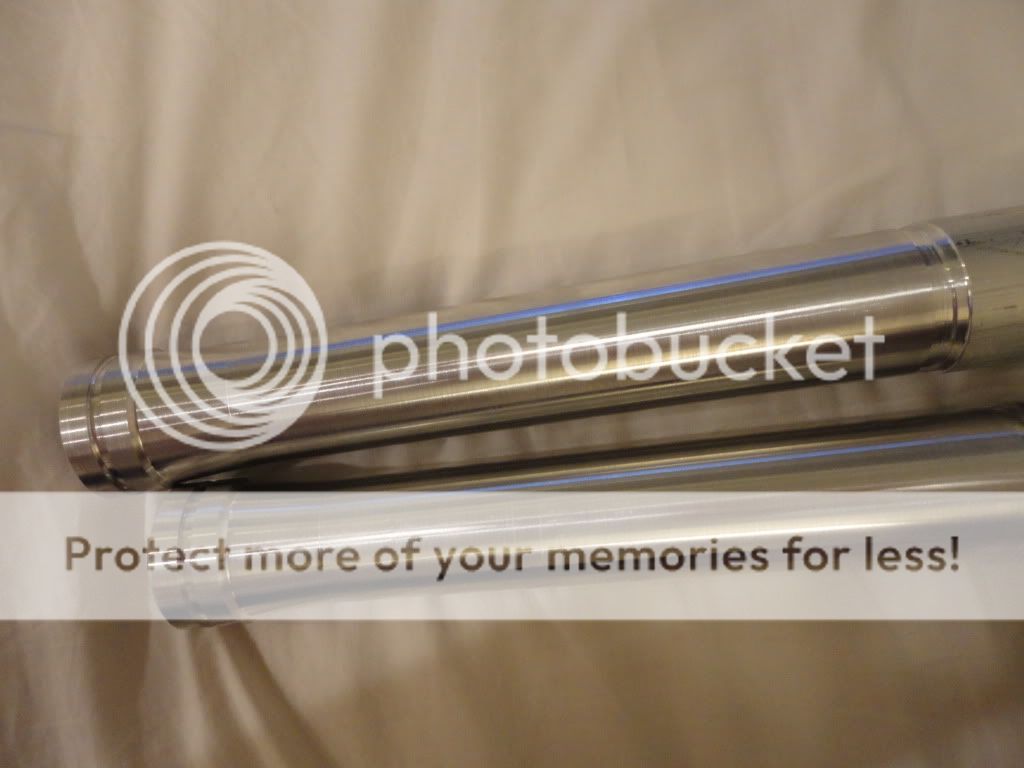
Alright, so I spent 4 hours in the shop today and 2 hours yesterday trying to get the tapers done. I was pretty nervous because I've never done lathe work like this, but I think they turned out pretty well.
First I roughed both parts down to the 1.45" OD and did the end details (no pic of that)
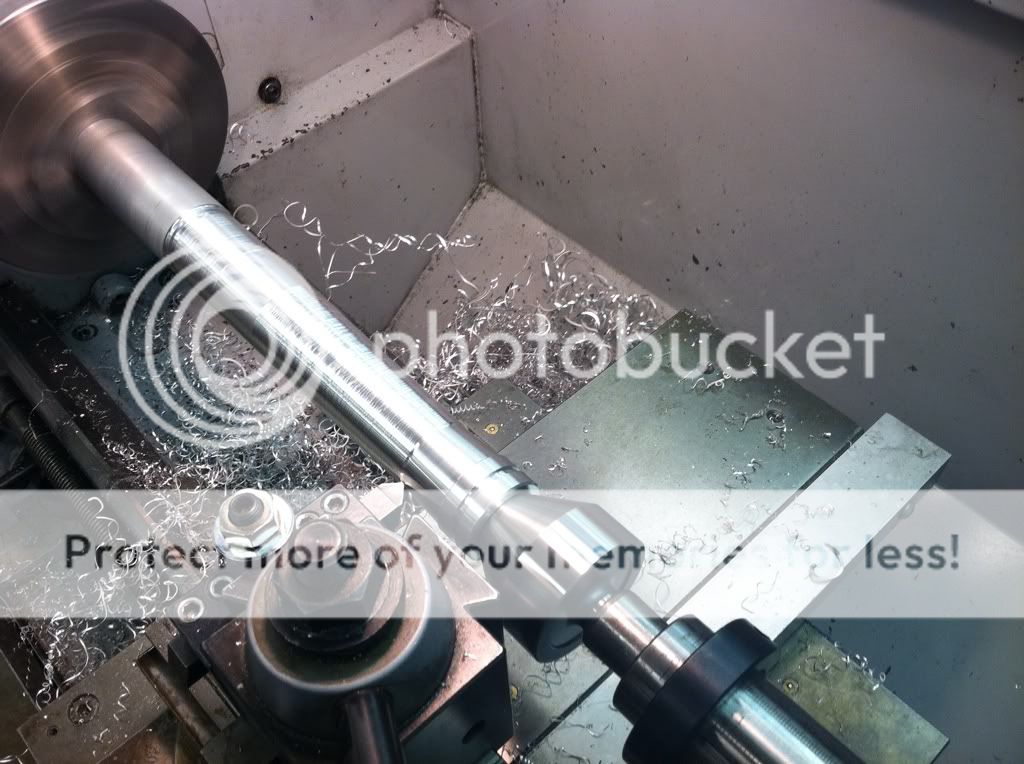
Then I did the small taper:
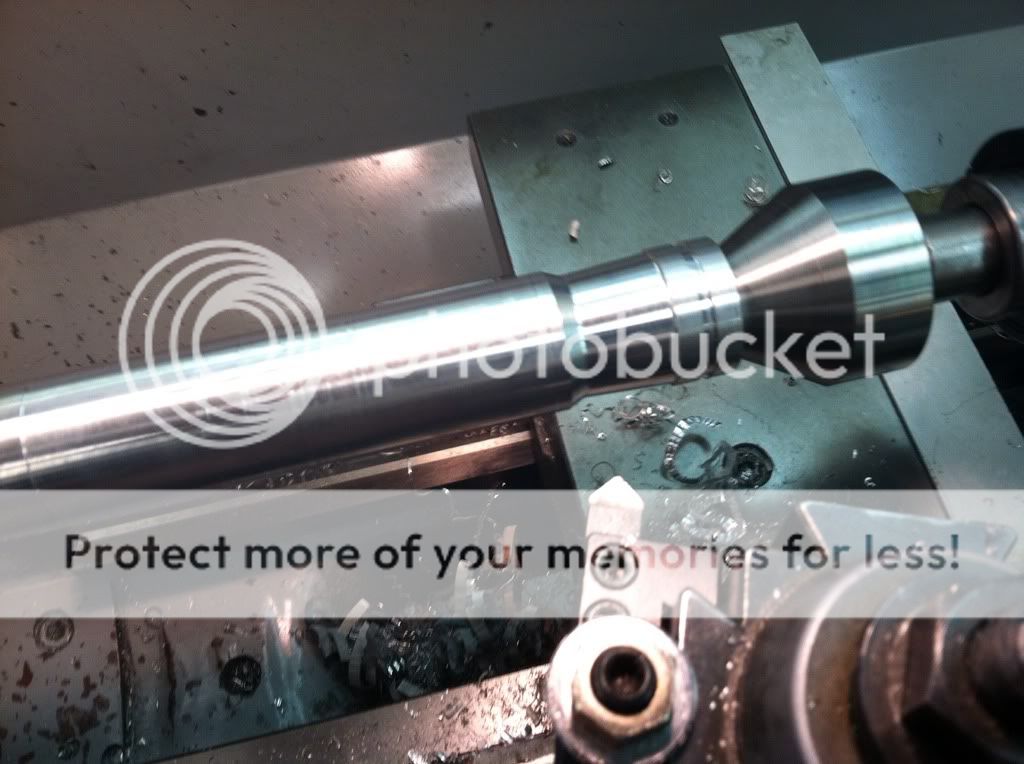
Then I did the big taper:
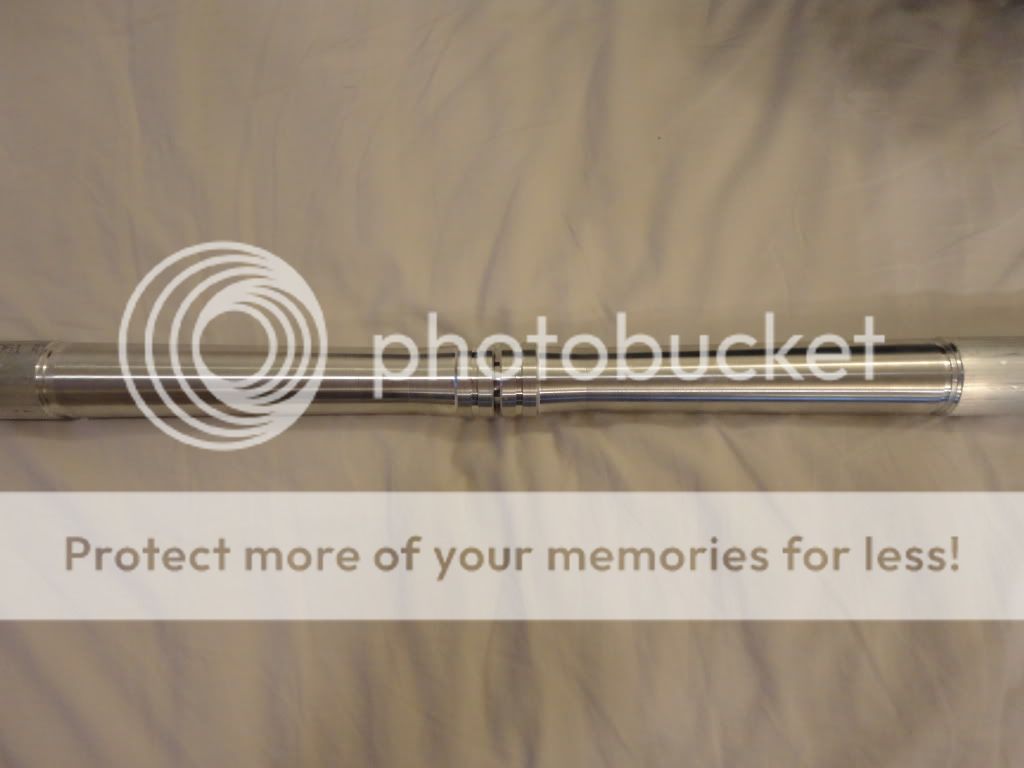
And here's what I have. The two pieces are remarkably close to each other. I was pretty surprised/happy with how they came out. I left the stock on the end so I have a cylindrical surface to grab in the mill so I can do the slots/holes without creating too much of a moment arm.
hope you like!Thanks for lookin


Excellent work, I remember my build at this stage, and you're doing a far better job than me so far. Giant kudos! It helps to have good equipment. My Satele saber is mostly eyeballed and roughly hewn with what looking back, seems to be a dull pitchfork.
I actually used the short dot switches, momentary, as I have dual CF cards on this saber, and only needed momentary, not latching. The dots are closer to the original artwork than the rings. Also Tim has some new switch boxes in stock now that I didn't have available when I did mine that would probably work better as far as getting closer to the original artwork.
Last edited by slothfurnace; 03-14-2012 at 05:03 PM.
CordaroyFog: you know, its really mean to set the bar that high.
Thanks Sloth! I am very fortunate to be able to use those machines, and the guys who run the shop are always super helpful. I don't think I could turn out the quality of stuff you turn out on the machines you use (I hope that read as a compliment haha). I think I'm gonna do two latching switches on the ends and two momentary in the middle. And I'll probably just go with the dots because I just like them
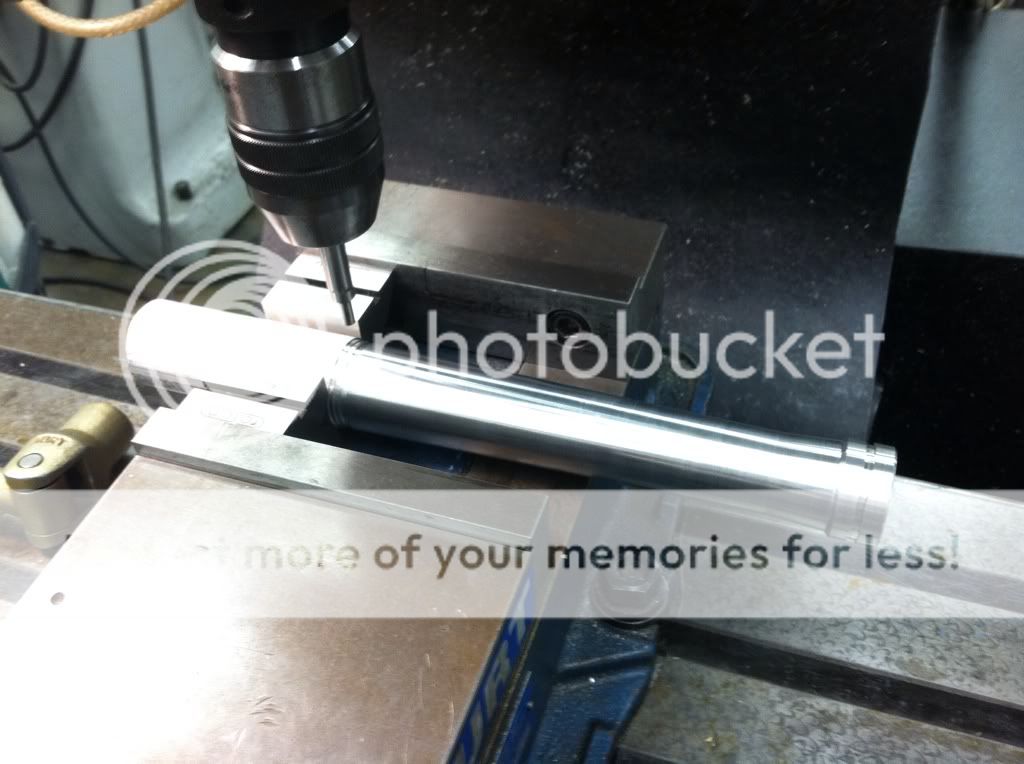
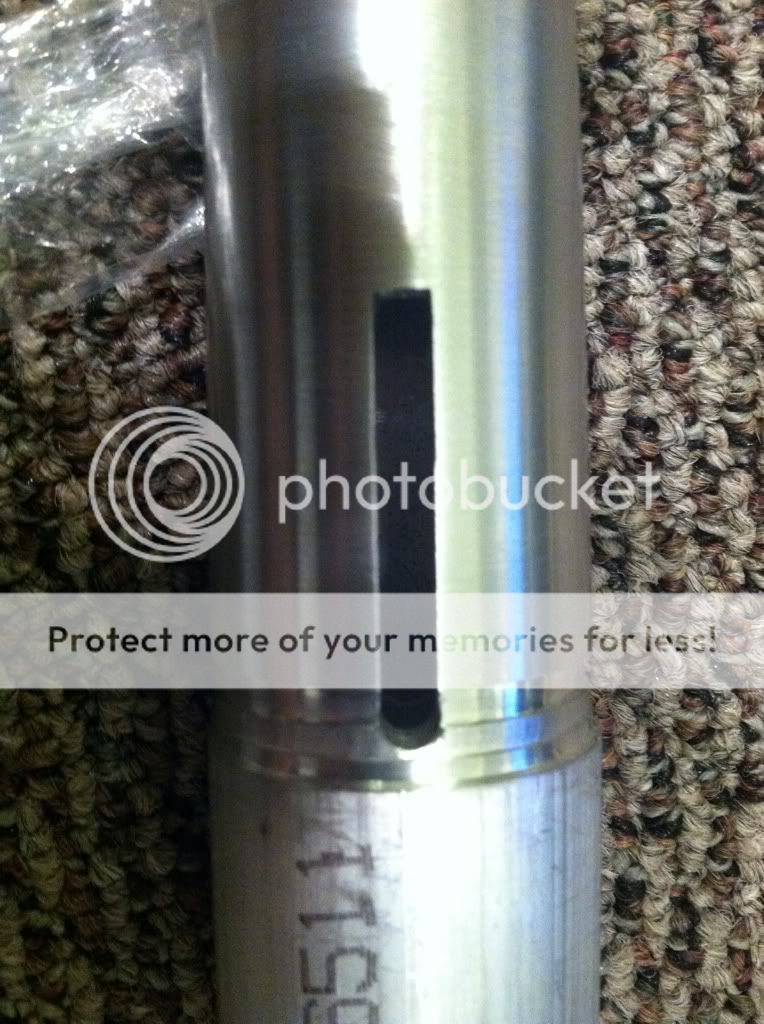
Updates for today: basically I was able to complete the small fin slots on one of the sides.
First I got it all clamped into the mill and zeroed everything
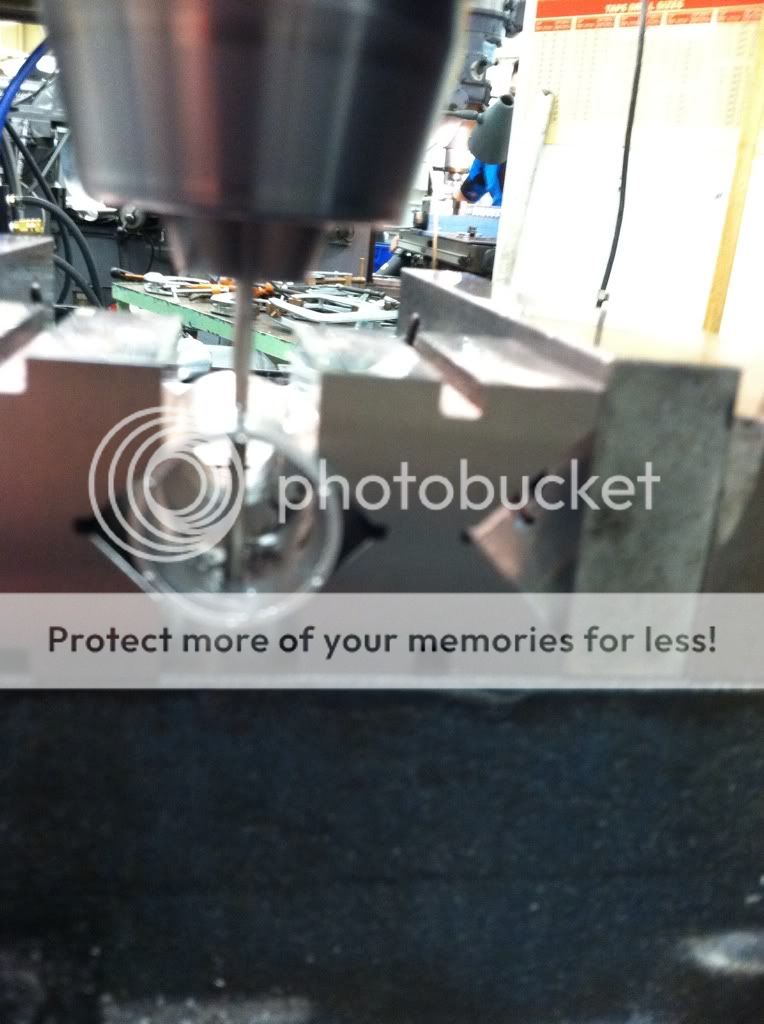
Next I milled out a flat spot on the extra stock at the end. I'll explain why in a minute
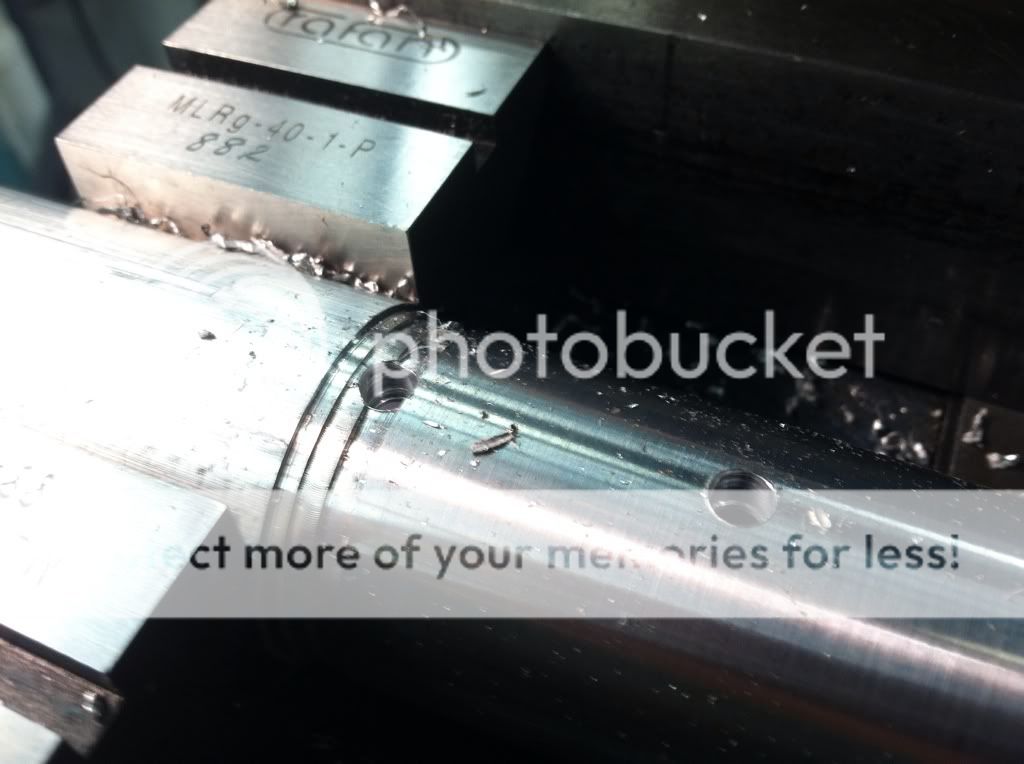
I plunged two holes with the endmill marking the ends of my slot.
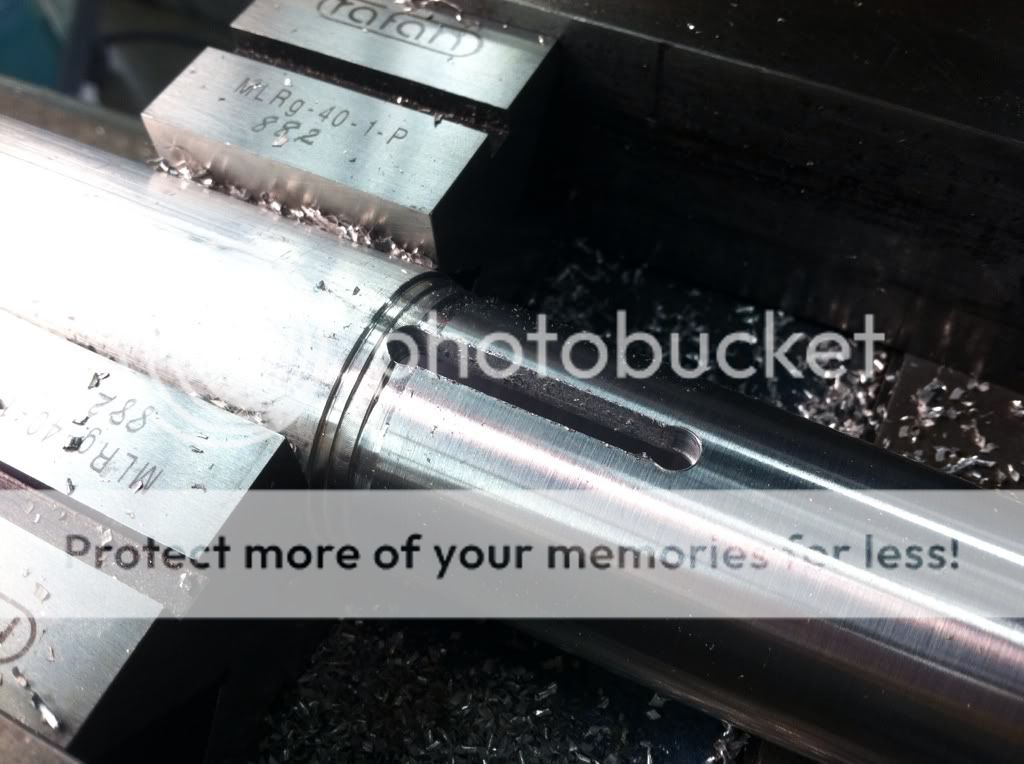
Then I milled out everything in between. It turns out plunging the hole made the slot not as clean at the end. So the second and third time around I only plunged the first hole and milled to my desired length (if that makes sense)
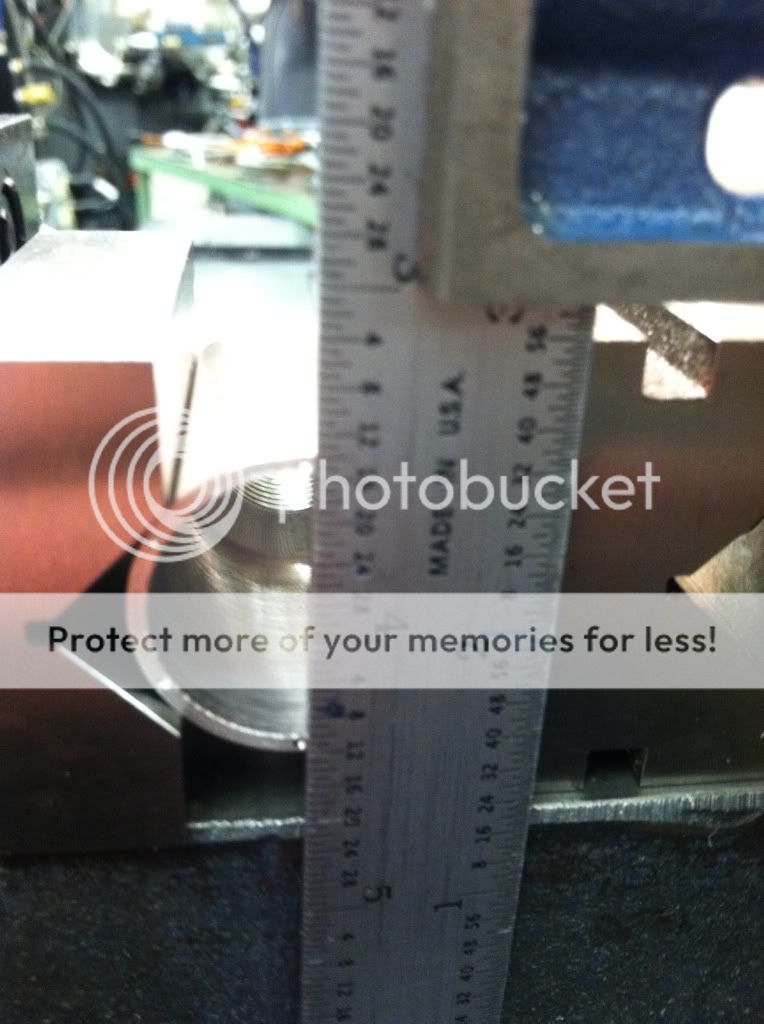
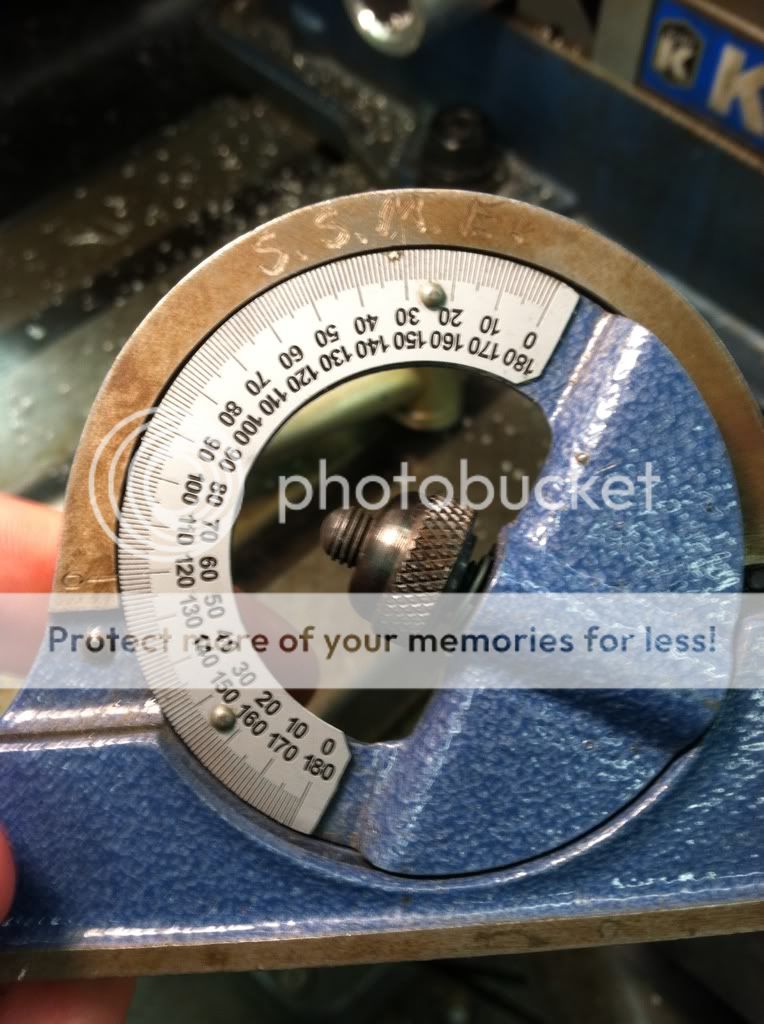
So...here's where that flat spot comes into play. We have these things in the shop that you can set to a degree...like so....
...and on the back is a level. So I rotated the piece and held the level on that flat spot until it was "level" at 120 degrees...then I did my next slot...then repeated that for the last slot
Then I took a file to the end of each slot to flatten it out
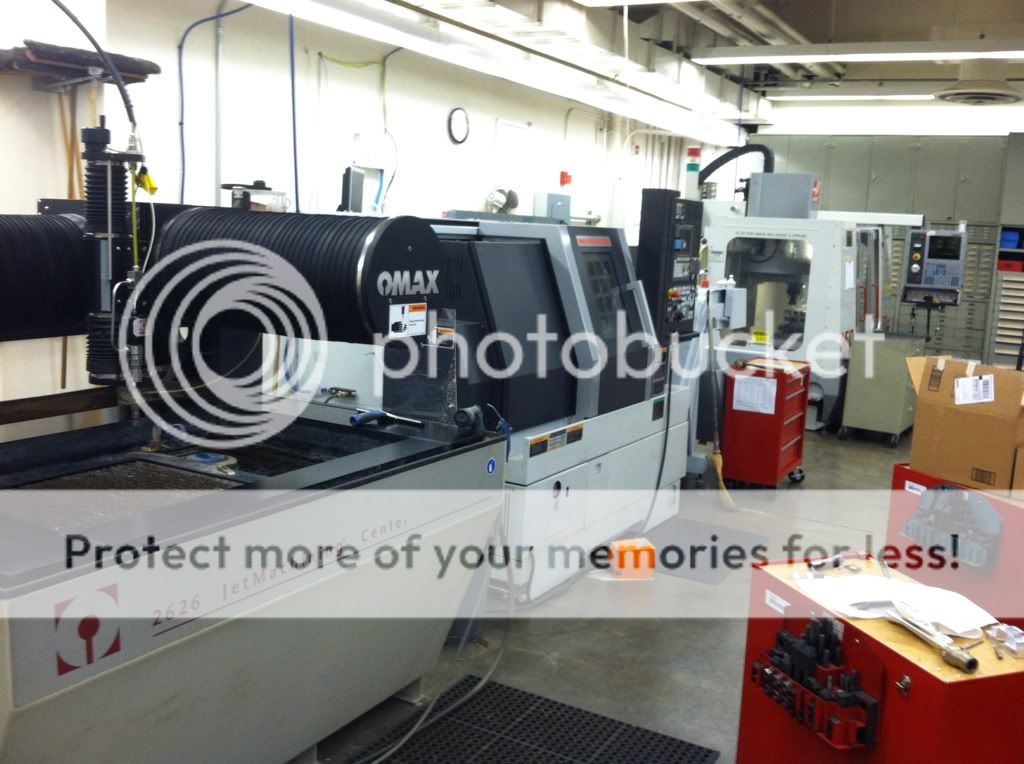
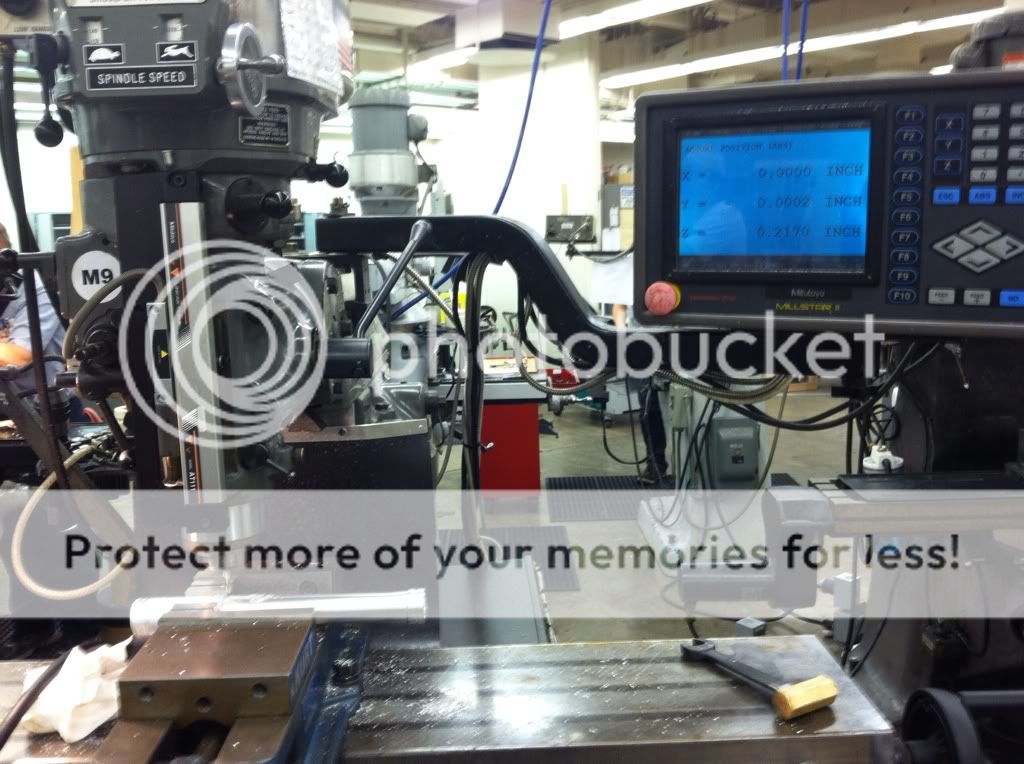
I also thought I'd take a few quick pics of the shop.
Here's the machine I was using today...it has a digital read out for x, y, and z. The shop has 14 similar mills, though only half have digital readouts for the z.
And here's some of the other machines that the students don't use too much. The close one is the waterjet machine, followed by a CNC lathe (which I've never seen anyone use), and the last machine is the wire EDM, which I used to cut the shroud on my starkiller
Last edited by boshwan527; 03-15-2012 at 06:14 PM.
I would absolutely love to spend a week in that shop... how sad some of the best equipment never gets used.
Great job on your saber, this will be a great one.
Oh before I forget, you mentioned when you plunged your holes for your slot, they ended up bigger on the ends vs the actual slot. Here's why...
When you use an endmill to plunge through solid metal, it will invariably wobble a bit, you may have noticed it cutting with more effort than cutting say, over a pre drilled smaller hole, or cutting along the edge of something.
I found this out a while back, so now when I need a slot, I pre drill each end, or one start end, a hole smaller than my endmill. That way the end mill doesn't have to work so hard to cut the metal out from under it, it just has to cut the edge. It makes for a cleaner cut for a slot start.
Also, when you begin to move along your slot, depending on your mill's accuracy and tightness, the whole head might move to one side, like, the mill will grab the incoming metal and hug that side. if that makes sense...
and will pull your slot over a small amount from the pilot hole.
This is what I do for my crude tooling, it may not be what you need to do, but it at least explains why you can plunge a hole with an end mill and have one size hole, and a slot from that will be narrower using the same bit.
Last edited by slothfurnace; 03-16-2012 at 07:40 AM.
CordaroyFog: you know, its really mean to set the bar that high.
What sloth said. I learned that one the hard way on my friend's mill (before he closed shop).
But really, superb work and that equipment... man.... can i come over?
Corbin_Das: If I got a tattoo below my waist, it'd say "Found someone you have I would say, hmmmm?"

+1.... I think there are a lot of us here who (already have our own machines and) would (still) love to come over and play with your machines... wait... that kinda sounded wrong...")
LOCKHEED
 Posting Permissions


 Reply With Quote
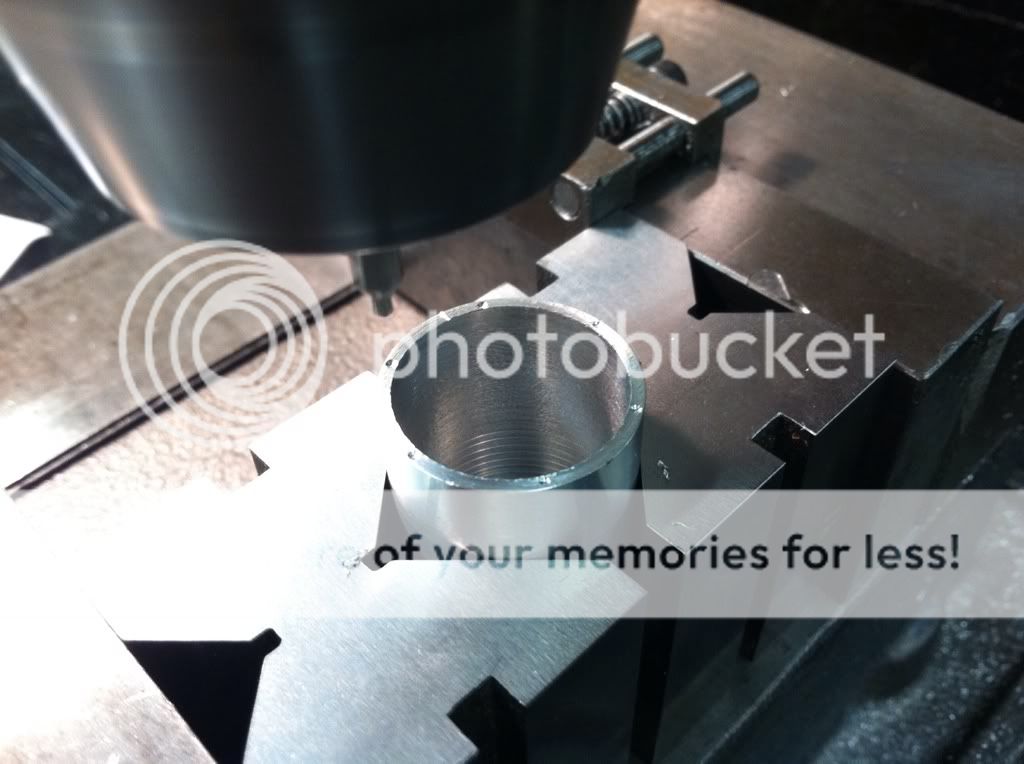


Bookmarks