


I believe this is actually my very first post here. But this project of mine was started years ago. This has to be some kind of a record for slow building a saber!
What I did right after discovering this custom saber building world is I got lucky. I started reading all about it and after 2 weeks I had a good idea about what I need and what I want. It was just a matter of waiting for those elusive CF boards that apparently show up and then disapear faster thay you can blink.
And I got lucky. Days after the decision was made they showed up, version 6.1. So I bought one. Err, no, I bought two. And a Color Xtender. Ordered some parts from the shop as well. And the batteries for 2 sabers.
When I had it all in one place though I started scratching my head. Cram-fu was needed! Lots of it. Maybe not for a seasoned builder but for the first timer it all started looking quite daunting. Plus I did not order any internal parts to hold it all together because my intention was to build my own solution. So the project stalled.
After I think 2 years I decided to at least bench test my CF to hear it for the first time in real life. Then I shelved it again. But now I'm back. No, really, i am!
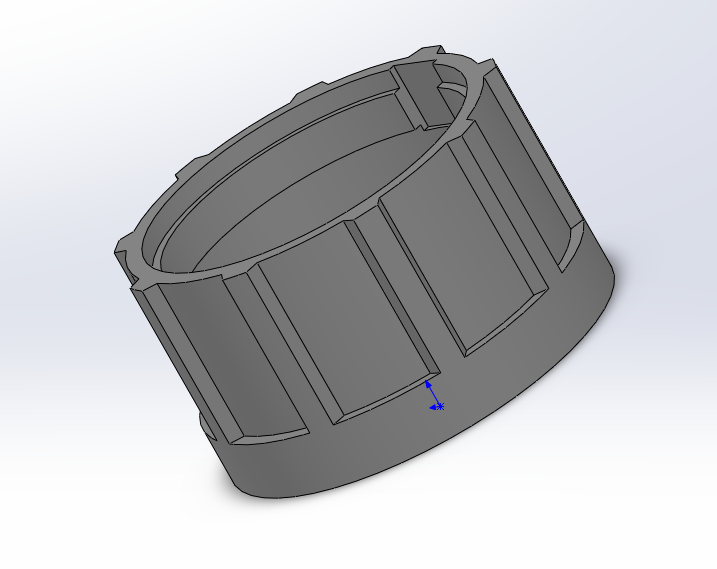
To help my non existing cram-fu I decided to start by taking some measurements and drawing my parts in 3D. I did manufacture a few parts last year while bench testing to hold the speaker and some discs to go inside. But they were less than perfect. So I'm thinking of printing my own parts. Plus I really need to see the insides and the space I have to play with.
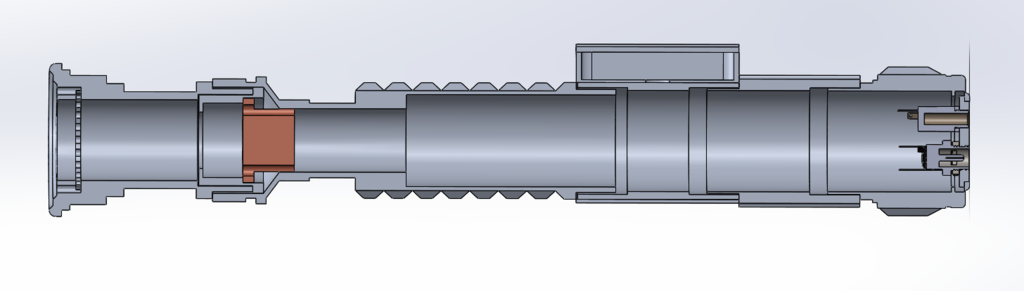
So here it is, nothing special and ultra custom, just a familiar shape from somewhere far, far away.
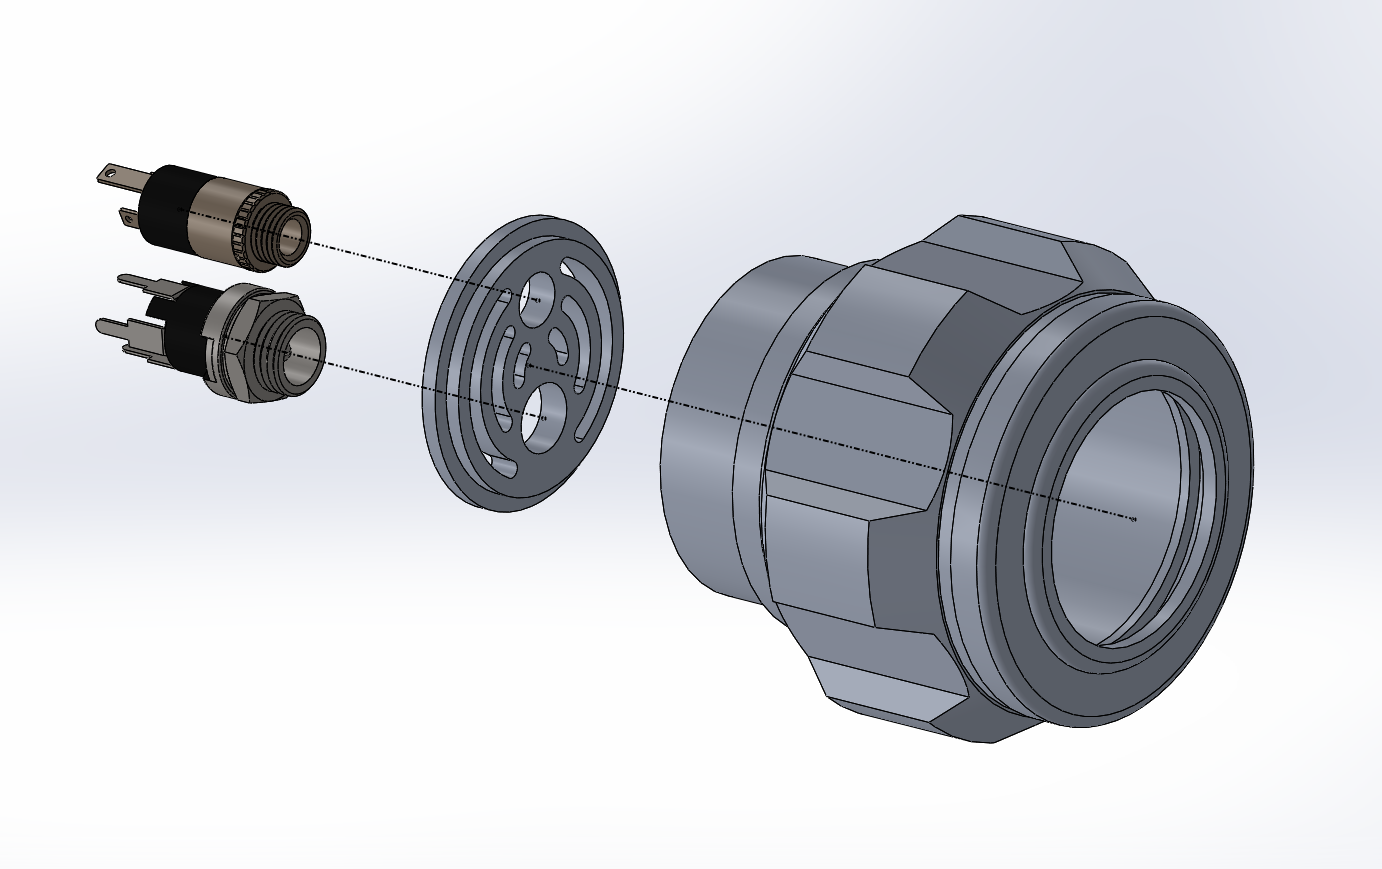
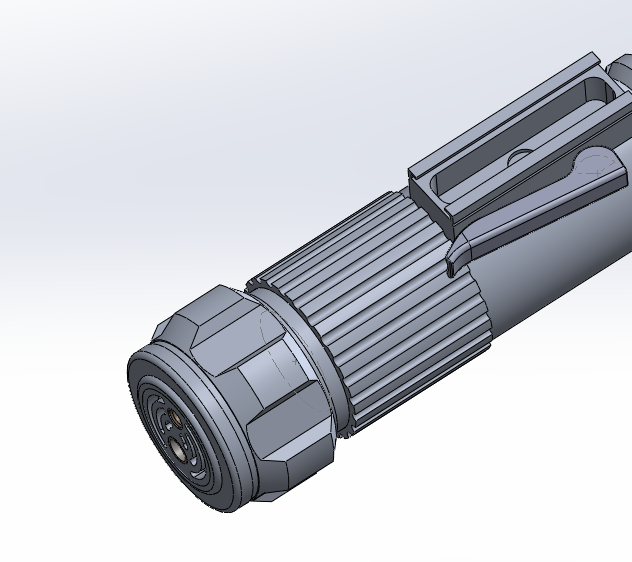
The idea was to have RICE and recharge ports at the back.
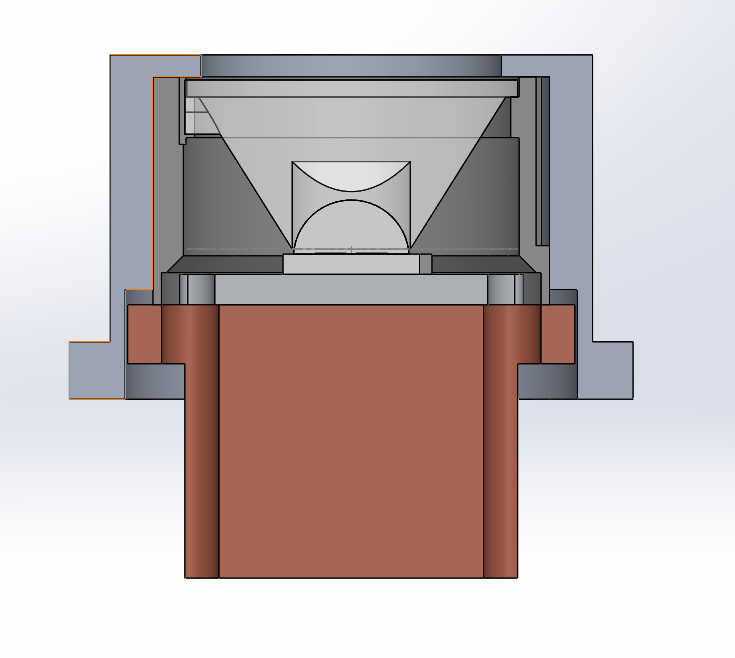
Followed by a 2W bass speaker (and maybe just maybe a small LED to illuminate the grill), 2x 18650 with CF and PeX on top. And I believe I have a LEDengine that I need to dig specifications of somewhere as well. RGBW most likely. And a lense.
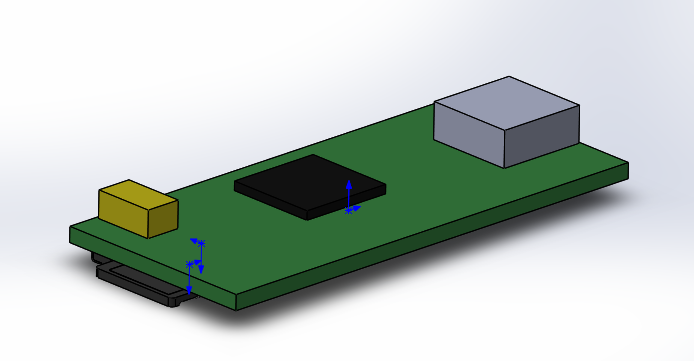
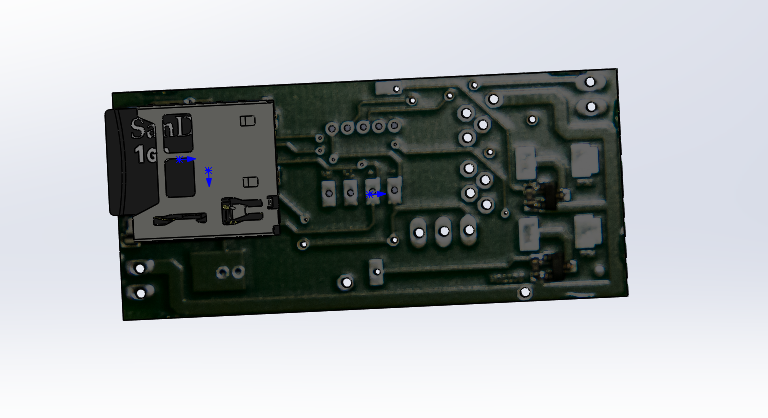
I modelled CF card roughly because I did not want to attack it with callipers for obvious reasons and I suppose it will do just fine like that.

 Reply With Quote
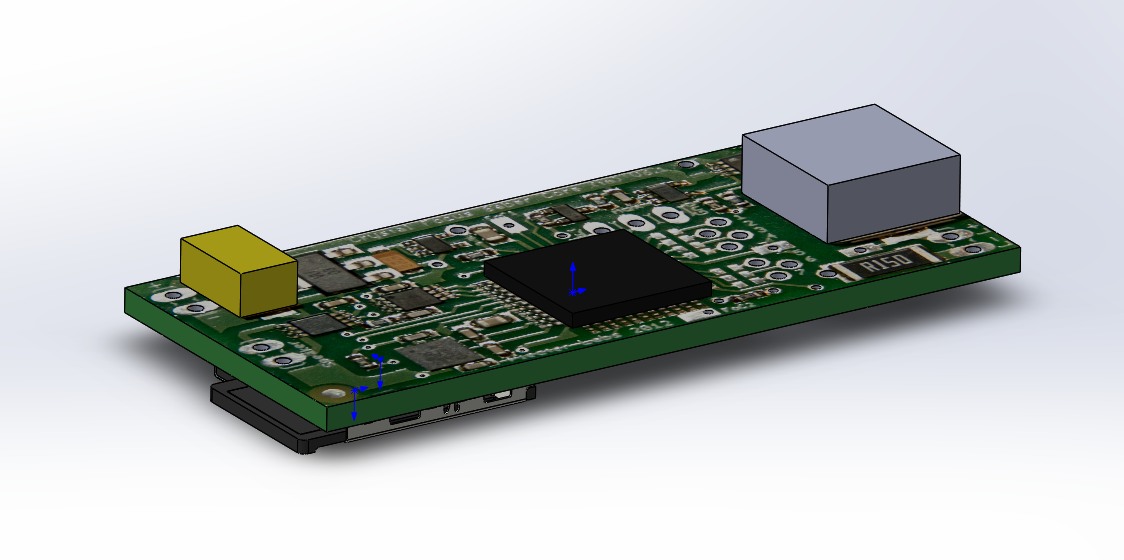


Bookmarks