fins are looking good!


fins are looking good!
Some small progress tonight... a few pieces for fins are ready to be drilled.
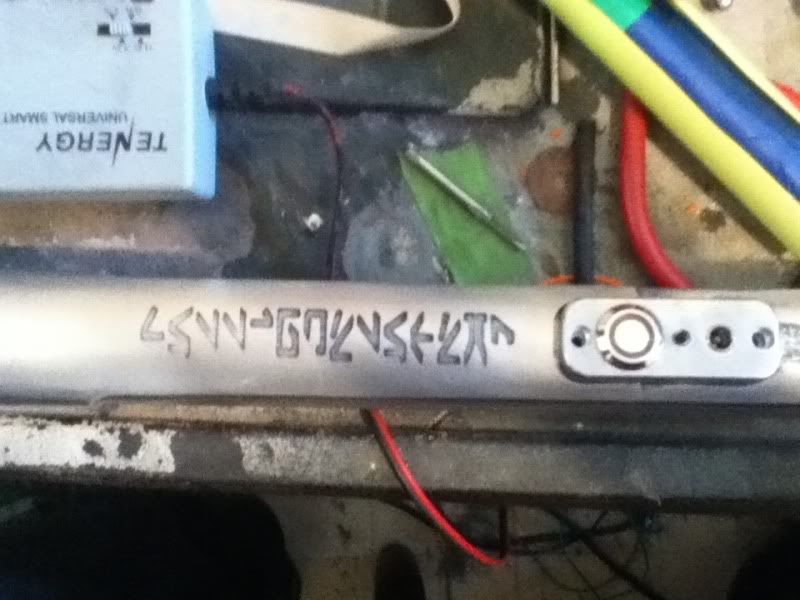
So it's been quite a while since my last update. Life got in the way a bit, but I'm making a push to get this finished up for CVI. One of my big concerns has been the etching. My last attempt didn't come out as well as I'd hoped. Per TD-2272's suggestion, I did another test with a copper sulfate solution and got pretty good results.
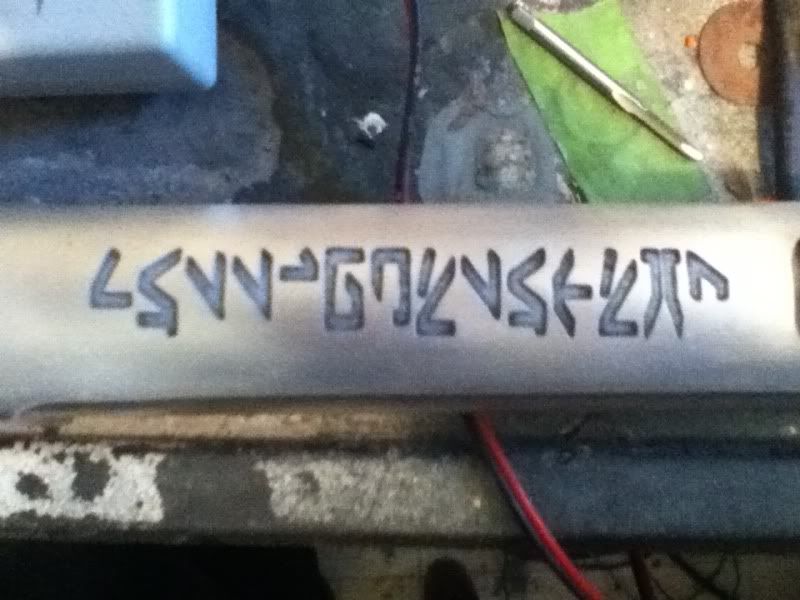
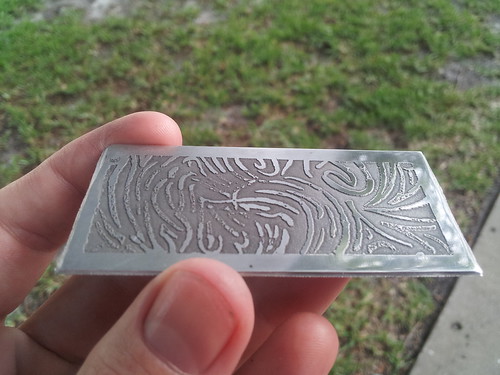
I used some toner-on-magazine-paper printouts that I still had lying around rather than use the PNP Blue yet. I ended up with a pretty poor transfer (some jagged edges and some areas that didn't adhere at all), but I think that will be less of an issue once I switch to the PNP Blue and take a bit more time. I was tempted to clean it off and start over again, but I figured it was a good opportunity to test the permanent marker as well. Below you can see the test piece with the darker areas colored in with sharpie.
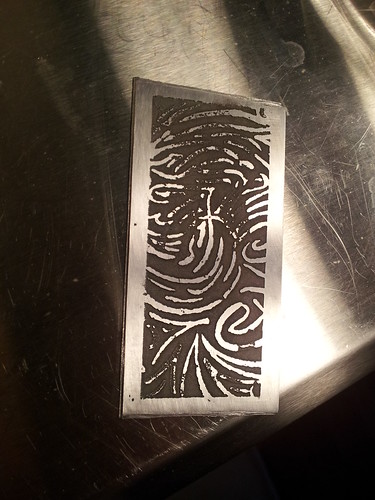
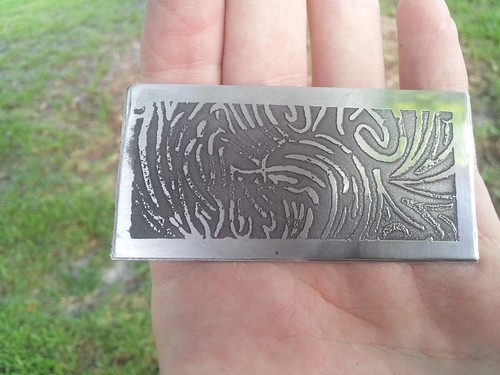
I used a solution of 1 cup water, 2 tbsp salt, and 2 tbsp copper sulfate (root killer). I left the test piece in the solution for a total of 3 minutes, though I took it out to check at 0:15, 0:30, 1:00, 2:00, and finally 3:00. I did use a feather to agitate the solution some to help remove the residue. The toner held up quite well, though the permanent marker was coming off by 2:00 and almost completely gone by the end. The first pic gives a good idea of the etched surface and the depth of the etch. The second pic really shows where the sharpie failed.
I'd like to get cleaner and deeper etches, but I'm also unsure how many tests I want to do. I'll have at least one more test once I get a test printed out on the PNP Blue, so perhaps it'll all come together quickly.


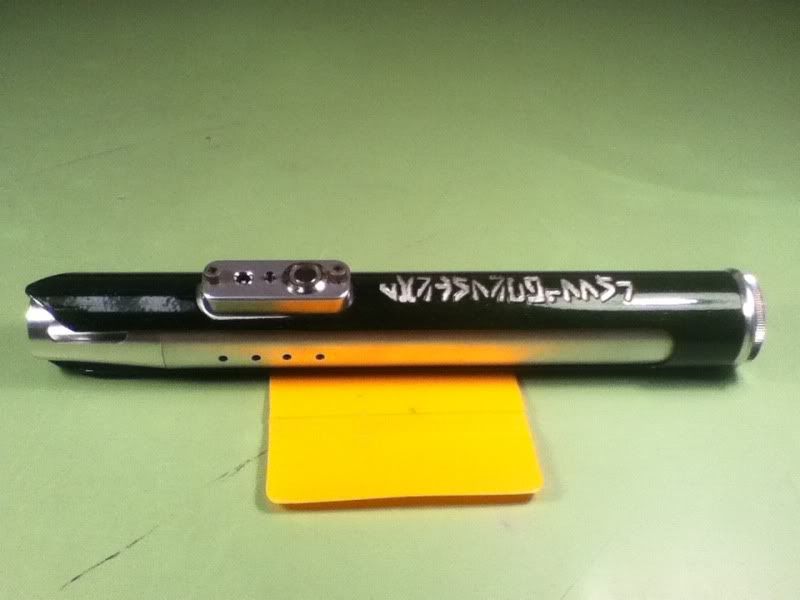
Awesome! Not to HiJack your thread here are some pics I did using the same method. I used vinyl as my resist. Goodluck bud.
Last edited by TD-2272; 07-08-2012 at 10:59 PM.
Sith Happens


Very impressive results... I see hope for this yet!Originally Posted by rogue9607

CordaroyFog: you know, its really mean to set the bar that high.

Superb work on the acid etching.
I'm a Design Tech ( wood and metalwork ) teacher, so I'm amazed at the standard of the metal parts you are turning out considering you said you had no previous experience.
Kudos to you mate. I'm watching this build with interest.
Sith Acolyte Saber completed
Thank you for the kind words! Somehow I missed the notification for these comments. I'm certainly learning a lot about working with metal as I go, and, though I'm sure it'll sound silly, the biggest surprise has been just how hard aluminum is. Some tools go though it much faster than I expected (band saw, belt/disc sander) but others are much slower (files and sandpaper).
TD, how did you do the vinyl resist? It came out great! I'd thought about this, but couldn't figure out a good way to position floating pieces.
I've been working away on the switches and have a few updates. My original design was to have a sliding momentary switch that looked like the original Satele saber, but the underlying switches I ordered turned out to be latching (despite the online description) and I couldn't find sliding momentary that would fit the application. I now plan to use some tiny momentary switches from TCSS under the circular recess in the switch (covered with an aluminum disc not shown in any pics below).
I started by sanding out the back of 3/16" blanks using an 1 1/2" drum sander. This was *very* slow, but seemed to work well. The large block in the background was clamped to the table and aligned to keep the small block holding the blank centered on the drum.
After I made two of those, I realized that they seemed too thick, so I redid them out of 1/8" aluminum.
Here's the first attempt on a "slider" that I later scrapped.
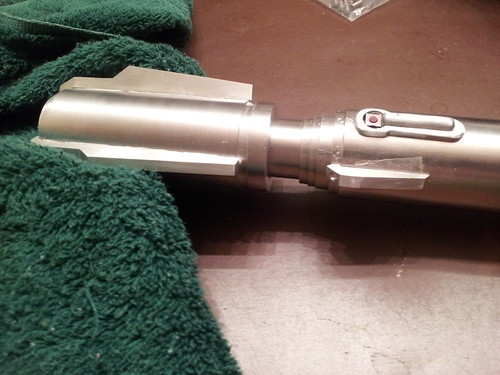
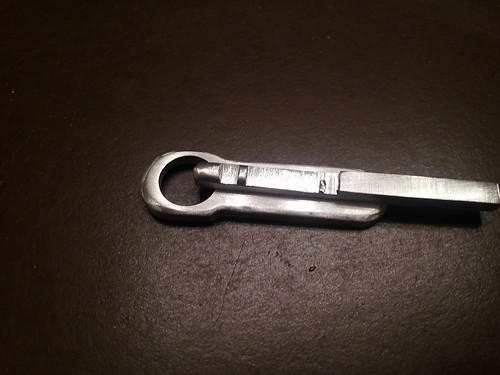
Same pieces on the tacked/taped hilt with the switch (which will need to be recessed slightly into the hilt to accommodate the cover disc).
This piece was a scrap (due to the slip on the second small ridge) but it served as a quick mockup, and I think I generally like the proportions.
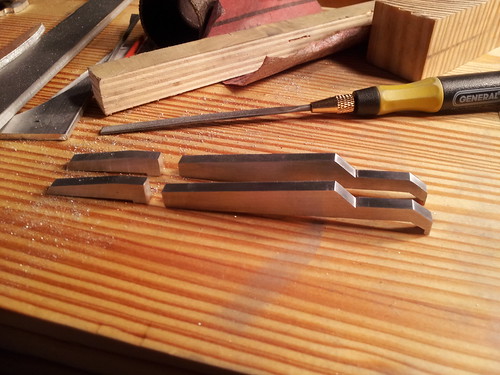
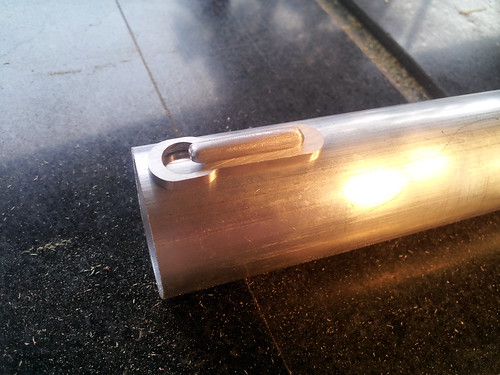
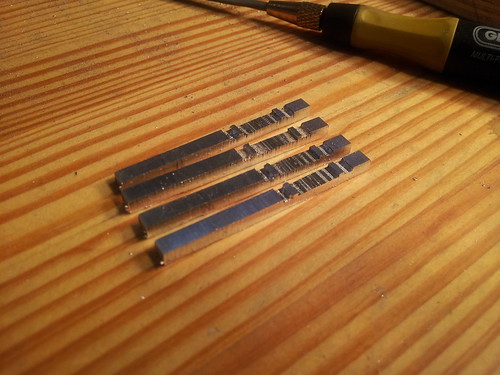
Here are my four blanks for the final sliders. I'll trim the long end down once the short end is shaped. I'm still undecided if I want to include the small hole at the end of the slider.
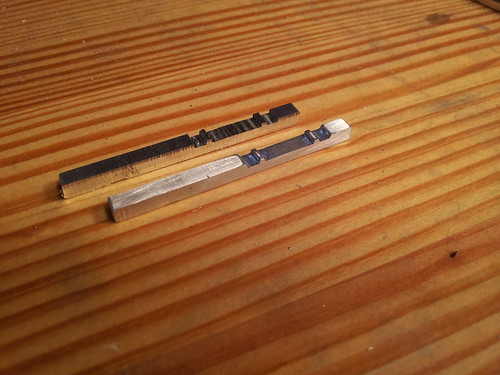
Finally, here's a blank that I've cleaned up with a file/sandpaper compared to a rough cut one.
Hopefully I'll have all the switch parts finished up in the next couple of nights and be able to move on to etching this weekend. <fingers crossed>
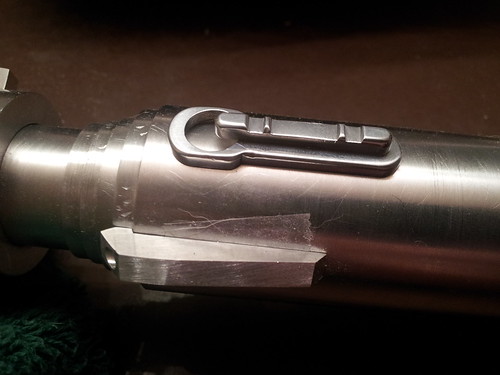
Almost done with the switch blocks... Made all four decorative "sliders", now I just need to finish the remake for the base piece that I messed up. Here's a shot of the pieces sitting together:
While I had the sisal wheel on the grinder, I figured I'd test it out on my last test etch. The pictures really don't do it justice. I buffed the right third, or so, and it looks quite amazing imo. The grey etch lightened up and the texture feels very comfortable on the hand.
I still need a better test, but I'm getting really excited about the etching.

Looking good rogue!!! This is coming along nicely.
There's a difference between knowing the path.....and walking the path.

this is is bound to be a delicious looking saber.
I particularly like your custom switches, im a firm believer in making switches that
dont look like a switch - if you get my drift.
The force is certainly strong with this one
 Posting Permissions

 Reply With Quote
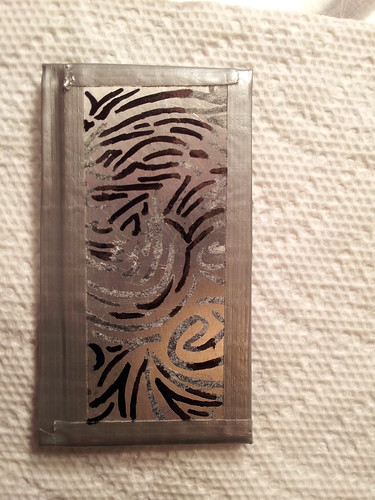


Bookmarks