Page 1 of 2 1 2 LastLast
Results 1 to 10 of 17

Thread: Custom Saber Build Log: Azaz'el

  1. #1
    Jedi Council Member cardcollector's Avatar
    Join Date
    Jan 2009
    Location
    I am A proud American.
    Posts
    2,567
    Blog Entries
    3

    Default Custom Saber Build Log: Azaz'el

    Hey folks,

    Well, I am going to be documenting another step by step, showing how I make sabers. This commission is the largest I have ever done by far, with many, many, features.
    So, with that, let us begin.

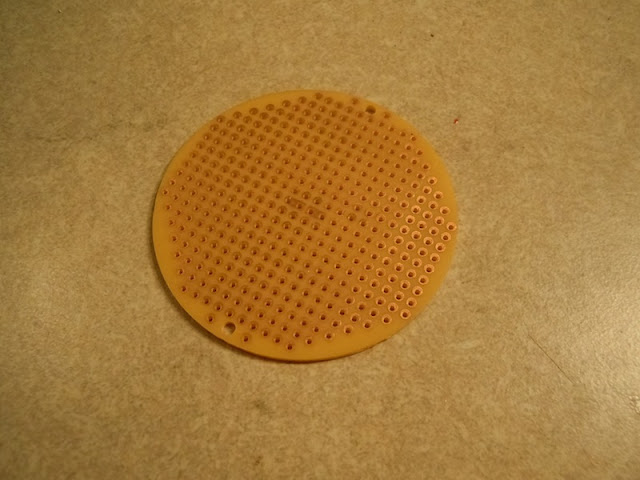
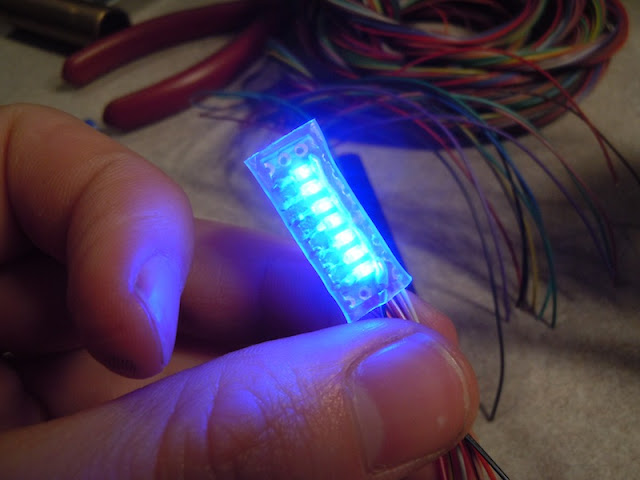
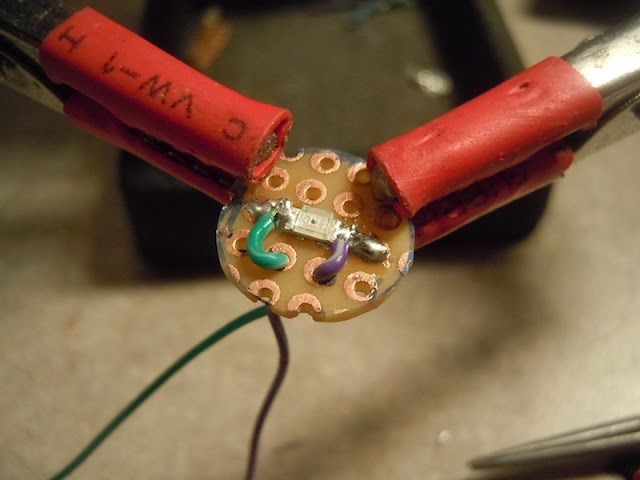
    Here is the render, as you can see, it will have a crystal chamber, dark weathering, and some other stuff. I will also be adding a full reveal chassis, so you can take the lower end off and see the inner workings. I will also be making a custom SMD LED bargraph. The same will be made to look like an ancient sith saber, so things need to look old, but still cared for. This is perhaps some of the most difficult type of weathering to do, as the interior must match the exterior... fun stuff.


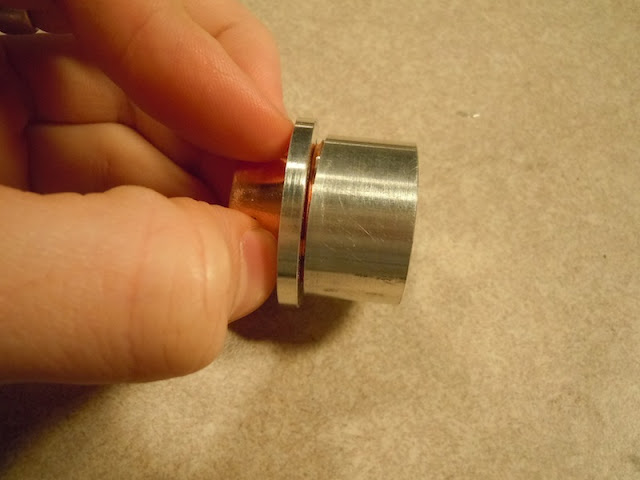
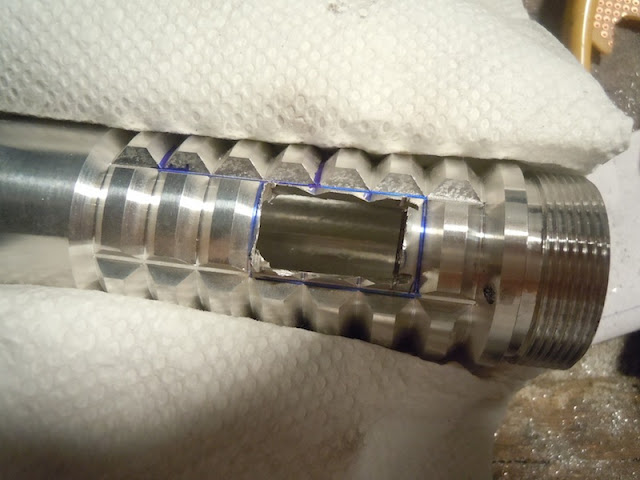
    So, the standard LED Module needed to be altered so the retaining washer can be placed to hold the reveal chassis.


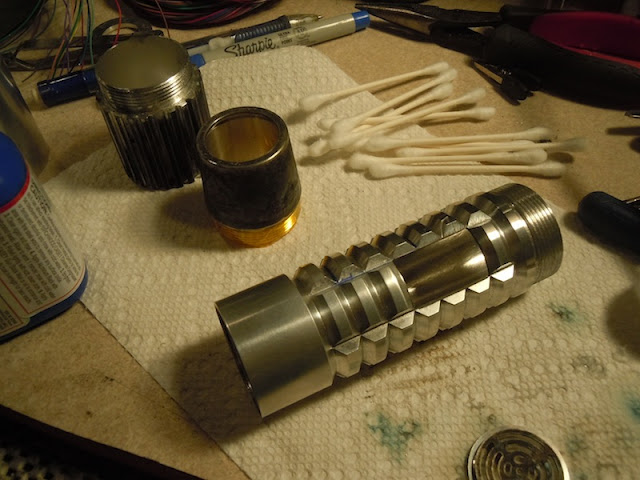
    Took the top piece and sanded it down on the belt sander


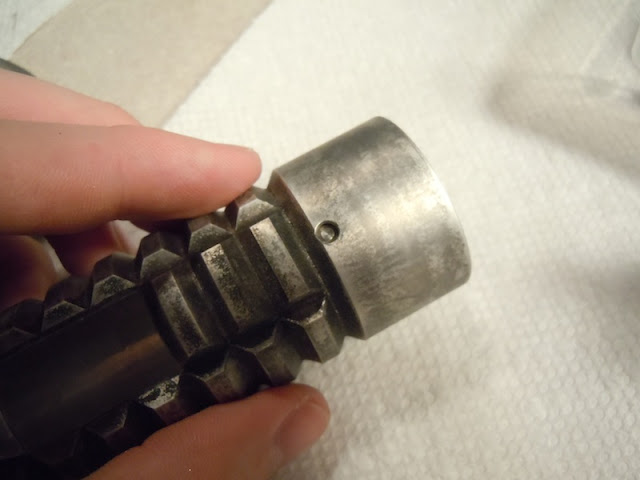
    now the Retaining washer takes the place of the module lip I removed.


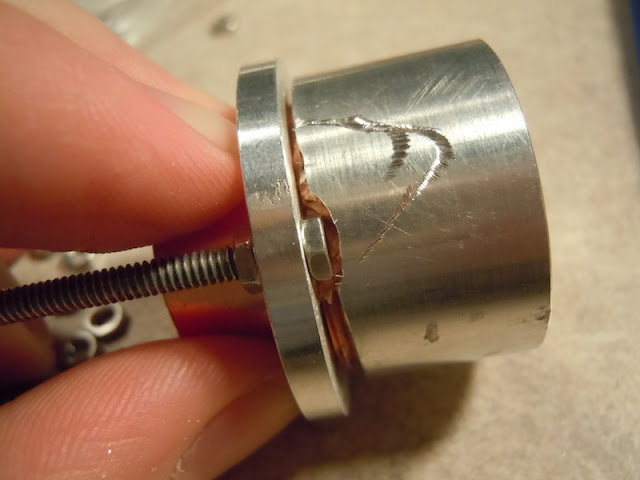
    had to remove some material to allow the nuts to sit flush to the heatsink.


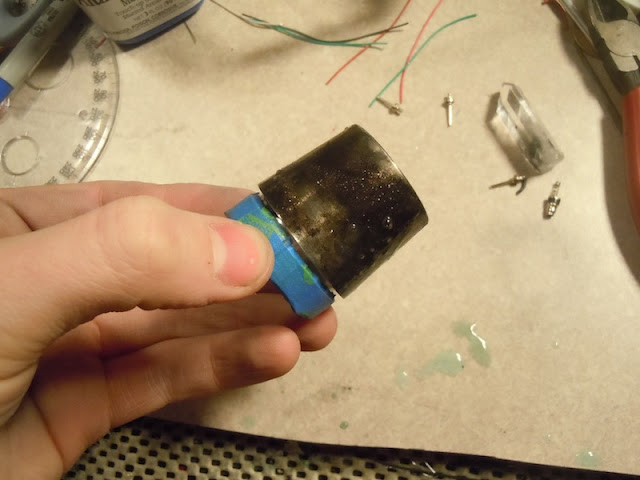
    The TCSS Speaker housing didn't fit in the pommel, so I had to make on out of PVC. I will cover it in heatshrink after it is finished, so it looks nicer.


    a little ring to allow the speaker some room in the pommel, better resonance.


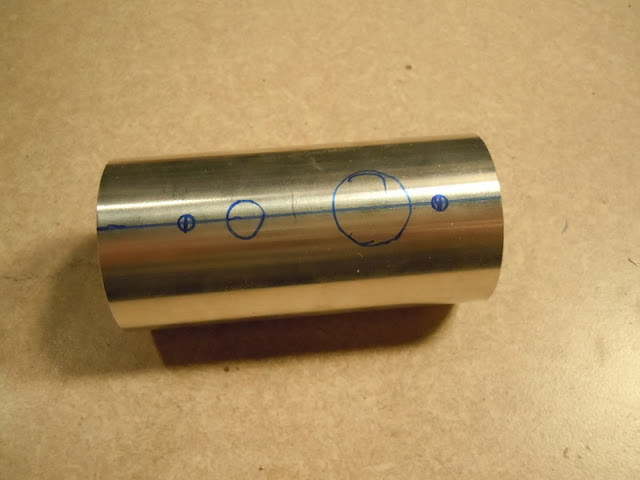
    I began to measure out dimensions for the chassis. This is what takes the longest time, as every bit of space is precious, and everything must fit in a certain way. You can see the crystal that will be used in the background.


    The two angled pieces measured and cut.


    rough sketch of what we have so far.
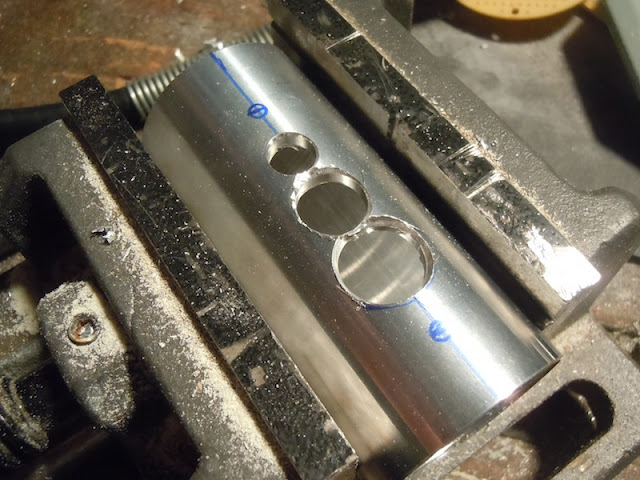
    Next main thing is to finish the chassis, align the outer parts, and drilling.


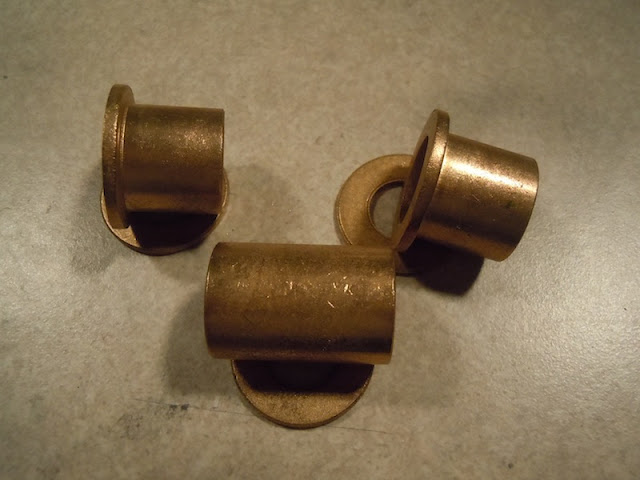
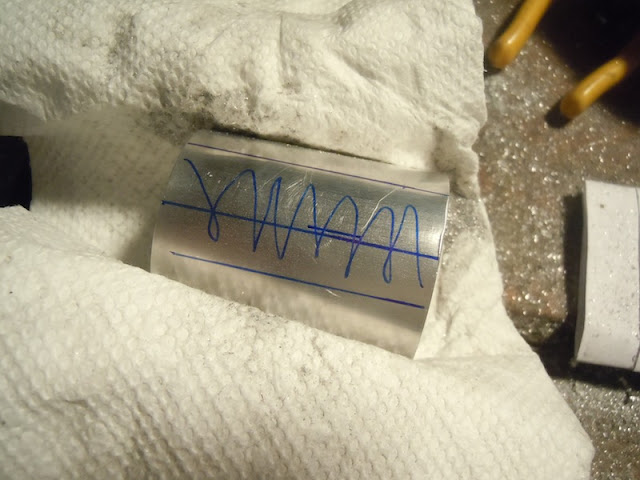
    Can you guess what these are for???

    That's it for now, I will probably be posting an update once a week.
    Any questions? Just ask.
    Got a Question? There's a thread for that...
    ~Do what you can, with what you have, where you are.~Teddy Roosevelt

    SollusVir everywhere else... FXsabers, Youtube, etc...

  2. #2

  3. #3
    Jedi Council Member cardcollector's Avatar
    Join Date
    Jan 2009
    Location
    I am A proud American.
    Posts
    2,567
    Blog Entries
    3

    Default

    Time to update this.

    Gotten a lot of the internal planning out of the way, which I am glad of. the chassis is beginning to take shape, everything has its proper place now... So building should go much more quickly.

    Last time I showed you some bronze pieces, I will start with those.
    I always wanted to have some internal bling to a saber that represented the gyromotor, that controlled the balance of said weapon.


    Notches cut to slide along the rods...


    Drilled out a portion to mount the motor.


    And the motor glued in place. It will not spin, but provide a nice look.


    Backlight with a blue LED, it will match with the bargraph.


    SMD blue LED soldered for the gryromotor. Toothpick tip for scale.

    Moving on the the chassis...

    Concept for the crystal chamber, Probably will go with something like this with some copper somewhere...


    Test fitting the crystal.


    This is the current state of the chassis. The PVC speaker module is also going to hold the Crystal Focus soundboard...


    Like so.


    A brass battery chamber for the 2 li-ion cells.


    Aaand some of the weathering has begun.
    Got a Question? There's a thread for that...
    ~Do what you can, with what you have, where you are.~Teddy Roosevelt

    SollusVir everywhere else... FXsabers, Youtube, etc...

  4. #4
    Jedi Council Member cardcollector's Avatar
    Join Date
    Jan 2009
    Location
    I am A proud American.
    Posts
    2,567
    Blog Entries
    3

    Default

    Not much for this week, but still a little progress...

    After making sure the Chassis was just how I wanted it, I moved on to the hilt.


    Here I marked out where I needed to mount the box on the 3" extension.


    Vised it up, and drilled out the material. Then I cleaned it up with a dremel.


    This shows the angled pieces cleaned up and test fit, and also the box installed. It is not centered lengthwise, as it being 1/4" closer to the emitter looked better.


    Better angle of the box installed. It looks really good!

    Now to move on to some electronics... Specifically, the bargraph.

    Just some PCB.


    I drew out what I needed for the bargraph, and then cut it out.


    Like so.


    Tinning the pads is key to making SMD soldering easy.


    All 7 LEDs in place.


    Here you can see each have appropiate + wires, and share the common ground.


    Then I heatshrunk the thing for better insulation. No shorts here!


    OCD kicked in and I had to make sure the wires looked nice on the back too. :P


    And it works like a charm.


    Here is another SMD LED w/ resistor... It is for the gyromotor.


    And glued in place.


    Lastly, one more red SMD for the crystal chamber.


    Fits nicely.


    and all soldered up.

    That's it for this week.
    Got a Question? There's a thread for that...
    ~Do what you can, with what you have, where you are.~Teddy Roosevelt

    SollusVir everywhere else... FXsabers, Youtube, etc...

  5. #5

    Default

    I await the next installment with glee!

  6. #6

  7. #7

    Default

    Yeah... What Jenny and Havoc said
    (\__/)
    (='.'=) Remember, if we get caught....
    (")_(") You're deaf, and I don't speak english

  8. #8
    Force Aware noslenpar's Avatar
    Join Date
    Jan 2010
    Location
    Queens, New York
    Posts
    54

    Default

    This is looking great. Love to see this kind of detailed build log, I've learned a lot already. Amazing photos too.

  9. #9
    Jedi Council Member cardcollector's Avatar
    Join Date
    Jan 2009
    Location
    I am A proud American.
    Posts
    2,567
    Blog Entries
    3

    Default

    Thanks folks.

    No update this week, not enough progress for another post IMO. Be looking for a nice one on Sunday.
    Got a Question? There's a thread for that...
    ~Do what you can, with what you have, where you are.~Teddy Roosevelt

    SollusVir everywhere else... FXsabers, Youtube, etc...

  10. #10
    Jedi Council Member cardcollector's Avatar
    Join Date
    Jan 2009
    Location
    I am A proud American.
    Posts
    2,567
    Blog Entries
    3

    Default

    Time for an update!

    So, the last two weeks I got a little behind due to some study work. Now however, the hilt is all finished and will begin installing electronics this evening.


    Switched out the location of the crystal chamber due to space constraints... Here you can see where I marked the aluminum off to cut it out.


    Vised up and ready to go to town with the dremel.


    Clearly, it needs some sanding and filing.


    Cut out the piece for the shroud around the box too.


    The weathering begins...


    another piece done...


    Got the blade retention screw drilled and centered...


    So, since aluminum black wasn't working on the chrome switch, I broke out some flat black enamel paint, some thinner, and did the switch by hand. Turned out perfect.


    This 8-32 set screw will hold a shroud in place. Much better than just gluing it on.


    You can see the other side of the screw... and the weathering after going over it with steel wool and water.


    Here is a teaser of the all the piece weathered, and then powdercoated with clear matte finish.


    Here a a zoom out without the box on the hilt.

    More to come next week...
    Got a Question? There's a thread for that...
    ~Do what you can, with what you have, where you are.~Teddy Roosevelt

    SollusVir everywhere else... FXsabers, Youtube, etc...

Bookmarks

Posting Permissions

  • You may not post new threads
  • You may not post replies
  • You may not post attachments
  • You may not edit your posts
  •