Page 13 of 14 FirstFirst ... 3 11 12 13 14 LastLast
Results 121 to 130 of 138

Thread: Slothfurnace's ANH Obi Reveal

  1. #121

    Default

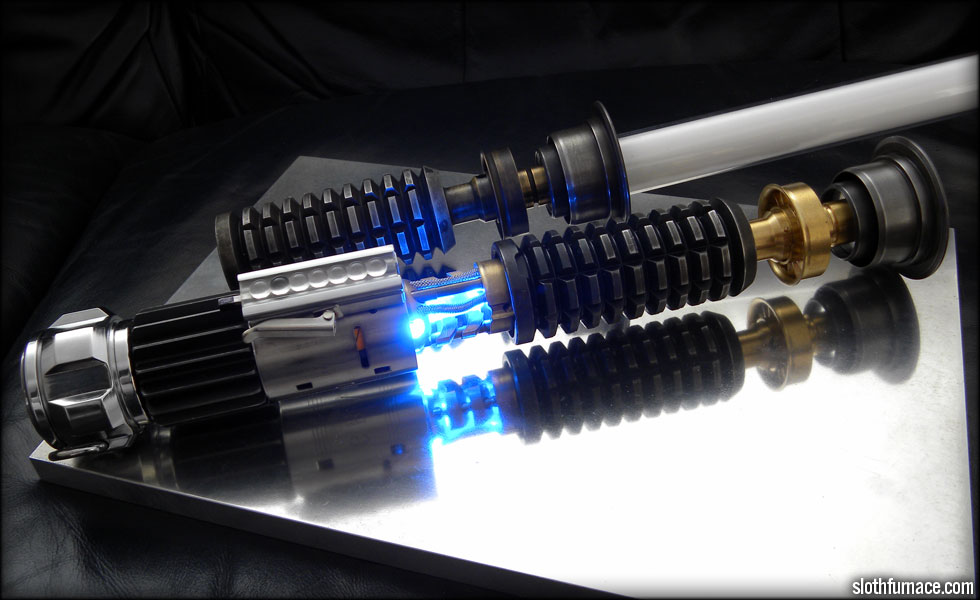
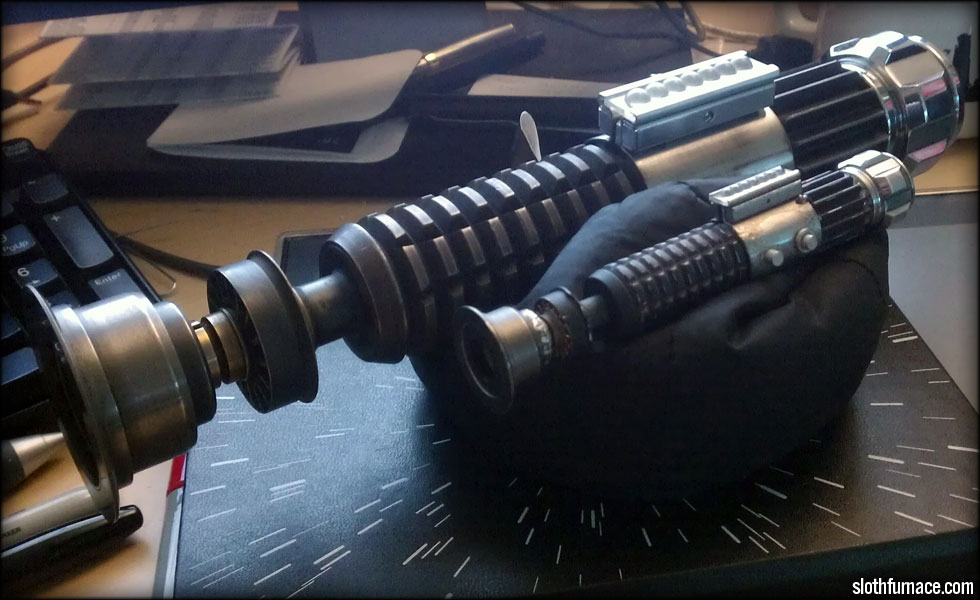
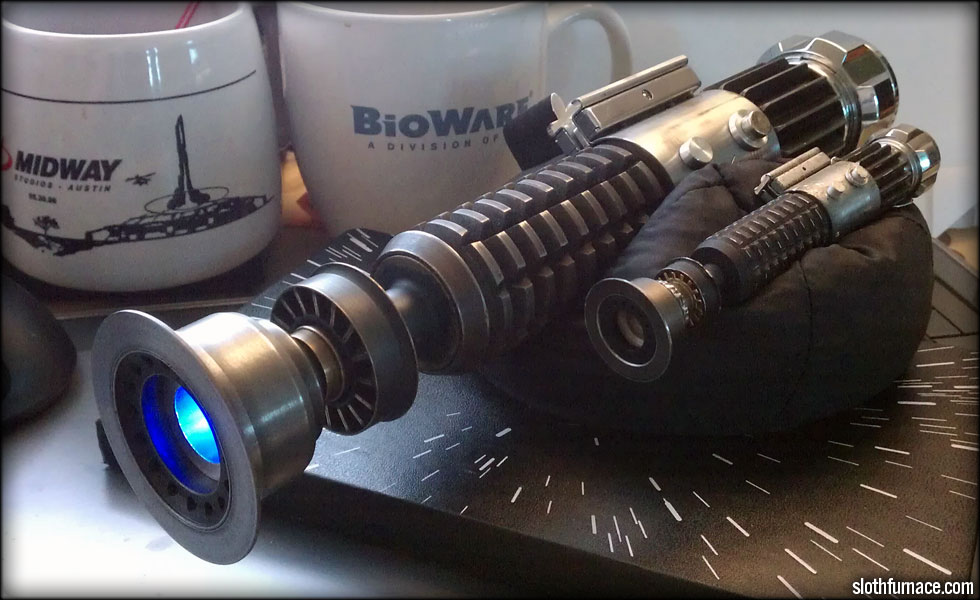
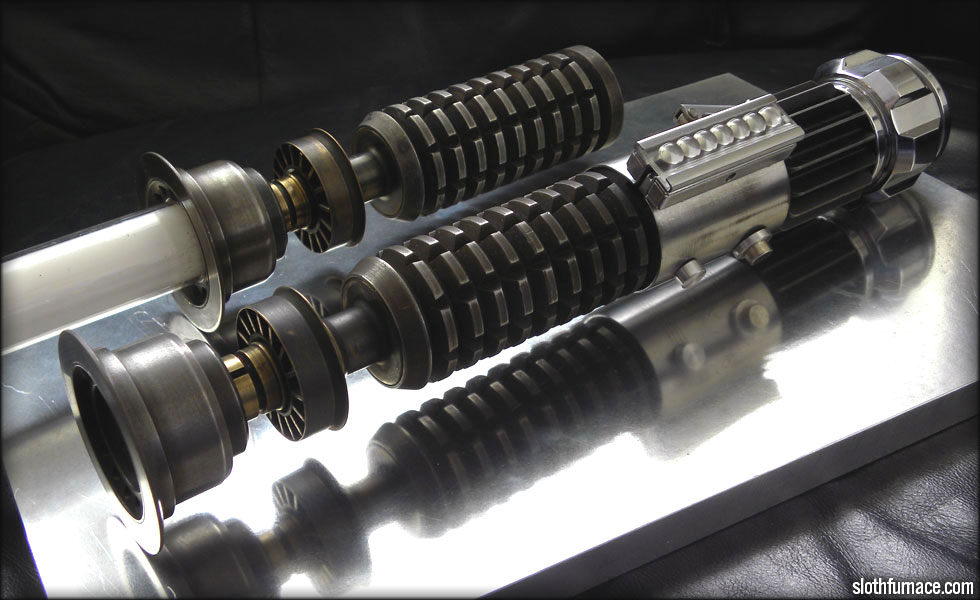
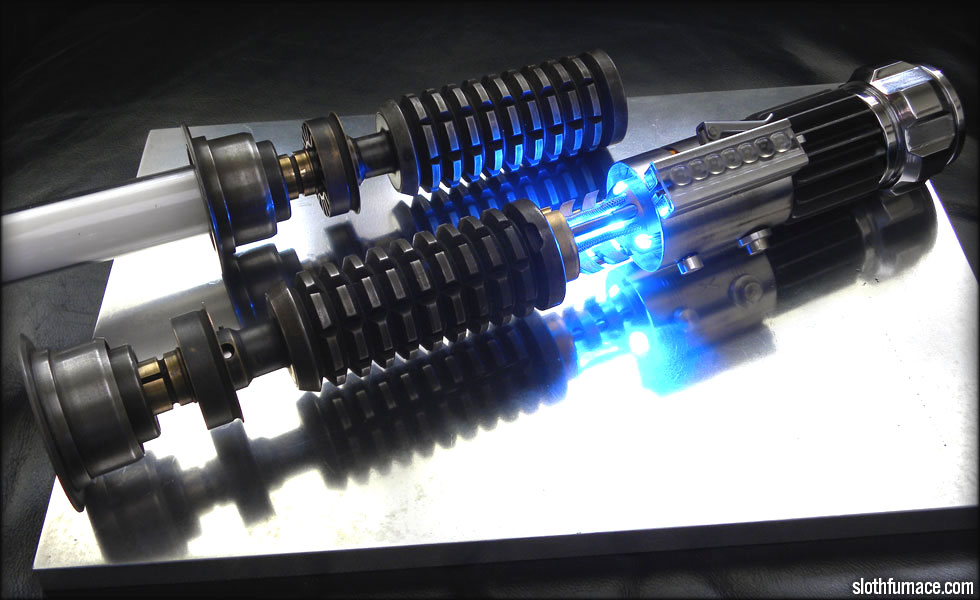
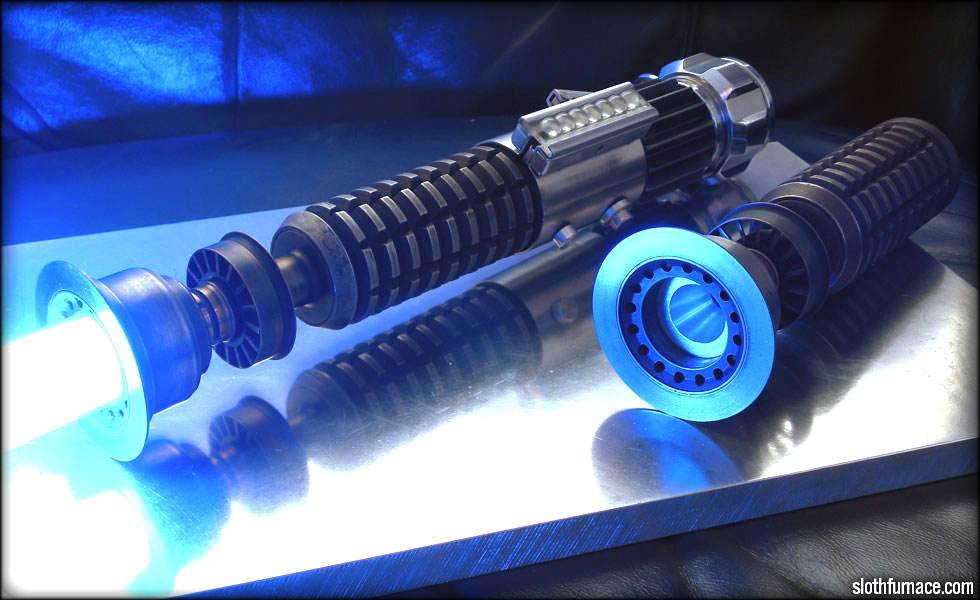
    Dude, everything you build is absolutely amazing. I have a question for you. As a terrible novice who has little knowledge of electronics, is there a book or site you can recommend to help the unlearned gain knowledge? I would love to able to build sabers like you do.
    "Because your own strength is unequal to the task, do not assume that it is beyond the powers of man; but if anything is within the powers and province of man, believe that it is within your own compass also."
    -Marcus Aurelius, one of the Five Good Emperors of Rome


  2. #122

    Default

    Thanks much!

    So, as far as final specs on this saber go:

    Obi Wan Kenobi 'Epic Reveal' saber
    CF-LS 5.5 running Madcow's Heirloom font with my custom menu and boots
    7.4V Battery pack (2X 18350 Li-Ion batteries with remote PCB Protection)
    Activation/Aux custom tilt switch as foreward transistor greeblie
    84 High Power LEDs wired Seriallel in blade, 5 in chamber (each of the chamber LEDs wired to blade segments 1 through 5)
    Steel Russrep Emitter, steel russrep grenade, brass russrep windvane, steel russrep booster, steel russrep pommel (All heavily remachined and weathered by yours truly)
    Recharge port under rear transistor killkey
    Interchangeable bladed grenade/emitter section and non bladed grenade/emitter section
    springloaded aqua aura quartz crystal chamber with custom brass chamber parts
    TCSS 2Watt speaker in pommel
    Vintage Exactra bubblestrip

    tons of slothfurnace TLC.

    CordaroyFog: you know, its really mean to set the bar that high.

  3. #123

    Default

    Here's a new vid of normal operation, not sure why it's so dark, I'll try shooting another one tonight or so.
    http://youtu.be/PrcDx-xzrBw
    The final vid will be of the detachable bladed section and non bladed section, springloaded chamber, etc. That should be ready to go in a few days, then I will be done done done with this build!

    CordaroyFog: you know, its really mean to set the bar that high.

  4. #124

    Default

    it's just impossible to describe how awesome your saber is. a true piece of art!

  5. #125

    Default

    Quote Originally Posted by Batosai View Post
    it's just impossible to describe how awesome your saber is. a true piece of art!
    I appreciate that quite a bit, thanks!


    I am very happy with how the non bladed grenade ended up oxidized and weathered. Had to machine and tap a hole for the retainer screw that exactly matched the position of the bladed grenade. That was not impossible, but wasn't something I could mess up. Also the depth and position of the notch for the chamber latch was machined within a thousandth or two of the original.


    A problem I have run into is that these grenades and windvanes were from different runs at different times. They are "almost" the same dimensions, but not quite, and I've had to compensate a bit for that. Next up, oxidizing and weathering the brass windvane, fan and fan shroud.

    CordaroyFog: you know, its really mean to set the bar that high.

  6. #126

    Default

    Welp, sorry for the cellphone pics, but I thought I'd let you all know the last giant hurdle has been ... um.. hurdled.


    Last night, I finished machining, weathering and assembling the non bladed grenade/emitter section. That also meant I had to tear down and rebuild my latch, as I needed to install a brass bushing around the clamp lever bolt to take the forward/backward slack out of the reveal latch. I also shaved the back of my reveal latch down to just a little nub you can catch with your finger, hardly noticable.


    I also almost gave up on this, but I had machined a polycarbonate lighting element to go down in the bottom of the "cone" piece that attaches the emitter to the brass windvane. I had some alignment issues making sure that the chamber top plugged into both bladed and non bladed sections, the bladed one worked flawlessly, but the non bladed one was slightly off. A few hours of tinkering and it finally worked.

    Left to do: Shave a couple thousandths off my reveal latch hook and make a custom transistor kill key.

    Wow. That's two things left to do.

    CordaroyFog: you know, its really mean to set the bar that high.

  7. #127

    Default

    http://youtu.be/BeJIu5qJ2MU

    I THINK IT IS FINISHED!!!!!!!

    Holy cow... I really think it is done!

    CordaroyFog: you know, its really mean to set the bar that high.

  8. #128

    Default

    FINAL PICS!


    Thanks everyone!

    CordaroyFog: you know, its really mean to set the bar that high.

  9. #129

    Default

    Stunning work, as always. Congratulations on finishing this build.

    Of course now we're all wondering, what's next? Besides a well deserved rest, that is.
    We all have to start somewhere. The journey is all the more impressive by our humble beginnings.

    http://led.linear1.org/1led.wiz for the lazy man's resistor calculator!
    http://forums.thecustomsabershop.com...e-to-Ohm-s-Law for getting resistor values the right way!

  10. #130

    Default

    Looks sweet! Bet you're glad to be finished. I think you missed a spot when weathering though. (no just kidding!)

    Where is the aux switch though? Looks like the main is the forward button on the side and the recharge port/ key behind that but I'm not seeing the aux.
    The lightsaber hilt is capable of producing a blade of pure energy. The lightsaber hilt has proven to be completely safe. The saber blade however has not. Do not touch the operational end of the saber blade. Do not look directly at the operational end of the saber blade. Do not immerse the saber blade into your flesh, not even partially.

Bookmarks

Posting Permissions

  • You may not post new threads
  • You may not post replies
  • You may not post attachments
  • You may not edit your posts
  •