Page 1 of 2 1 2 LastLast
Results 1 to 10 of 17

Thread: First MR build!

  1. #1

    Default First MR build!

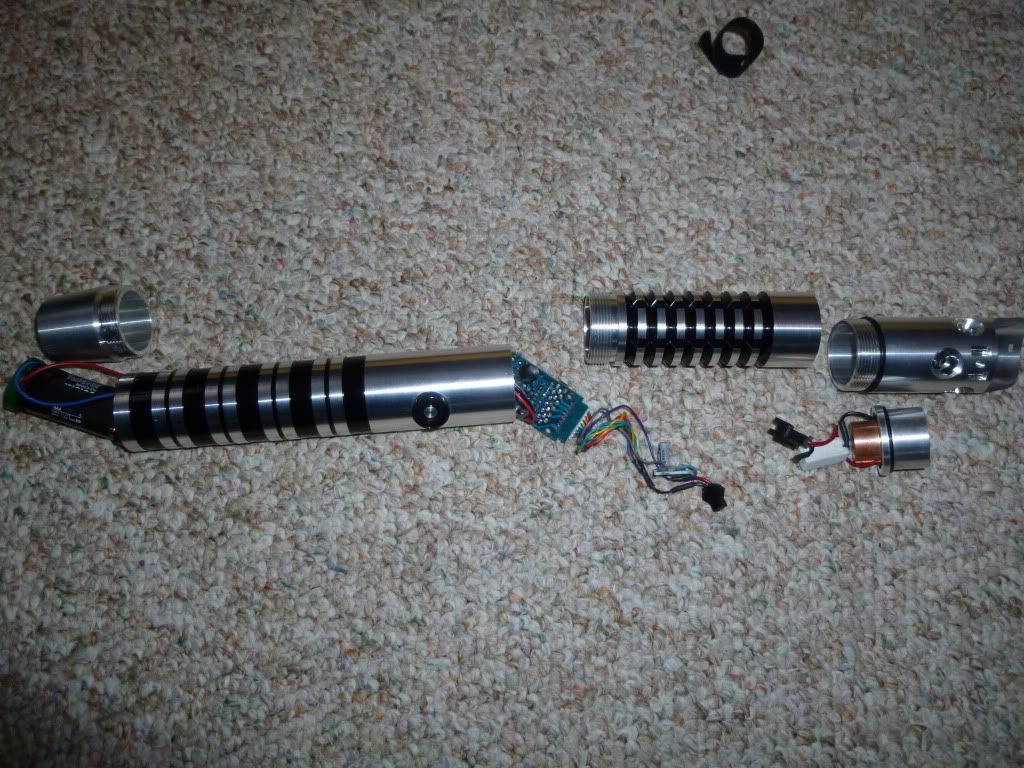
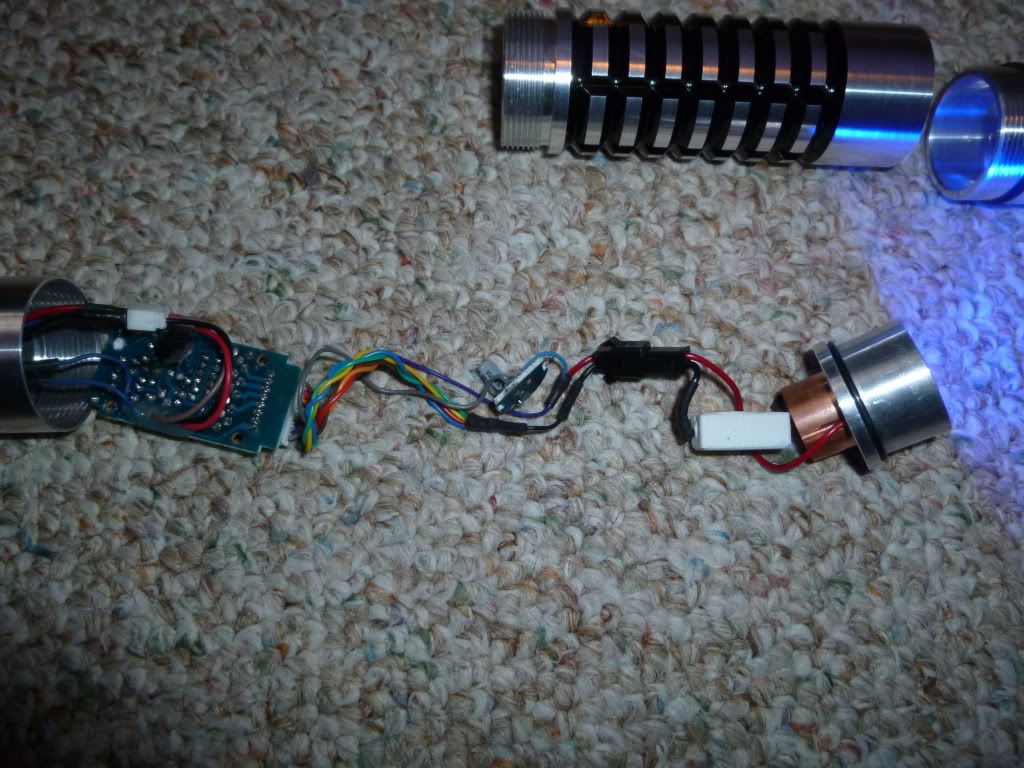
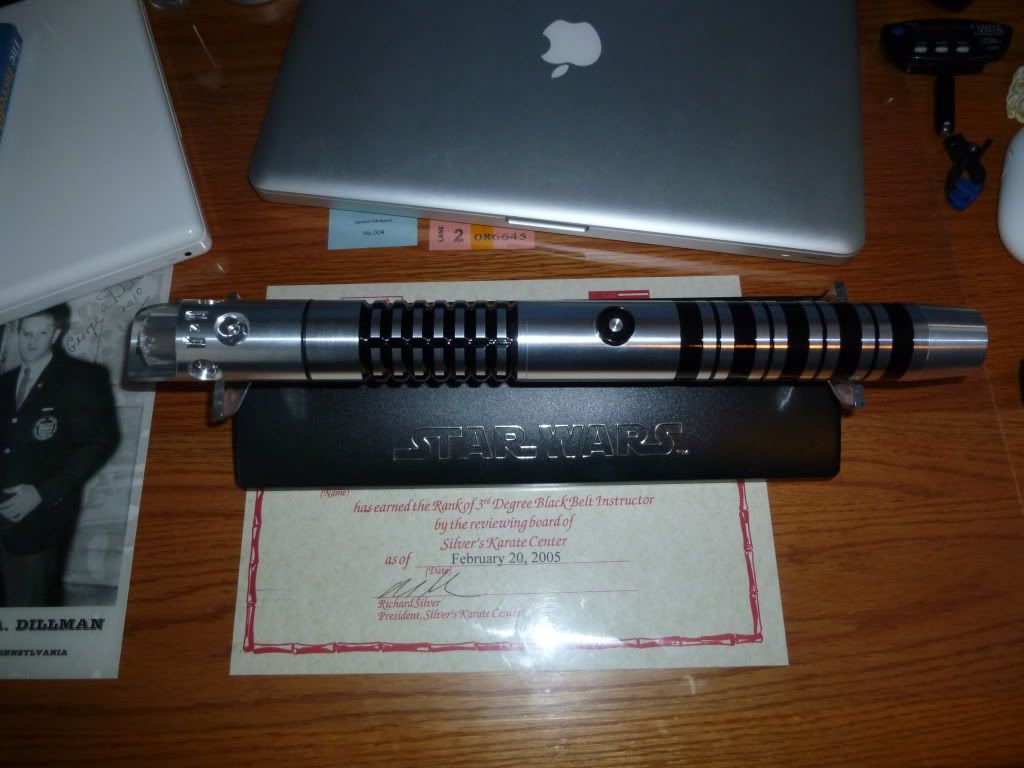
    I did a dirty build (no hilt, no heat shrink) of a Luke ANH


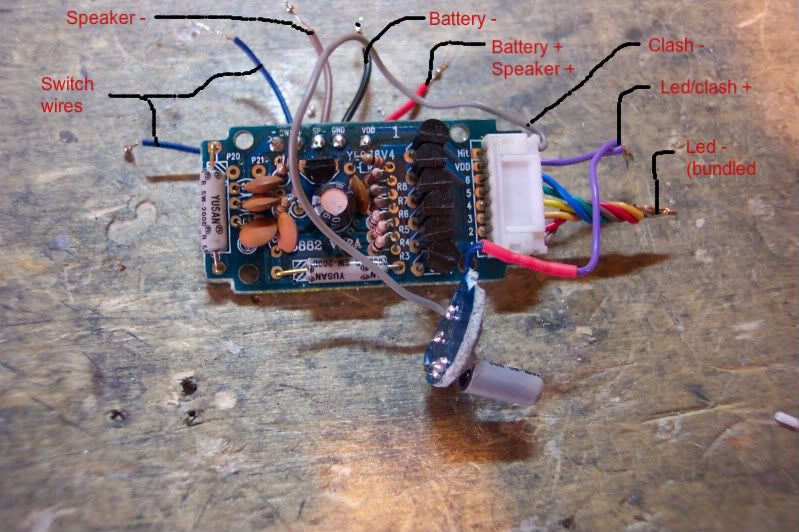
    I followed this exactly but I have two questions. For LED - bundle is it really as simple as just soldering all those wires together and then attach the LED? No need for another component of any kind? I can't imagine what you would put there but I have to ask for my piece of mind.

    I've also tried to find out what the power supply should be for the board. I hooked up a 3 AA pack (4.5v) up to the board. I know that's not much better than over powering but it know it won't totally fry it.

    To answer the obvious; yes the circuit works. LED is on, motion & clash sensors activate correctly, latching switch works no issues. Just a first time builder trying to make sure I didn't wreck my first circuit.

    If you want to see my actual build I'll try to get a pic up tomorrow. Please any advice is what I'm begging for! I'm here to learn.

  2. #2
    Council Member
    Jedi Master
    FenderBender's Avatar
    Join Date
    Jul 2008
    Location
    Earth System - Rhode Island
    Posts
    1,531

    Default

    The only other thing you'd have to put in between the board and LED, would be a resistor, and that would depend on what power supply you end up permanently using and what LED you're using. These boards have a 6V max input, so you're limited to 1: Alkalines x3 for 4.5V or x4 for 6V 2: NiMh batteries x4 for 4.8V 3: Li-Ion single cell 3.7V. Personally, I use the 4x NiMh batteries with MRFX boards because it's not that much higher than the alkalines they were designed to run with and you get more current output compared to alkalines. Plus, I haven't used alkalines in a saber with sound in 3 years. Some people do fine with the single Li-Ion cell, so that would be good too.

    If you're new, please take the time we all consider just as precious as you and READ!

    GET LATHED!

    Official BMF and LORD OF THE STRINGS

  3. #3

    Default

    Excellent! The resistors I already knew about and had in place, and yes the LED is mounted on a primitive but temporary heat sink. Thus all things are in order. I appreciate the feedback and when this build progresses to being a hilt I will update the thread. Thanks again!

  4. #4
    Council Member
    Jedi Master
    FenderBender's Avatar
    Join Date
    Jul 2008
    Location
    Earth System - Rhode Island
    Posts
    1,531

    Default

    Just to clarify, resistors aren't necessarily 'required', it just 'depends'

    If you're new, please take the time we all consider just as precious as you and READ!

    GET LATHED!

    Official BMF and LORD OF THE STRINGS

  5. #5

    Default

    Yep fender knows he's right no need for a resistor if you are doing under 6v for your power. I've used Nimh on most of the MR boards I've done. But I will say using a single protected Lit-ion (imho) 3.7v http://www.thecustomsabershop.com/Tr...pack-P517.aspx works pretty well. If you're doing an MR hilt that may not be an option. But I'm sure once you get to building MHS hilts with MR boards (maybe?) this would be something to keep in mind.
    Another possible idea, (fender if you're reading this, let me know if I'm wrong) would be two "dummy" cells and one Lit-ion out of hilt rechargeable 3.7v protected cell like this
    http://www.thecustomsabershop.com/Tr...Pack-P342.aspx
    You could have only one in the battery pack of an MR hilt, two would kill the board and LED. Might be an option if you don't go with building your own right away.

  6. #6

    Default

    Good to know. I actually DID put this in an MHS hilt. Being my first build I will probably upgrade this thing into infinity. I'm always considering how to up grade so I'll keep this all in mind. Thank you!

  7. #7

    Default

    One thing I forgot to add. The 3.7 Lit-ion protected cell (use only one protected cell by itself) is usually for a recharge port with a "kill plug". Not hard to wire to a board if I can do it you surely can LOL I will say that wiring up the battery can be an interersting process, read, research, ask questions before diving into soldering wires on a Lit-ion battery. You'll be happier in the long run.
    BTW, I hear you on upgradeing "first" hilts. I upgraded my so much that I ended up building another, then another after that, then one more after that Thats how it starts. but it sure the heck is fun.

  8. #8
    Council Member
    Jedi Master
    FenderBender's Avatar
    Join Date
    Jul 2008
    Location
    Earth System - Rhode Island
    Posts
    1,531

    Default

    Since he is putting this into an MHS hilt, a recharge set up is preferred, but not absolutely necessary. For Li-Ions I would definitely stick to a single cell set up, but Ni-Mh would work fine too. You'd really only need a resistor if you're using a red LED of some sort. They tend to pop when using anything above 3.7V.

    If you're new, please take the time we all consider just as precious as you and READ!

    GET LATHED!

    Official BMF and LORD OF THE STRINGS

  9. #9

    Default

    Quote Originally Posted by FenderBender View Post
    Since he is putting this into an MHS hilt, a recharge set up is preferred, but not absolutely necessary. For Li-Ions I would definitely stick to a single cell set up, but Ni-Mh would work fine too. You'd really only need a resistor if you're using a red LED of some sort. They tend to pop when using anything above 3.7V.
    It's interesting you say this since I decided to go the easy route and get a Seoul P4 kit. It came with a resistor, but then I'm planning to change the battery set up to NiMH so the voltage will drop off to 4.8v from 6v. So I can lose the resistor if I do that, and then I'll just need to drill an appropriate sized hole for the recharge port. The wheels are turning! I'll post pictures of the hilt soon.

  10. #10

    Default

    Alright so here's a bit of a delayed build log (I finished the install a week ago but have been busy since). I'm looking for critiques and criticism. Positive points are nice too but I'm looking to improve. I'll have questions of my own at the end. Please forgive all the stuff in the background, I'm in a rush this morning and I wanted to get this done.

    Here's the hilt almost completely disassembled. I used an MR Luke ANH, 4x AAA 6v battery set up, 5w 3.3Ohm resistor, Seoul P4 Blue and the only crappy speaker I have available right now.


    Next picture is a close up of the sound board and powered on LED using QD.


    Third shot is of the hilt. It's fairly plain for the moment but the assembly is as follows: ringed section on left holds speaker and batteries, grenade grip section hold sound board and sensor and the rest is obvious. I used a pair of O-rings (one is inside to prevent the LED module from rattling) to make sure that the blade holder lines up correctly with the activation button. Maybe a little OCD but it's my hilt!


    Last shot of it illuminated.


    Ok so the important part. This saber is going to get gutted because the following are going to be added: 4.8v NiMH battery setup. I don't know if my wiring is faulty but the clash sensor sucks so it's gonna get replaced (it's exactly as the guide displays it and I spent three years working in the electronics shop of an automatic door company so I know my way around a bench). The stuff that gives me questions:

    I really want in hilt recharge and an AV switch. Does Tim let you send back already purchased parts to drilled and milled? Or do I have to buy a new part for that service. I'm thinking about going with having the existing hold enlarged to allow a recessed AV and then having the recharge port placed immediately above and in line with the switch (only because below the switch looks like it'll be too close.

    All comments and thoughts are welcome and will not be taken personally. I am here to learn!

Bookmarks

Posting Permissions

  • You may not post new threads
  • You may not post replies
  • You may not post attachments
  • You may not edit your posts
  •