


So only earlier this summer did I find this incredible web site and even more recently build my first saber. Now it seems I am putting my time int not only a second saber but also costuming. After countless hours of youtube tutorials I have decided that I can probably do this if I really try.
The traditional look of a jedi/ sith with just a robe is classic but I feel myself yearning for more. I really like the armor mixed with a cape/ robe. Im thinking clone wars Kenobi. Its not too much armor that it become restrictive and doesnt allow you to use your force powers. But it's enough to give flare and kick A$$'ness. I really enjoy the concept art for the old republic and all the armor that is shown there.
I have also looked at many medieval armors and all through the ages really. Looked at armor from the halo universe and most of the star wars universe obviously.
So I finally decided to sit down with paper and pencil and ALOT of erasers and get to work.
I am doing this from scratch with no patterns or anything and am trying to have it be somewhat original but still pay homage to the most famous armors out there.
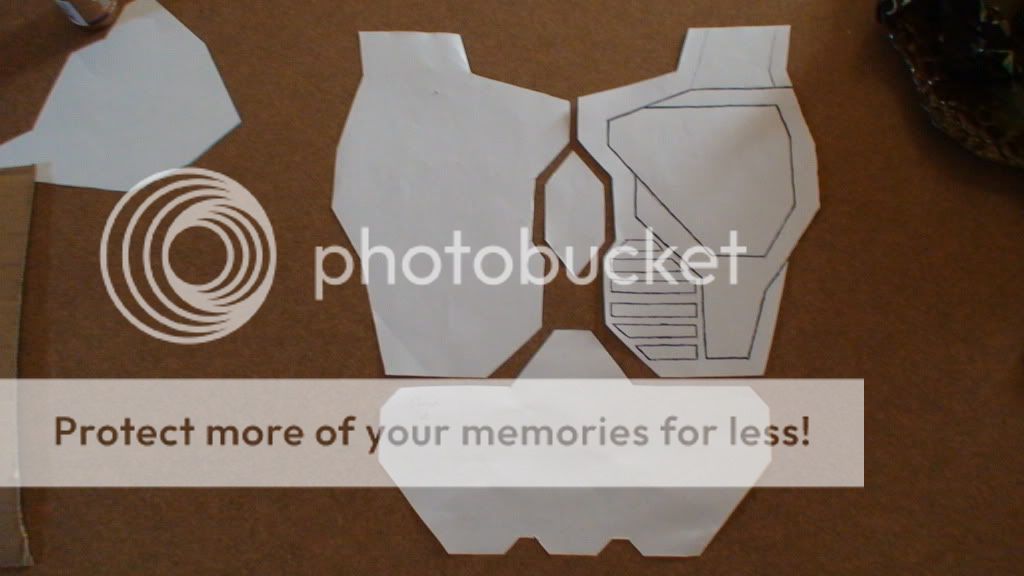
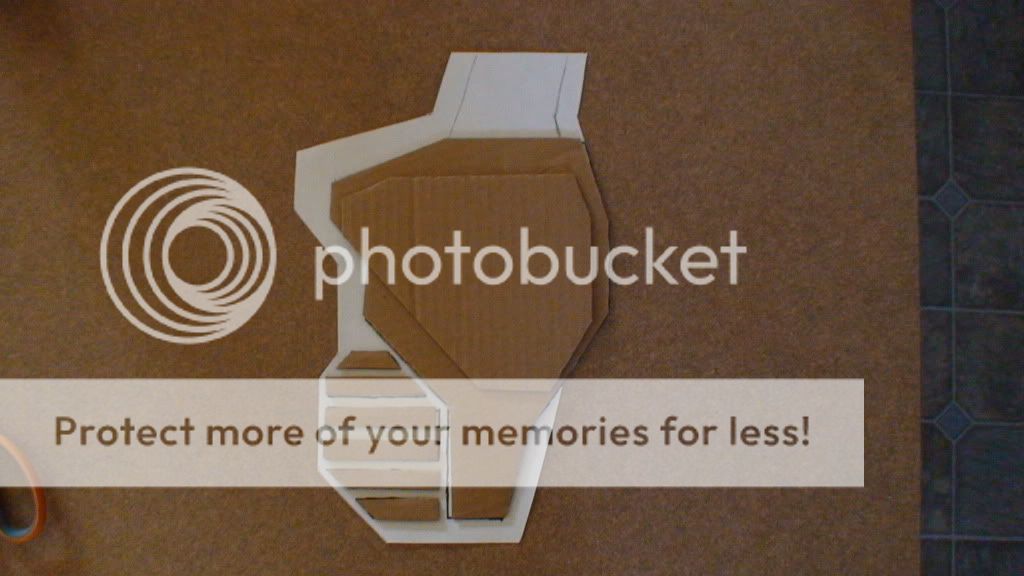
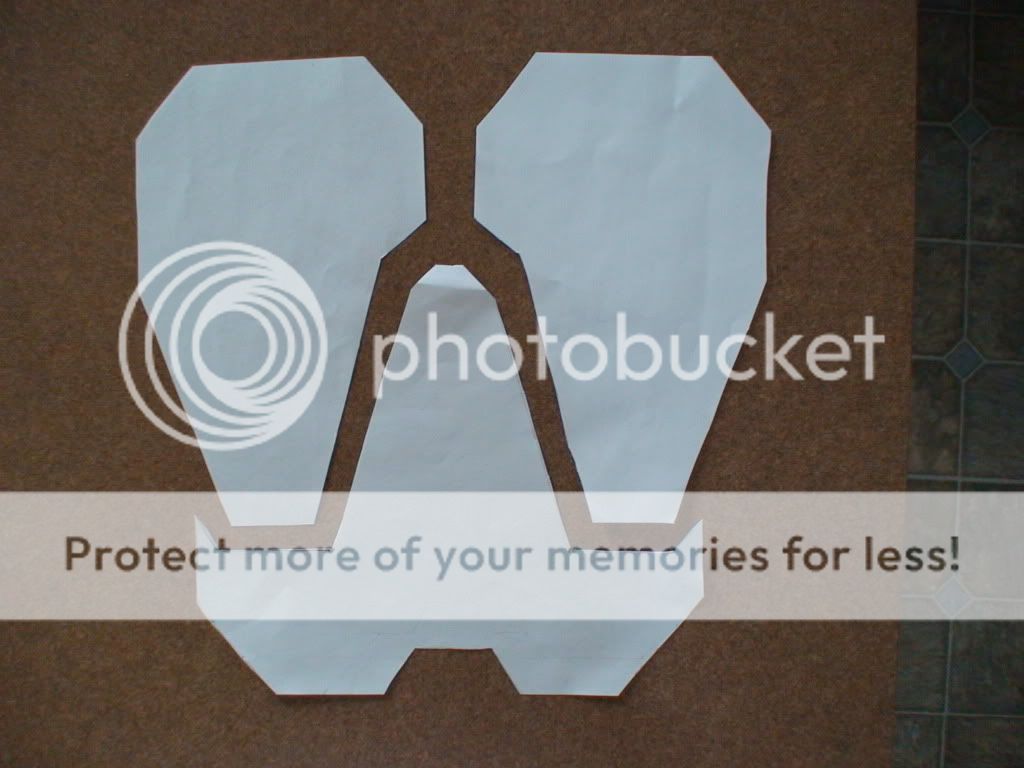
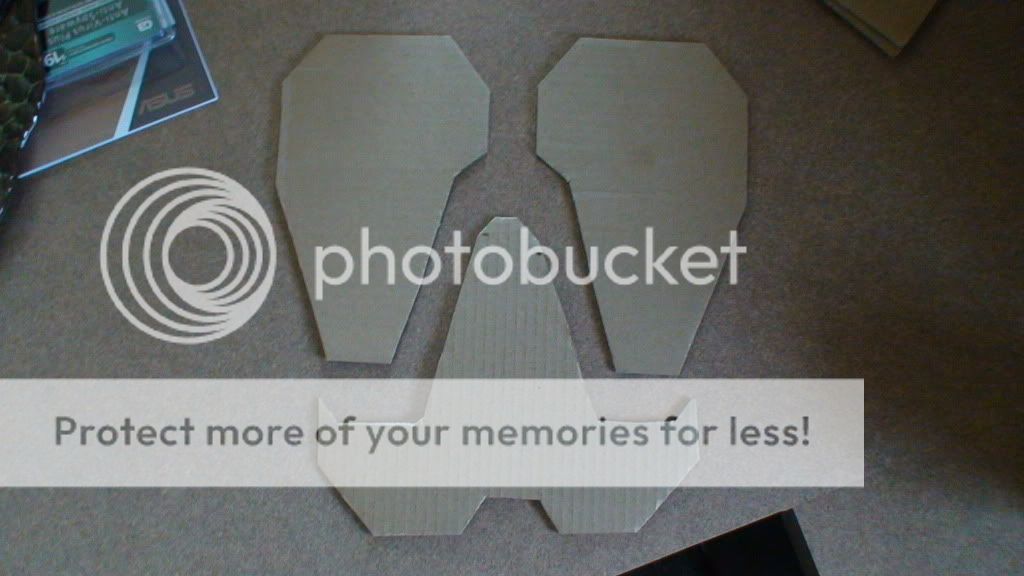
All tonight I worked on getting the designs for the chest plates and stomach plate down. Surprisingly the hardest part was sizing it up to look correct. It got late and I didnt get any pictures of the plates (they aren't very impressive yet anway as they are just paper replications of what I want them to be) so dont be too disappointed lol.
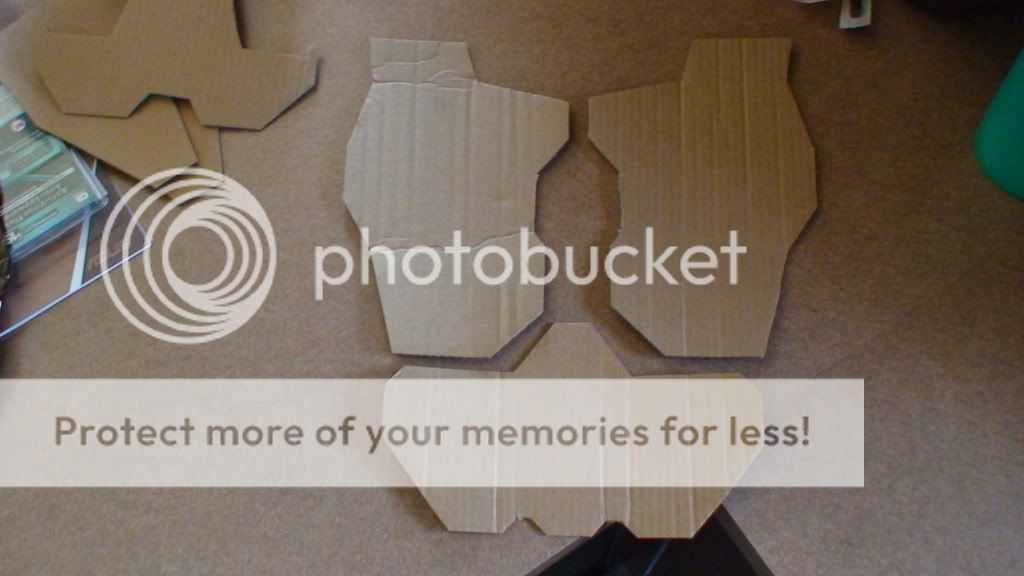
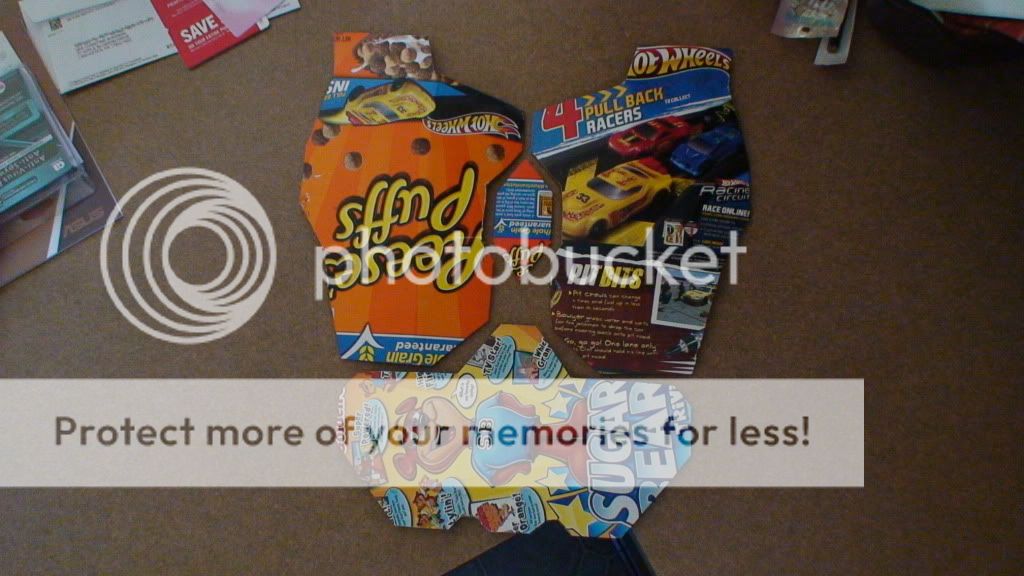
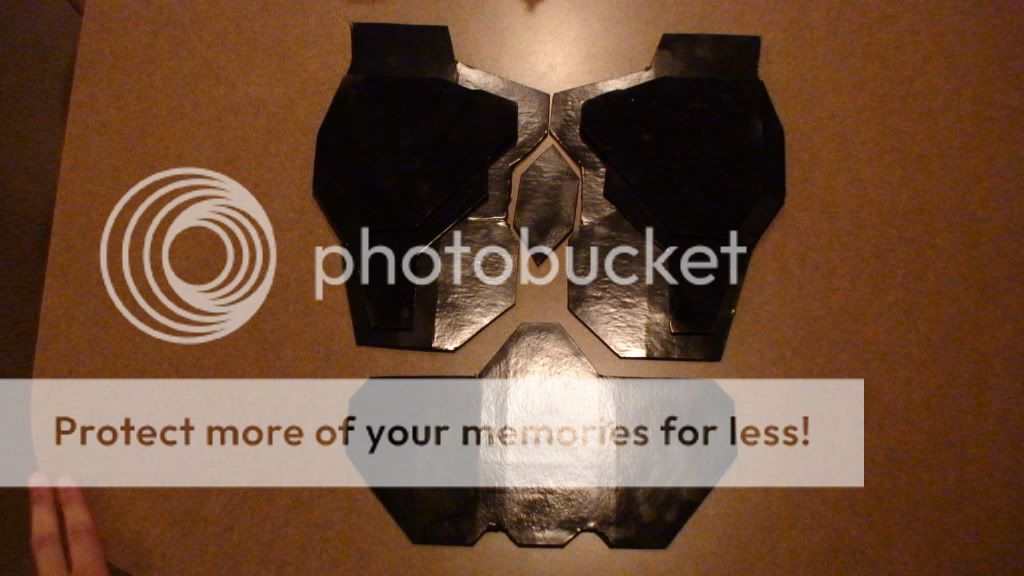
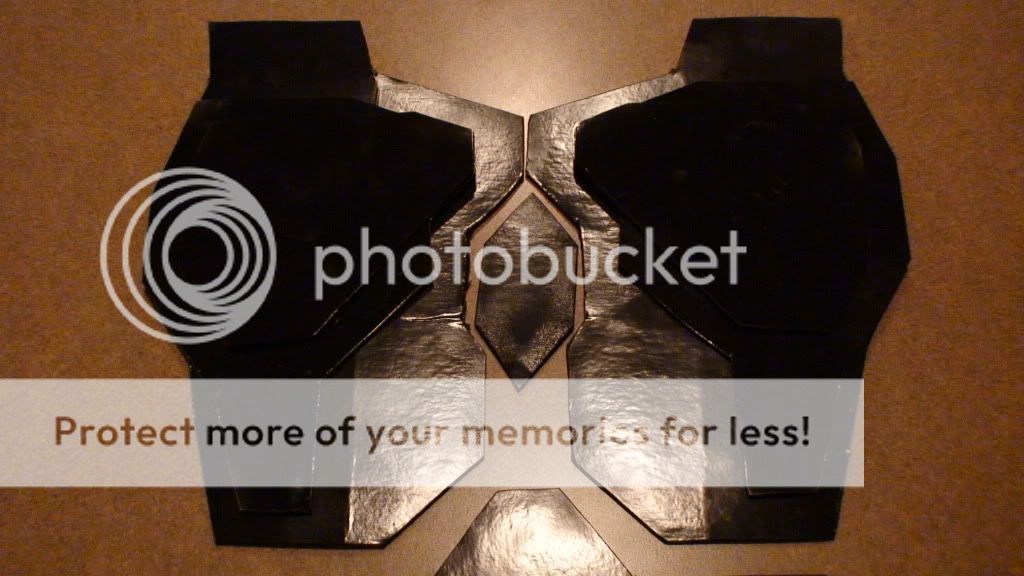
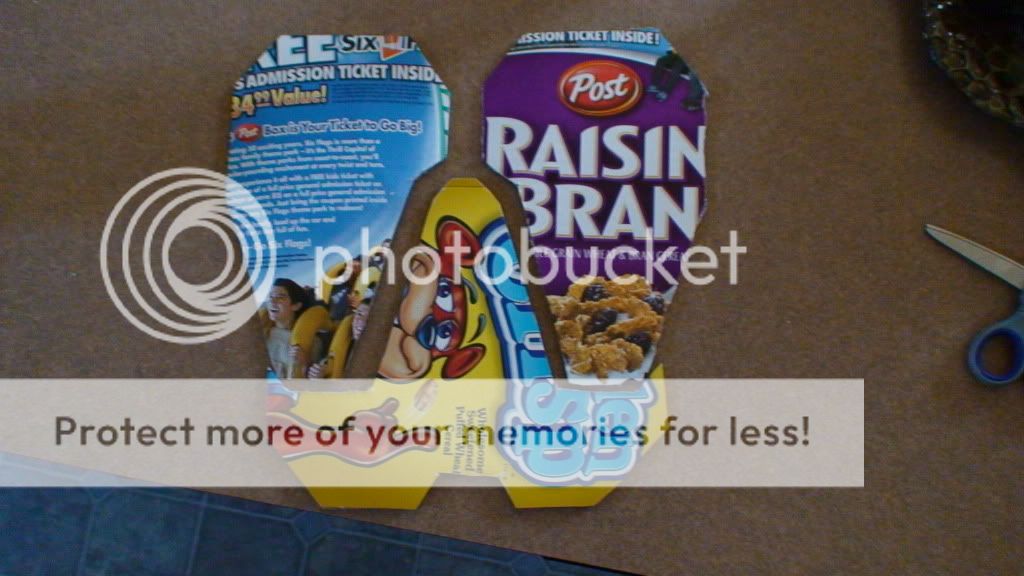
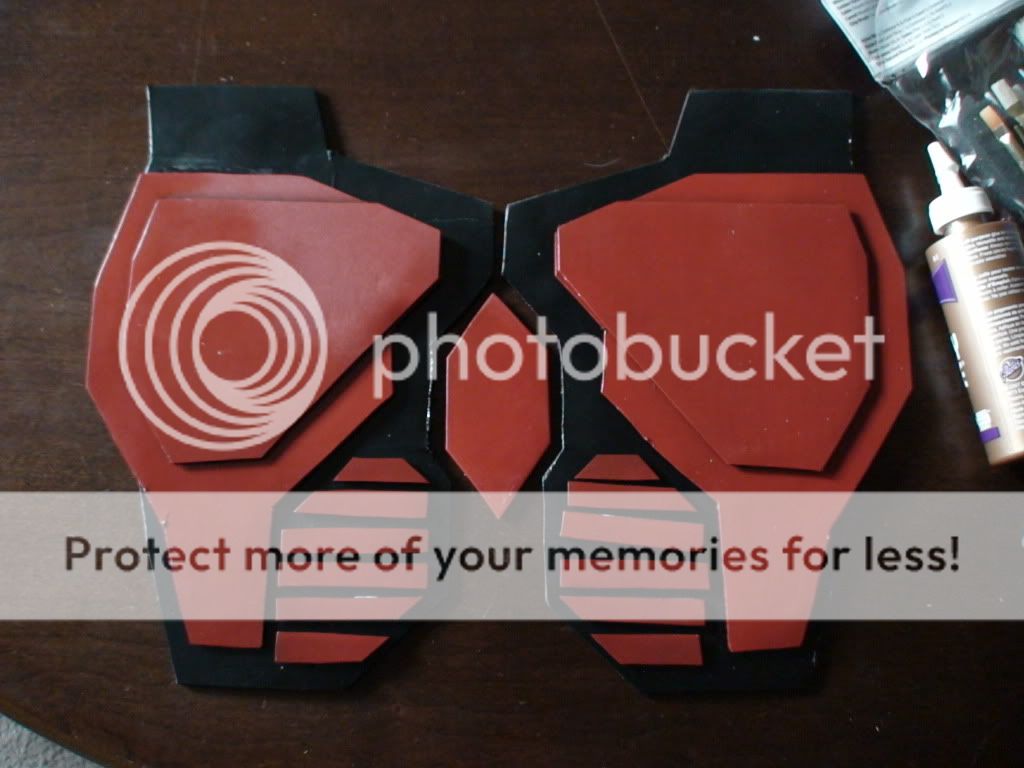
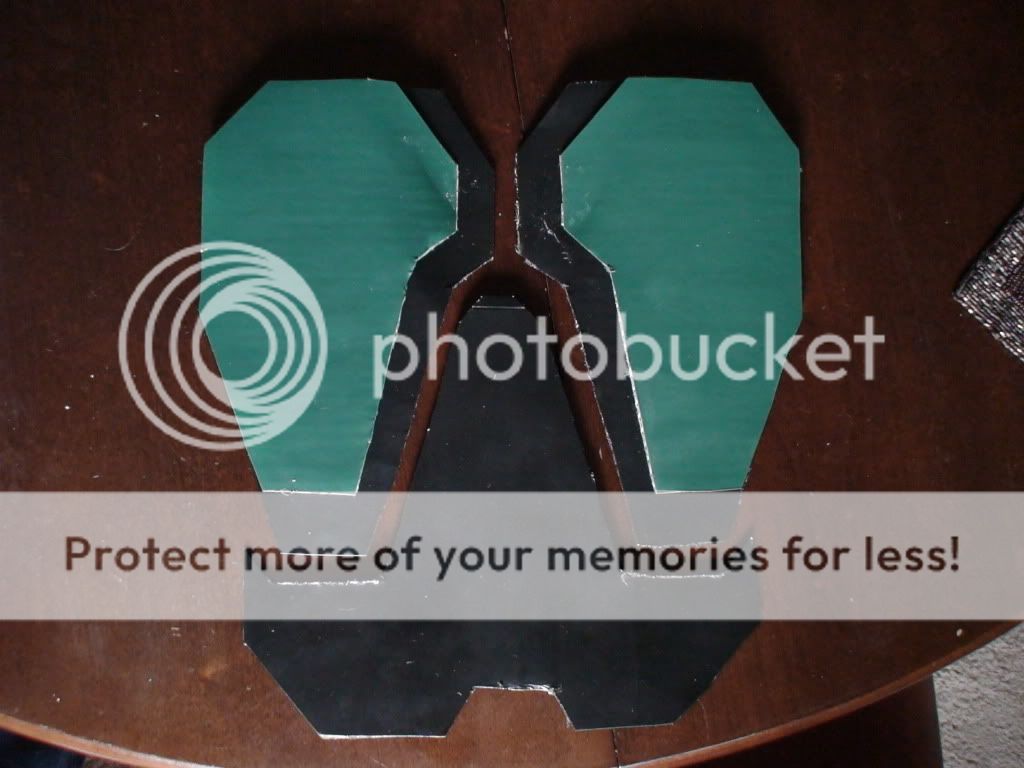
Ill put some pics up as soon as I have something I feel is worth showing. I plan on doing the multiple layers of cardboard method and then when I feel they are perfect i'll use fiberglass or bondo or something along those lines on the inside to harden them up real good. Somewhere in there I plan on painting and distressing the plates. I have yet to decide on an attachment method but Ill figure it out as I go along.
The best part about all of this is that it's really cheap to do it this way and also my little brother is really into it as well and is doing armor for himself too. It's a good way to spend time together. I have to say his original design was better then mine and I was quite jealous. So I had to step my game up. Anyway, I hope to update with some form of pictures tomorrow.
Thank you for reading!

 Reply With Quote
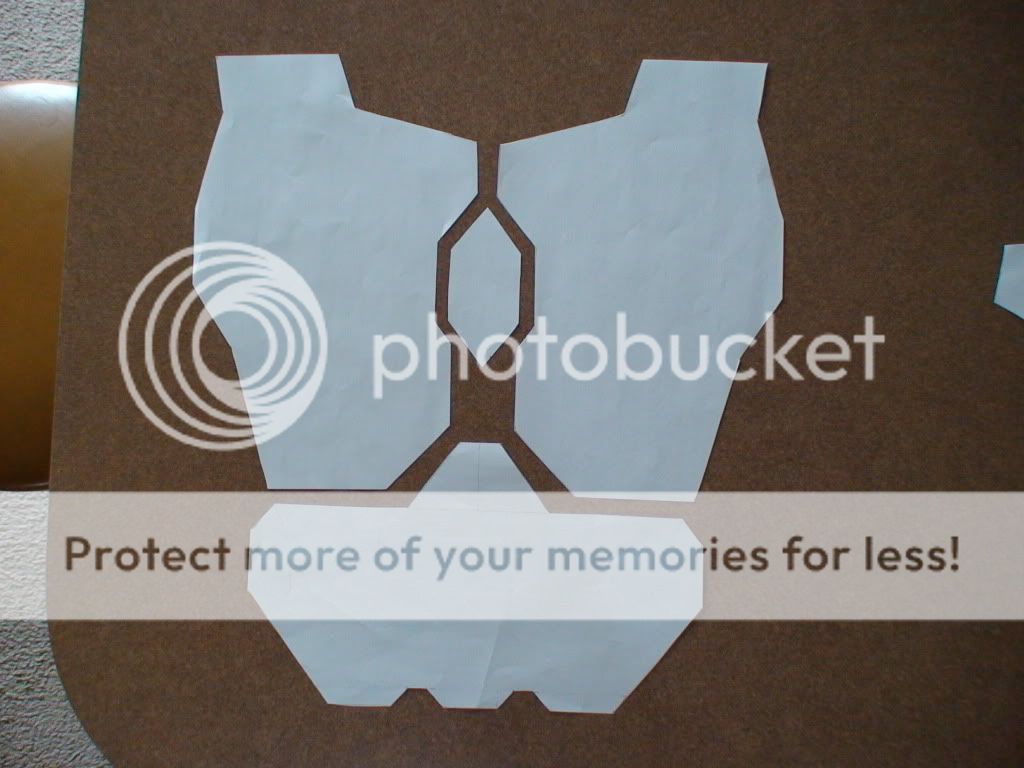


Bookmarks