
looking great so far!!

looking great so far!!
Yes it is a cigar lol


Classy, Like it so far, looking forward to seeing more.Originally Posted by Xanatos1986

Nearly all men can stand adversity, but if you want to test a man's character, give him power.

To not get nicks try not to cut to your lines and use the sanding drum and files to go rest of way...good looking so far ..keep it up

Try not. Do or do not, there is no try.... Yoda
CLICK HERE FOR ALL YOUR ECONO SOUND BOARD WIRING DIAGRAM NEEDS!
THREAD INDEX
LDM's Basic Saber-build Step-by-Step Tutorial

like everyone else has said, those cuts look good - you just need to even the lines out now.
CLICK HERE FOR ALL YOUR ECONO SOUND BOARD WIRING DIAGRAM NEEDS!
Duel - to fight someone 1 on 1. Dual - 2 of something in line with each other.
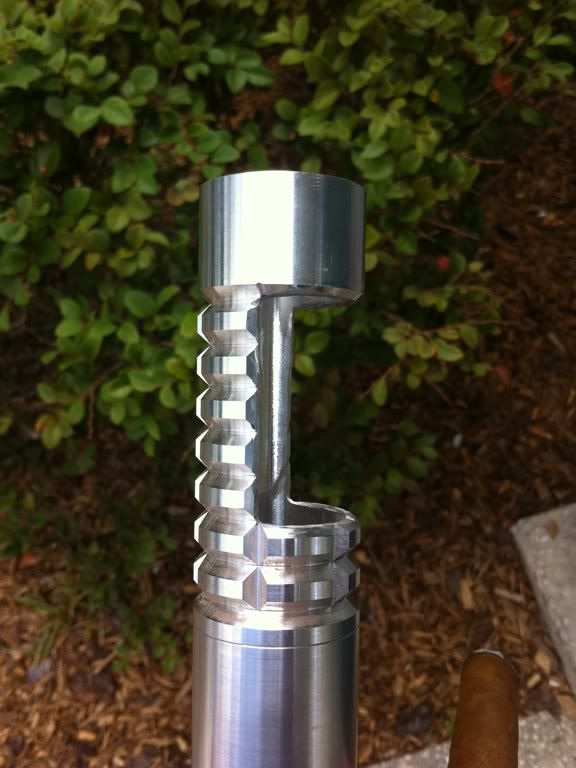
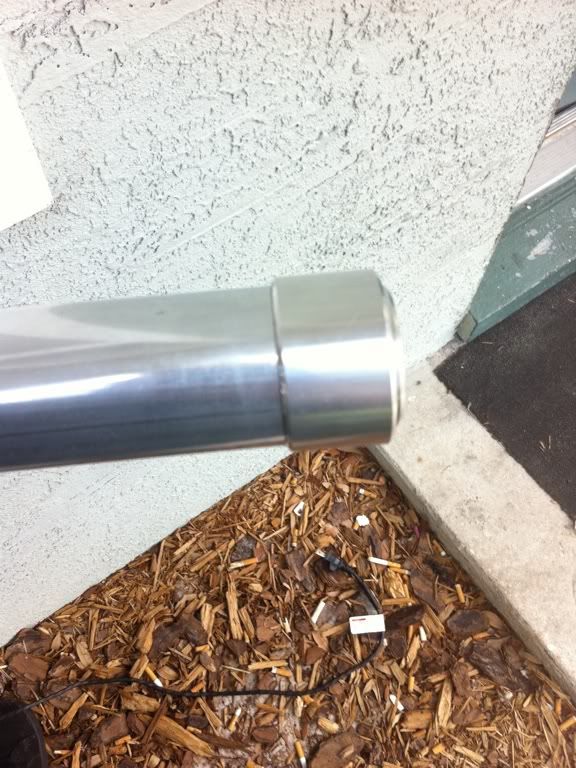
ok so no one in my town or county has 4-40 threaded rods....so I orderd some so no chassis for a couple of days. But I got some reinforced cutting wheels, and finished my heatsink, and did the lip of the pommel here are some pics.
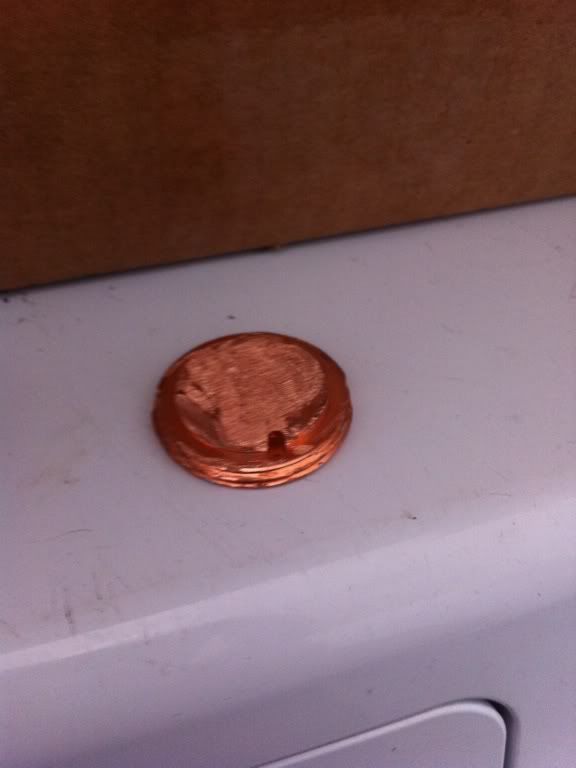
pommel done, looks crapy but you wont see it so its ok lol.
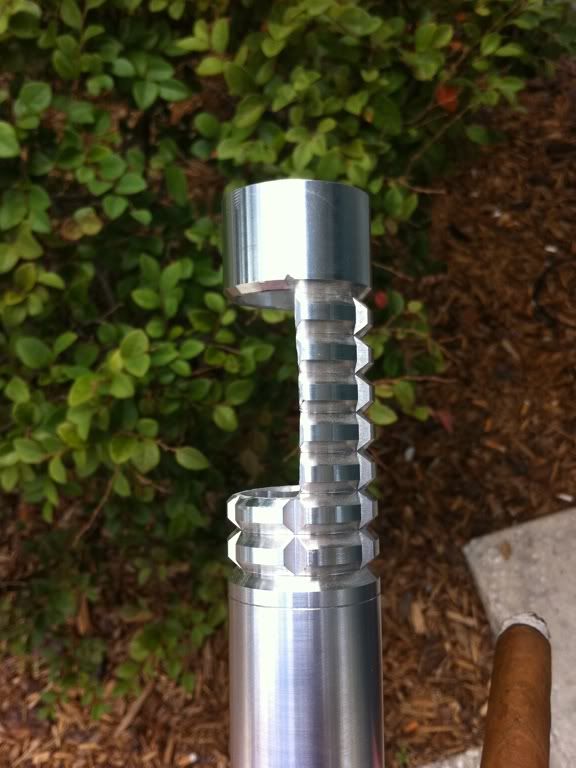
this is with the 5inch double female screwed on.
This is with the MHS sleeve on, I think it look amazing, and I think people will do this in future builds IMO lol
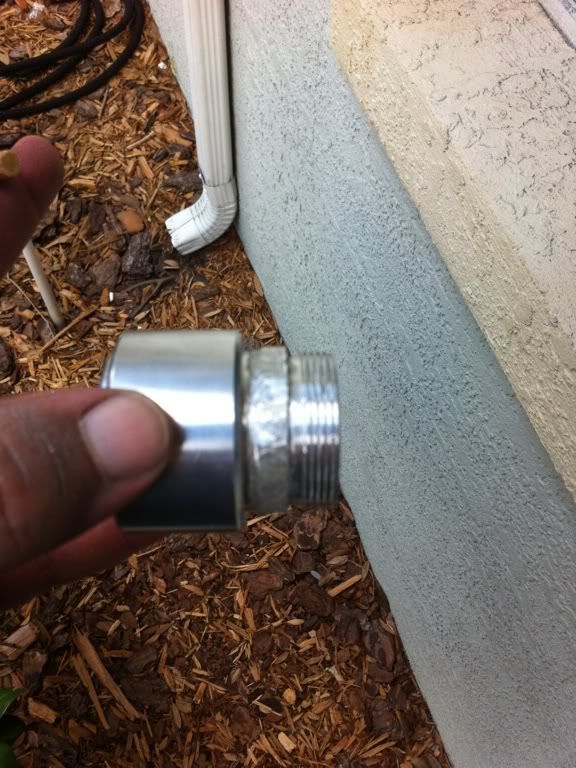
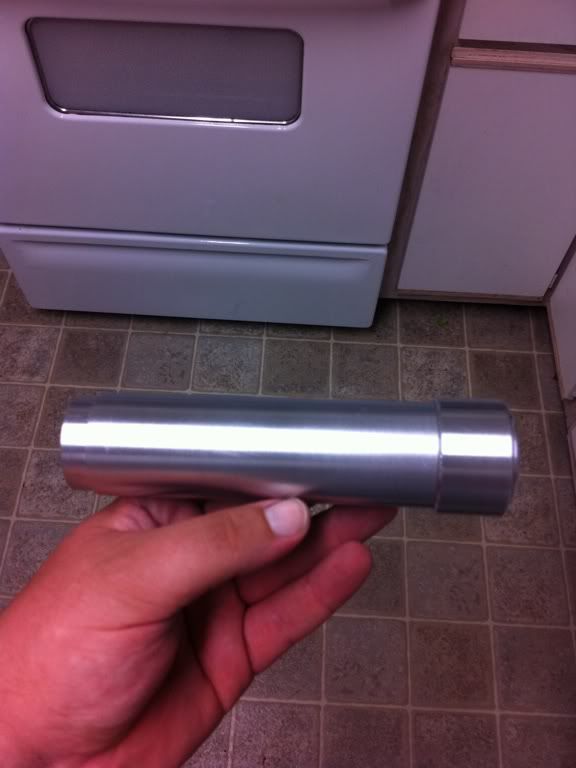
Modded heatsink, looks like crap but, you wont see it and yes it still screws into the holder lol.
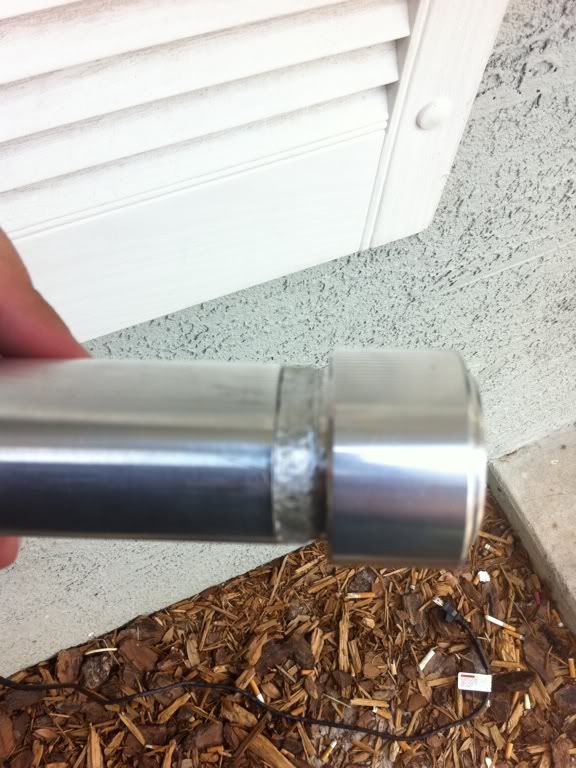
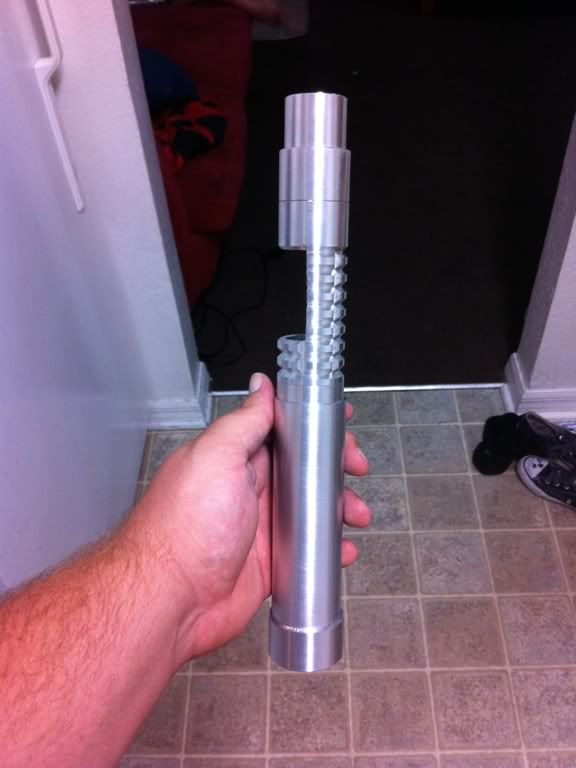
Ok so I cut the MHS sleeve for the lower part of the hilt, here it is.
Here it is put some what togeather, its starting to look more like that starkiller lol.
Thank and Im going to start on the shroud soon, so watch out this getting exciting.
Last edited by Xanatos1986; 06-03-2011 at 08:38 PM. Reason: added new pics

RE: your private message...
with your access to resources, the way that i went about doing the grips should be amazingly easy for you.
i have a severe lack of tools, lol.
basically my tools consist of:
- dremel
- "just good enough" vise
- pliers
- vise grips
- jigsaw
- cordless drill
here's what i did.
as it stand now, they just fasten onto the pins that i mounted up through the interior of the sink tube.
1. get a section of black ABS drainage pipe
i chose this because of two reasons
- it's already black, so even if i paint it and the paint wears a bit, it's black all the way through
- it's already contoured to mount better to the sink tube in a flush way
2. i cut the tube about 4" in length
3. make a template or the straight edge of a piece of paper lengthwise to the pipe
measure about 1/8" thick per strip. this is a suggestion. people thought it was too thin, but it ended up being perfect IMO. you can also cut new strips if you think they're too thin because you'll have plenty of ABS leftover.
***this is a suggestion, it's actually where i think i made a mistake***
4. find a cutting wheel or jigsaw blade that's actually designed to cut plastic, if you use a standard cutting wheel it'll cut the plastic, but while it cuts, it'll melt the plastic too and the bits that should be flying off will actually melt to the edge of your cut.
i chipped those off with the sanding drum attachment, but it would've been a lot cleaner and my edges would've needed a lot less "straightening out" with the sanding drum if i chose a better cutting method
5. sand the grips smooth on the edges. mold out tips if you want 'em to be curved, etc. whatever
***now to mount 'em *** (refer to my "suggestions?" thread here: http://forums.thecustomsabershop.com...-your-thoughts )
1. get some thumbtacks. i got these: http://www.lowes.com/pd_58204-37672-...cks&facetInfo=
2. get some adhesive. i used this: http://www.lowes.com/webapp/wcs/stor...Glue%201194744
this loctite worked INSANELY great. it's holding SUPER well. it was really easy to work with too because it's like a gel more than a standard super glue.
so it's kind of between a super glue and an epoxy.
dries really really quickly. you have to work fast.
3. take off heads from thumbtacks
they have like a metal white covering. removing this shows a VERY VERY thin, flat head
4. i had to cut my thumbtacks in half because the sink tube is so thin and i didn't want the tack to protrude from the opposite side of the grip when i mounted the grip to the tube.
you probably won't have to do this because the MHS parts are thicker i think???
5. drill 8 holes, using a 1/16" drill bit through your grip section, 2 per grip, using a template. the tacks won't be flush through these holes, but the loctite gel will fix that.
6. place hilt in a vise or propped up lusing other methods. parallel to the ground (you'll need to rotate after installing each set of 2 tacks)
6. put loctite on the tack side of the thumb tack head holding it with needle nose pliers.
7. place tack into the two grip pin holes so that they aim toward the ground. use gravity here to help them set. press them firmly against inner diameter using needle nose or other method so they're flush AND STRAIGHT coming out the other end.
8. repeat for 3 other pairs of tacks, waiting probably 10 minutes in between each to let loctite set
now to prepare the grips. thsi is the tricky part because you don't want to drill THROUGH THE GRIP. you just wnat to drill 3/4 of the way through or so that it's sturdy enough.
what i did was to make sure each pin only protruded from the outer diameter by like 1/16" or so.
1. get a 1/16" drill bit
2. hold it up against one of the pins that are protruding from the outer diameter and mark ON THE BIT with a sharpie or something so that you know how deep into the grip to drill.
2. hold each grip flush against the tube next to the set of pins it will mount onto.
3. mark the spots on the grip that need to be drilled
4. mount grip into vise
5. EXTREMELY CAREFULLY and at low speed, drill into the grip JUST to the point that you marked on the bit
6. now "mock" mount each grip onto your pins
that's where i am at this point.
once i paint the sink tube and i'm ready to permanently mount 'em, i'll put loctite inside the pinholes i drilled as well as a tiny bit along the underside of each grip, then press them onto the hilt and mount it in the vise for a bit to let it set.
as it stands now, the measurements are so close for me that 2 of the grips actually snap into place and stay without me holding them.
here's a couple pics of when i was mounting the pins. i actually don't have finished pics yet. (btw, the plaid inner lining thing is the double sided 3M foam tape i use to keep the sink tube 100% flush with the PVC chassis)
IMG_20110530_073250.jpg
IMG_20110530_073238.jpg
IMG_20110605_133957.jpg
IMG_20110605_133940.jpg
Last edited by ghost_a*; 06-05-2011 at 01:57 PM.
The Dark Side is all I have...
cool I will explore this. thanks I cant wait to see your saber.
i fear it'll be a disappointment, lol.
keep in mind mine a sink tube/PVC saber. no MHS professional machining, etc.
very "first saber build"-ish.
yours looks like it's gonna be the one to check out!
The Dark Side is all I have...
thanks keep a eye out, i got more pics coming prob tomorrow night I need paint to dry lol then my grip area will be done i ended up using some think rubber strips, its really not tall if you look at my pics it will be as tall as the sleeve to the pommel , in other words be flush with the pommel, but its ok with the mhs parts I think if I went taller It would look funny. I start the the shroud and chassis tuesday. All I need is my PC-L, box style one (custom), speaker, bunny ears, graflex knobs and the switchs and Im done. but It will be another month to get all the parts... but its ok im sure people will love it.
 Posting Permissions

 Reply With Quote


Bookmarks