Page 1 of 2 1 2 LastLast
Results 1 to 10 of 14

Thread: New Consular Saber

  1. #1
    Force Aware Causa's Avatar
    Join Date
    Apr 2010
    Location
    North Carolina
    Posts
    104

    Default New Consular Saber

    Hey all,

    This is my first saber project, I started it last March or so, and it's been on hold for about a year, now.

    I've updated the battery system and built a sled, sound chamber, and recharge port.


    MHS: Hilt 4, pommel 6, pommel insert 12, blade holder 9, choke style 1 short.
    Copper Jacket Metallic powder coating

    Battery Pack: 2x 3.7v li-ion 18500s, 4.2 amp polyswitch fuse, 7.4v 2 cell PCB

    2010 obi wan sound board.


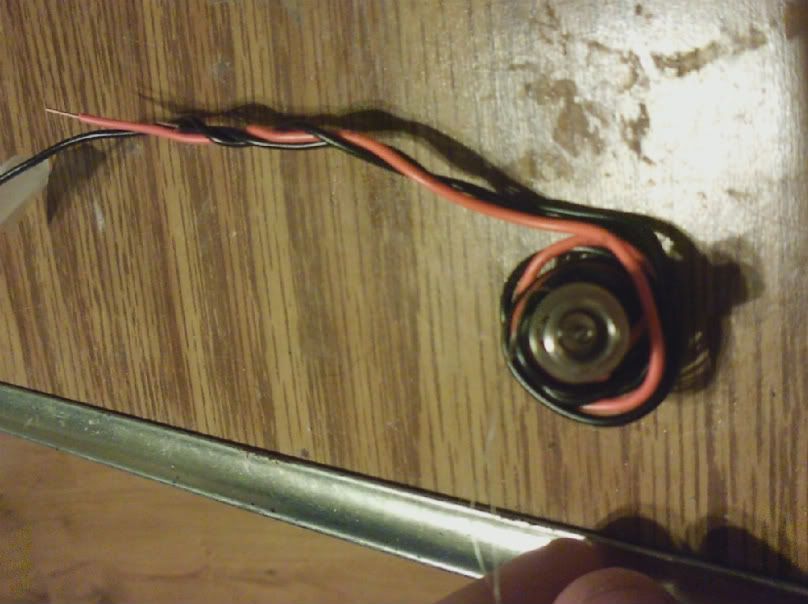
    Here is the basic circuit completed, using 4AA NimH, and no 5v regulator.

    http://smg.photobucket.com/albums/v2...0920101300.mp4

    This is where I stopped at last year.

    --------------------------------------------------------------------------------------------------------------------------------

    Yesterday I got back at it, and after a few trips to home depot, lowes and radio shack, I started sanding down the soundchamber and measuring the blade material for a sled.


    We got the holes drilled into the sled (saber blade from the hasbro), and all of the soldering done for the regulator, plus added a new quick disconnect to the switch.
    Last edited by Causa; 05-21-2011 at 01:44 PM. Reason: adding more pictures and video

  2. #2

    Default

    Looks like a you got the goods to make a good looking saber.
    Yub Yub Commander.

  3. #3
    Force Aware Causa's Avatar
    Join Date
    Apr 2010
    Location
    North Carolina
    Posts
    104

    Default

    Thanks, Knight!

    I got the soundchamber sanded down and lined with some scrap cloth. Used some Goop.

    I could have done final assembly yesterday, but we got stuck with the recharge port.

    We tried needle-nose pliers, and a few other tools (pencil, ruler, pipe cleaners, Popsicle sticks, really tiny paintbrushes), but we couldn't get the recharge port to twist into the threads from inside the hilt.

    Next time I am definitely going for the countersink for the nut on the outside, vs threading.

    Currently the plan involves fishing line, and wrapping the wire around the recharge port like a yo-yo, then pulling the line through the hole, slowly pulling the wire, causing the recharge port to turn.


    After this fails, I'm going to try some tweezers through the main switch hole.

  4. #4

    Default

    Hey cool

    You should try mounting your recharge port as recessed like how Jaygon does. just use some plastic tube to make a c-clip to mount it inside and the pressure will hold it in place. Personally I prefer the JST connectors as they more duarable and take up less space. This saber would look nice with brass overlay too if you decided to go that route. IIRC the speakers here at TCSS are louder then the one you got there but I've never make the comparison myself. Good luck.

    Cool glove too! I'd love to have a female version of that glove. That'd be awesome!
    Last edited by Crystal Chambers; 05-21-2011 at 03:28 PM.

  5. #5

    Default

    Quote Originally Posted by Crystal Chambers View Post
    Hey cool

    You should try mounting your recharge port as recessed like how Jaygon does. just use some plastic tube to make a c-clip to mount it inside and the pressure will hold it in place. Personally I prefer the JST connectors as they more duarable and take up less space. This saber would look nice with brass overlay too if you decided to go that route. IIRC the speakers here at TCSS are louder then the one you got there but I've never make the comparison myself. Good luck.

    Cool glove too! I'd love to have a female version of that glove. That'd be awesome!
    nice job so far, Im with crystal in speaker preformance, tcss has the best you will find at a decent price, just finished sanding my own sound chamber, fits like a glove
    I placed my recharge port straight into the pomel, screws perfectlly into the http://www.thecustomsabershop.com/MP...le-6-P263.aspx
    what blade colour you going for? Im hoping Gold/ Yellow
    Nearly all men can stand adversity, but if you want to test a man's character, give him power.

  6. #6

    Default

    I am curious about the Anakin glove buckles. Are those the accurate ones? Where did you get them from?

  7. #7
    Force Aware Causa's Avatar
    Join Date
    Apr 2010
    Location
    North Carolina
    Posts
    104

    Default

    Quote Originally Posted by Crystal Chambers View Post
    Hey cool

    You should try mounting your recharge port as recessed like how Jaygon does. just use some plastic tube to make a c-clip to mount it inside and the pressure will hold it in place. Personally I prefer the JST connectors as they more duarable and take up less space. This saber would look nice with brass overlay too if you decided to go that route. IIRC the speakers here at TCSS are louder then the one you got there but I've never make the comparison myself. Good luck.

    Cool glove too! I'd love to have a female version of that glove. That'd be awesome!
    I have the TCSS speaker, I need to clip off the old one, but yeah, the TCSS version is definitely getting installed once I finish this recharge port business.

    I saw the recessed recharge port thread...Skottsaber dug it up for me. That is more or less what I am doing...I am mounting the recharge port into the sled, and then through the sled into the threaded hole. The problem is twisting it into the threaded hole in the MHS piece.
    Thanks for the luck I need it!

    Quote Originally Posted by Tarrell View Post
    nice job so far, Im with crystal in speaker preformance, tcss has the best you will find at a decent price, just finished sanding my own sound chamber, fits like a glove
    I placed my recharge port straight into the pomel, screws perfectlly into the http://www.thecustomsabershop.com/MP...le-6-P263.aspx
    what blade colour you going for? Im hoping Gold/ Yellow
    Yeah, I actually over-sanded my sound chamber, once I got hold of a dremel. 2 hours of hand sanding turned into about 2 minutes, and I was waayyy too shallow. No punctures though, and I'm going to wrap it in duct tape to add some thickness back...

    Oh, the blade is green! 1300maH through a rebel green

    Quote Originally Posted by acerocket View Post
    I am curious about the Anakin glove buckles. Are those the accurate ones? Where did you get them from?
    Um...the glove came complete, I think it was the official glove from Revenge of the Sith. I picked it up for about 13 dollars from party city when the movie merchandise was easy to find.
    Last edited by Causa; 05-21-2011 at 07:31 PM.

  8. #8

    Default

    That's why I suggest removing the threads on the hole and have the recharge port pushed through by the mount.
    Like the momentary switch in this build thread...http://forums.thecustomsabershop.com...n-AV-switch%29

    Otherwise the only way to really twist it in is to have it prewired on quick connects.
    Last edited by Crystal Chambers; 05-21-2011 at 07:36 PM.

  9. #9
    Force Aware Causa's Avatar
    Join Date
    Apr 2010
    Location
    North Carolina
    Posts
    104

    Default

    Quote Originally Posted by Crystal Chambers View Post
    That's why I suggest removing the threads on the hole and have the recharge port pushed through by the mount.
    Like the momentary switch in this build thread...http://forums.thecustomsabershop.com...n-AV-switch%29

    Otherwise the only way to really twist it in is to have it prewired on quick connects.
    I might end up doing that, honestly. I basically have the three wires left disconnected until I get this thing mounted. I didn't want to drag the board through all this trauma. I'm giving it a try this morning with tweezers. I will do the C-clip thing this week if nothing else works.
    Last edited by Causa; 05-23-2011 at 11:55 AM.

  10. #10
    Jedi Padawan
    Jedi Padawan
    Boj-Vaati Mau's Avatar
    Join Date
    Oct 2010
    Location
    United States
    Posts
    608

    Default

    How goes on the RPort mount? I just reread the post by JGJ and think that's an excellent option too. I'd fogotten about that one when we were chatting. If you wnat a bit more security for the Port, you could get a C-clip tha'll fit the Port threads, clipping it on outside of the PVC Clip.

    Knowledge must be balanced by Practice.
    Practice must be balanced by Experience.
    Through Knowledge, Practice, and Experience
    we gain Wisdom.

    -Boj-Vaati Mau
    Jedi Sentinel, Jar'Kai practitioner,
    and Instctor at Strafe Plains Temple


    Saber Guild: Strafe Plains Temple
    The Rebel Legion

Bookmarks

Posting Permissions

  • You may not post new threads
  • You may not post replies
  • You may not post attachments
  • You may not edit your posts
  •