Page 2 of 11 FirstFirst 1 2 3 4 ... LastLast
Results 11 to 20 of 101

Thread: Slothfurnace's ANH Vader Reveal

  1. #11

    Default

    Fair enough, Skott lol...


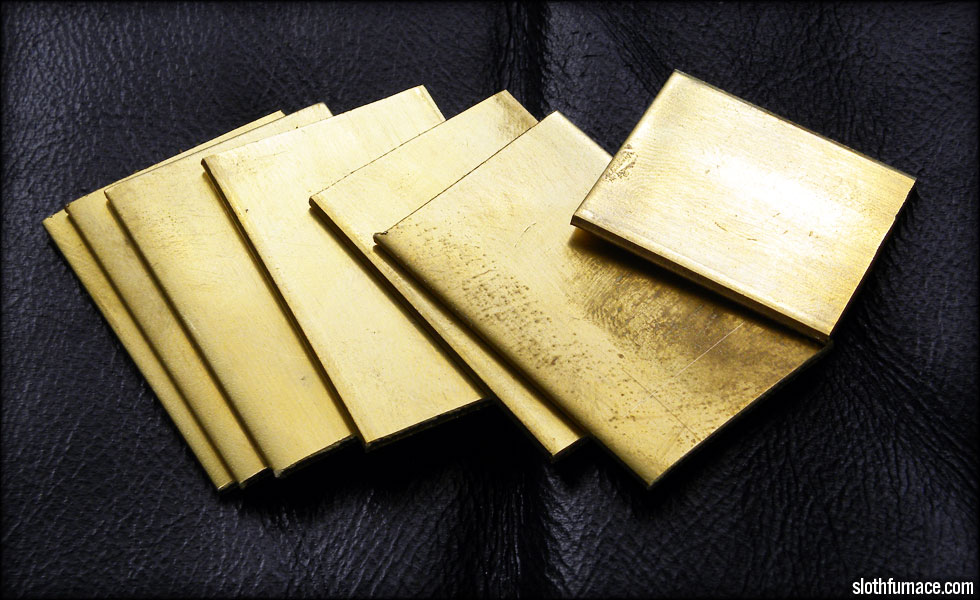
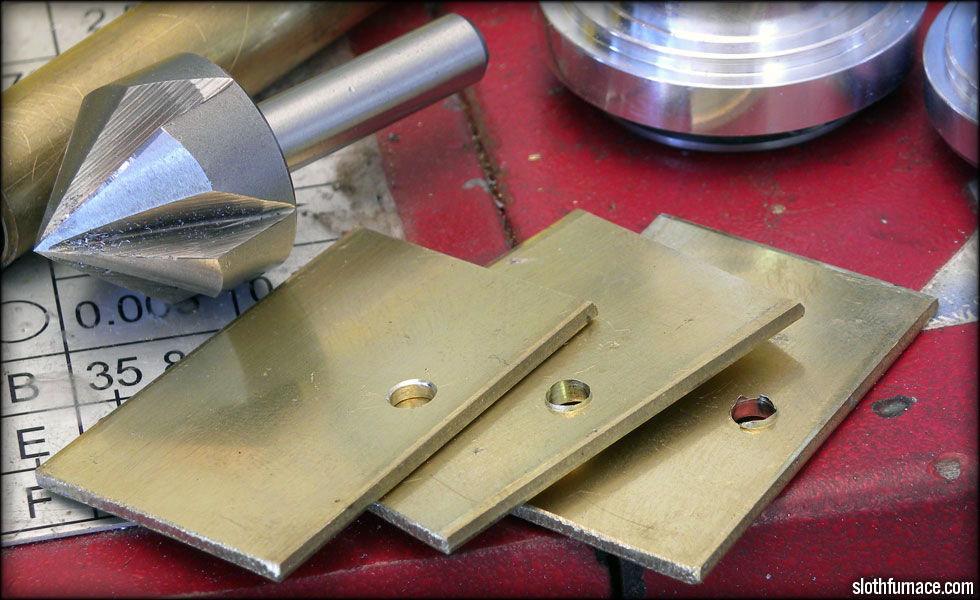
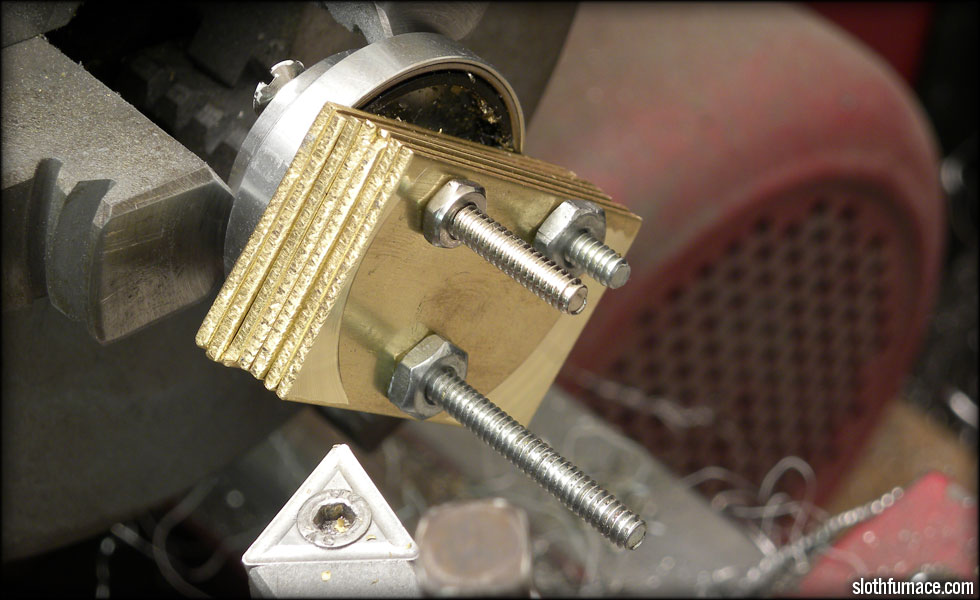
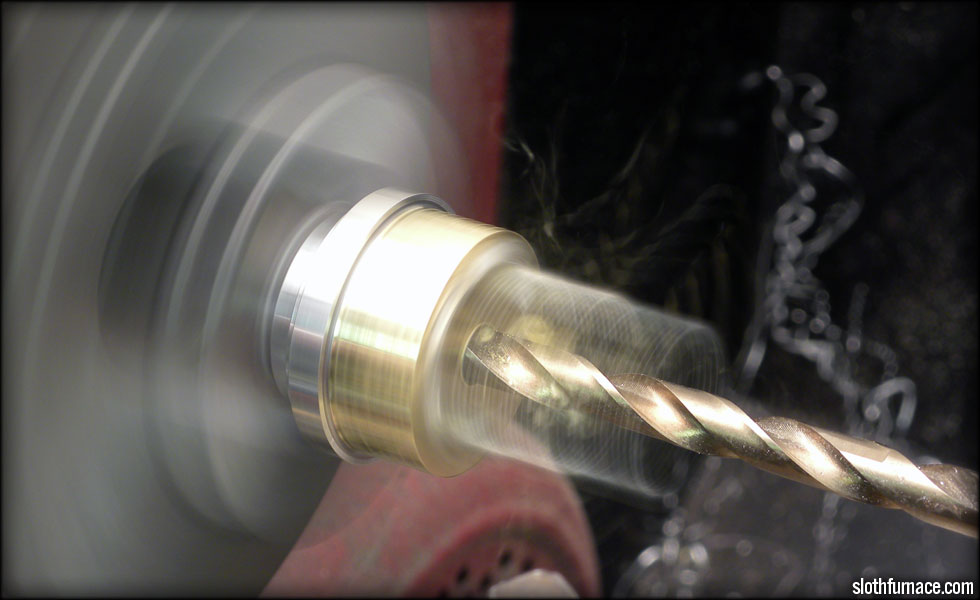
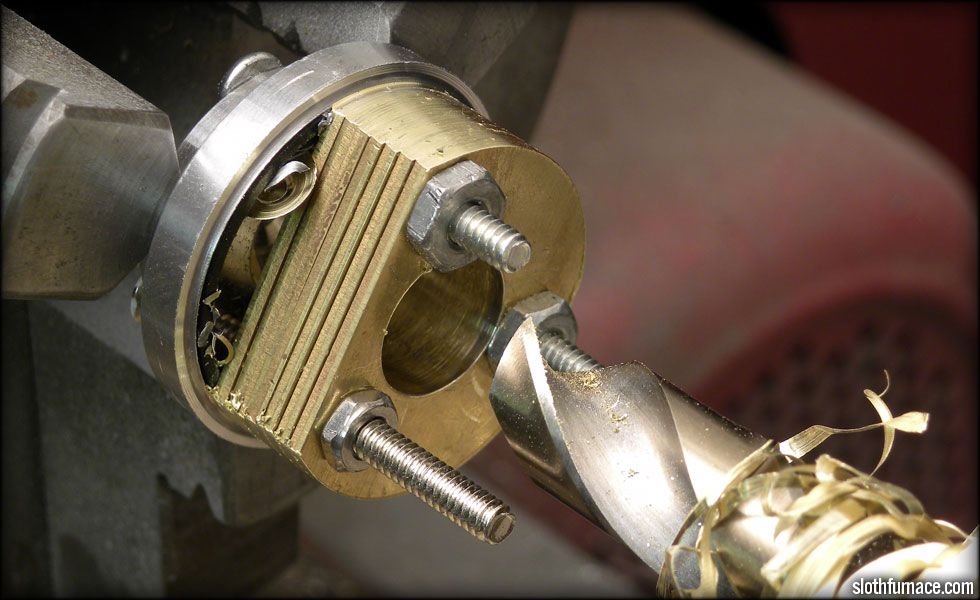
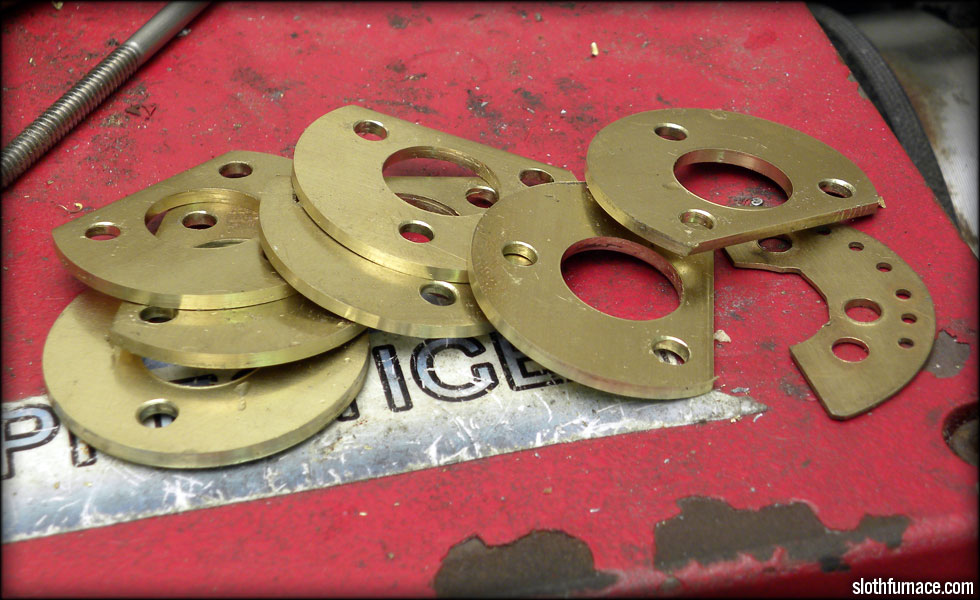
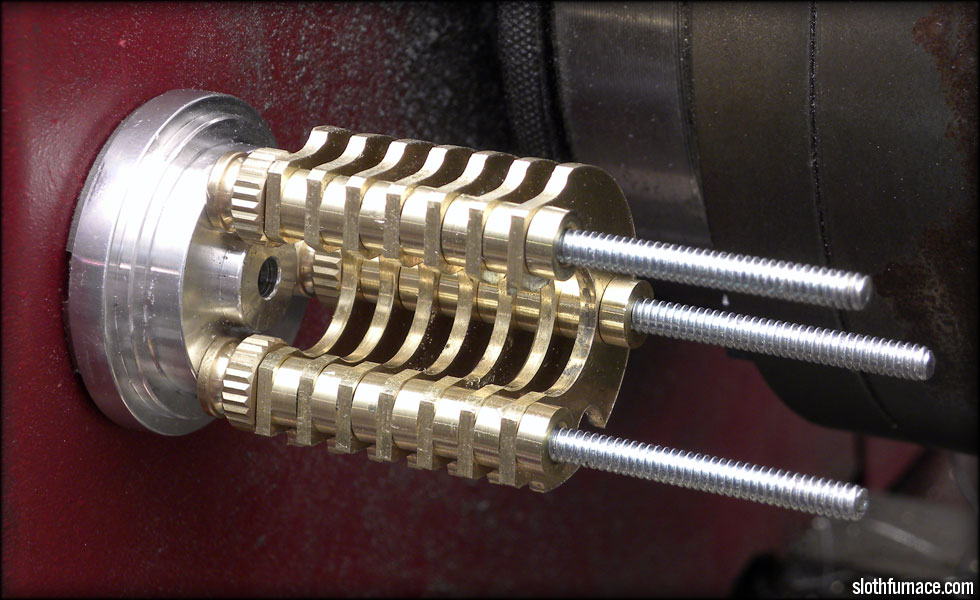
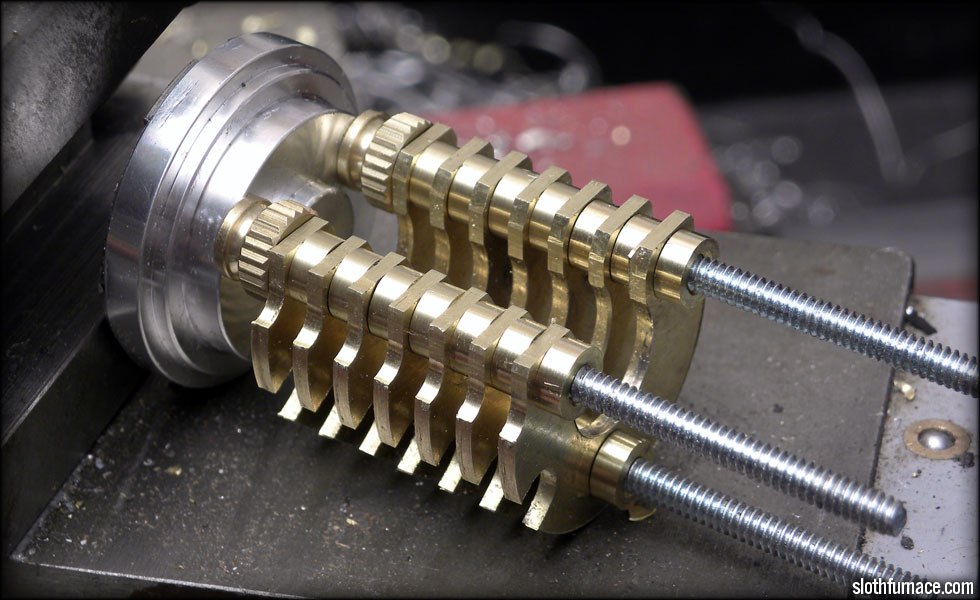
    Here I have sectioned off some thick brass plate for the radiator section. This saber will have much thicker plate here to go with the "beefyness" of this saber.


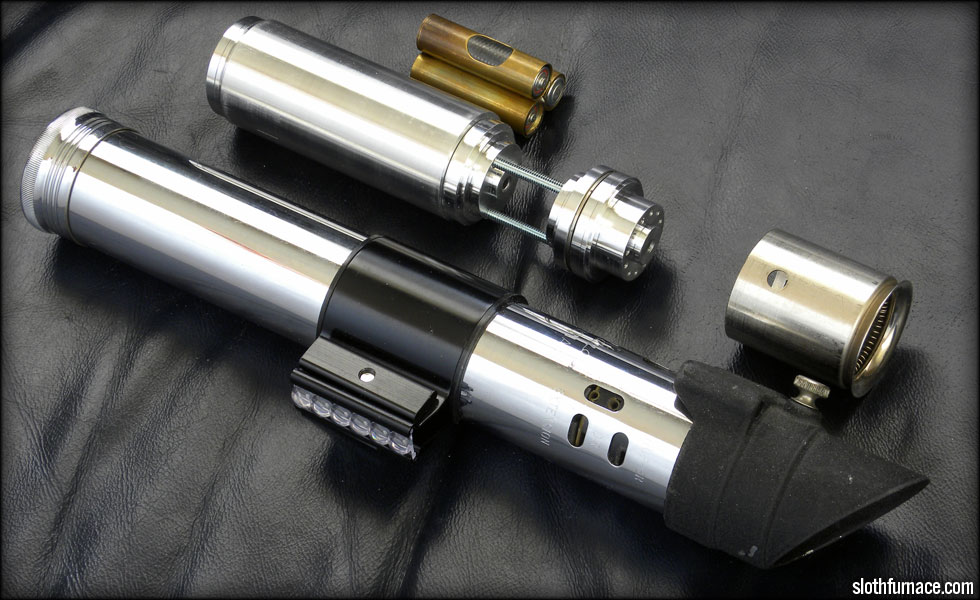
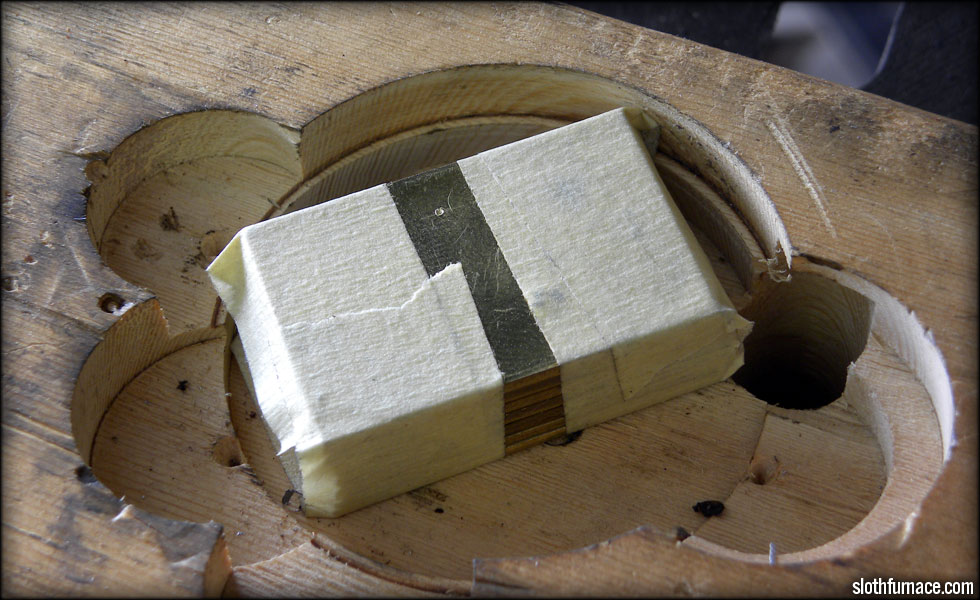
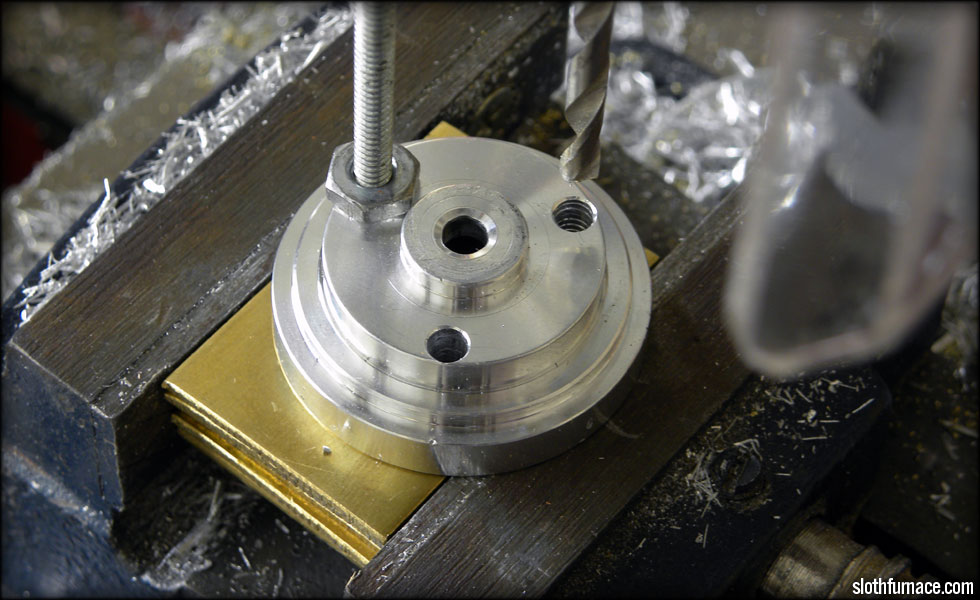
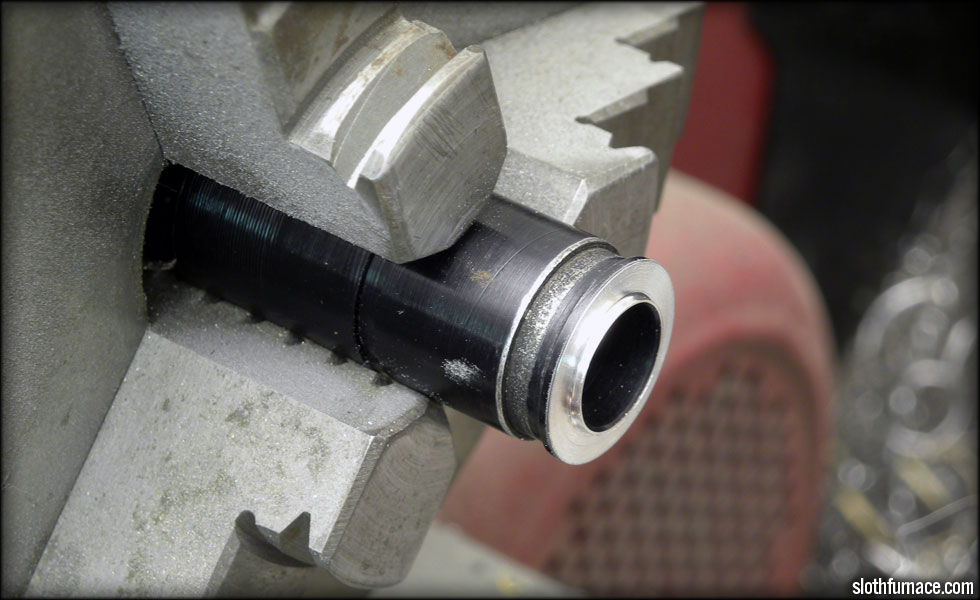
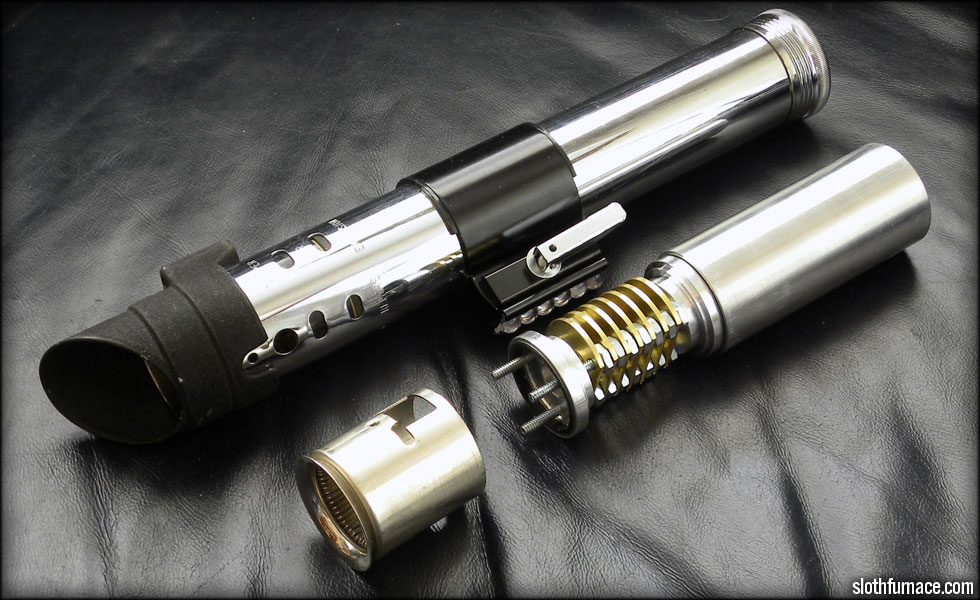
    Laying out the parts, sizing up what I have, and what I have left to rough in. I will have enough room for what I want to do, I think. This is a Heiland flash gun, with more or less "correct" coin knurling on the endcap. I have a Parks MPP replica coming to actually use for this saber, but I wanted to get some idea of what I have to work with while waiting for that to come in. Also in this pic are four Harddrive motor casings, which I like to work with since they have perfectly spaced holes in them already.

    CordaroyFog: you know, its really mean to set the bar that high.

  2. #12

    Default

    ......
    *speachless*
    Yub Yub Commander.

  3. #13
    Jedi Knight
    Jedi Knight
    Azmaria Dei's Avatar
    Join Date
    Dec 2010
    Location
    Zama City, Japan, Sol 3, Gould Belt, Milky Way Galaxy, Virgo Supercluster
    Posts
    1,022

    Default

    um... ok... so you're building one that can cut trees down and stuff?
    CLICK HERE FOR ALL YOUR ECONO SOUND BOARD WIRING DIAGRAM NEEDS!

    Duel - to fight someone 1 on 1. Dual - 2 of something in line with each other.
    Quote Originally Posted by Multiple People
    To Azmaria listen you should...

  4. #14

    Default

    Well Mr Lewis, as if enough superlatives have not already been written to your work, I would like, however, to comment on how much these builds inspire myself, friends, and I am sure countless others, to either start the hobby, or lift their game to new heights. It was your New Hope Luke Skywalker Graflex that started me on this path. Being an illustrator I had no tools for this, or skills much, but in the last few months I have amassed many new toys, a Foredom flex-shaft tool being the most interesting so far. Learning electronics, metalwork and soldering are amongst the many extremely interesting new arenas this hobby brings, not to mention the outstanding quality of The Custom Saber Shops' merchandise that bridges the gap for those without the many years of skill it must take to be able to produce such fine work. So, kudos, on your continuing work, the inspiration it brings, and the dreams you must make reality for those lucky enough to commission a sweet combination of 21st century art and technology.

  5. #15

    Default

    Sloth, your work is simply amazing, & your sketches are awesome too.

  6. #16

    Default

    Wow...


    Amazing. That's all I have to say.
    Especially the LED on the crystal, the grill around it looks really cool!

  7. #17

    Default


    This will be how I drill the first hole through the plates. Once that's done, I can bolt them together, and discard the tape. At each stage, I mark the plates in order, because as I get more work done on these, it's very important not to mix up the order of the plates, as they are drilled.


    Here I am using a chamfer/countersink bit to deburr the holes after drilling the first set. This is needed so the plates are as close together as possible. Any space or gap between the plates means brass shavings could work their way between the plates and bend them as the holes are drilled.


    Drilling my holes using the motor housing as a guide, it's somewhat crucial here to make sure everything is as straight and tight as possible, as the drill could tilt the plate setup as it goes through it, leaving me with a out of line hole, which means headaches later when assembling the radiator section.


    Clamped up and tightened to the motor housing, I use the lathe to SLOWLY remove the corners. This has to be done slow and carefully, as to not bend things. The benefit of the thicker plates is, that they don't deform too much when doing this. Previously, with thinner plates, I'd have several that were deformed and unusable after this step.


    The first drill with a 3/8 bit gets my pilot hole straight for the larger hole I want to put down through the middle of the radiator.


    Final drill with a 1/2 inch bit.


    The fins as I use the chamfering tool to remove more of the burring. You can see one of my original fins from the Graflex ANH Luke beside them. Note how much thicker these are compared to the original one. Once I get more of an idea about where my wires and such will go, I'll stack them up again and drill down through them for wire channel, etc. I'll also probably open up the flat end so that it's more horseshoe shaped.


    This is what I plan on using for the crystal mount. A scrap piece of anodized black aluminum, I shaved off a section so that it would fit into the hole drilled in the middle of the radiator fin.


    The #1 radiator fin BARELY fits on to the shoulder of the crystal mount. I'll need to flute three channels on the mill for the bolts to go alongside, as well as mill and drill out three other slots for the LEDs to sit in, and probably thread some screw holes for clamping down on the crystal.


    So I may need to shorten the radiator section a tad. In the end I would like for it to be just as long as the clamp. The fins need to be a certain diameter, so they'll be shaved down a bit as well. They'll also get some more fine detail as I get time on the milling machine. The plate spacers right now are temporary, I need to go to the hardware store and get some smaller nuts and turn them down into cylinders. Also, I may drop one of the plates to coincide with the six bubbles in the bubblestrip.

    CordaroyFog: you know, its really mean to set the bar that high.

  8. #18

    Default

    Progress is looking great sloth. I realliy like your idea to go with the thicker radiator plates, ties it together nicely.

  9. #19
    Sith Adept dgdve's Avatar
    Join Date
    Aug 2009
    Location
    Virginia (near DC)
    Posts
    647

    Default

    I second the idea.. 6 bubbles/6 radiator fins
    Quote Originally Posted by Gin Malinko View Post
    just an added note on this.
    I vote dgdve as the site's motivational speaker. haha
    "Yes Lord Vader, and I too have a gift... for you.."


    "There is no good or evil, no black or white.. There is only.. Perspective"

  10. #20

    Default

    Tonight I worked on the radiators a bit...


    Here are the fins after the second pass of milling. I still have a lot to do here, lots of sharp edges I need t o clean up, and some more milling I want to do, but this is the general idea. also visible are the turned down brass nuts that I use as spacers.


    A view of the other side, showing the slot I milled out for my wire conduit. I chose to mill it from the outside on this saber, and allow wires to run inside tubing that will lay in that channel.

    CordaroyFog: you know, its really mean to set the bar that high.

Bookmarks

Posting Permissions

  • You may not post new threads
  • You may not post replies
  • You may not post attachments
  • You may not edit your posts
  •