Page 2 of 4 FirstFirst 1 2 3 4 LastLast
Results 11 to 20 of 32

Thread: Jay-gon Jinn's MHS Mara Jade(ish) build (MHS, Petit Crouton, 7.4v Li-Ion, AV switch)

  1. #11

    Default

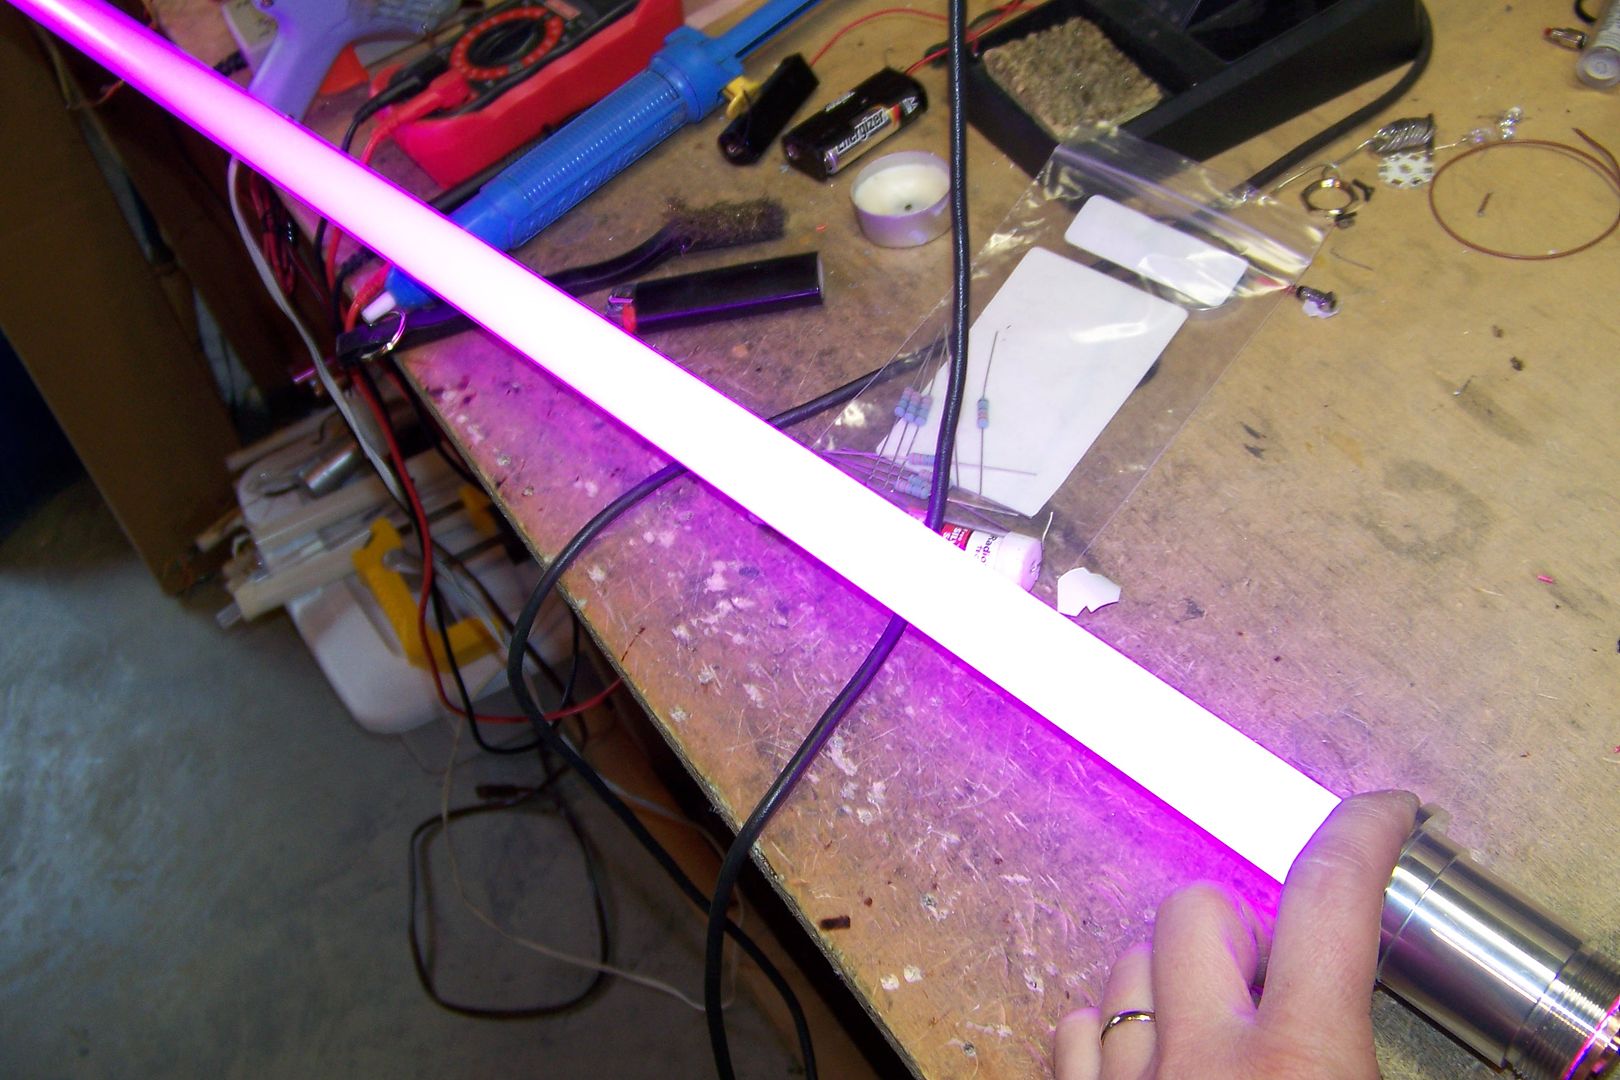
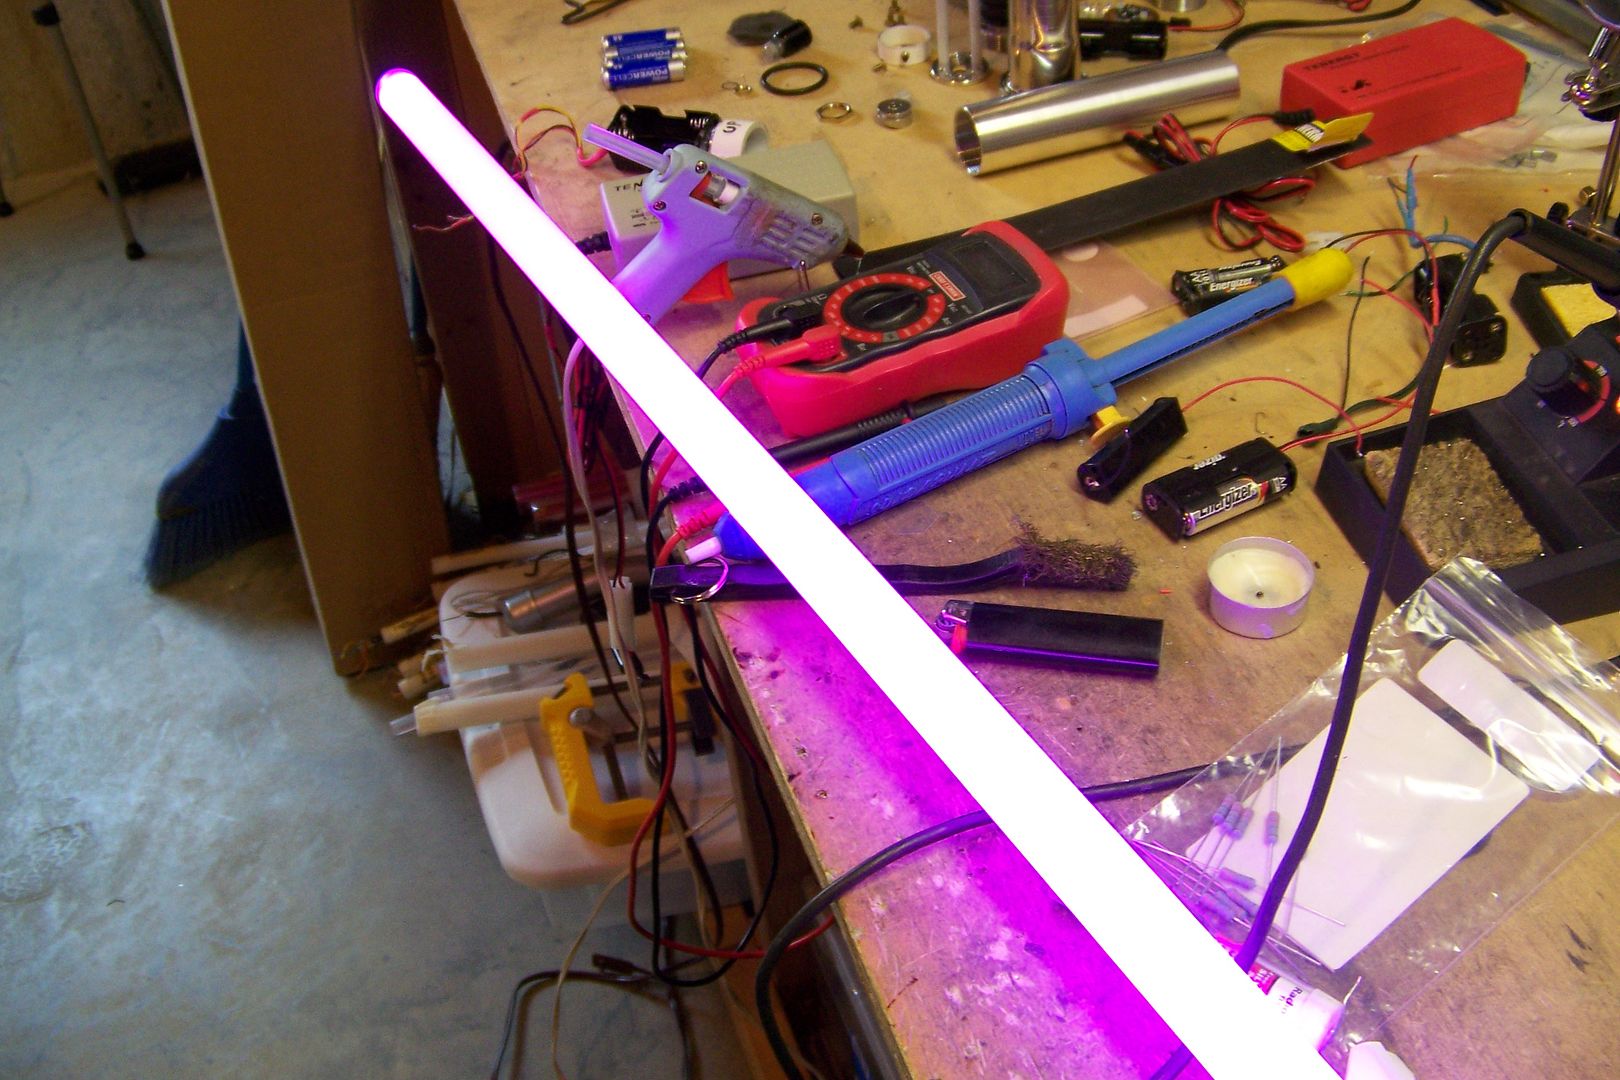
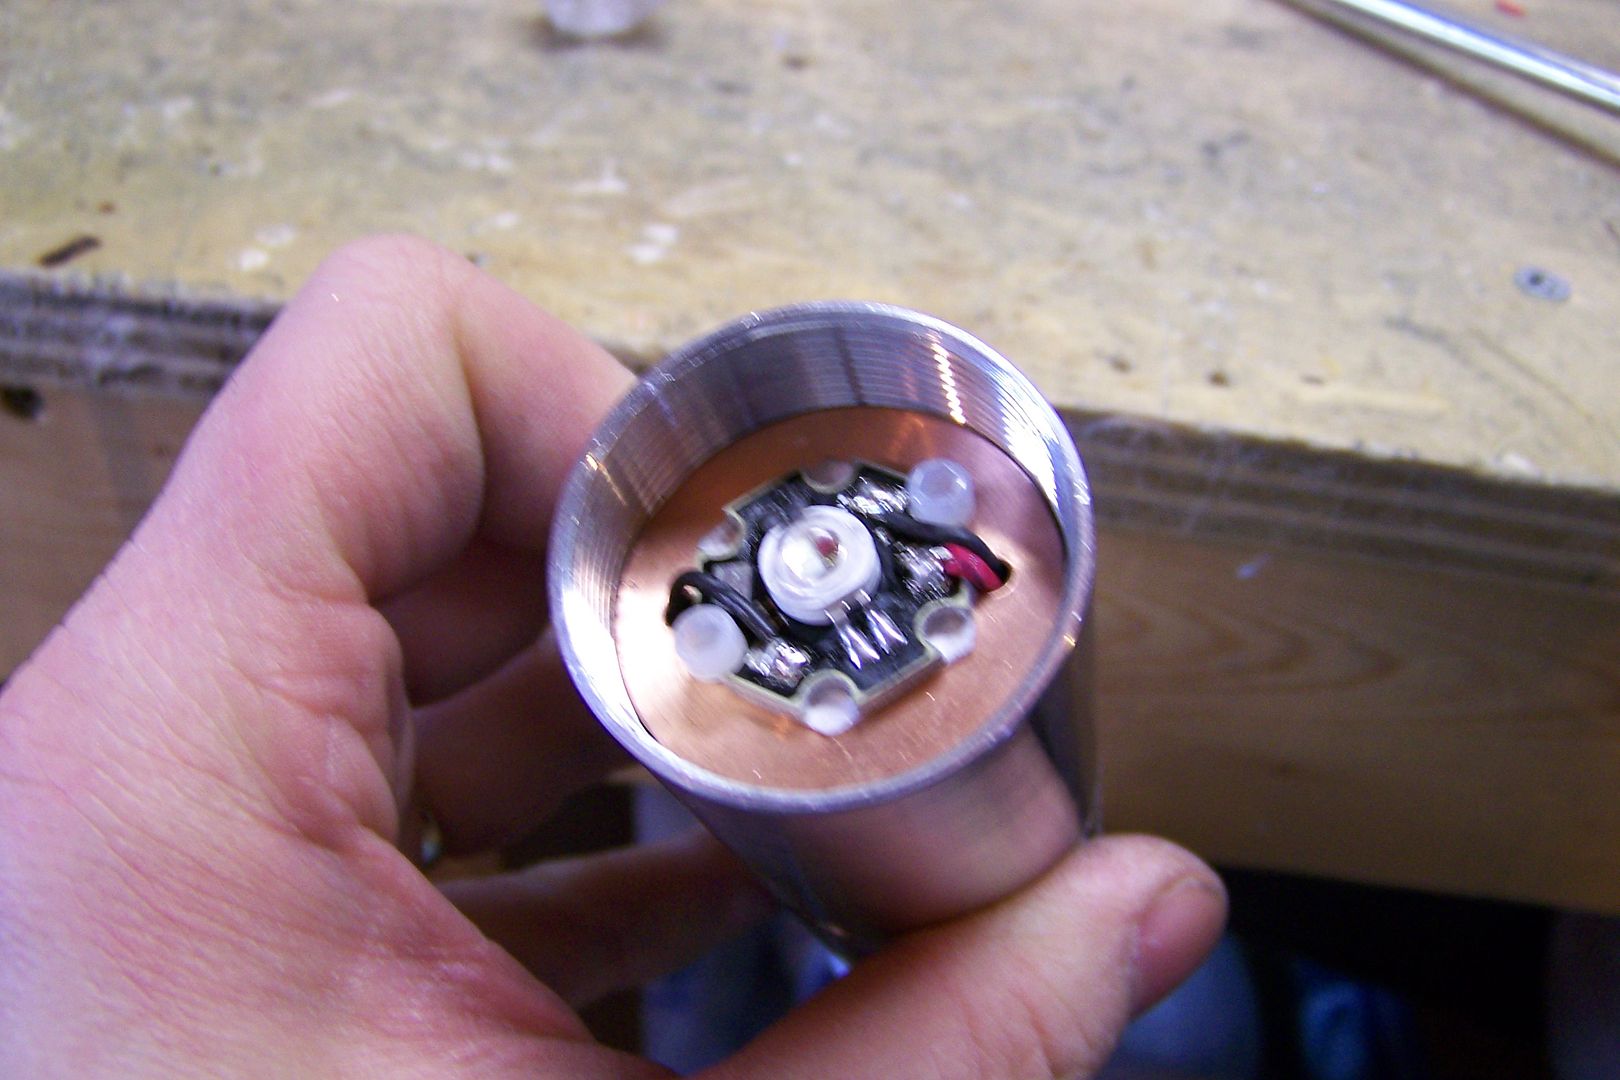
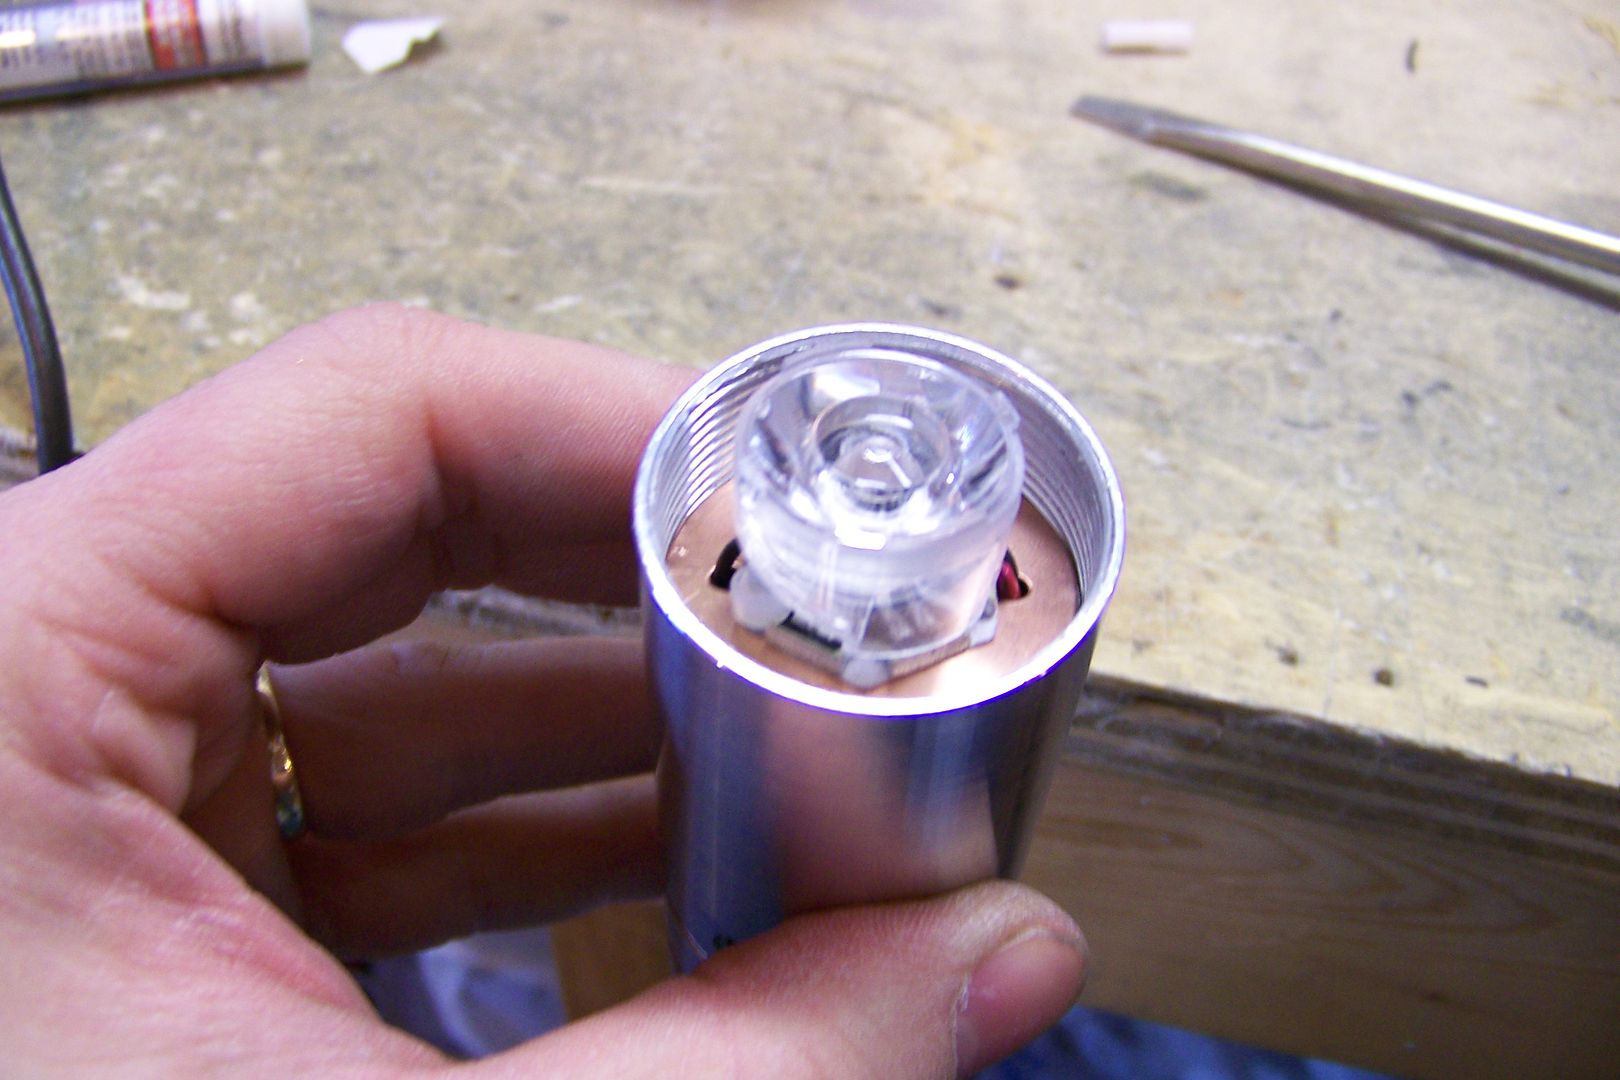
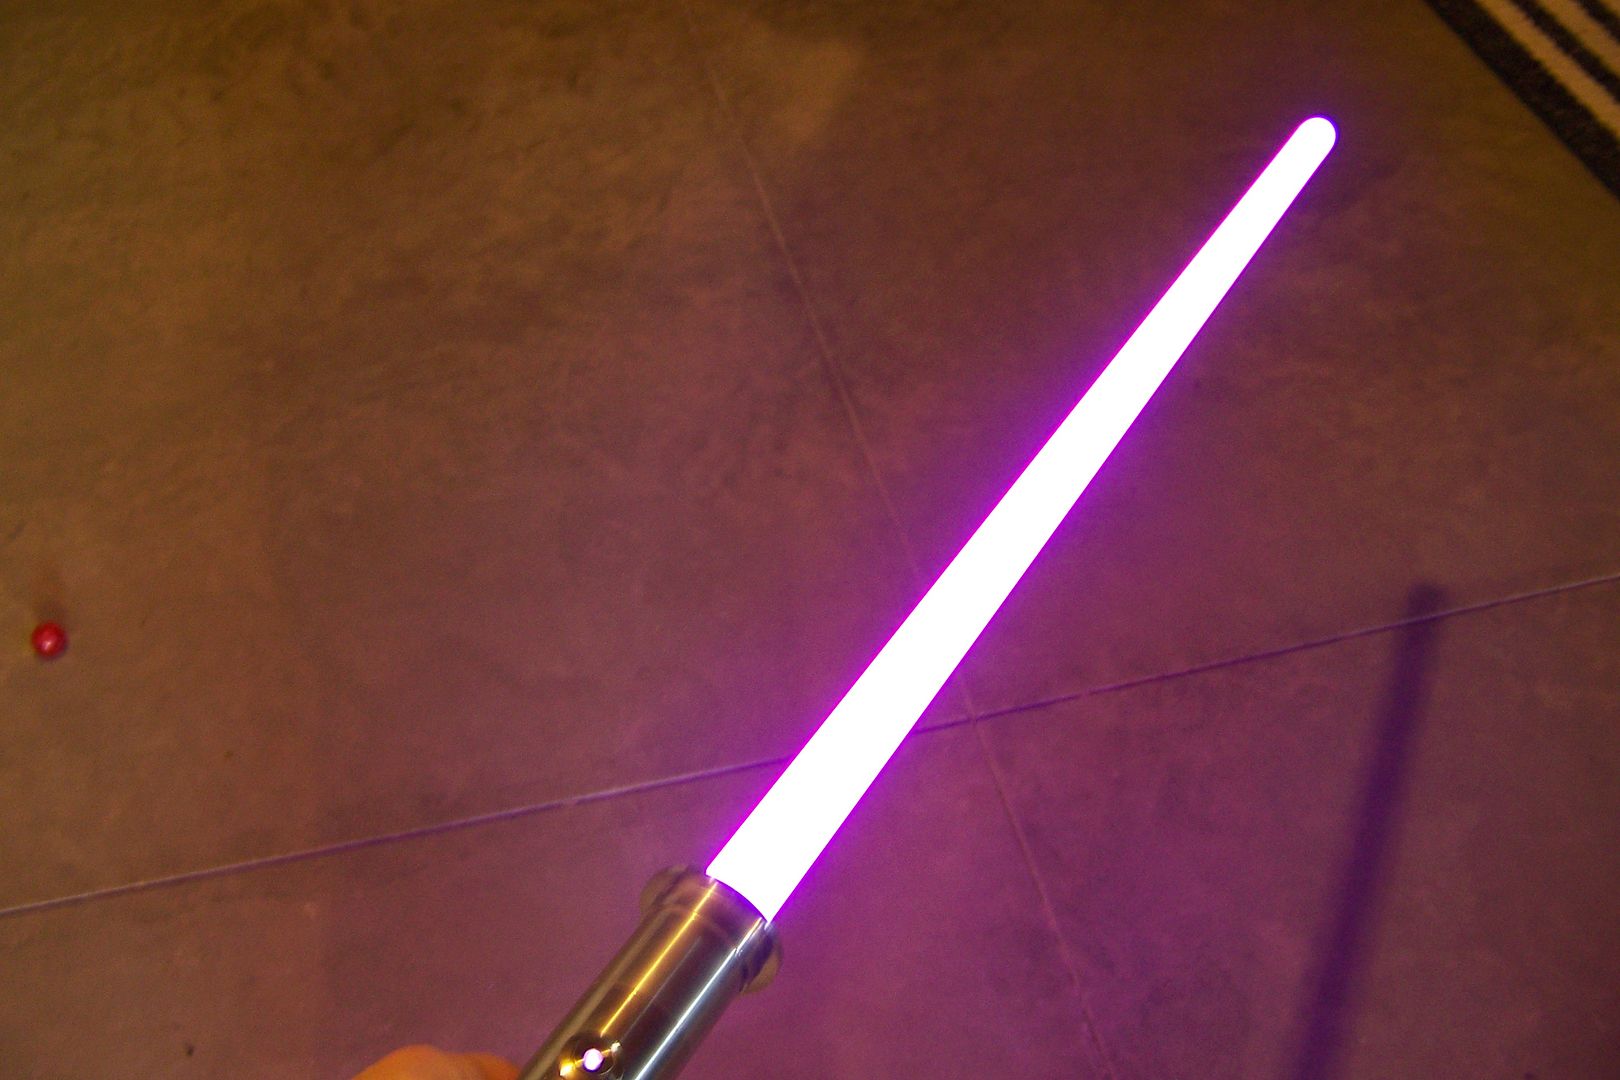
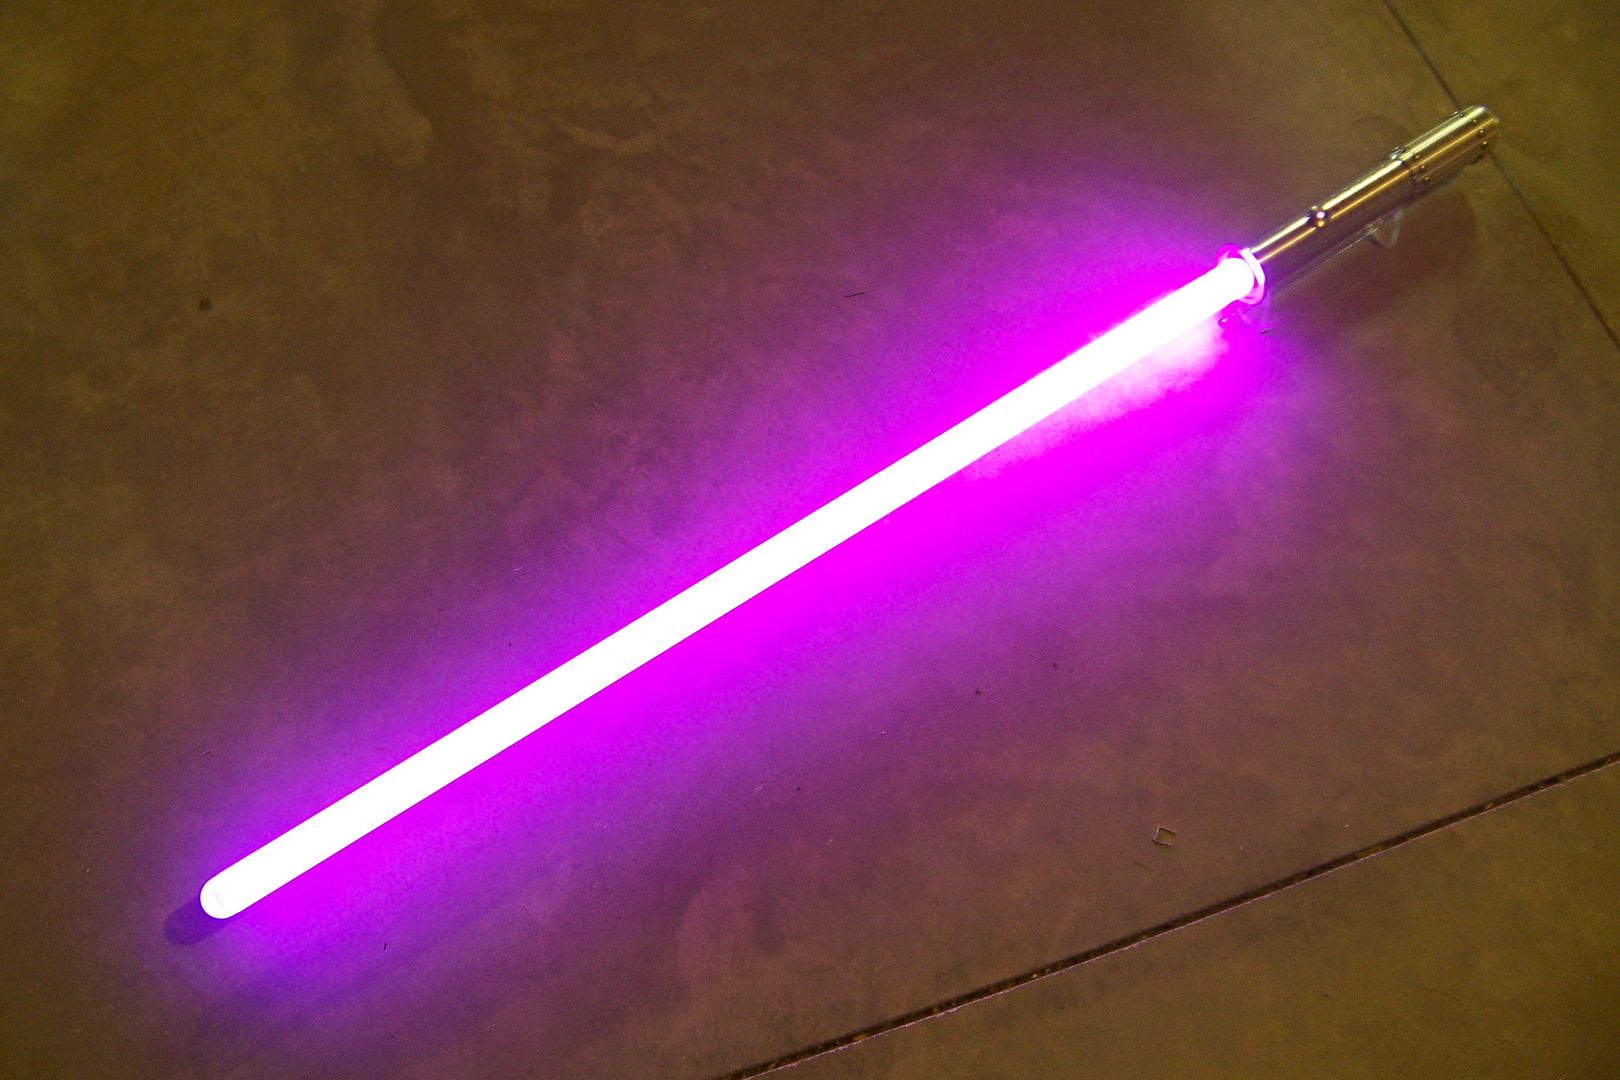
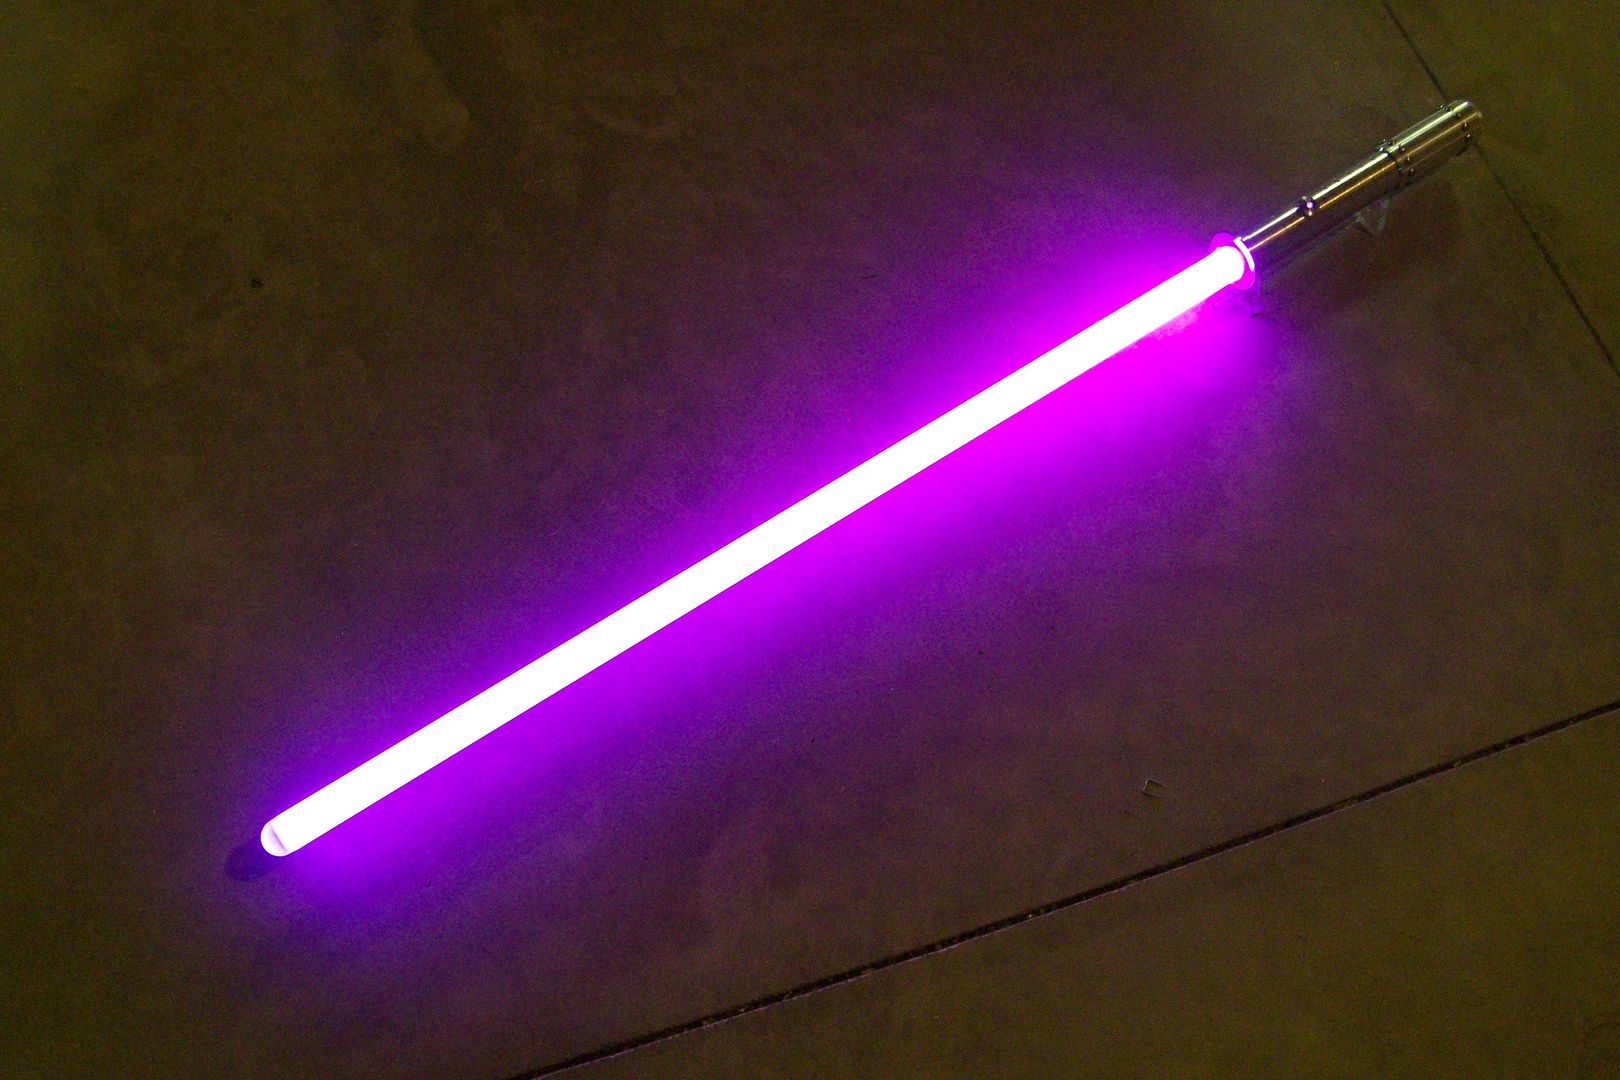
    Nice job! Thanks for posting it step by step as helps noobs like me a lot. By the way, could I know where can I get a violet AV switch? I don't find other colors besides red, green, blue, orange and white. Do you have a link to the site maybe?

    Thanks.

  2. #12

    Default

    Unfortunately it would be against forum rules to link to where he buys them.

    Click here to learn all about me!
    The Shoutbox: The only place you can double post!
    Anybody who spells it Lightsabre is dyslexic
    "Yeah, if I had Skotts face I'd hit it too" ~ Fenderbender
    "You didn't buy a toy saber just to break it. You bought an economy sound card with a really complicated wrapping scheme." ~ Silver Serpent

  3. #13

  4. #14

    Default

    Love'n the WIP post Jay-gon.
    Always a fan of your builds.
    Yub Yub Commander.

  5. #15

    Default


    I got this one pretty much all buttoned up last night and today, here's how it went....

    I started to solder up the soundboard last night, then my camera's battery died, so I didn't get much in the way of pictures until I had it pretty much ready to install:


    you can see the recharge port in there from this angle....it will allow for charging batteries in the saber, but it's not really necessary, since the batteries are removable. They are also individually protected, so they may not get an even charge if you were to charge them in the saber:


    Here you can see the wires for the switch and the plug for the main blade led. It'll be able to change the led for another color, but it will have to have another modified heat sink to do so.

    To secure the sound board to the chassis, I used a few pieces of double sided foam tape and then a thin strip of 1" heat shrink tubing:


    This is safe to do with this sound board since it's not totally covered and will bleed off any excess heat just fine. The PC boards generally don't get very hot anyway.

    With that done, I was ready to install the sound board chassis and the recharge port/aux switch assembly....I only really have one shot at getting this in there correctly:

    This set up works great for mounting these parts without any nuts on the outside of the hilt, but if something goes wrong, it can be a real PITA to get out again....

    I had made sure to add enough wire for the speaker and battery pack so it'll reach the end of the hilt:

    So far, so good....

    I used a flat bladed screw driver to work the c-clip into position, first snapping the aux button into place, then the recharge port:


    Success:


    Both parts snapped right into place and are nice and secure!

    There's plenty of wire to add the battery pack and speaker:


    But I'll add the main switch first:

    These wires are for the the switch led and the activation button. White is the actual switch lead, orange is the positive for the switch led and is wired to the PC to led pad 1 (it will blink when power is supplied to the saber, but it's turned off) and the gray wire is the small signal ground from the accent led pads. I'll use this for the ground for the switch, as well.
    I shortened the wires up a bit, then added a jumper to the switch's negative terminal for the led, and the switch negative:

    Then I added the negative lead from the board.

    Next up, the positive for the switch led:


    I added the white wire for the activation switch, slipped some small pieces of heat shrink tubing over the tabs, and pushed the switch into the saber:

    The nut was already in there on the wires, so all I had to do next was slip it over the threads on the switch, and then tighten it up:


    Now it's time to add the battery pack:

    The first thing to do was thread the speaker wires through the battery holder:

    Looks like there's just enough wire to work without having to shorten it.

    I made the connections at the battery pack and heat shrunk them:


    Soldered the leads to the speaker:


    Fit it into the speaker mount:

    I also glued it to the speaker mount by using a blob of hot glue on the back of the speaker. No pics of that, had to have both hands....

    I installed a couple of Trustfire Li-Ion batteries, and heard the boot sound again, "This party's over." Then the activation switch led began blinking, right on cue:


    I powered the saber down, inserted the kill plug into the recharge port, and added the led from CS-35 again and powered the saber back up:

    Not bad....not as purple as I'd like it though....

    I added the pommel so I it wouldn't let the battery pack fall out, and shot a little video:

    It's pretty loud, but I think it'll quiet down a bit once I add the actual led and the blade holder.

    Here's how it looks as it is right now:

    It still has some cosmetic parts to add, but it's almost done, and will actually be usable later today.

    I moved on to the actual led for this one:

    this is a 3-watt ( I hate that term, it's really accurate, but it's what it's called on the site I got it from) RGB....I'll put the red and blue in a parallel connection and resistor the red to make purple/violet.

    I added an adhesive pad first:

    This not only holds the led on the heat sink, but aids in heat transfer, and insulates the aluminum base the led is attached to from the copper heat sink.

    I wired it up on a temporary basis, then added the lens and the blade holder, and checked it for color:


    Not bad....I like! It's a nice shade of purple/violet that isn't too hot pink looking. I think it'll work.

    I finalized the wiring on the led, then installed it in the saber:

    This is a little tricky to do, since the main switch is right there in the way for the led's connector. I had to slip it by the switch body, but it fit just fine, so I added the lens and holder:


    I added the blade holder and my Trans-White blade from CS-X and powered it up:


    nice!

    I adjusted the camera a bit and took another that shows the blade a bit more true to color:

    I think that'll do!

    I also shot a little pre-review video:


    Now to get that Graflex button ordered and make up the t-track grips for the blade holder.

    Got a question? Start Here. Have you tried the Thread Index yet? Most questions can be answered there.

  6. #16
    Sith Minion bk_renesis's Avatar
    Join Date
    May 2010
    Location
    Melbourne Australia
    Posts
    358

    Default

    Love your builds and well done on another cool saber. Can't wait to see it finished. I got a MJish project in the works but leaning more towards a samurai look. Cool purple blade too. Cheers.
    "The Sith grew past the use of lightsabers. But we continue to use them, if only to humiliate the Jedi."―Darth Sidious

  7. #17

    Default

    I am curious why you opted for the grooved sleeve and drill / tap your own holes vs. getting the one 4" extension that is already drilled & tapped - just curious. I for one would not trust myself to get 24 holes lined up correctly....
    Yub Yub Commander.

  8. #18

    Default

    If he got the one with holes he'd have to use a gender changer or double male. Keeps it cleaner, and his Drill Press-fu helps

    Click here to learn all about me!
    The Shoutbox: The only place you can double post!
    Anybody who spells it Lightsabre is dyslexic
    "Yeah, if I had Skotts face I'd hit it too" ~ Fenderbender
    "You didn't buy a toy saber just to break it. You bought an economy sound card with a really complicated wrapping scheme." ~ Silver Serpent

  9. #19

    Default

    Amazingly beautiful step by step build...dont know what to do with all the ideas you just put in my head. Thanks a heap. Cant wait to see completed saber.
    "Parents dont let your babies grow up to be jedi" Darth Hass-supersith


  10. #20

    Default

    Quote Originally Posted by Knighthammer View Post
    I am curious why you opted for the grooved sleeve and drill / tap your own holes vs. getting the one 4" extension that is already drilled & tapped - just curious. I for one would not trust myself to get 24 holes lined up correctly....
    Quote Originally Posted by Skottsaber View Post
    If he got the one with holes he'd have to use a gender changer or double male. Keeps it cleaner, and his Drill Press-fu helps
    What Skott said. It also worked out better for having Tim machine the grooves in the center of the hilt...there was more space to work with on the 9" extension than there would have been if I had opted for a 5" or 6" extension.

    Got a question? Start Here. Have you tried the Thread Index yet? Most questions can be answered there.

Bookmarks

Posting Permissions

  • You may not post new threads
  • You may not post replies
  • You may not post attachments
  • You may not edit your posts
  •