Page 2 of 8 FirstFirst 1 2 3 4 ... LastLast
Results 11 to 20 of 80

Thread: Slothfurnace's ROTJ Luke Saber - Crystal Chamber, Thin Neck, Detachable Blade

  1. #11

    Default

    LOTS of work going on, almost not enough time to take pics...

    almost.


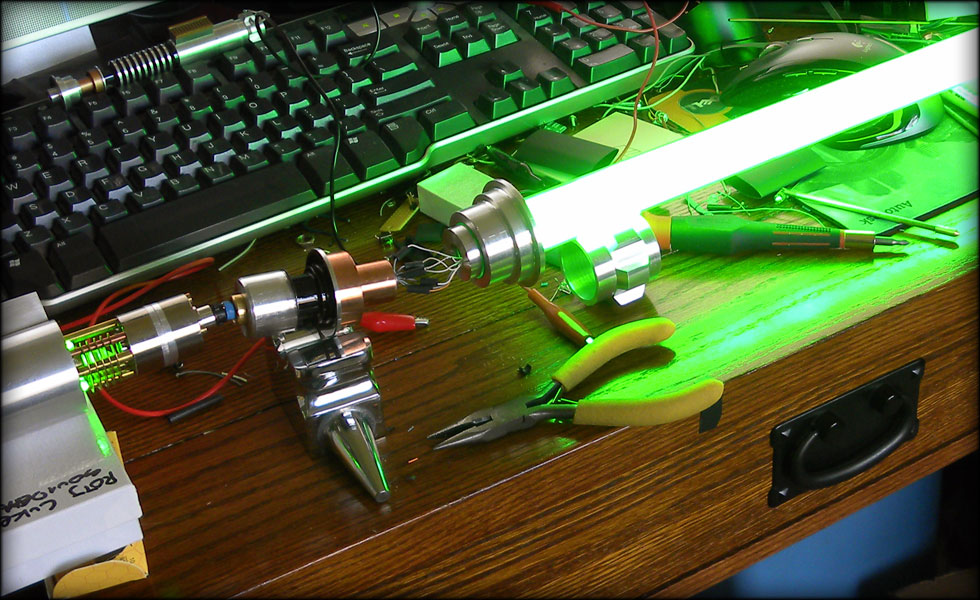
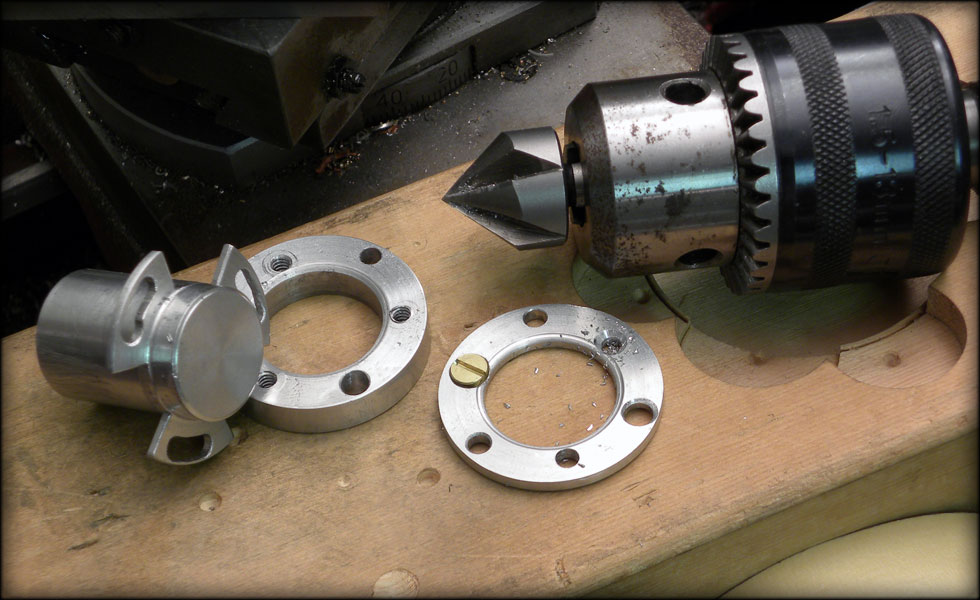
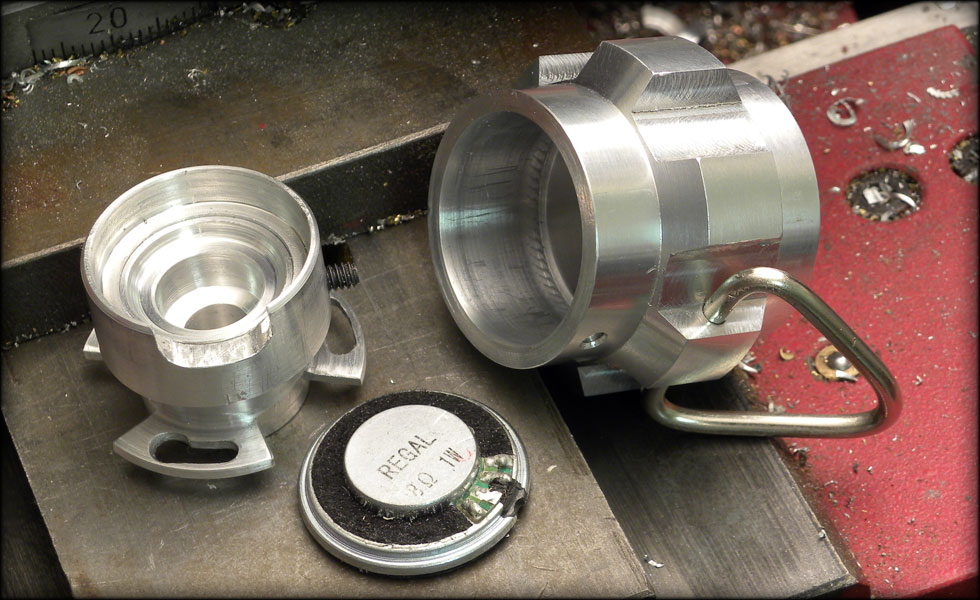
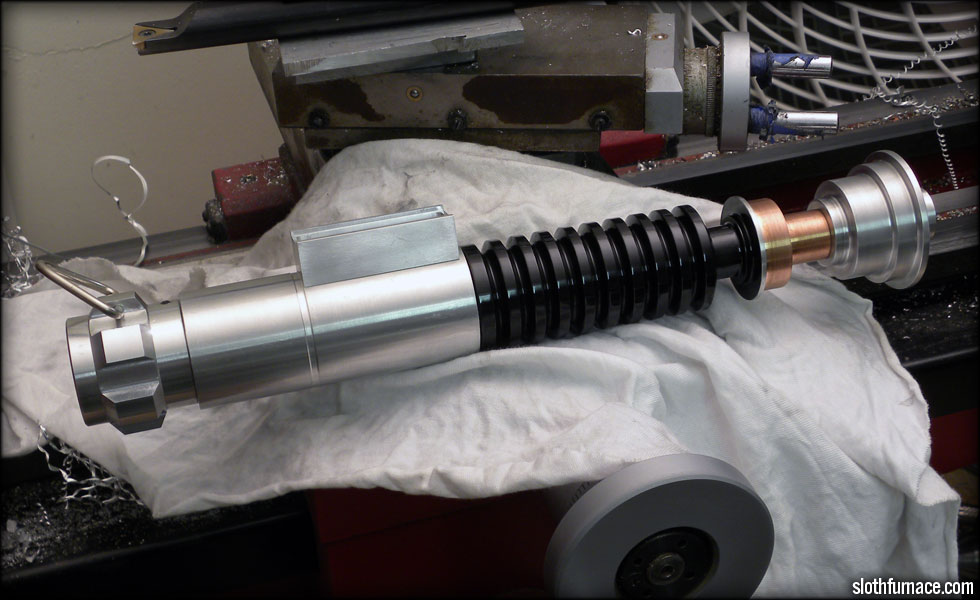
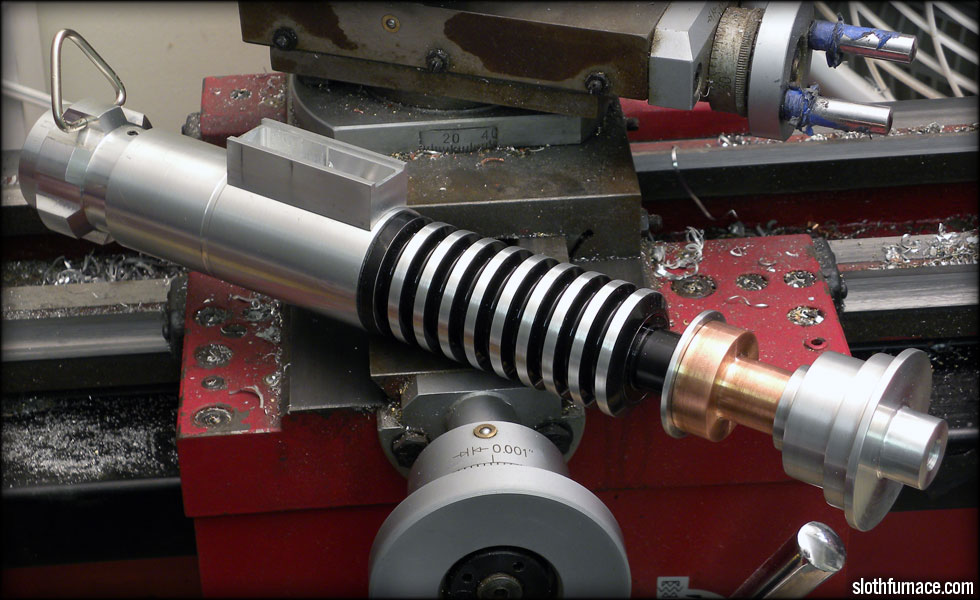
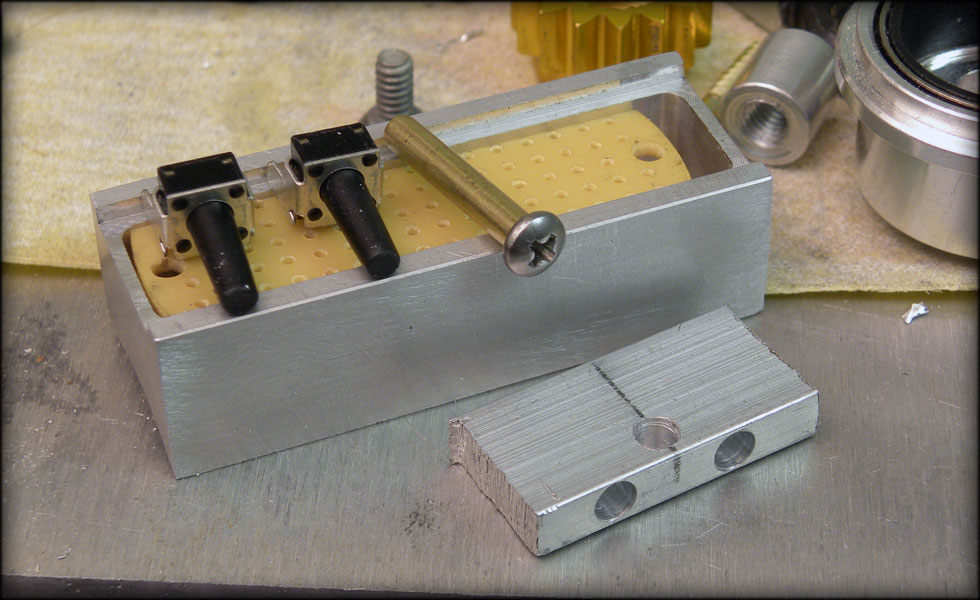
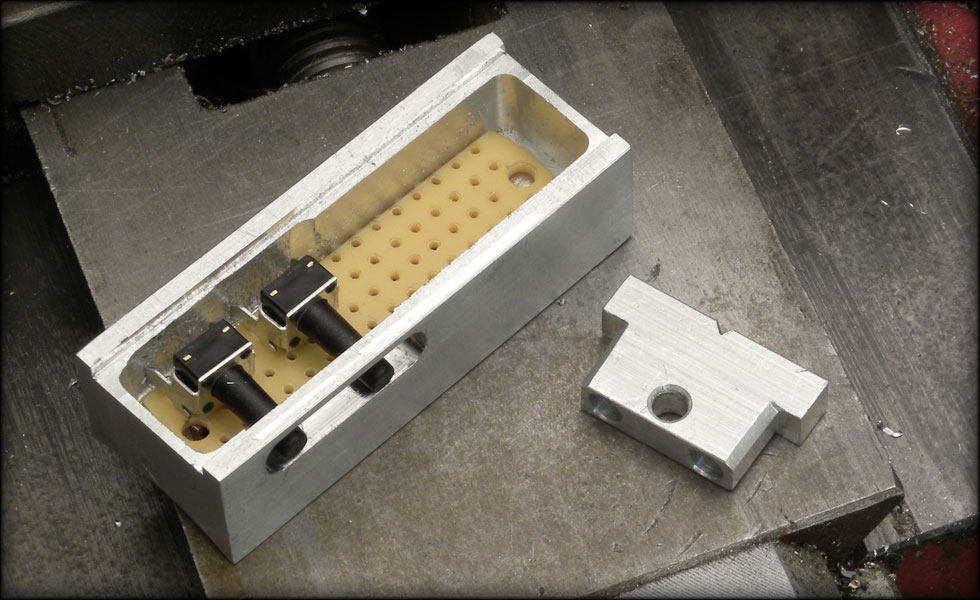
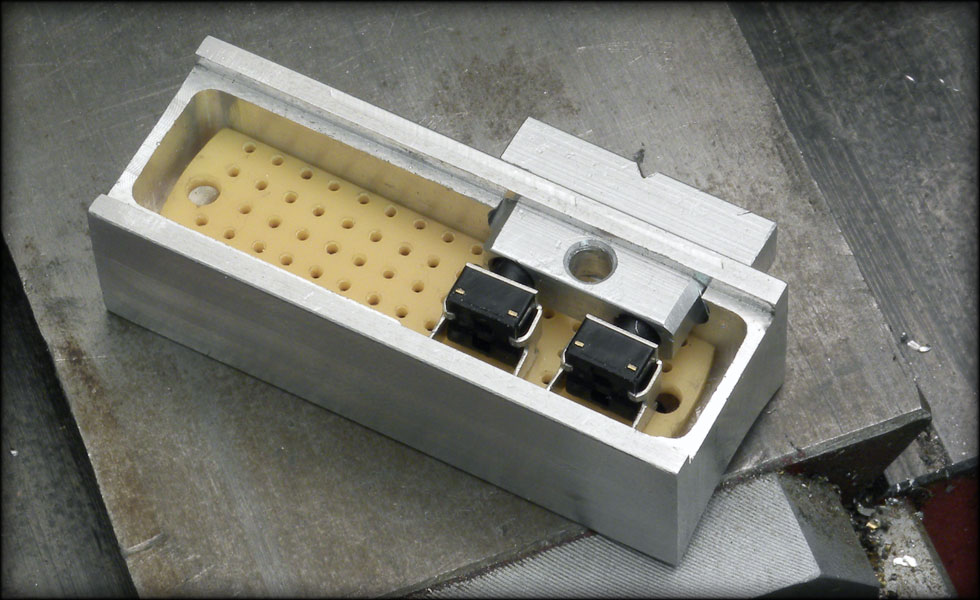
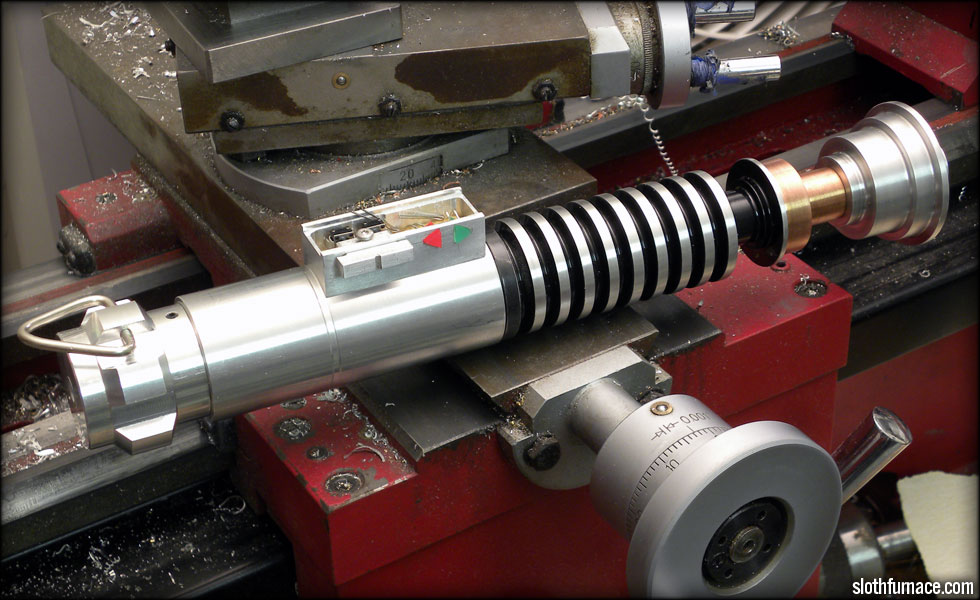
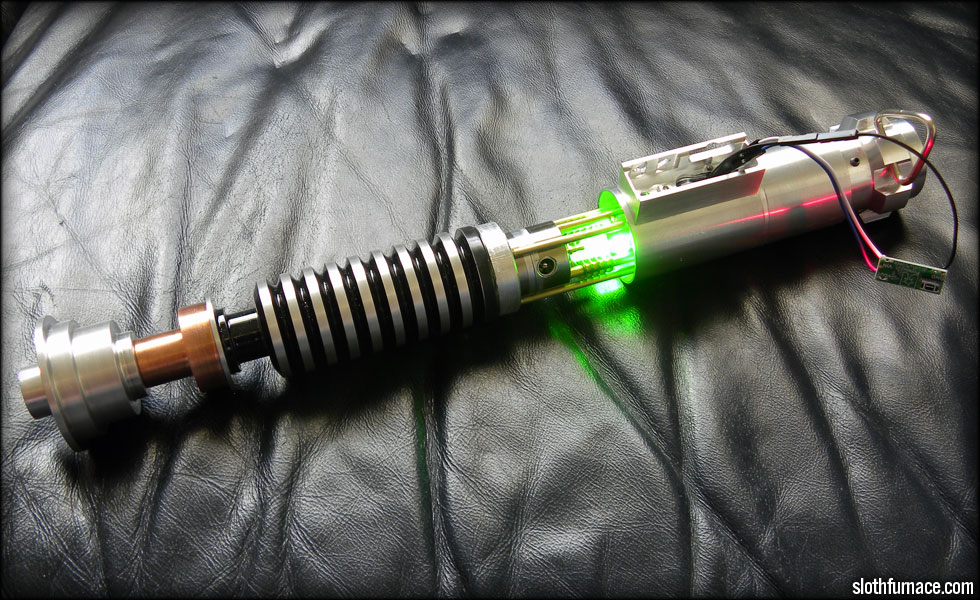
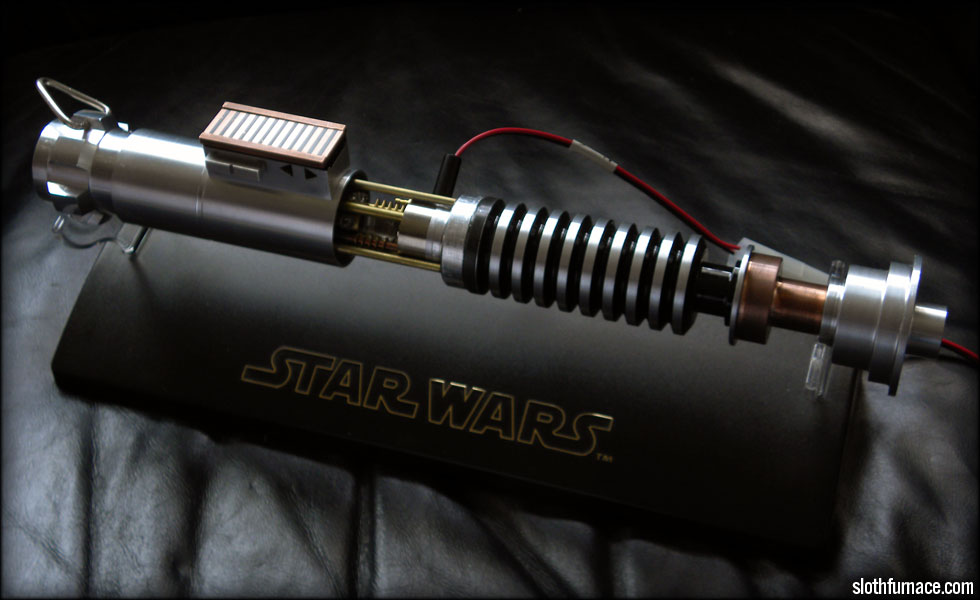
    LOTS of wiring going on this week. Carefully and meticulously measuring, trimming fitting all the wiring and electronic components into the handle. Lots of tedious back and forth, measure twice, cut once, solder, heatshrink, sew the wires into place, etc. Also, got both neck pieces machined, and painted, once the enamel is cured, I'll sand off what needs to be silver, and drill for the setscrews that secure each neck piece into the hilt.


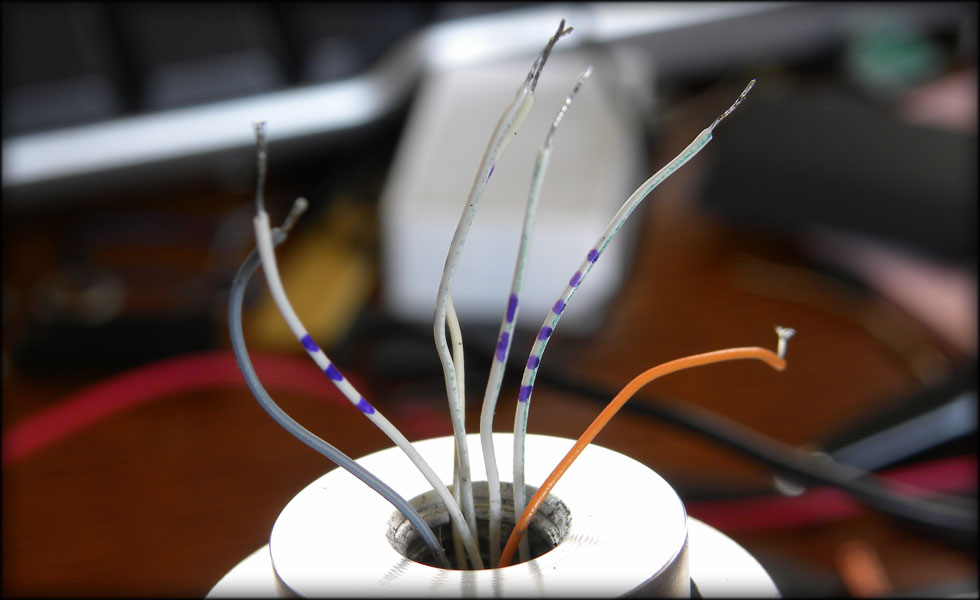
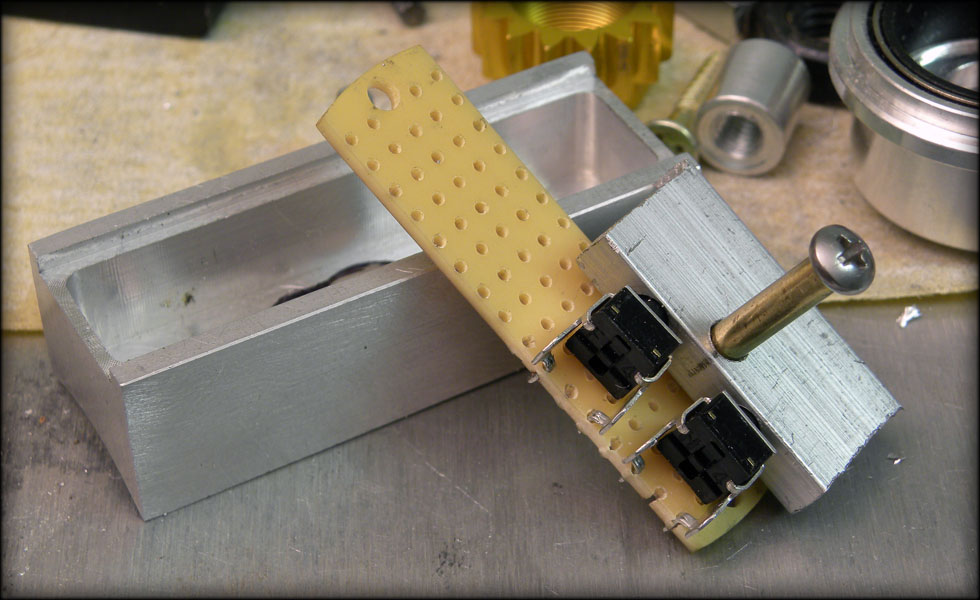
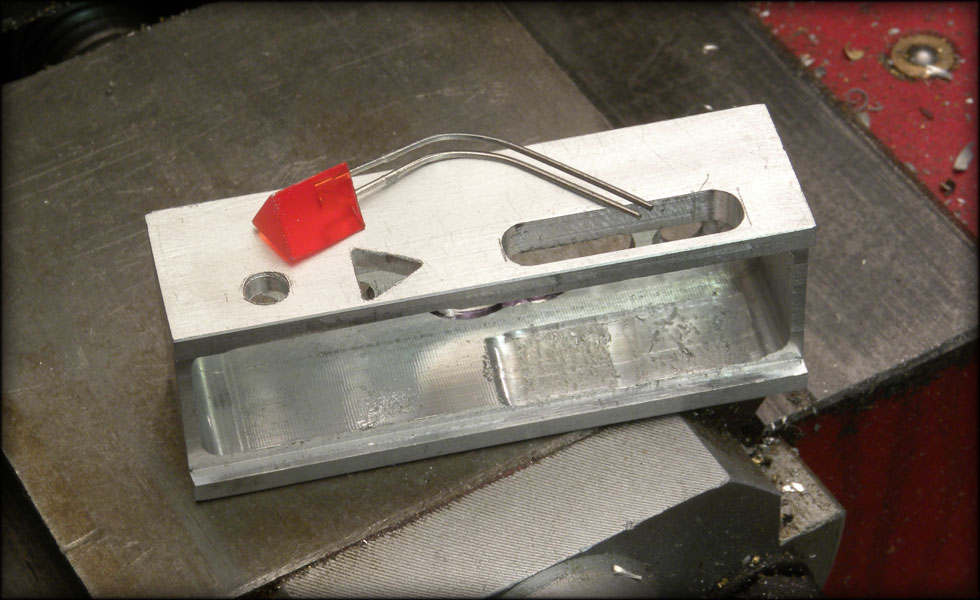
    The wiring of the blade is pretty small work, this is before heatshrinking the wires and stuffing them into the blade neck.


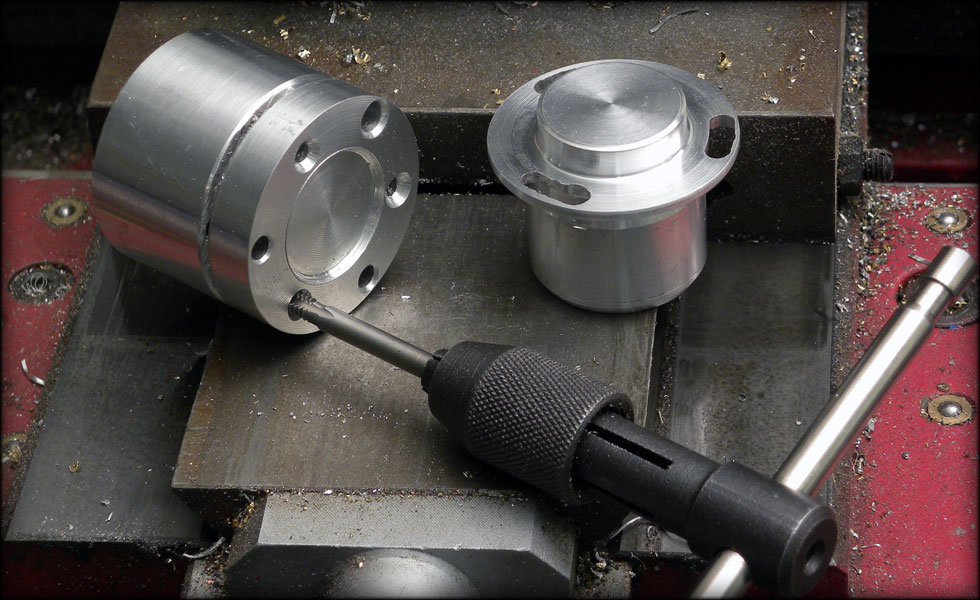
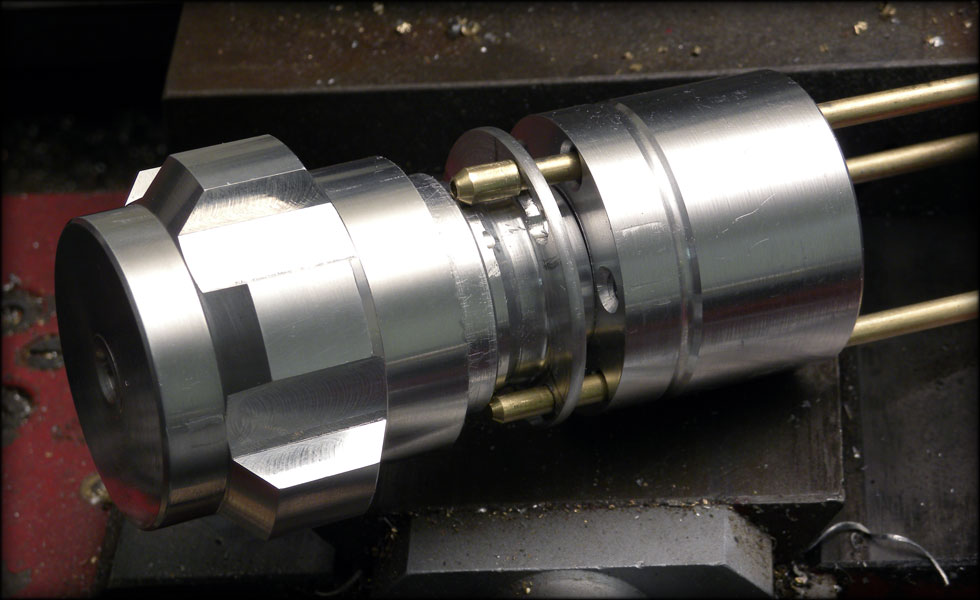
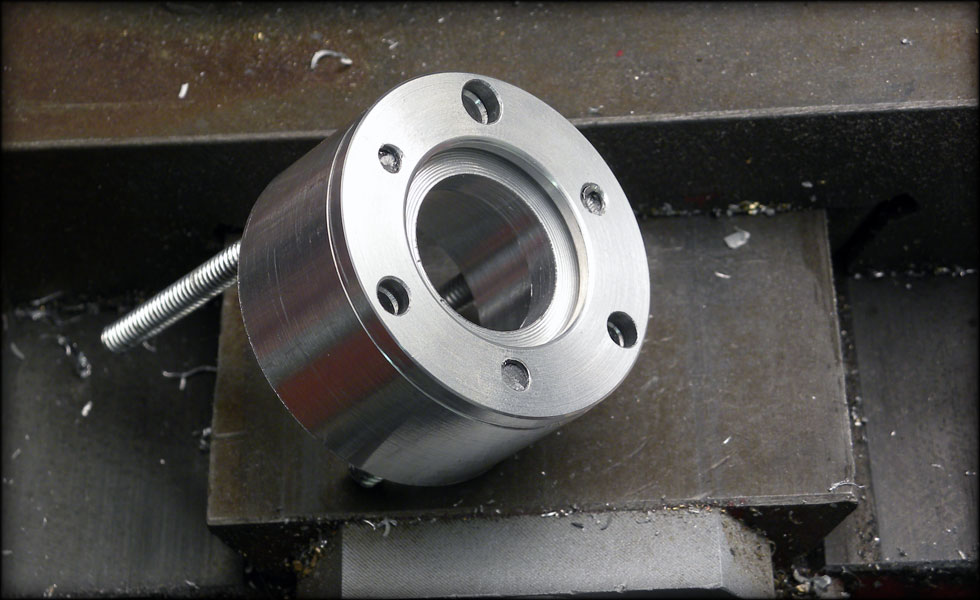
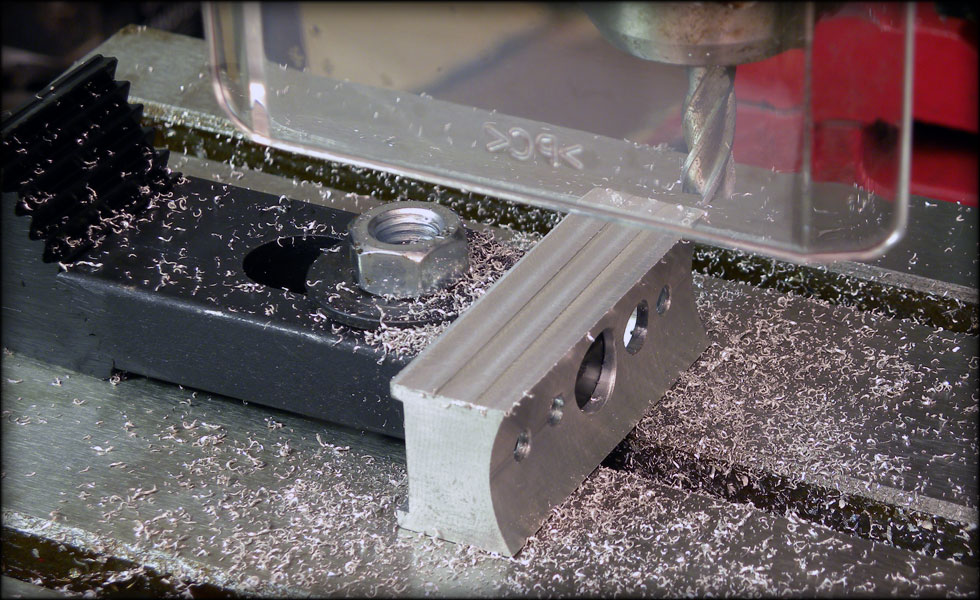
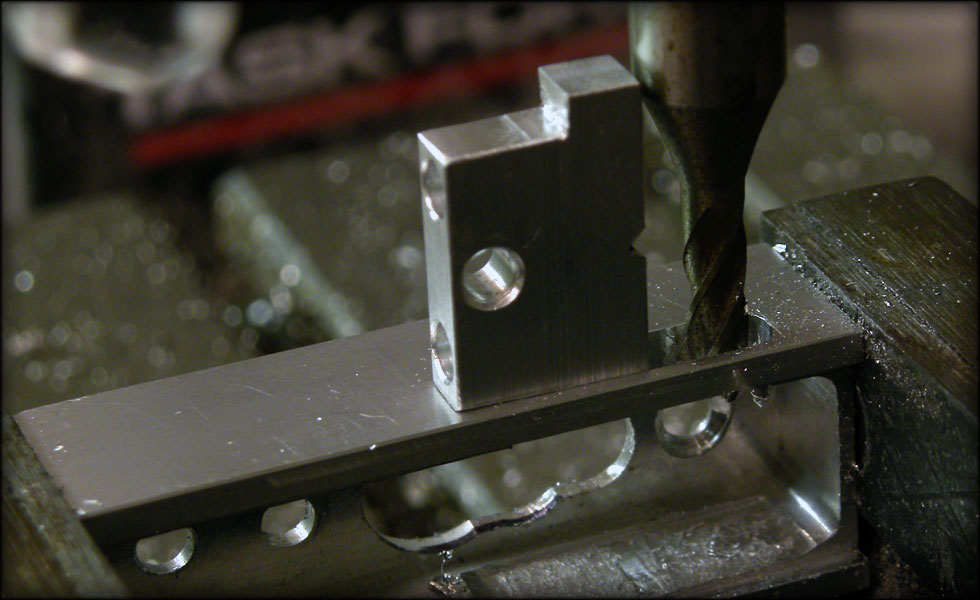
    Here I am threading down through the template so all my bolt holes line up after I slice off my retainer plates.


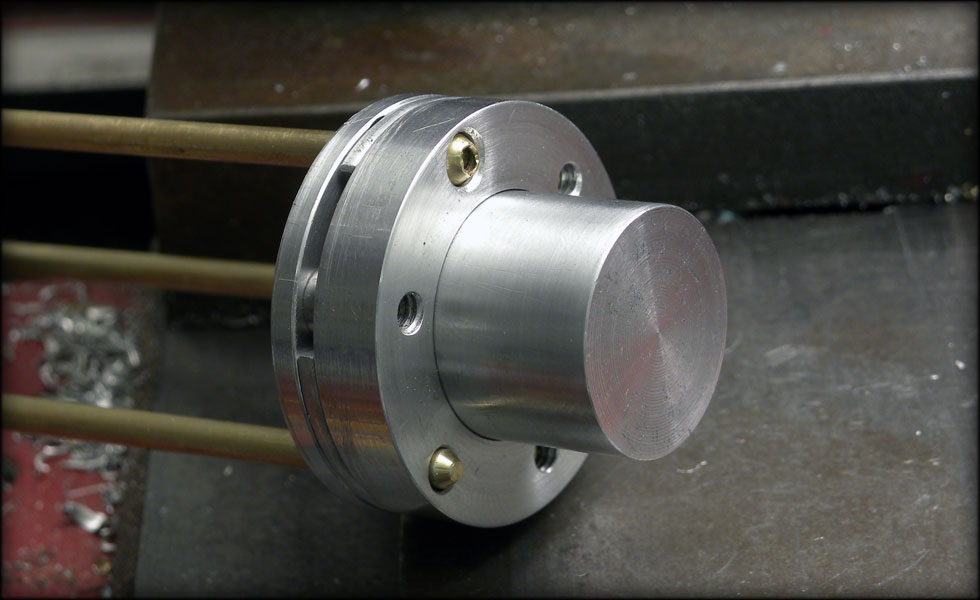
    The template fits fine, and everything lines up. The latch twists clockwise to lock, letting the larger diameter plug pull against the slot to close it.


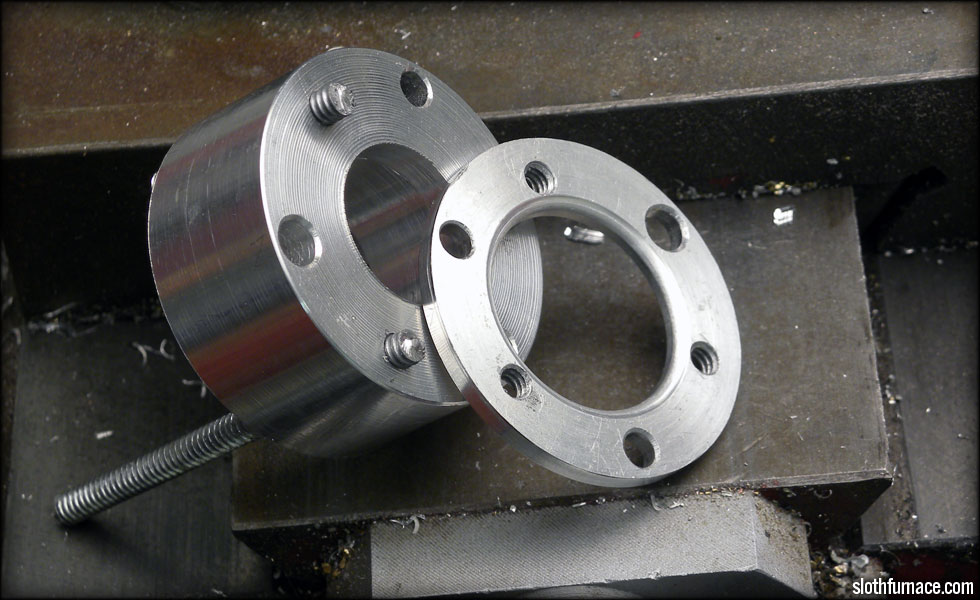
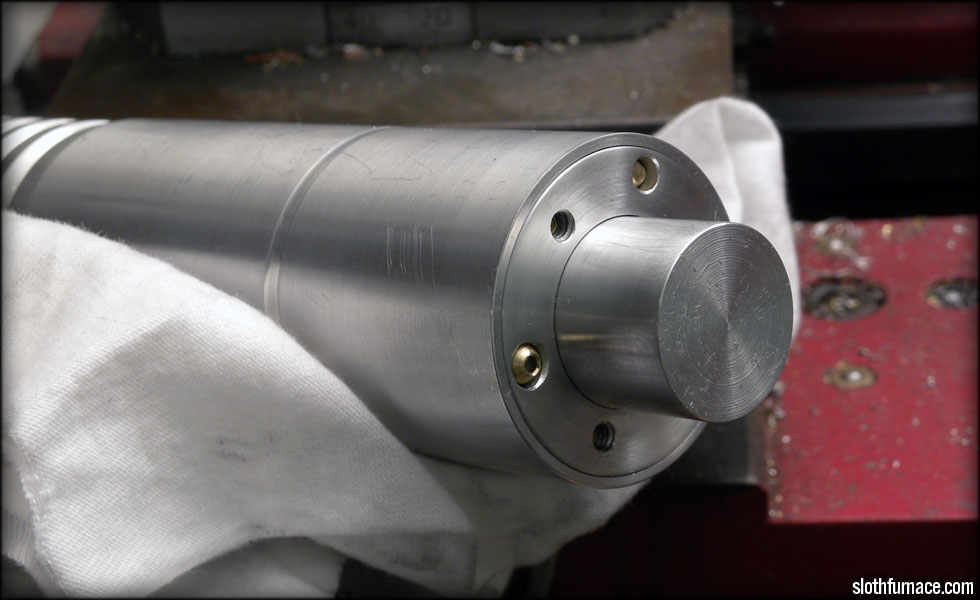
    Here's the front retaining plate on the template after turning. I'll do the same for the back retainer plate.


    Here you see the final front retainer plate.. This method works pretty well as long as the threads all line up vertically enough to keep the work plate snug and tight to the template. I used some masking tape between the two while turning on the lathe to get the final smooth finish.

    CordaroyFog: you know, its really mean to set the bar that high.

  2. #12

    Default


    So here is what I am thinking for the pommel latch. I think I might lose some of the springwork in there, but for the most part it should go like this.


    Well, this is as good a project as any to break in my new milling machine! Here I am milling out slots in the locking fins to allow the retainer bolts to go between fins.


    Fin slots cut, now I countersink the screw holes so everything is flush. I do this by hand, as my drill press chatters when I attempt it, I just use the MT2 chuck with the countersink bit chucked in and press down and turn... .over and over again.


    Screws countersunk, spacers machined, rod entry points countersunk so the support rods are fed into the lock instead of banging on the face of it.


    Here it is locked, with the rods in it. I'll fine tune this a bit so that when it's all together, everything is flush and smooth.


    It works BEAUTIFULLY. A nice snap open, and closed. The rods move through the lock smoothly, and without rattle or wobble. I need to machine a collar to fit this protrusion and the pommel, and drill a hole through the lock for the speaker wire.

    CordaroyFog: you know, its really mean to set the bar that high.

  3. #13

    Default


    Here is the lock knob with the collar on. You can see the slot I milled out to allow for plenty of room for the speaker connections. I don't want to risk shorting here, as main power goes to the speaker.


    The pommel attaches to the lock with a single 6-32 set screw going from the surface of the pommel through the collar, and into the lock knob.


    Painting the grip section, I taped off the back and front, and carefully spray painted with black enamel. Before painting I made sure to polish and wash with dish detergent to remove all dust, oil, etc.


    Painted, allowing the grip enamel to cure before I shave off the outermost raised areas to reveal the aluminum beneath.

    CordaroyFog: you know, its really mean to set the bar that high.

  4. #14

    Default


    Now I need to start on the control box. First, I take a TCSS box and shave down the sides so there's no groove, then polish away the machine marks.


    Then I take two long button 90 degree tactile switches, and measure out on a piece of aluminum stock where the tabs go, drill and testfit, then drill the pivot hole. The 4-40 screw will tighten this down against some brass tube, which will go into the pivot hole.


    I only need a very small amount of travel to activate either switch, and the pivot rod will make sure the button only hits one switch at a time.

    CordaroyFog: you know, its really mean to set the bar that high.

  5. #15

    Default


    At this point I milled out the slot for the button. I took ever so slightly less off till the button barely fits in the slot.


    I also had to file off the corners of the button section that goes into the box for a test fit for the switches and board.


    Here's the button for test fit. When the screw is installed, it lets the button rotate JUST enough to activate either switch.


    Here's the first triangular hold filed out. A small triangle file is needed for this kind of thing, and loads of elbow grease.


    And here it is with both trianglar LEDs set for fit. I'll clean the box up a bit after I drill and tap for the two small brass screws that go underneath the LEDs.

    CordaroyFog: you know, its really mean to set the bar that high.

  6. #16

    Default


    And here is a video of the chamber mechanism... http://www.youtube.com/watch?v=-ivfFNbgqj0&hd=1


    First charge! Nothing's shorting out or smoking, looking good!


    Ready for presentation! I am missing the two small brass screws under the LEDs in the control box, and the LEDs themselves, and still need to paint the activation button black. I'll add these details after Christmas.

    CordaroyFog: you know, its really mean to set the bar that high.

  7. #17
    Youngling iamdrake's Avatar
    Join Date
    Aug 2010
    Location
    Korriban
    Posts
    174
    Blog Entries
    1

    Default

    The creativity and detail you have done on a design we know so well is impressive. The spring exposure crystal chanber is an engineering marvel. Please continue to create these amazing works of art.

    P.S.
    Thanks, so now I need a telescope to see the bar.

  8. #18

    Default

    You can finally sleep...it's been a long 2 months but what an accomplishment. You should be proud, as we all are of you.


    I asked my wife if i could get a $5,000 lathe and she said "...no, but thanks for asking." : D

  9. #19
    Council Member
    Jedi Council Member
    Rhyen Skytracker's Avatar
    Join Date
    Feb 2009
    Location
    Covington, GA
    Posts
    2,550

    Default

    Dude, I am speachless. Your attention to detail and your creativity just continue to astound me.

    Live long and...I mean May the force be with you. http://saberconcepts.50.forumer.com/index.php

  10. #20
    Jedi Council Member cardcollector's Avatar
    Join Date
    Jan 2009
    Location
    I am A proud American.
    Posts
    2,567
    Blog Entries
    3

    Default

    Dadgumit you slothfurnace. Now I've got drool all over my iPhone. >

    This is the best Luke rotj I have ever seen. You are so meticulous in every single part! I would love to see you create a qui-gon jinn saber.
    Got a Question? There's a thread for that...
    ~Do what you can, with what you have, where you are.~Teddy Roosevelt

    SollusVir everywhere else... FXsabers, Youtube, etc...

Bookmarks

Posting Permissions

  • You may not post new threads
  • You may not post replies
  • You may not post attachments
  • You may not edit your posts
  •