


This saber was built purely because I had the extra electronics already to go that came out of CS-X after I upgraded it to a Petit Crouton. The parts arrived from TCSS Thursday afternoon (Dec. 9, 2010), and I got started on it right after I got home from work. There's not much in the way of build pictures for this one, since most of the work had already been covered before, and it went together very quickly....it was finished in under 4 hours.
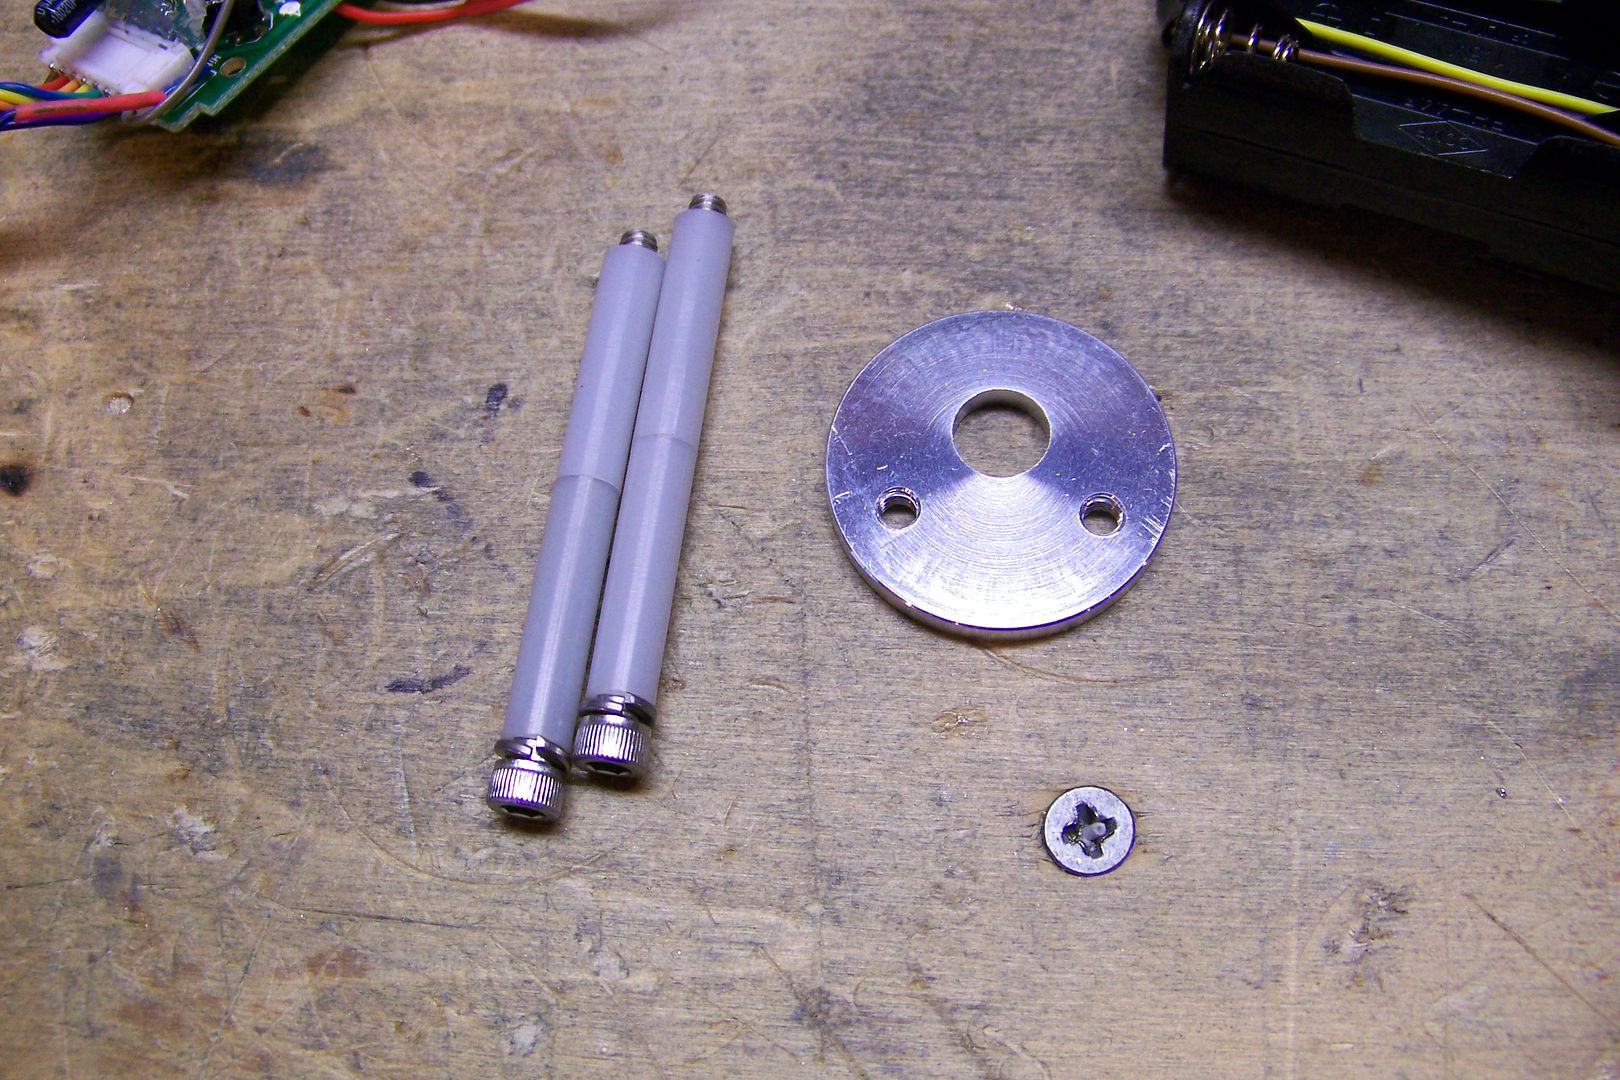
Here's the parts:

The speaker mount seen on the battery pack in this shot is a simple piece of 1" electrical conduit pcb, cut to the same thickness as the TCSS speaker mounts, and had to be used due to limited space in the hilt. The V2 speaker mount was too deep to fit in this one, because I used a 4" double female threaded connector as the lower half of the hilt.
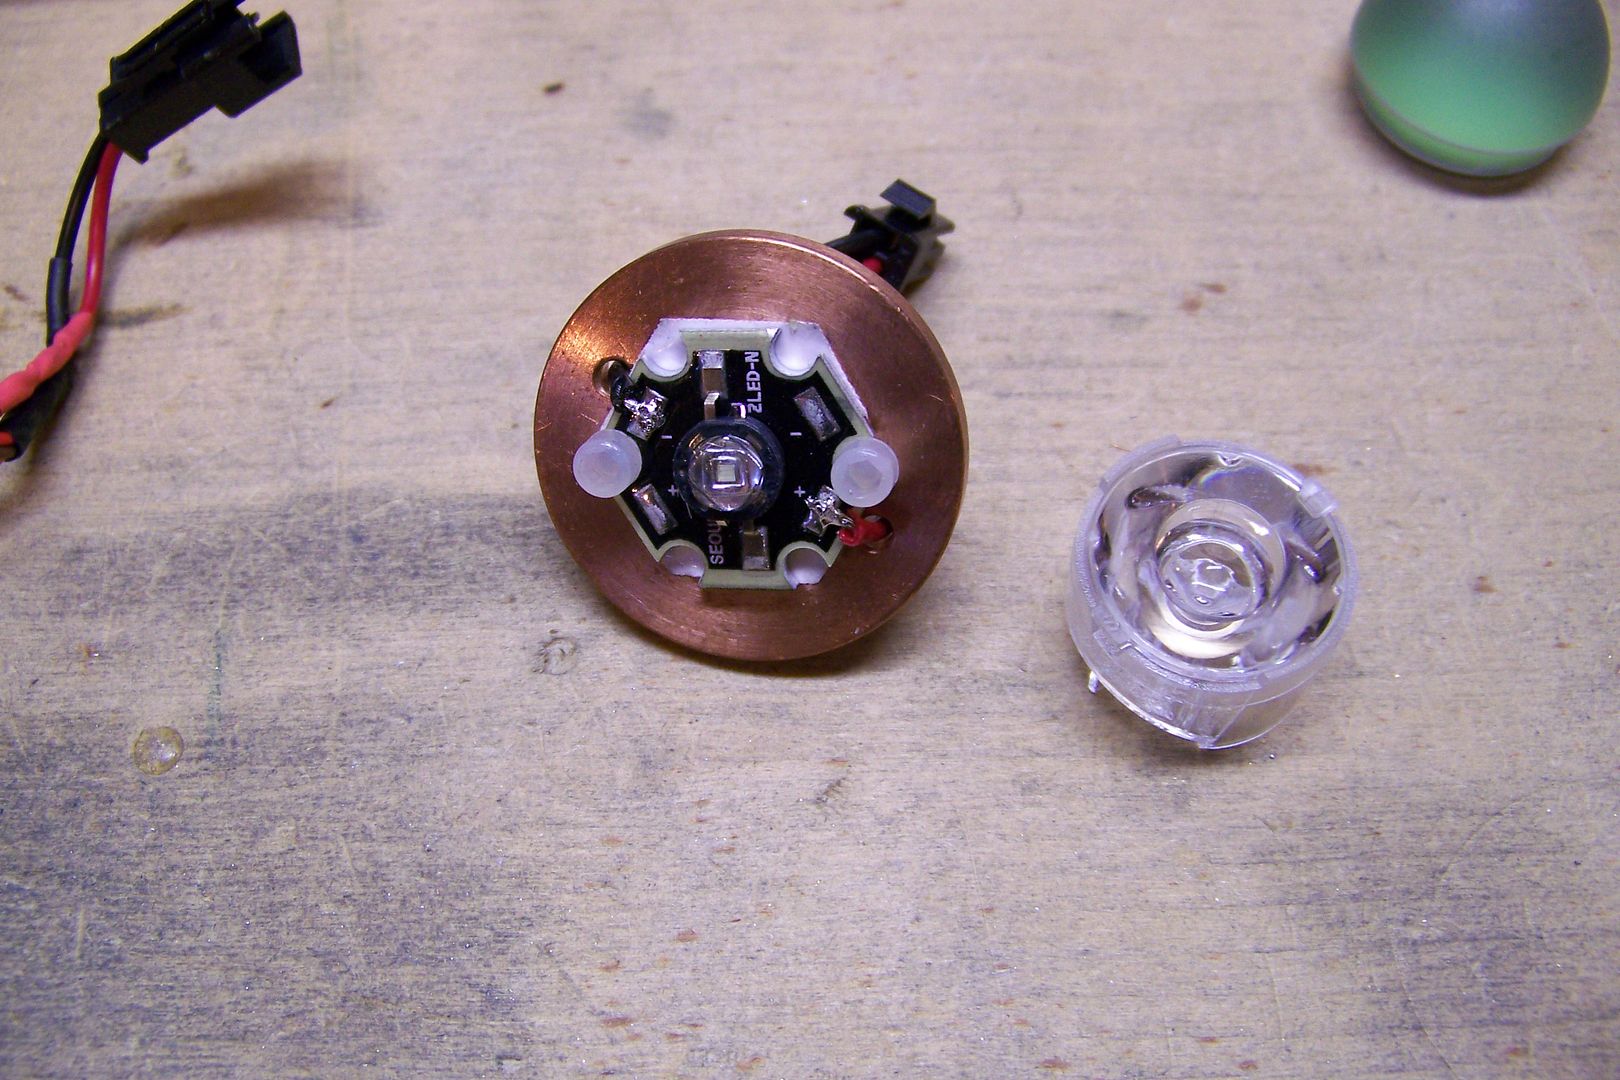
The Seoul P4 green led that was already assembled, and the illuminated anti-vandal switch with the green ring....this one has a 3.3v led in it, so it should light up nicely. The other part there is a Lighthound keychain flashlight....I'll use that to convert the momentary av switch to latching action.
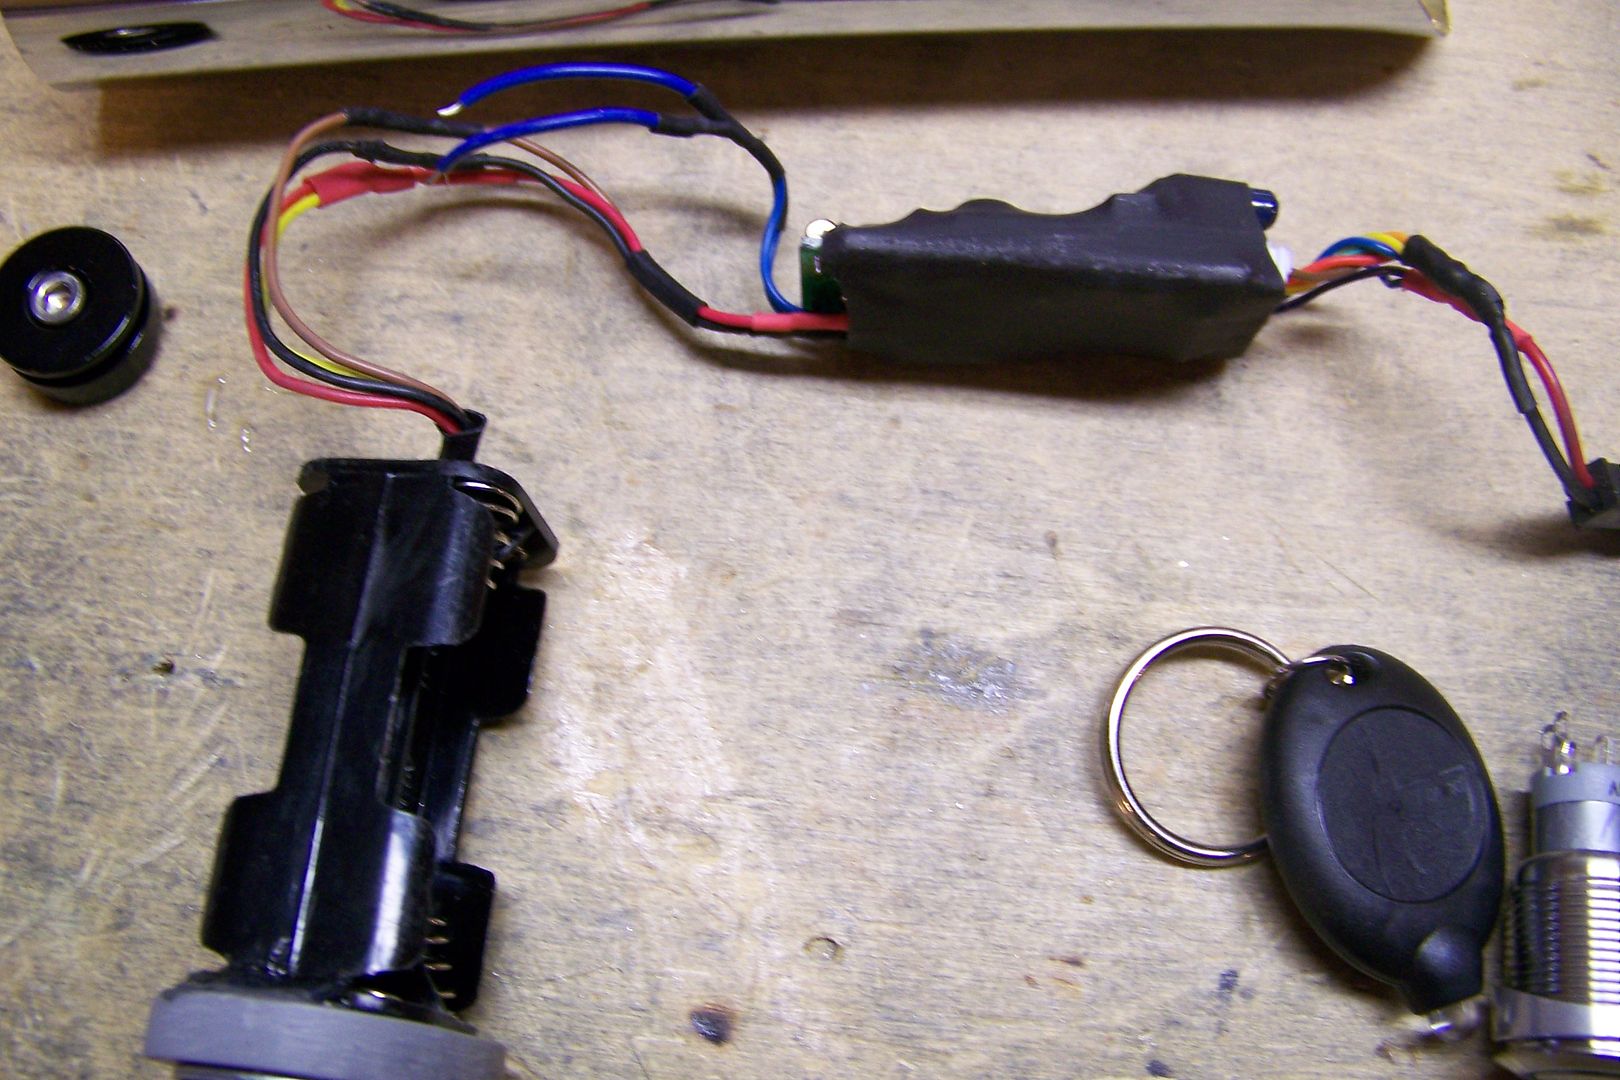
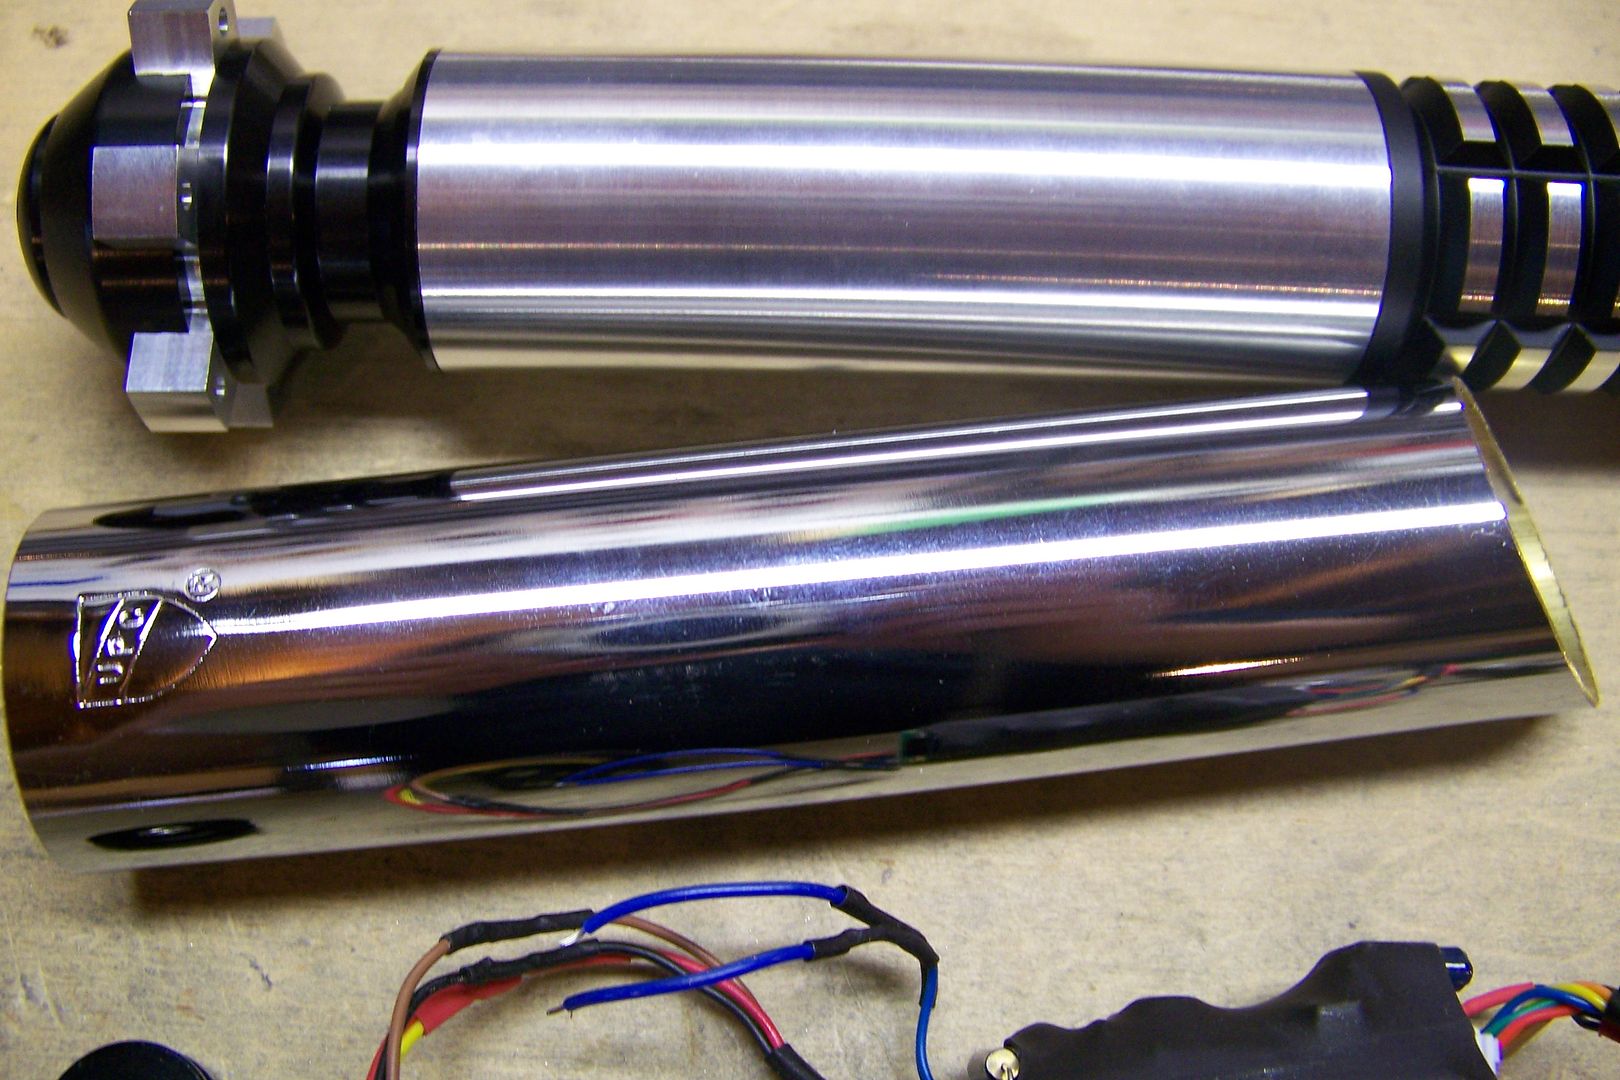
The electronics as removed from CS-X and the chrome sleeve, which also happened to already have a basic cut on it....this was one that I had mis-measured from another saber...I forget which one....it'll work for this one just fine though.
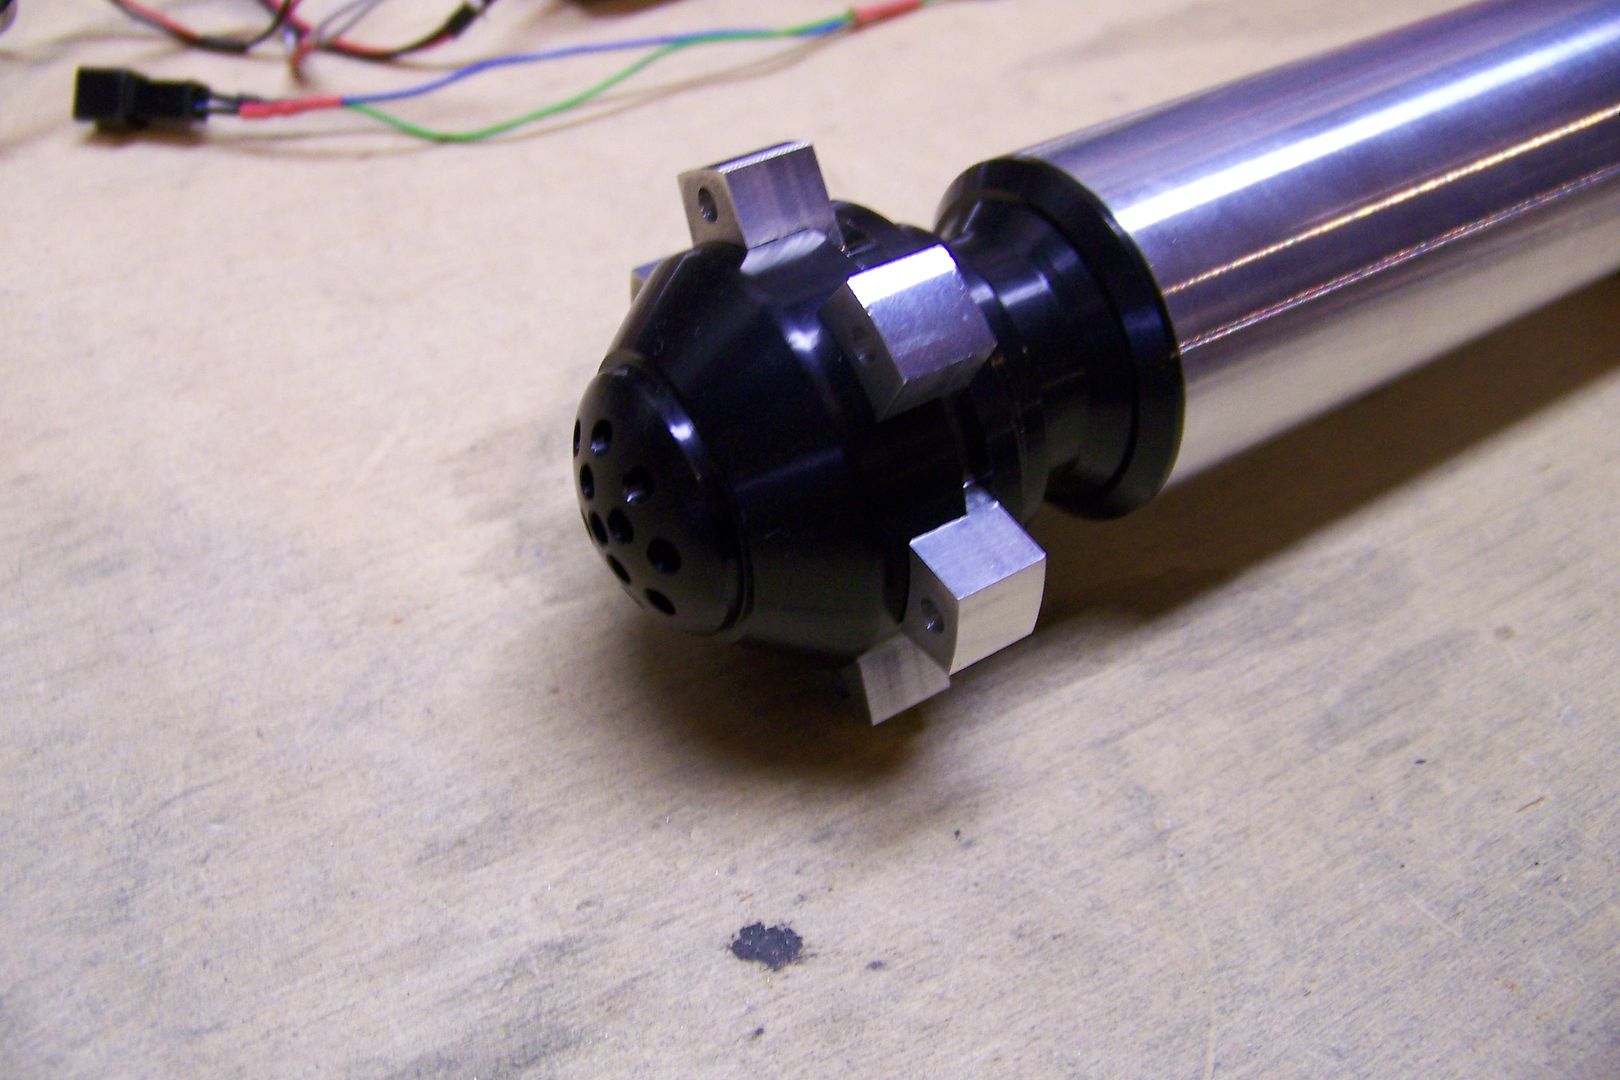
Black anodized custom Acerocket Obi-wan TPM pommel:
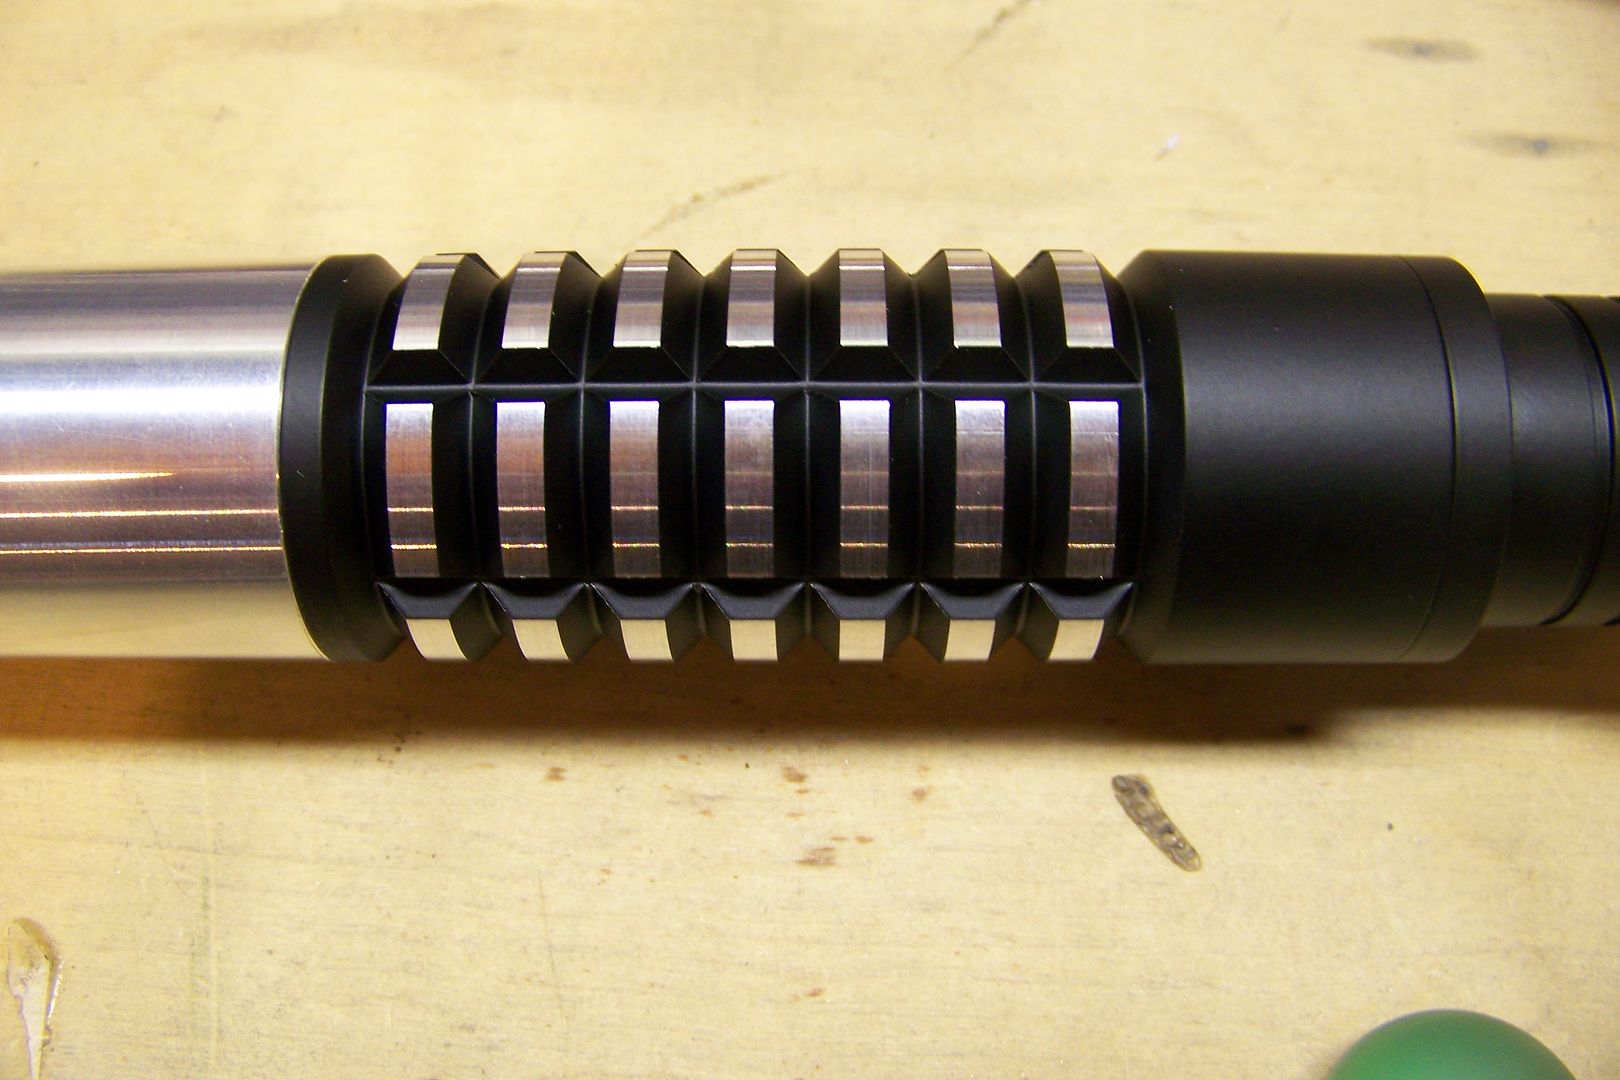
Black Matte Tuscan powder coated v-grooved ribbed extension, in RGR2 style:
Blade holder style 16 custom powder coated in Black Matte Tuscan:
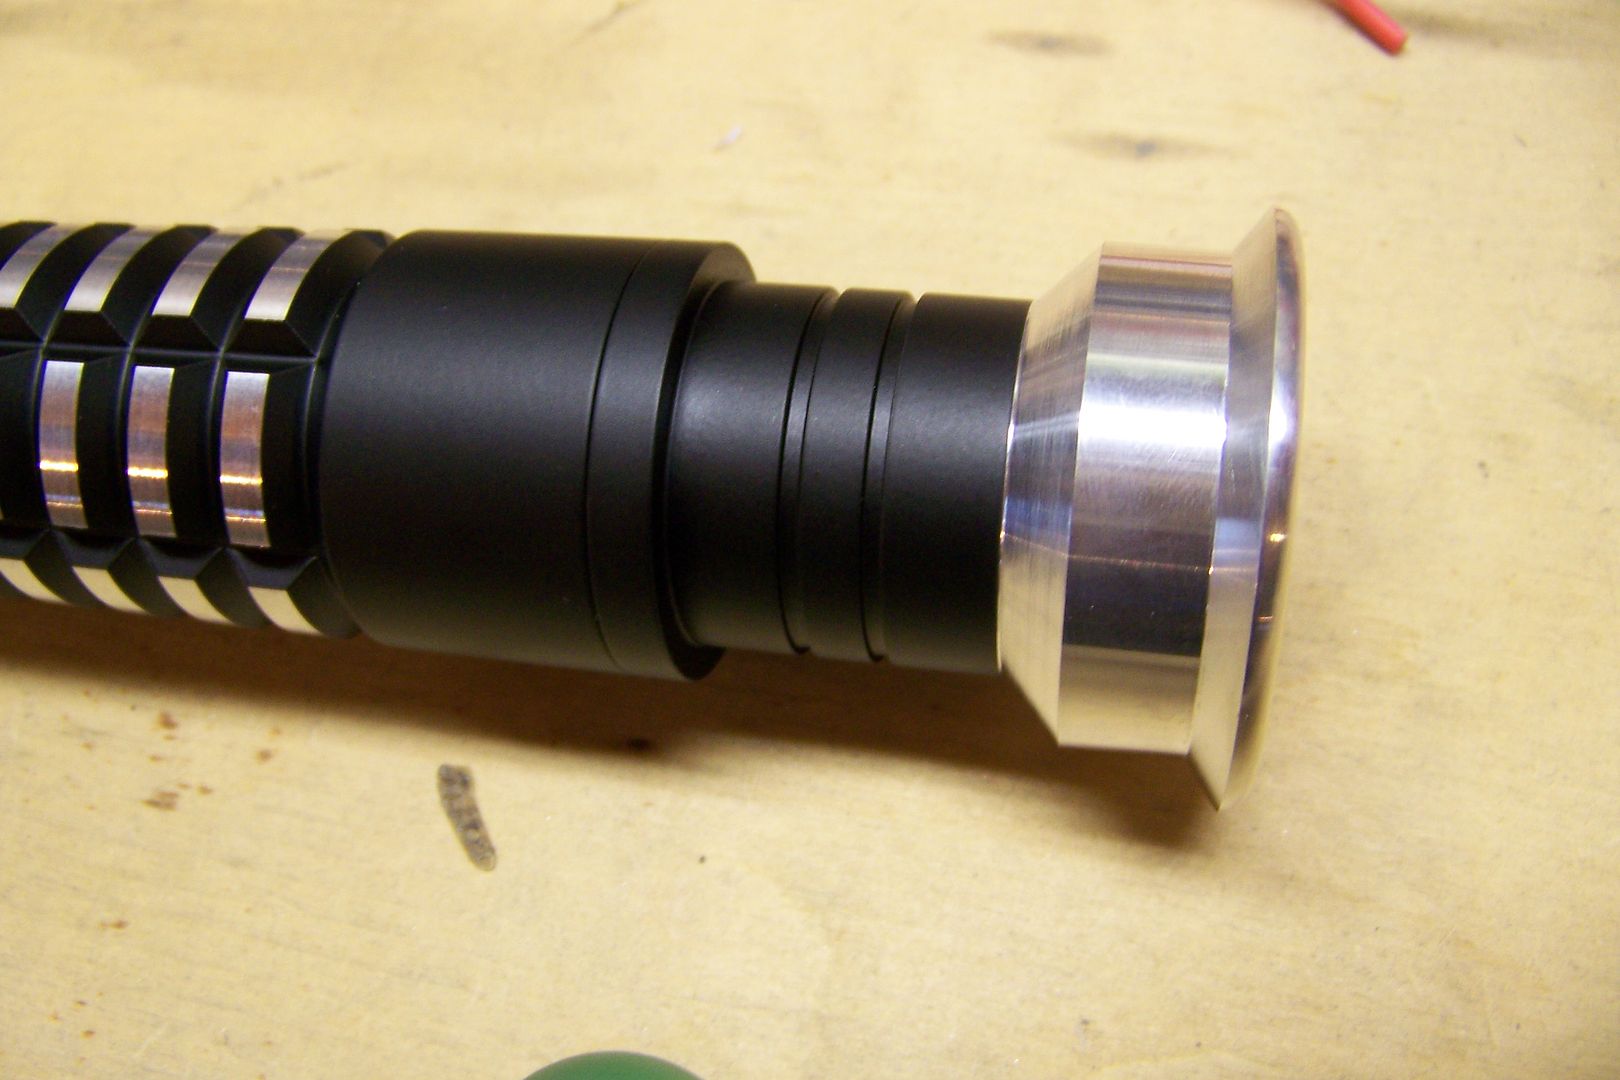
This isn't a style TCSS offers on the site, but if you email Tim and request it in this style, he may just do it for you.
I started by removing the heat shrink from the sound board...it would be impossible to wire up the switch like I do with it on:
Besides, I plan on mounting the soundboard in this saber to one of my sound board mounts:
This will get modified with extra holes to allow sound to vent into the ribbed extension.
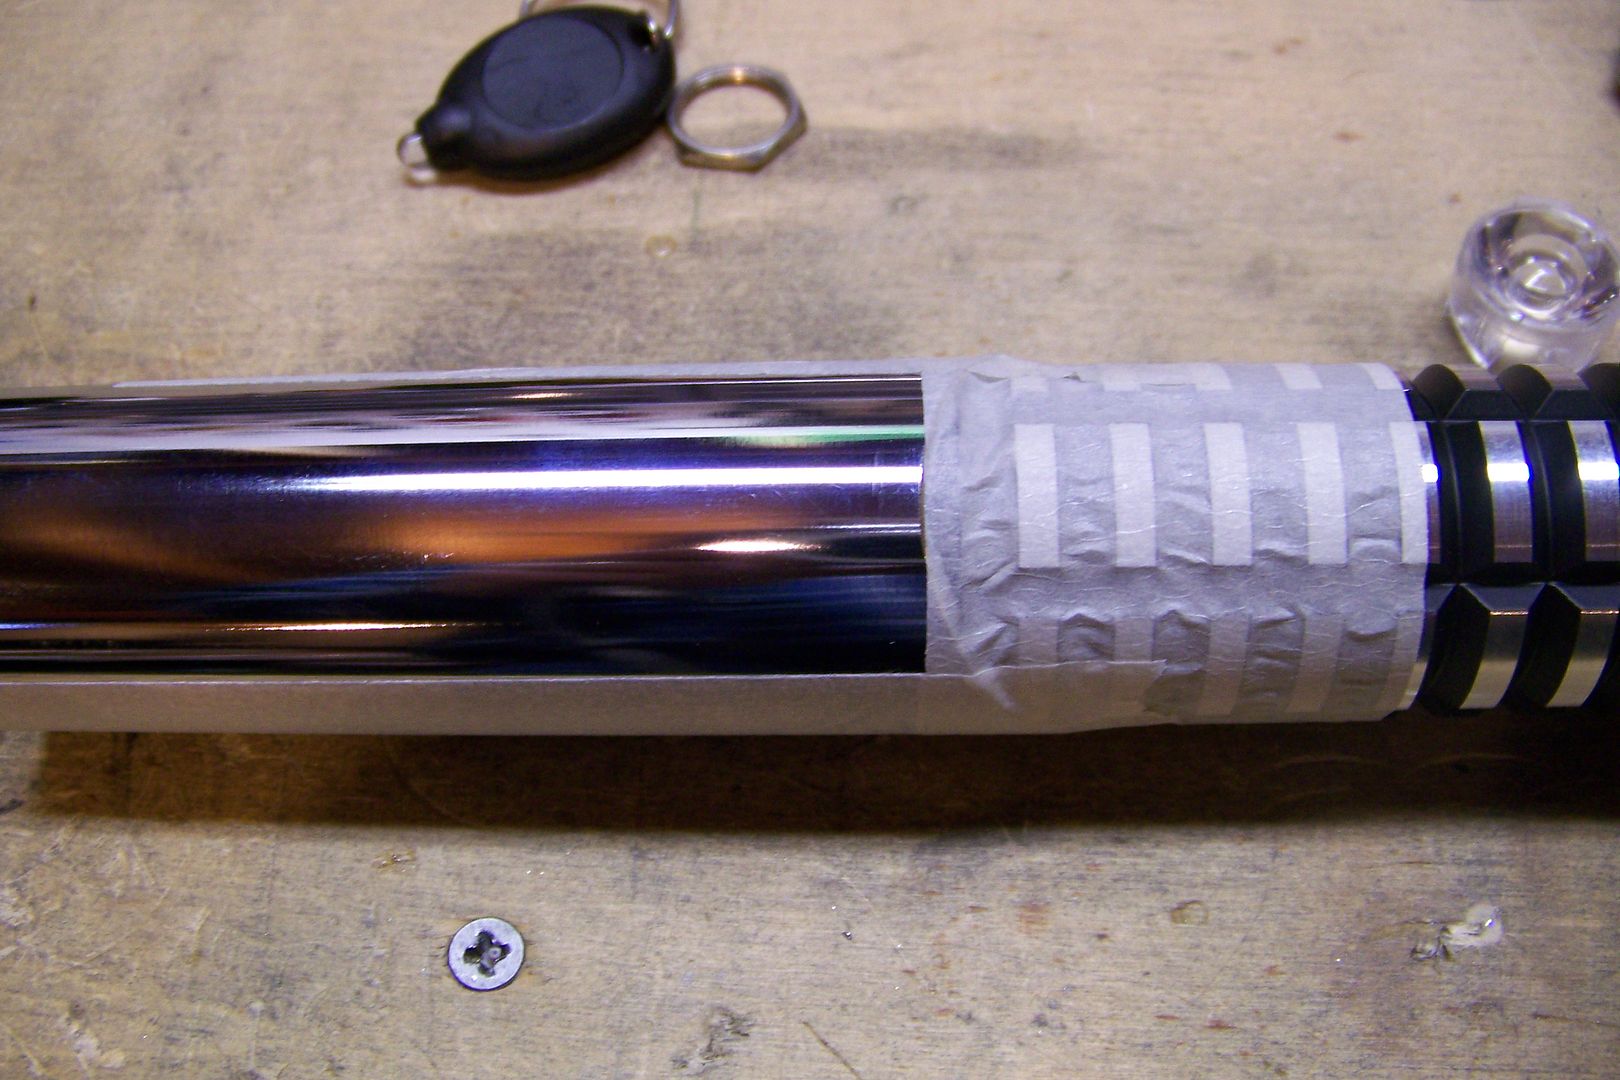
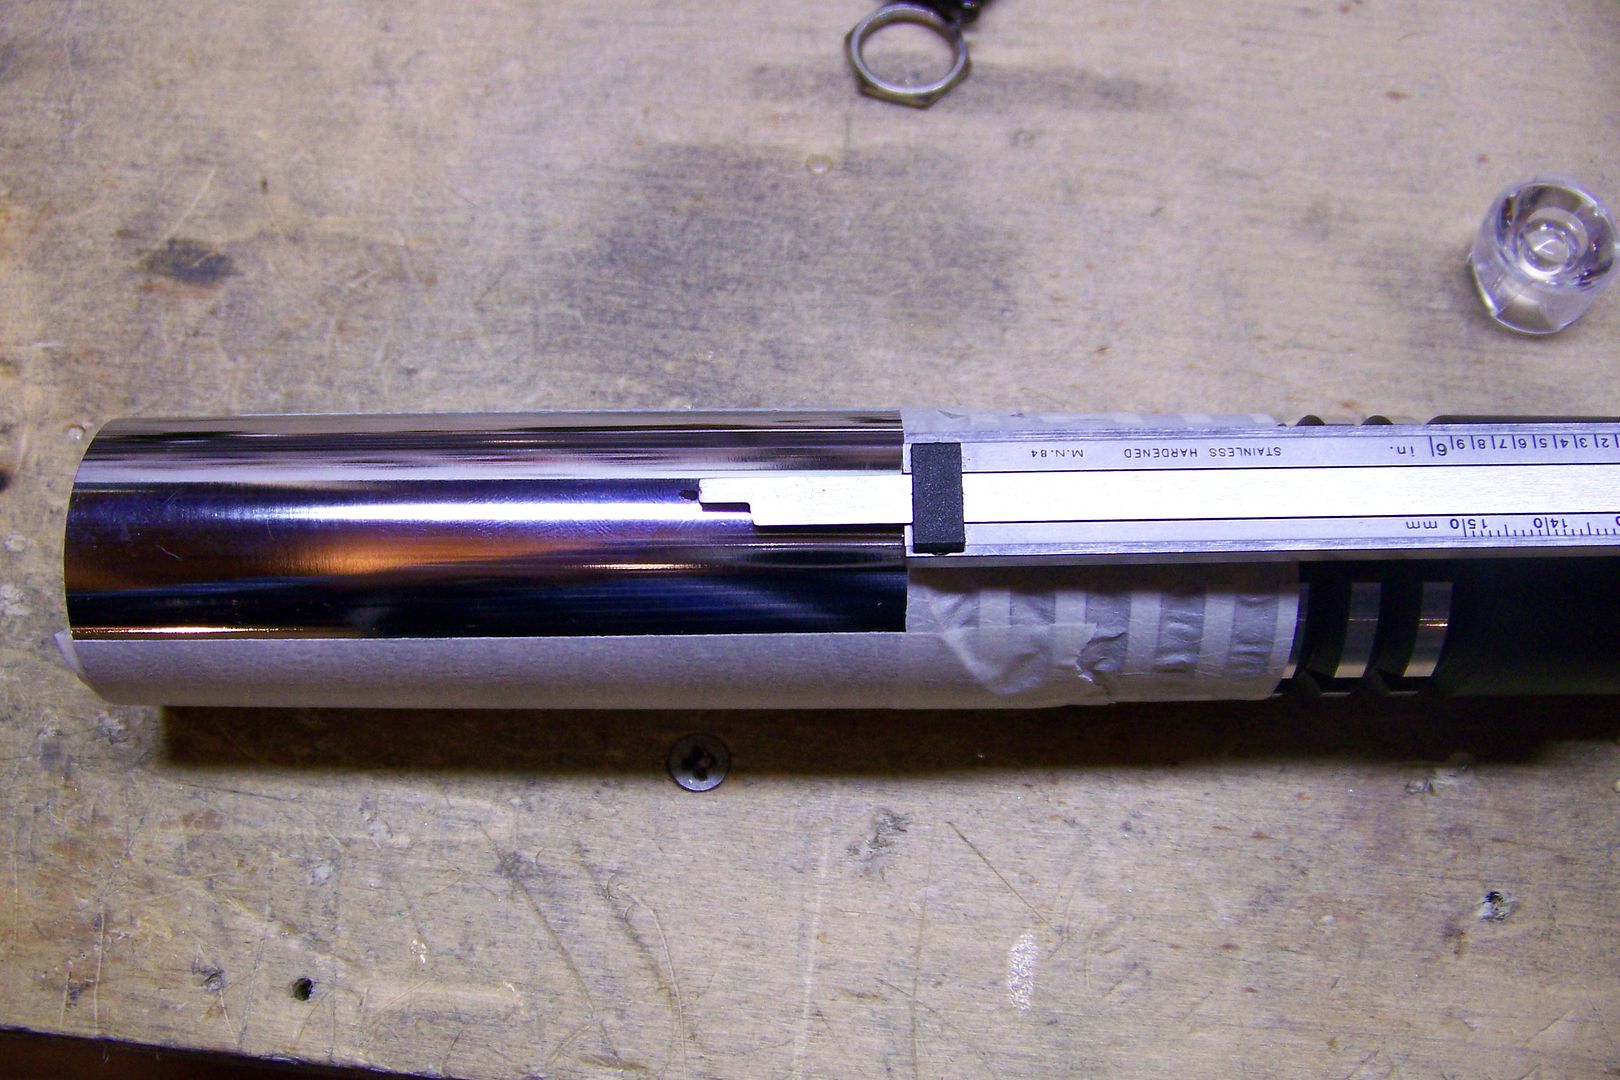
I cut the chrome sleeve to the required length and de-burred it, then fit it on the hilt and taped it in place so I could drill for the switch hole:
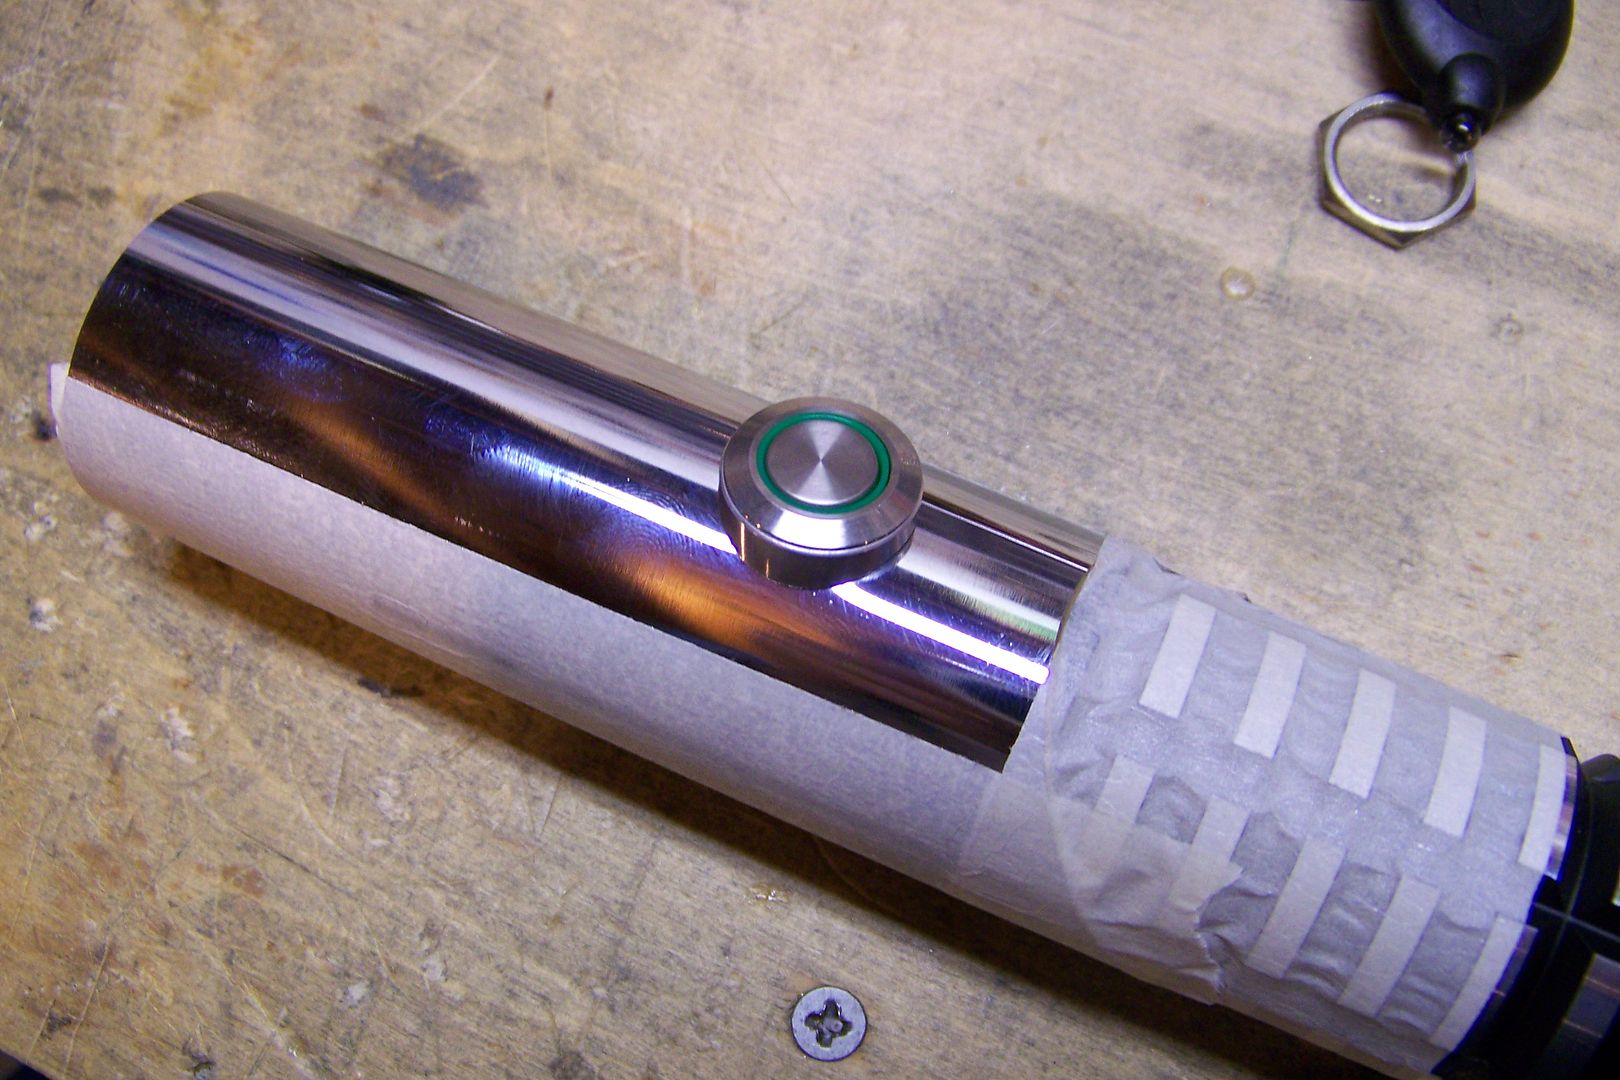
I set it up in the drill press, drilled the hole, de-burred the hole, and then test fit the switch:
Yup, it fits.
I removed all the tape, and then measured and marked off the hilt so I could add scoring lines with my tubing cutter:
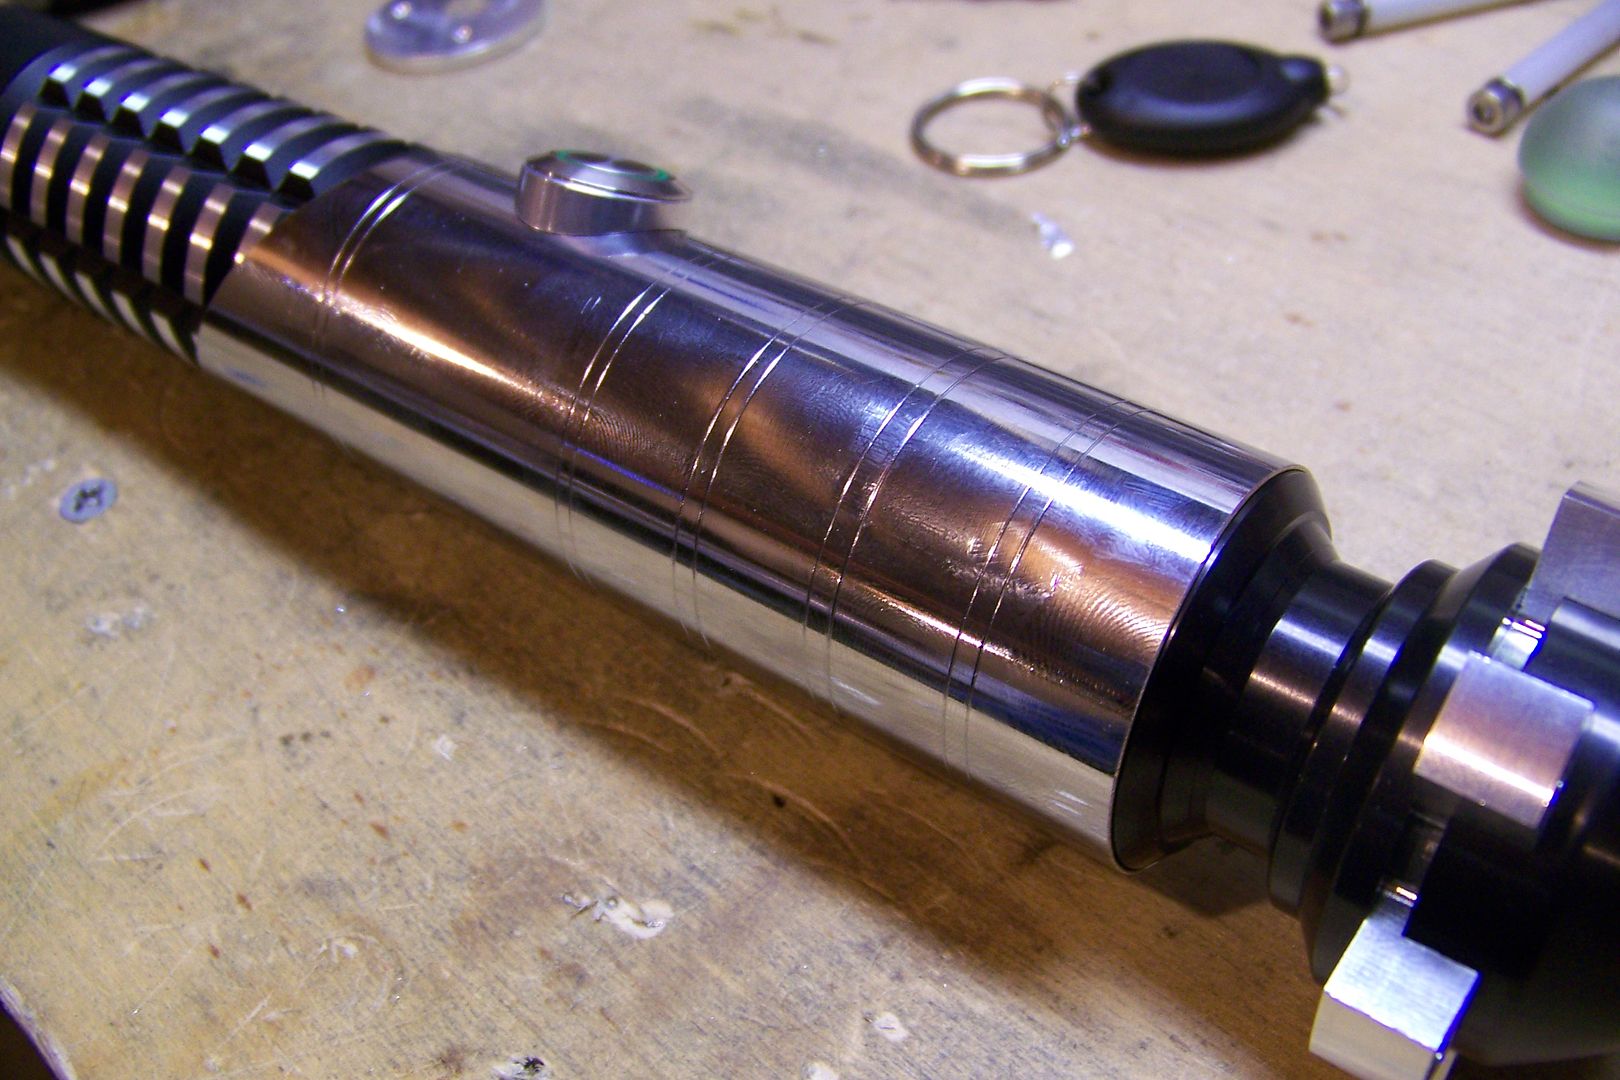
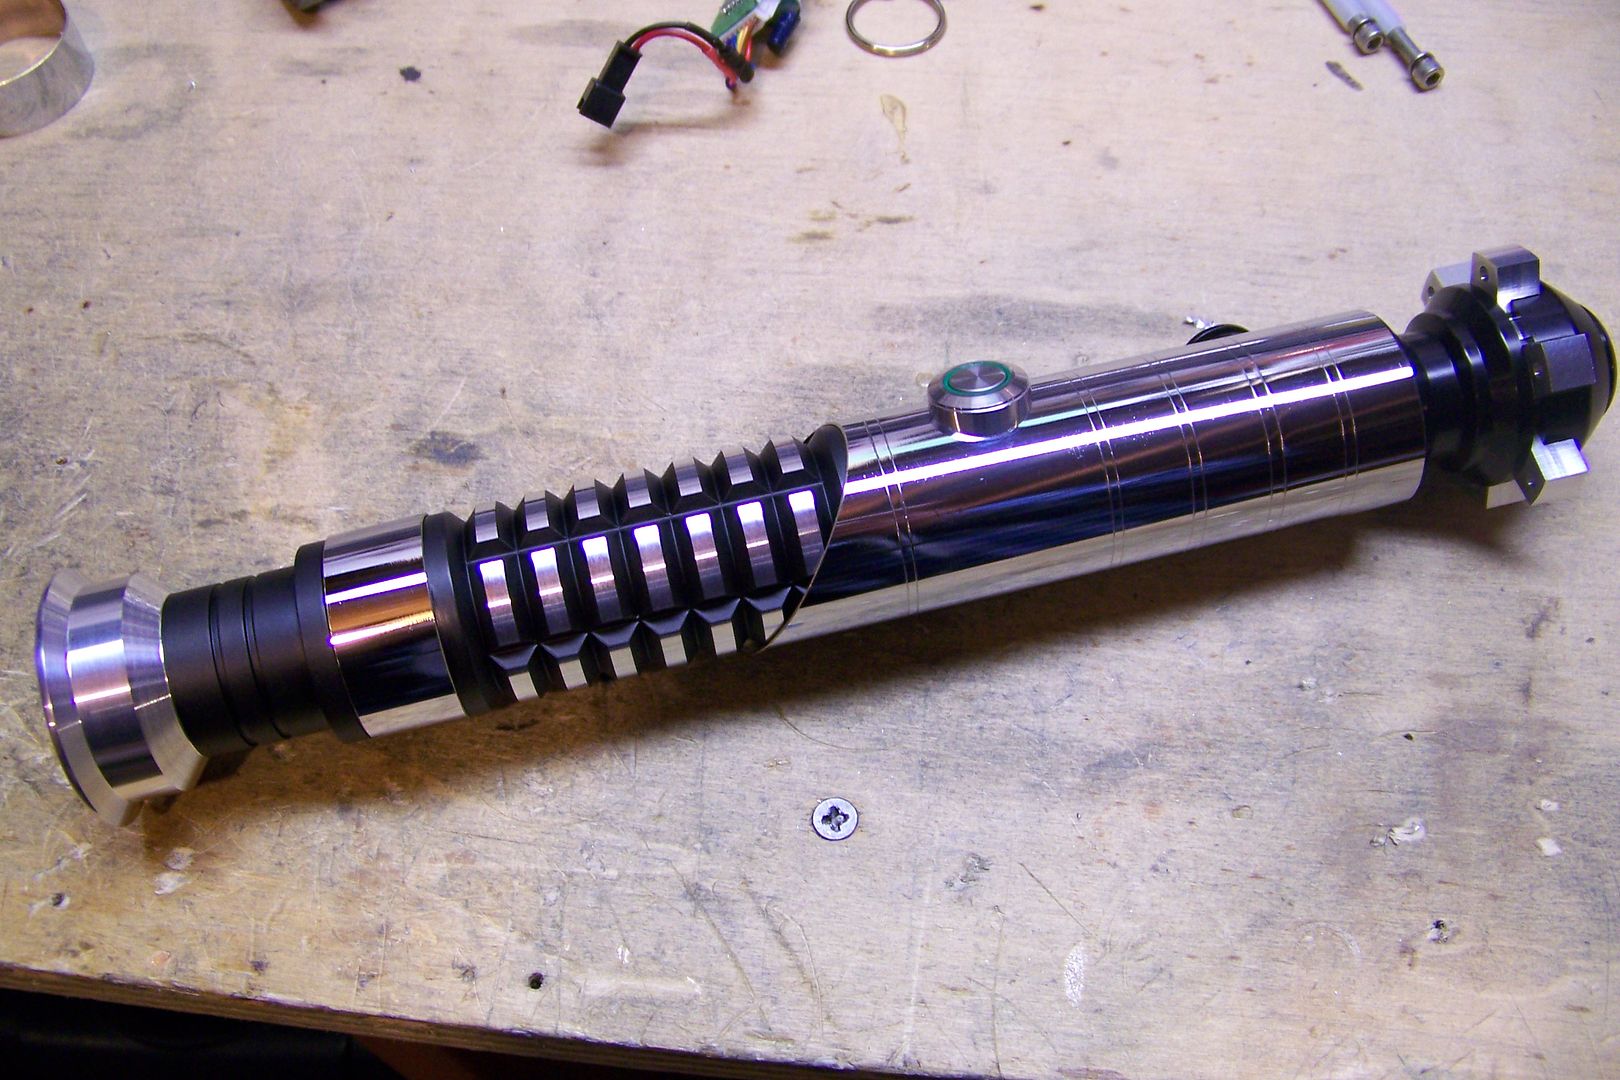
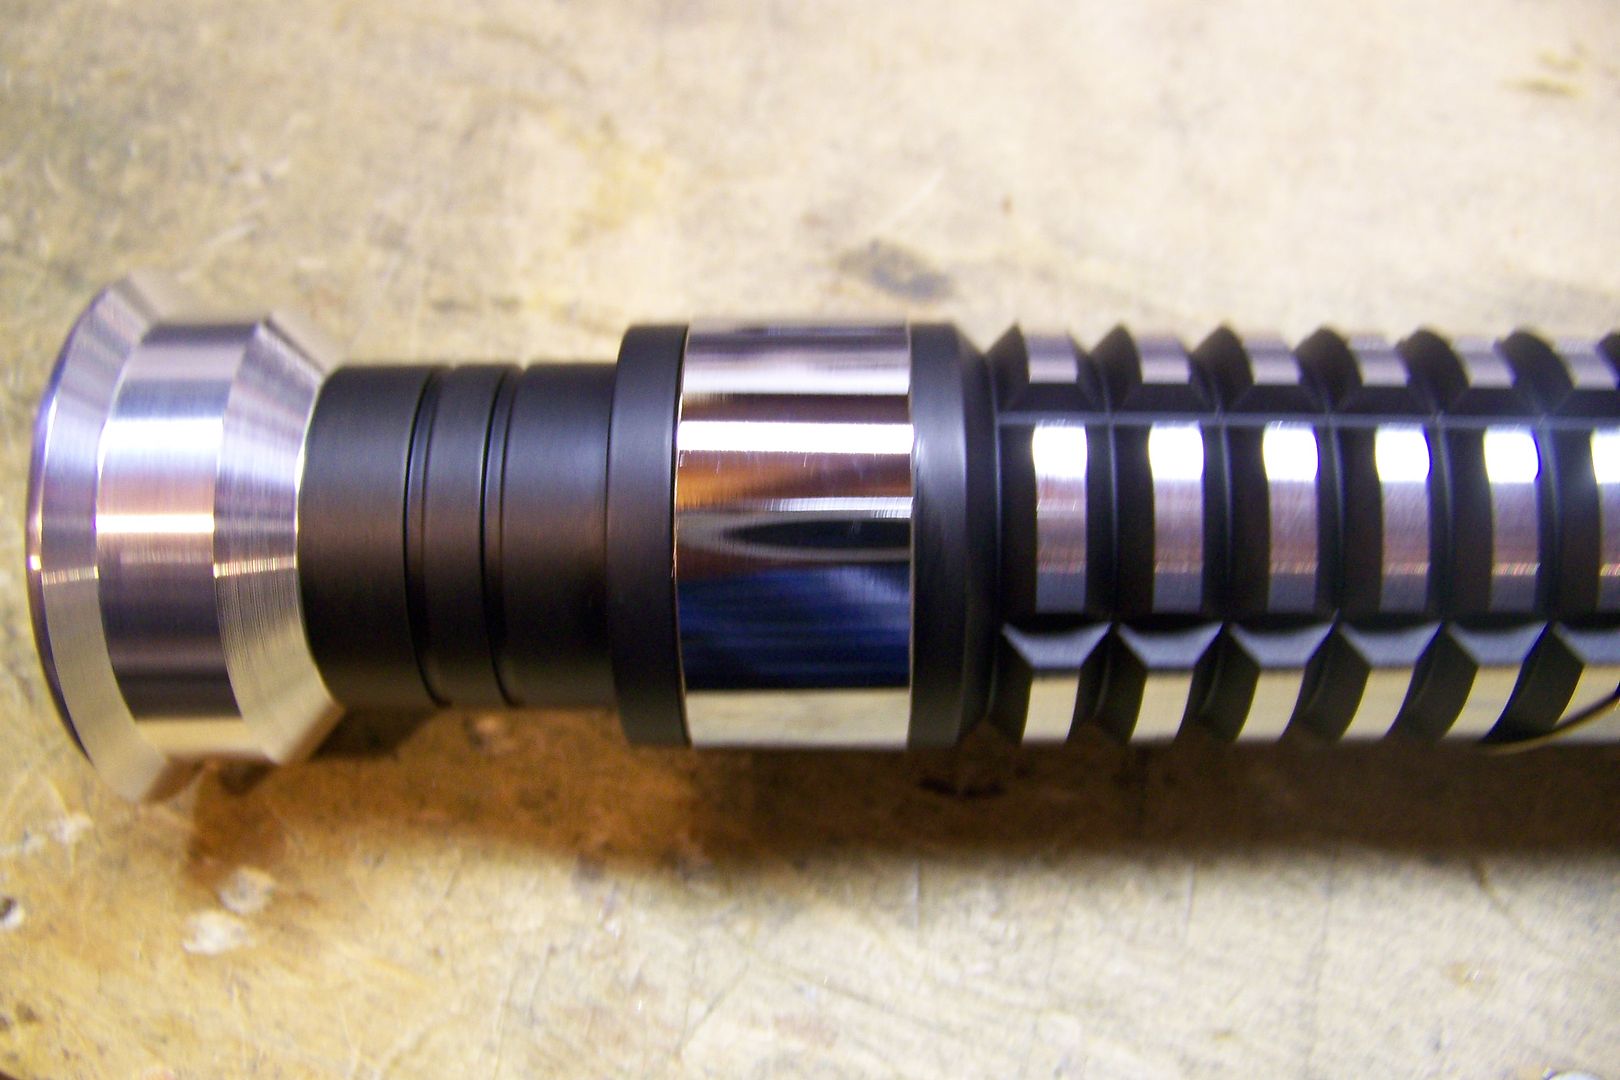
I then test assembled the hilt to see how it looked:
This chrome band near the emitter is going to be attached using two-part epoxy:
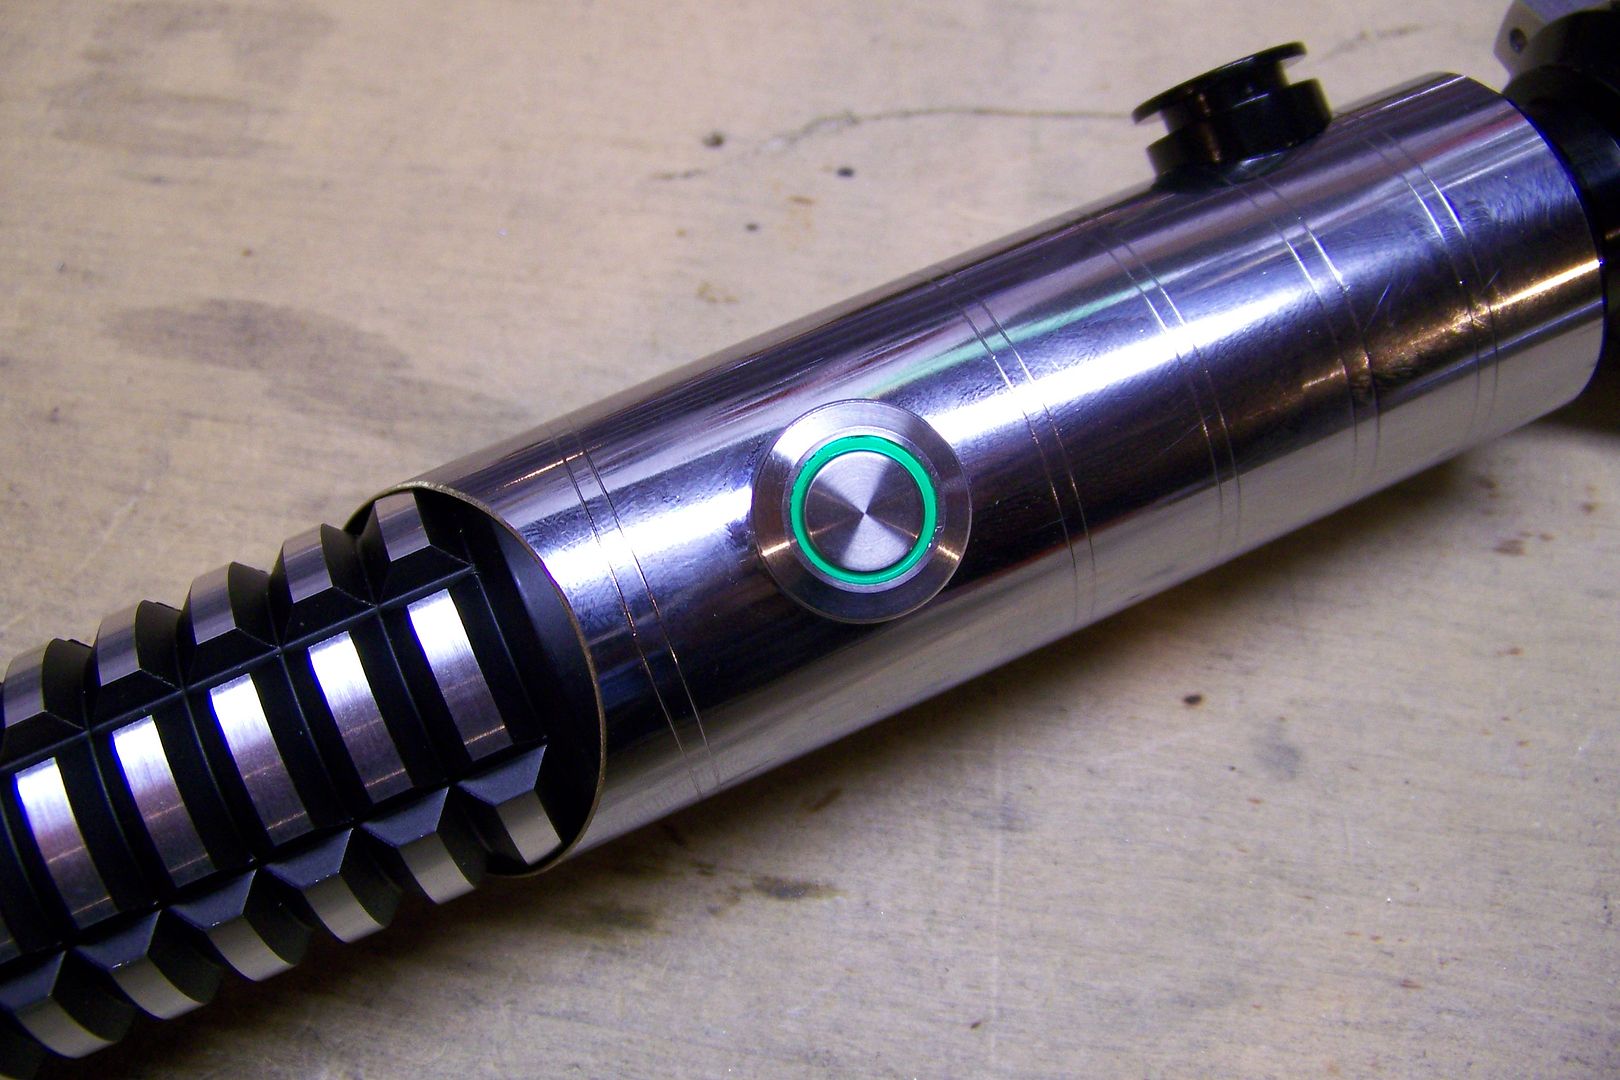
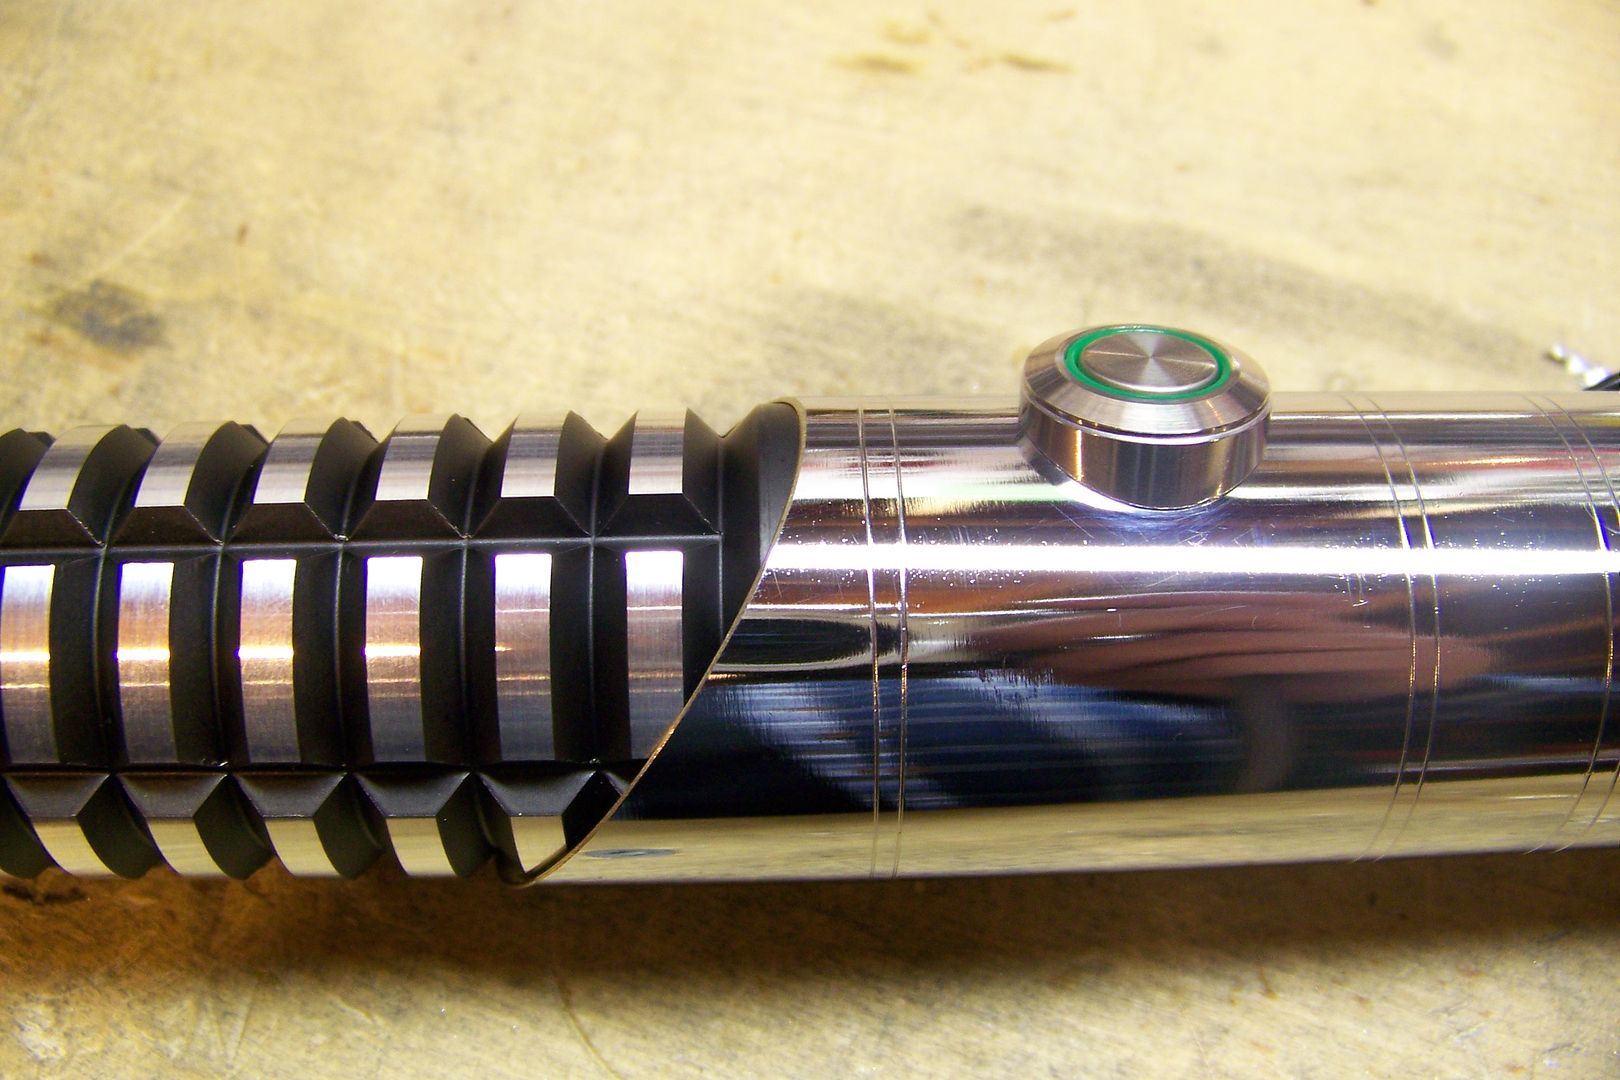
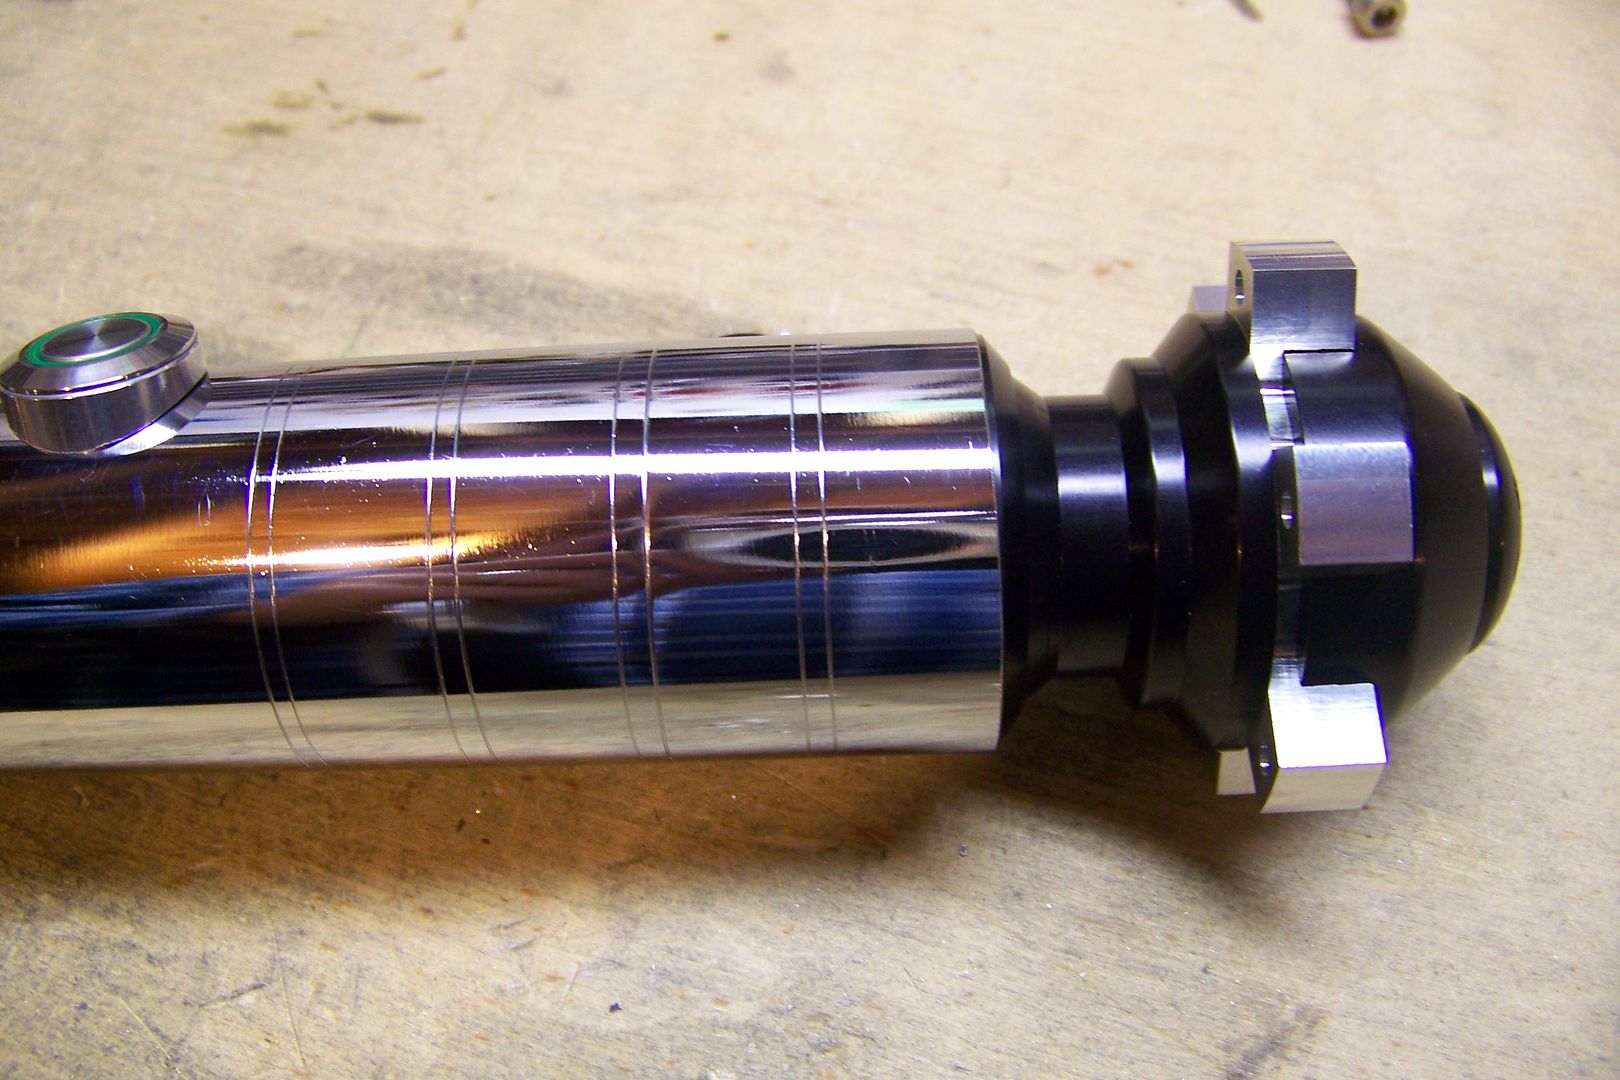
Here's the finished scoring marks:
I put some in front of the switch to give the illusion that it has a separate switch section in the middle of the hilt.
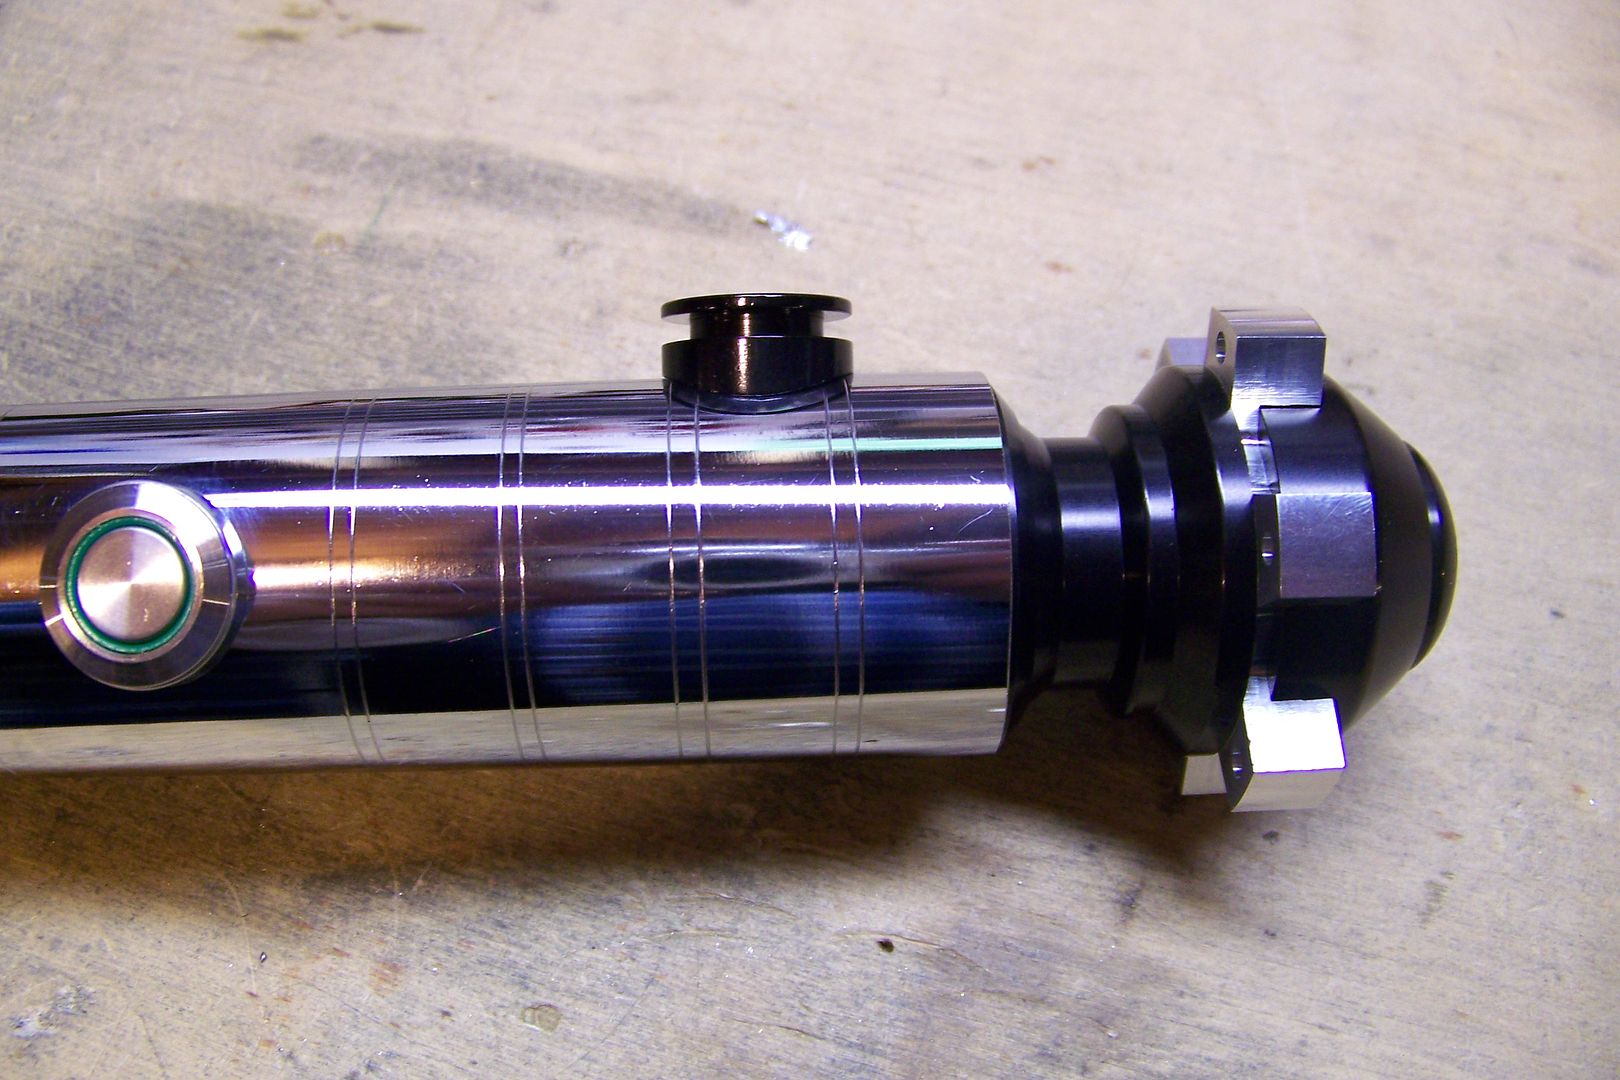
I drilled and tapped it for the CT button:
Here it is next to it's brother, sister or cousin or the inspiration (CS-X), I guess:

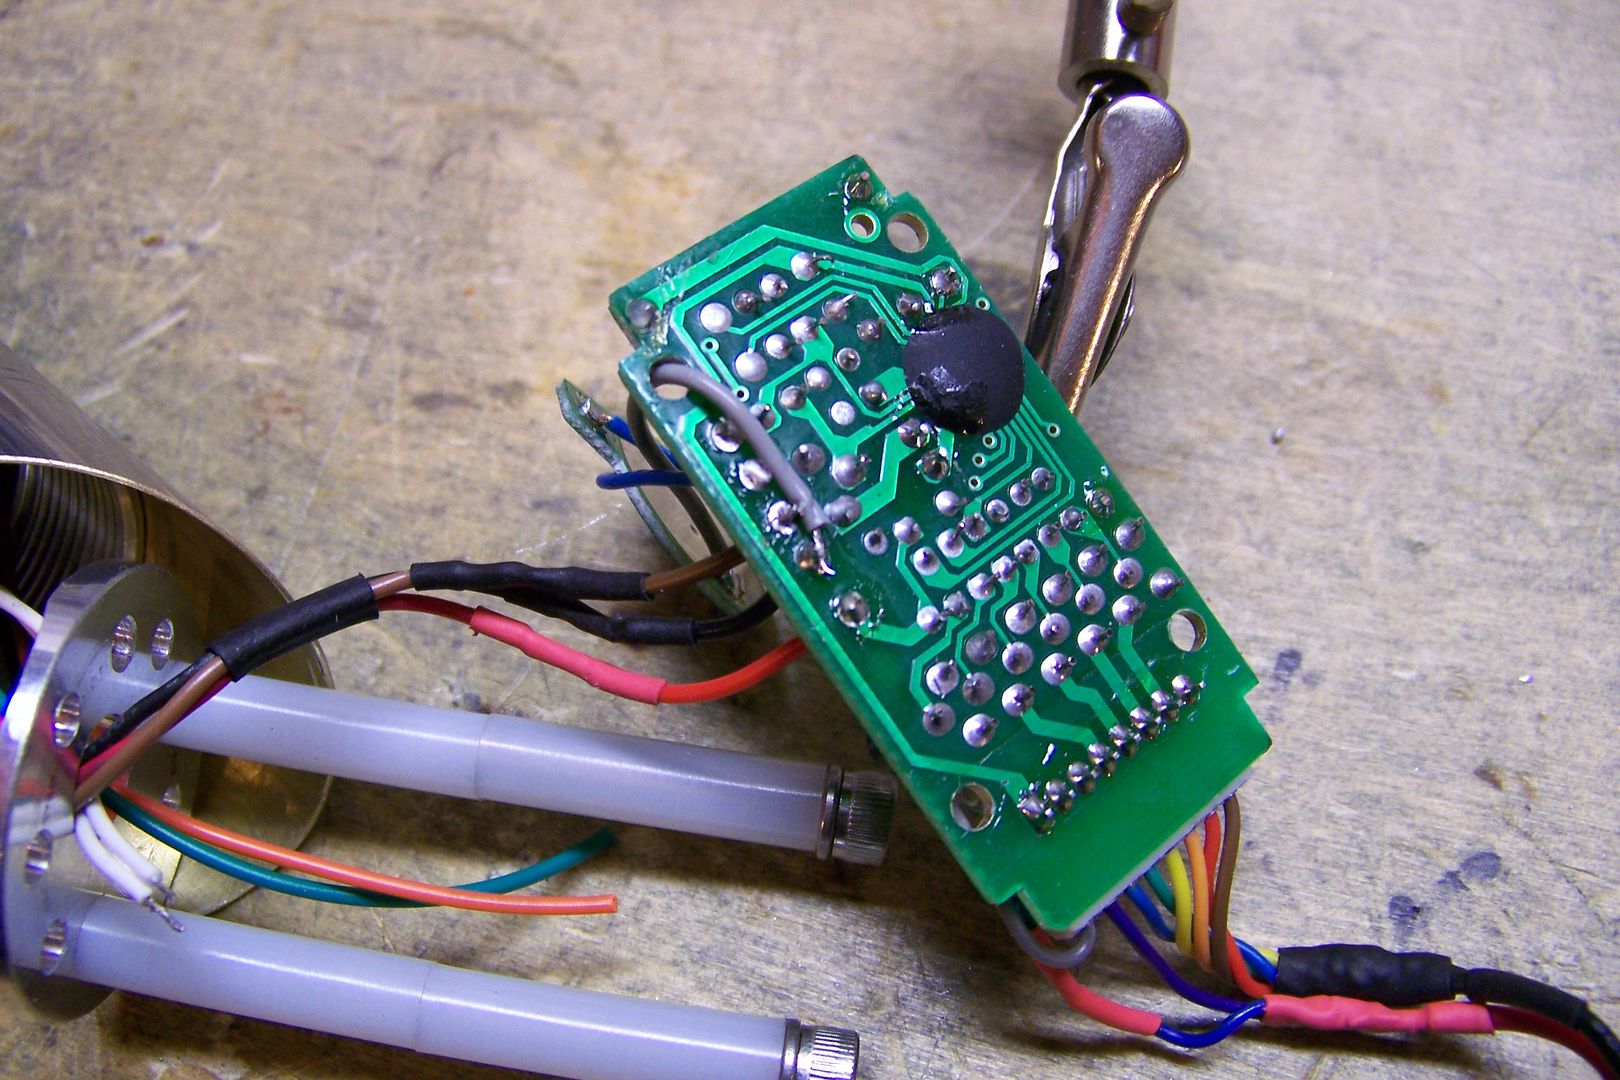
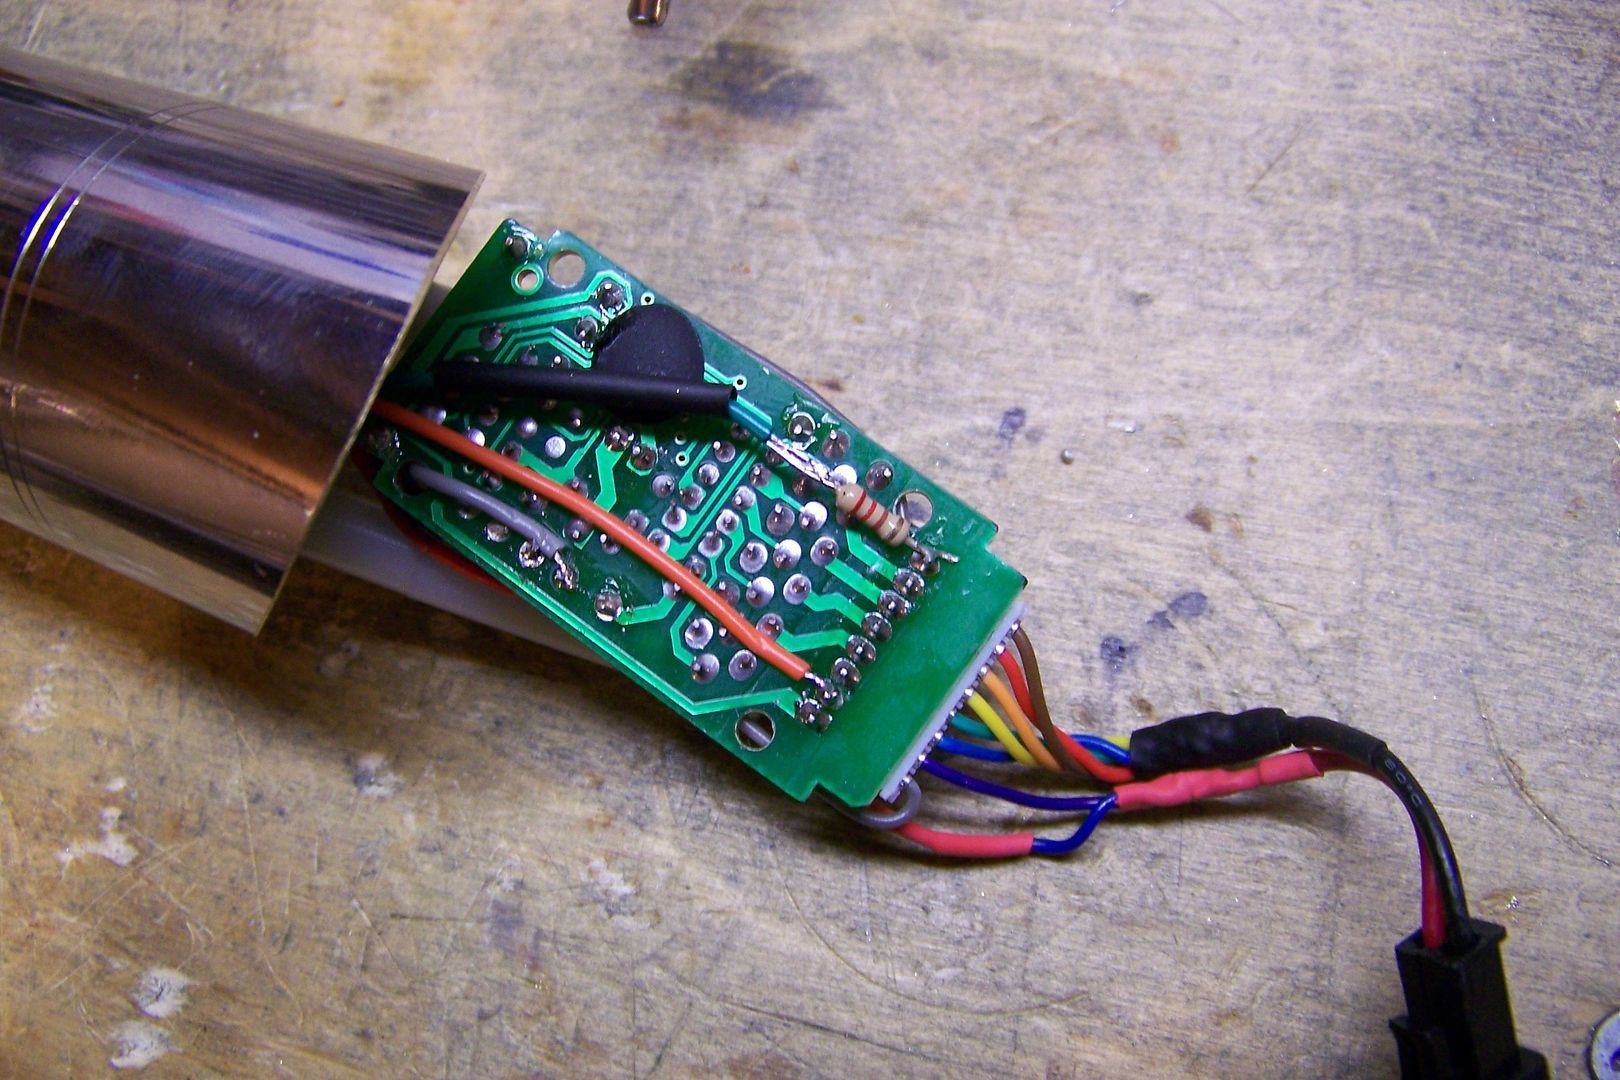
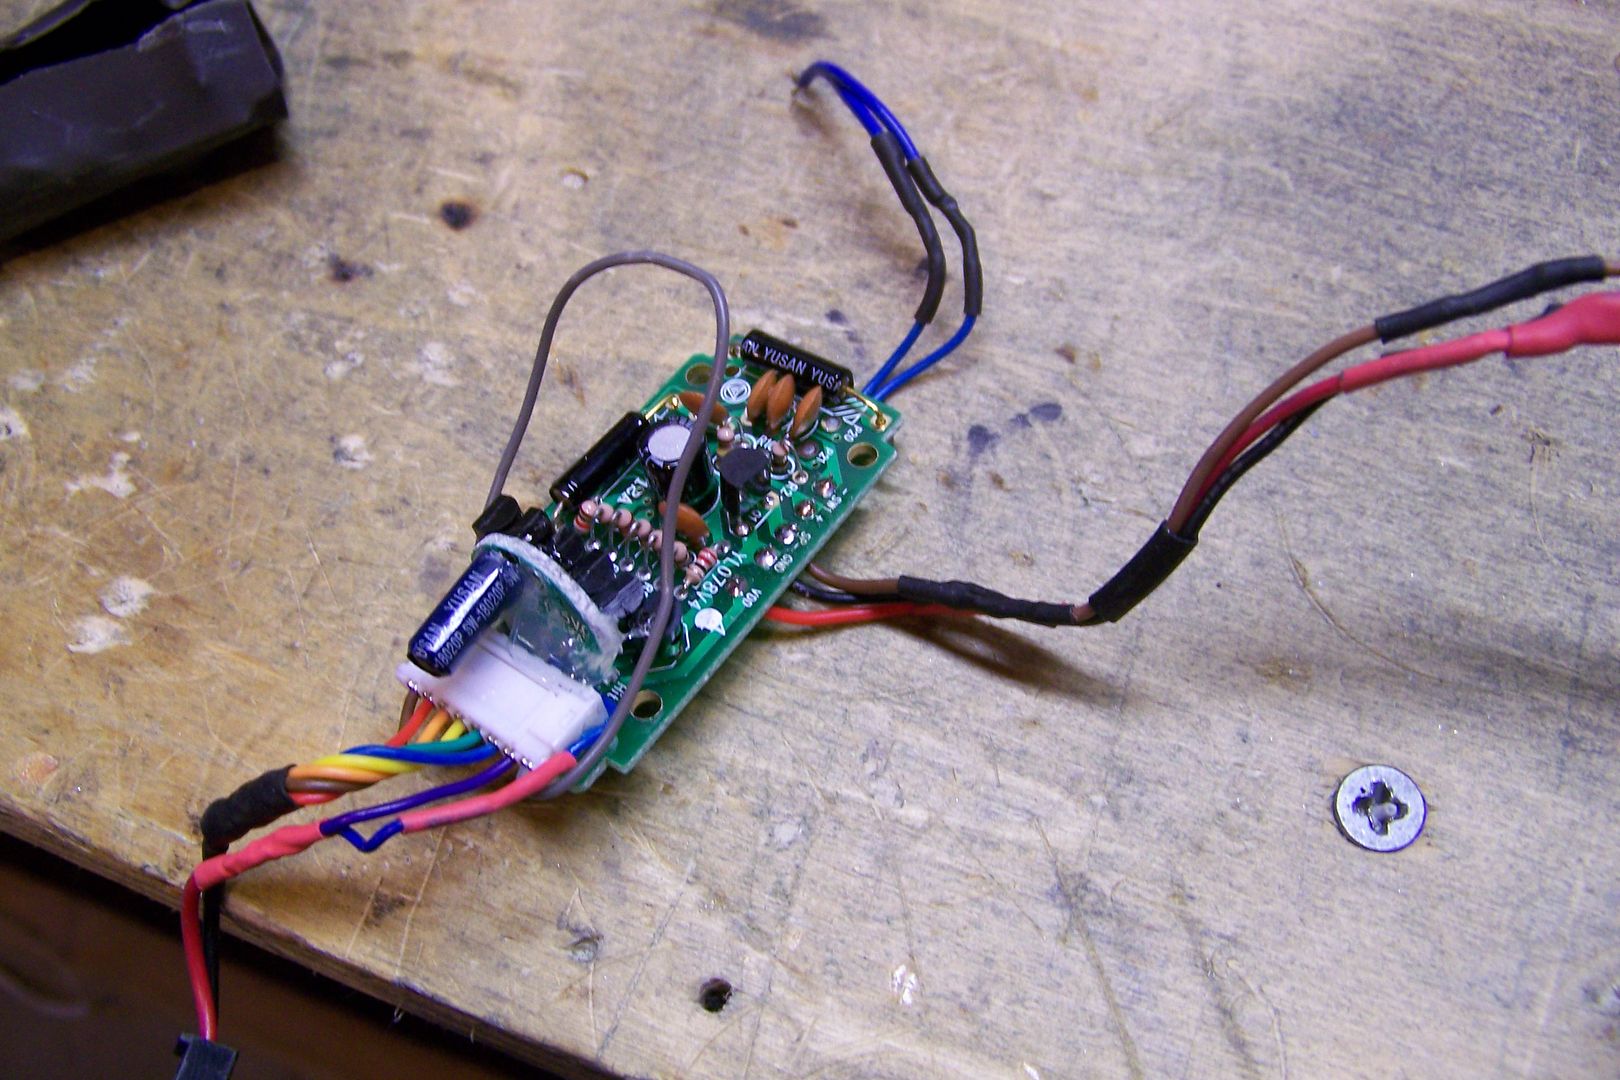
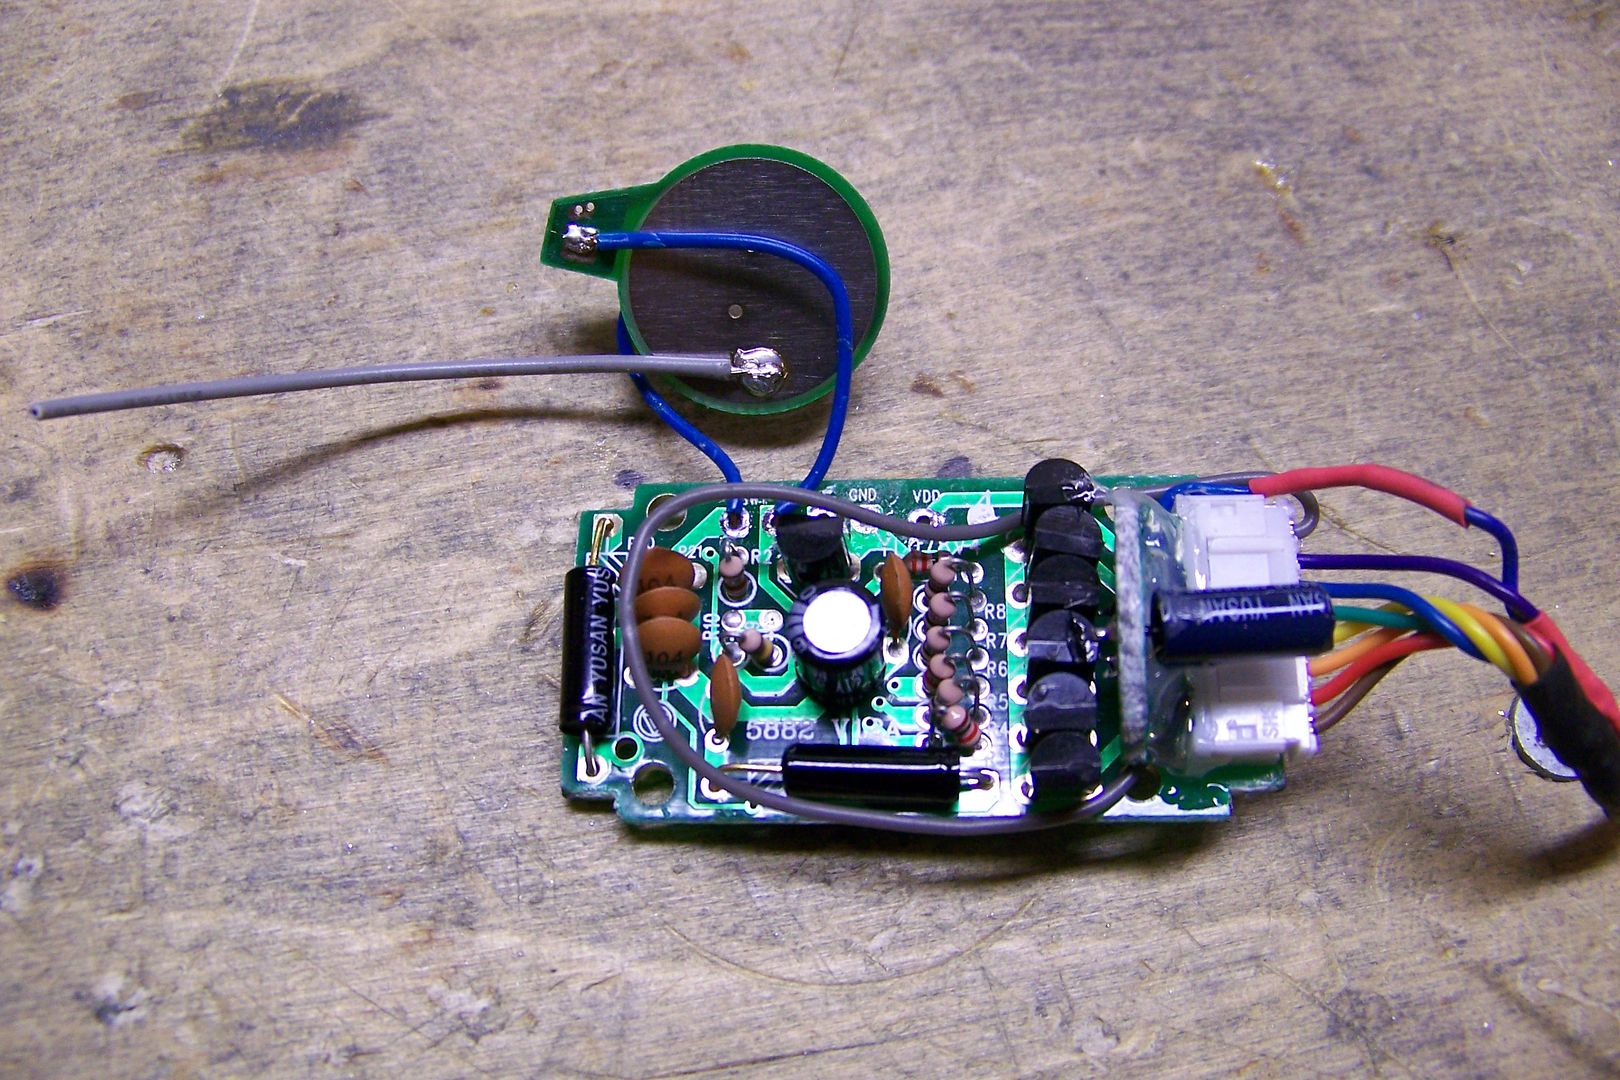
Now for the good stuff....I know there have been people wanting to see pictures of how to use the lighthound pcb with an MR FX board, so I shot some while I did it:
In the above shot, the gray wire is the pcb negative...this will go to the board negative later. The blue wire is the MR board's negative switch lead. This usually doesn't matter, but I figured it was the best way to do it.
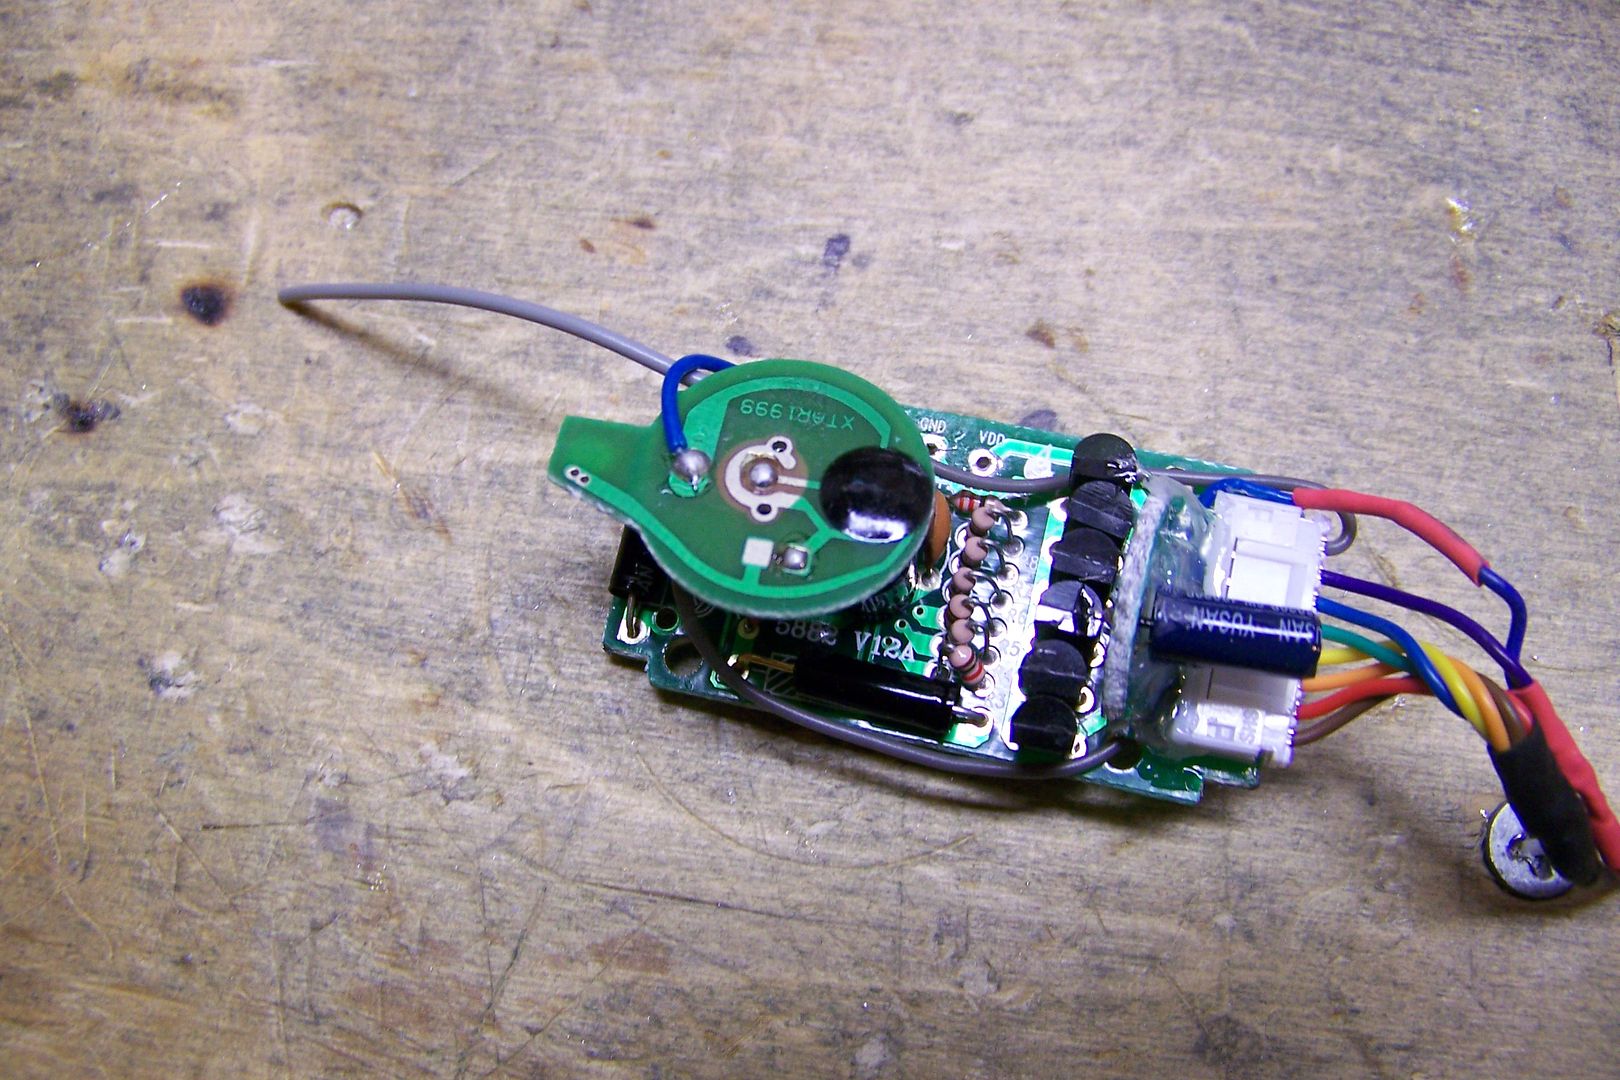
I flipped it over and soldered the positive switch lead to the positive connection where the led was soldered:
I also pre-tinned the pads on the pcb where the switch leads will go. I'll add those later, after as I assemble the hilt.
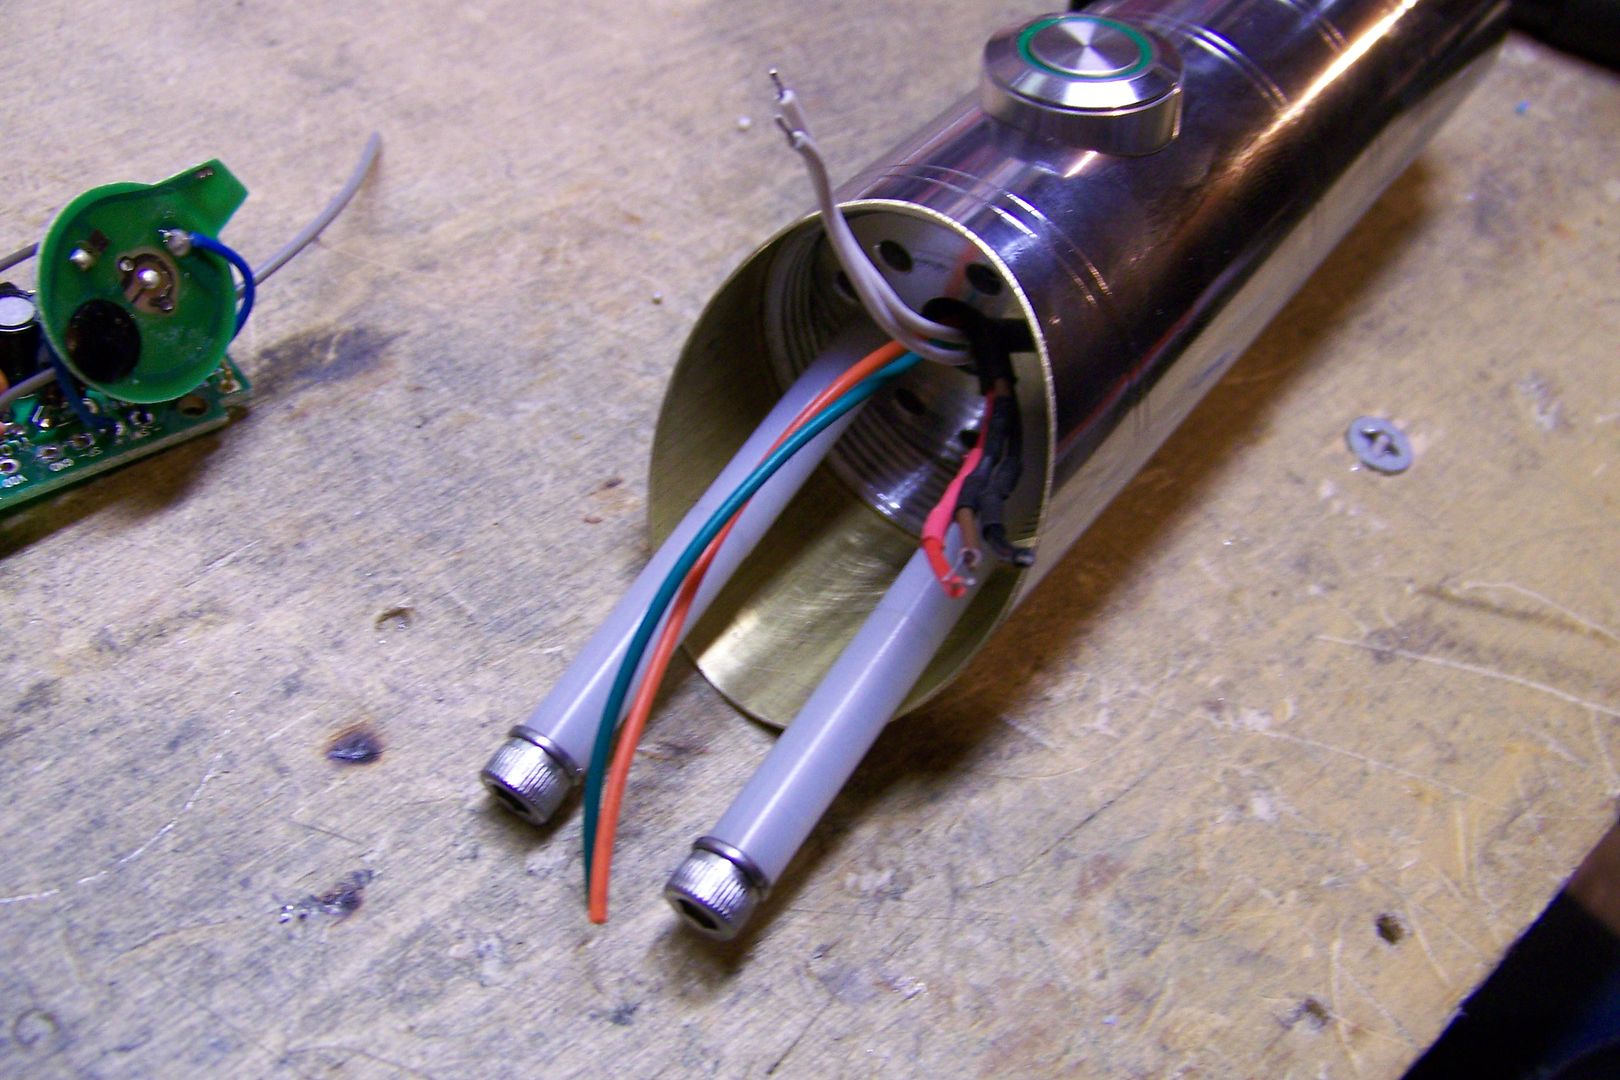
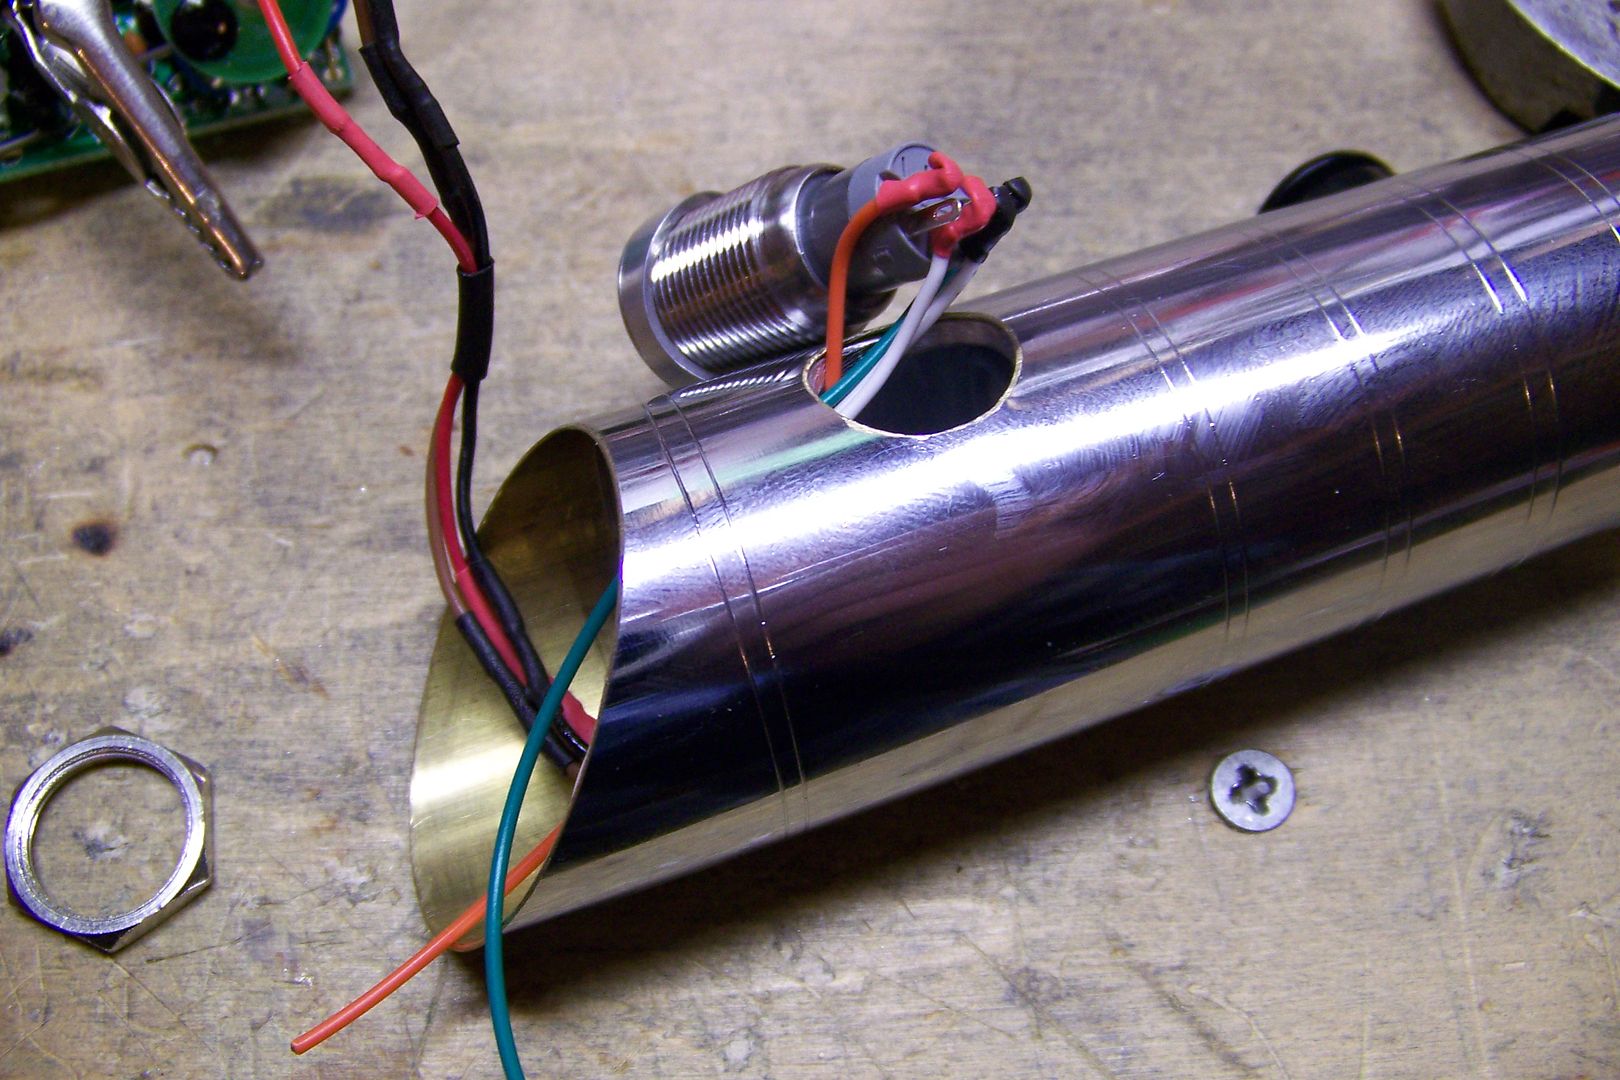
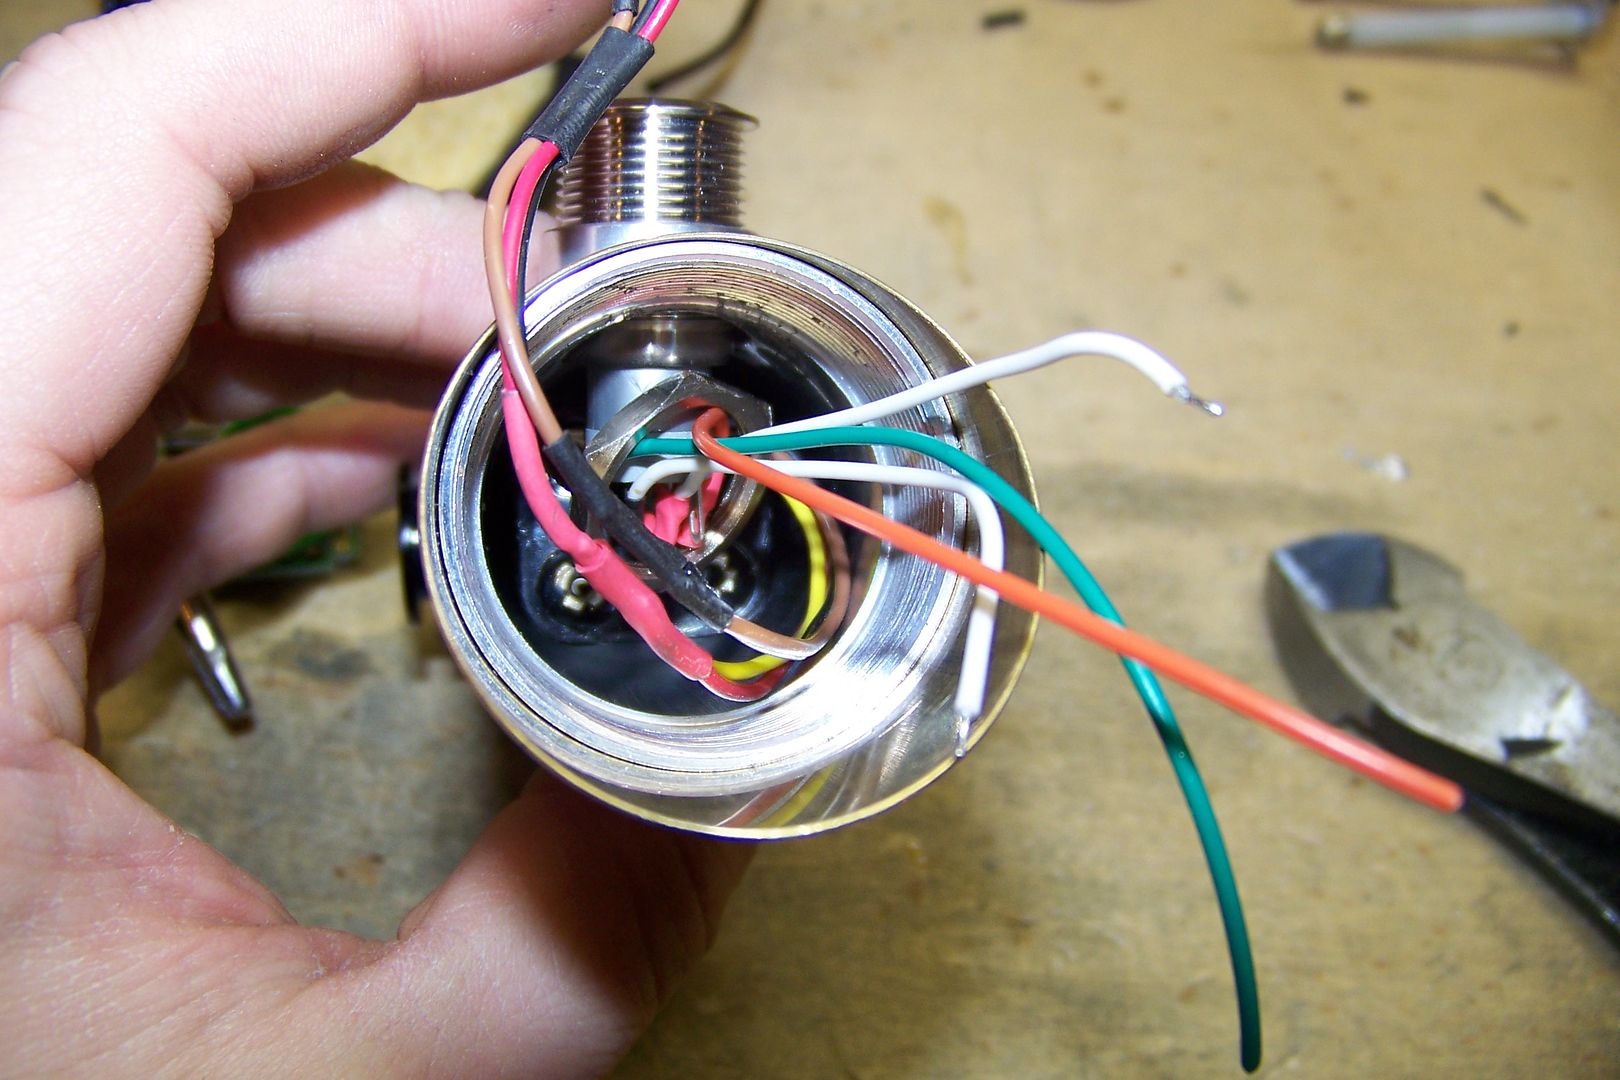
I added wires to the switch and fed them through the hole in the hilt:
I slipped the switch nut on the wires:
I then tightened the nut as tight as I could get it using a flat bladed screwdriver by pressing it on the corners of the nut. That was impossible to pictures of, sorry.
I fed the wires through the hole in the sound board mount:
Then made the connections to the soundboard:
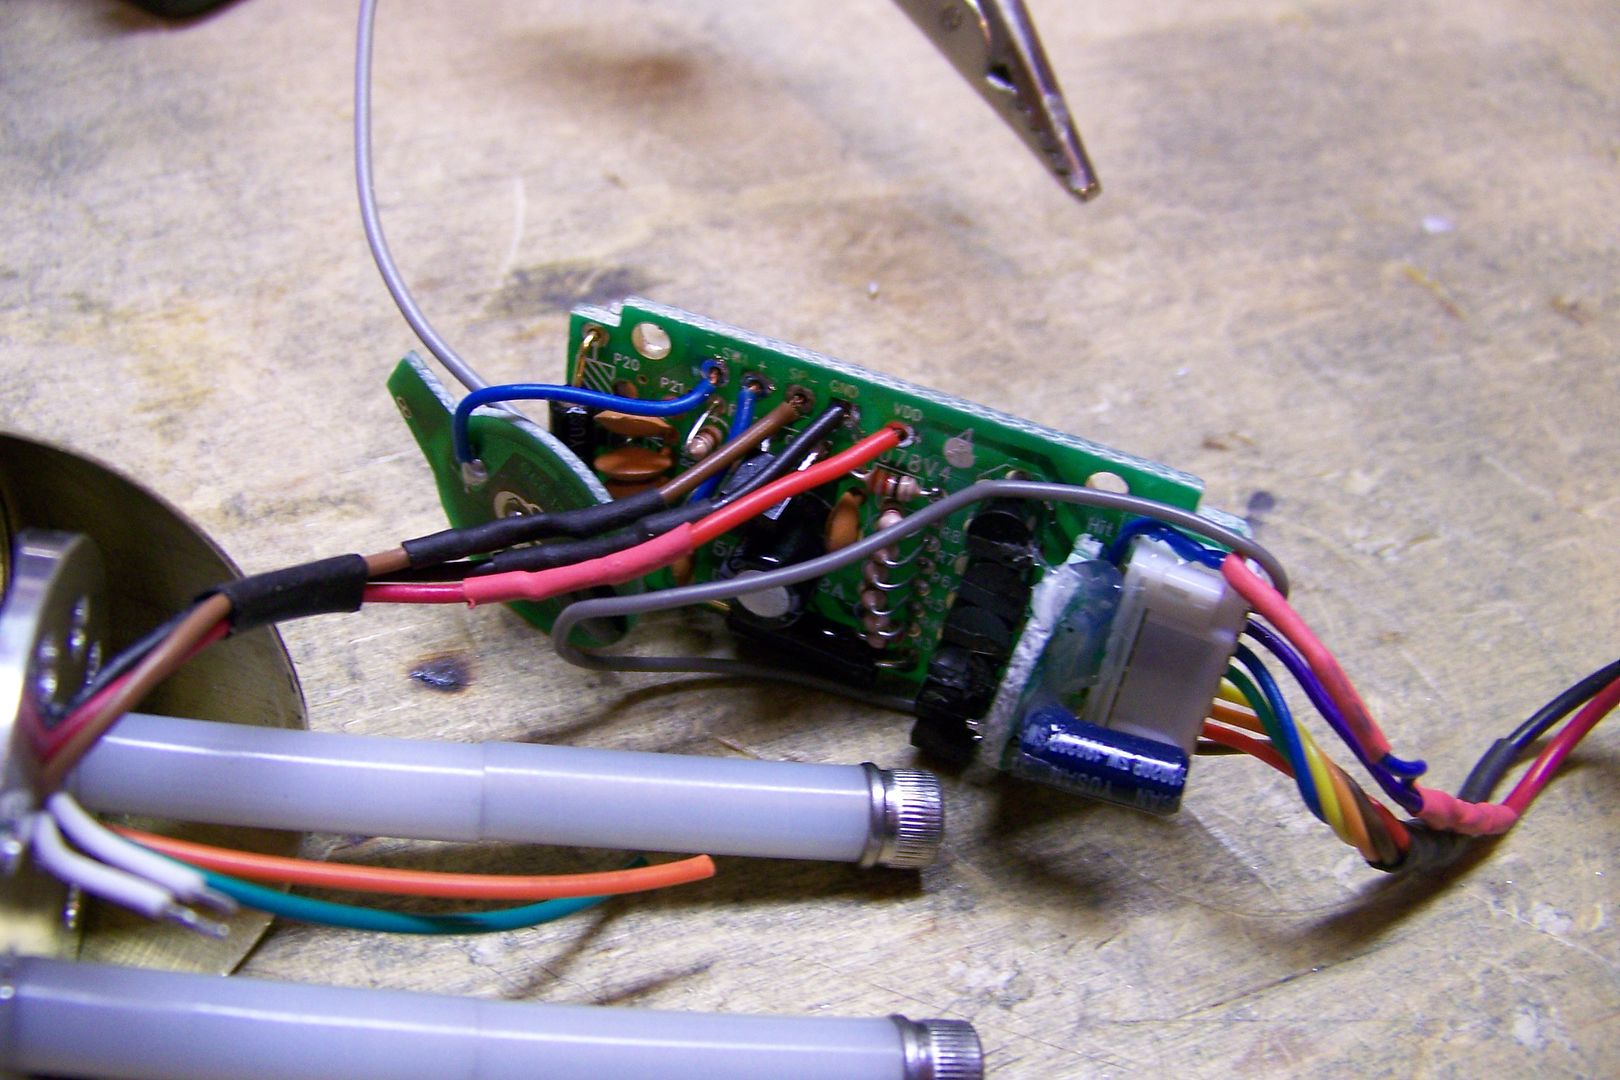
At this point, I soldered the gray negative wire for the lighthound pcb to the board negative:
Then added the wires from the av switch:
I added batteries, and the saber immediately came on...it went right off with a single tap of the switch button.
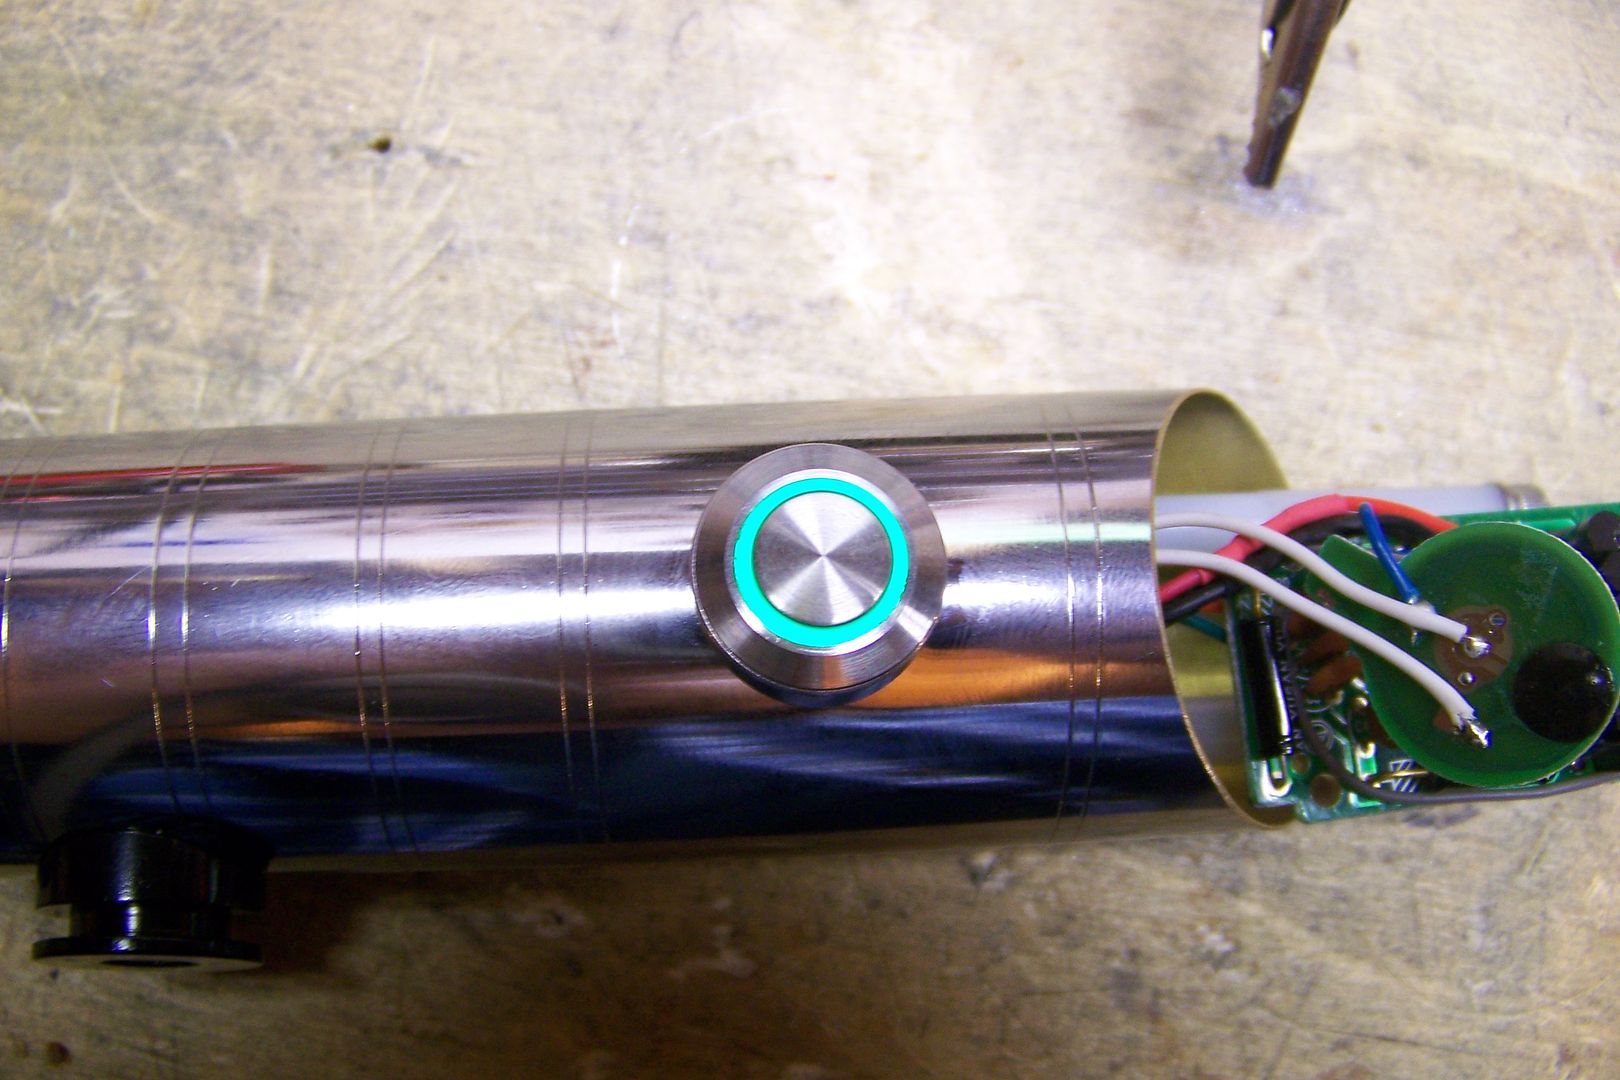
After that, I added the wires for the switch led:
Orange is the positive, green is the negative. I used a 220 ohm, 1/4 watt resistor as this saber will likely be powered by alkaline batteries which provide 6 volts. it can also use NiMH AAA's, too, and the switch is still just as bright with those.
Tapped the button and tested:
Yup, it's plenty bright and works fine, even with the main led attached, unlike some of the other switches I've used that had 12v led's in them.
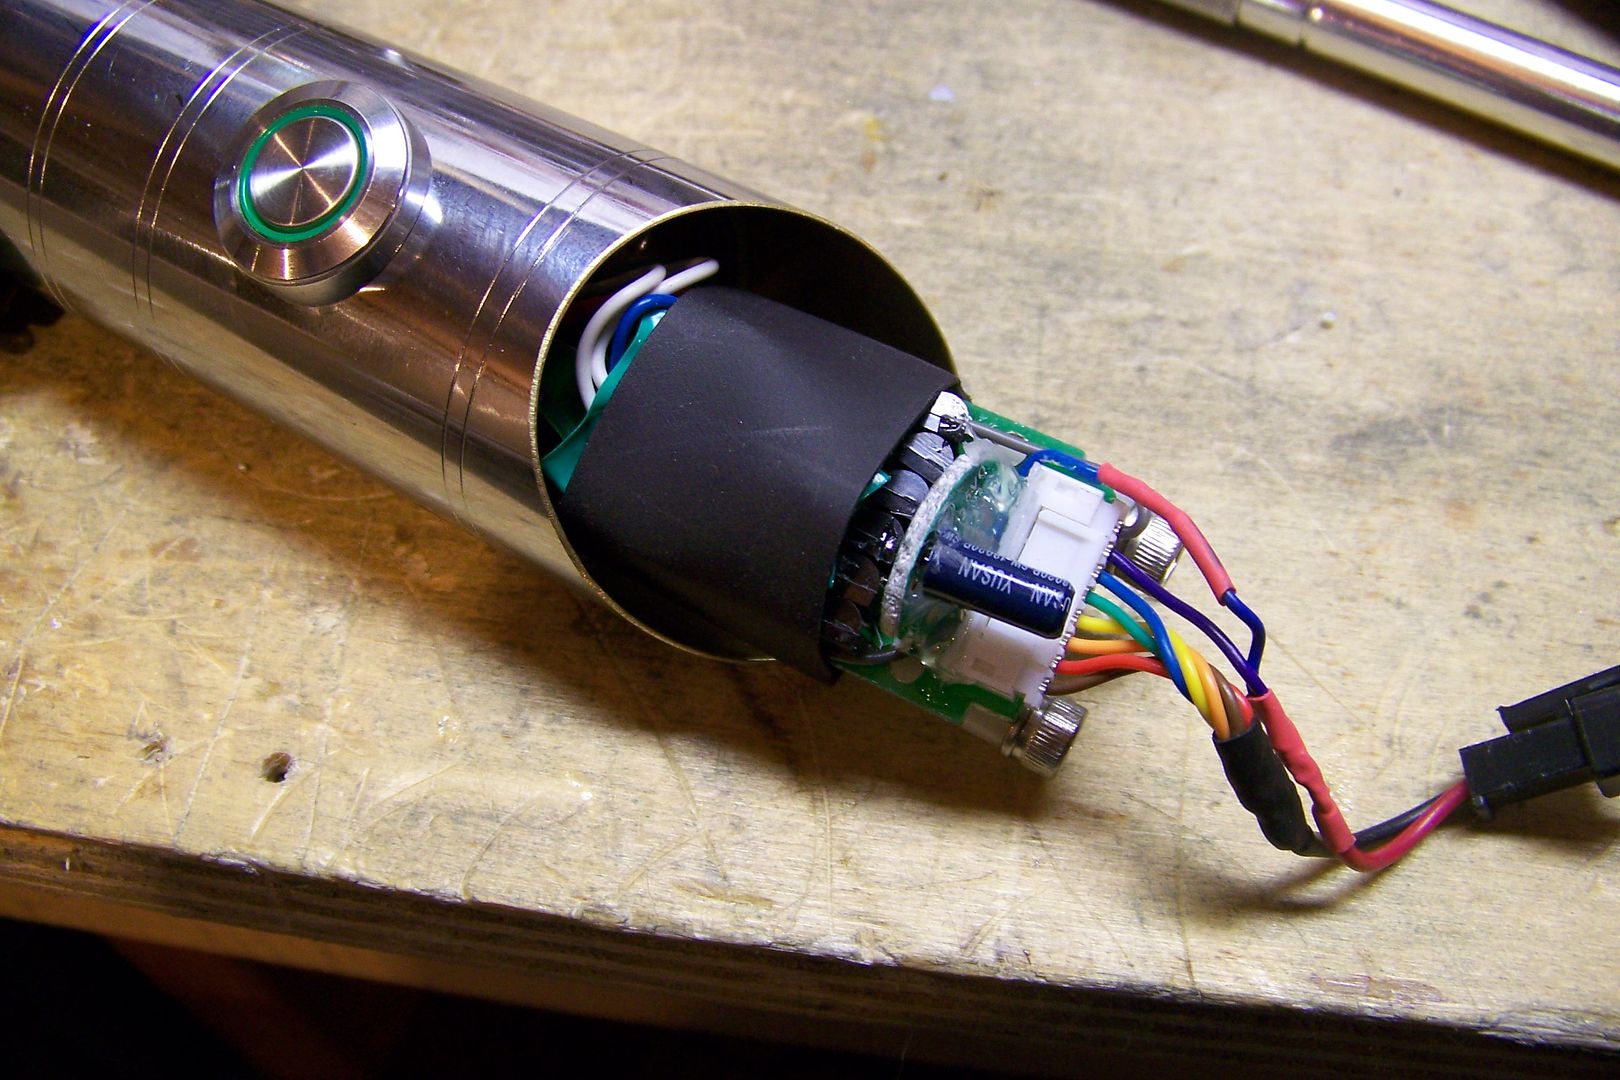
Now to assemble the saber! I added some heat shrink to the Lighthound pcb, and a strip of heat shrink to secure the MR board to the mount:
Once that was shrunk, it was a simple matter to screw on the v-grooved extension, install the led and lens assembly, then the blade holder:
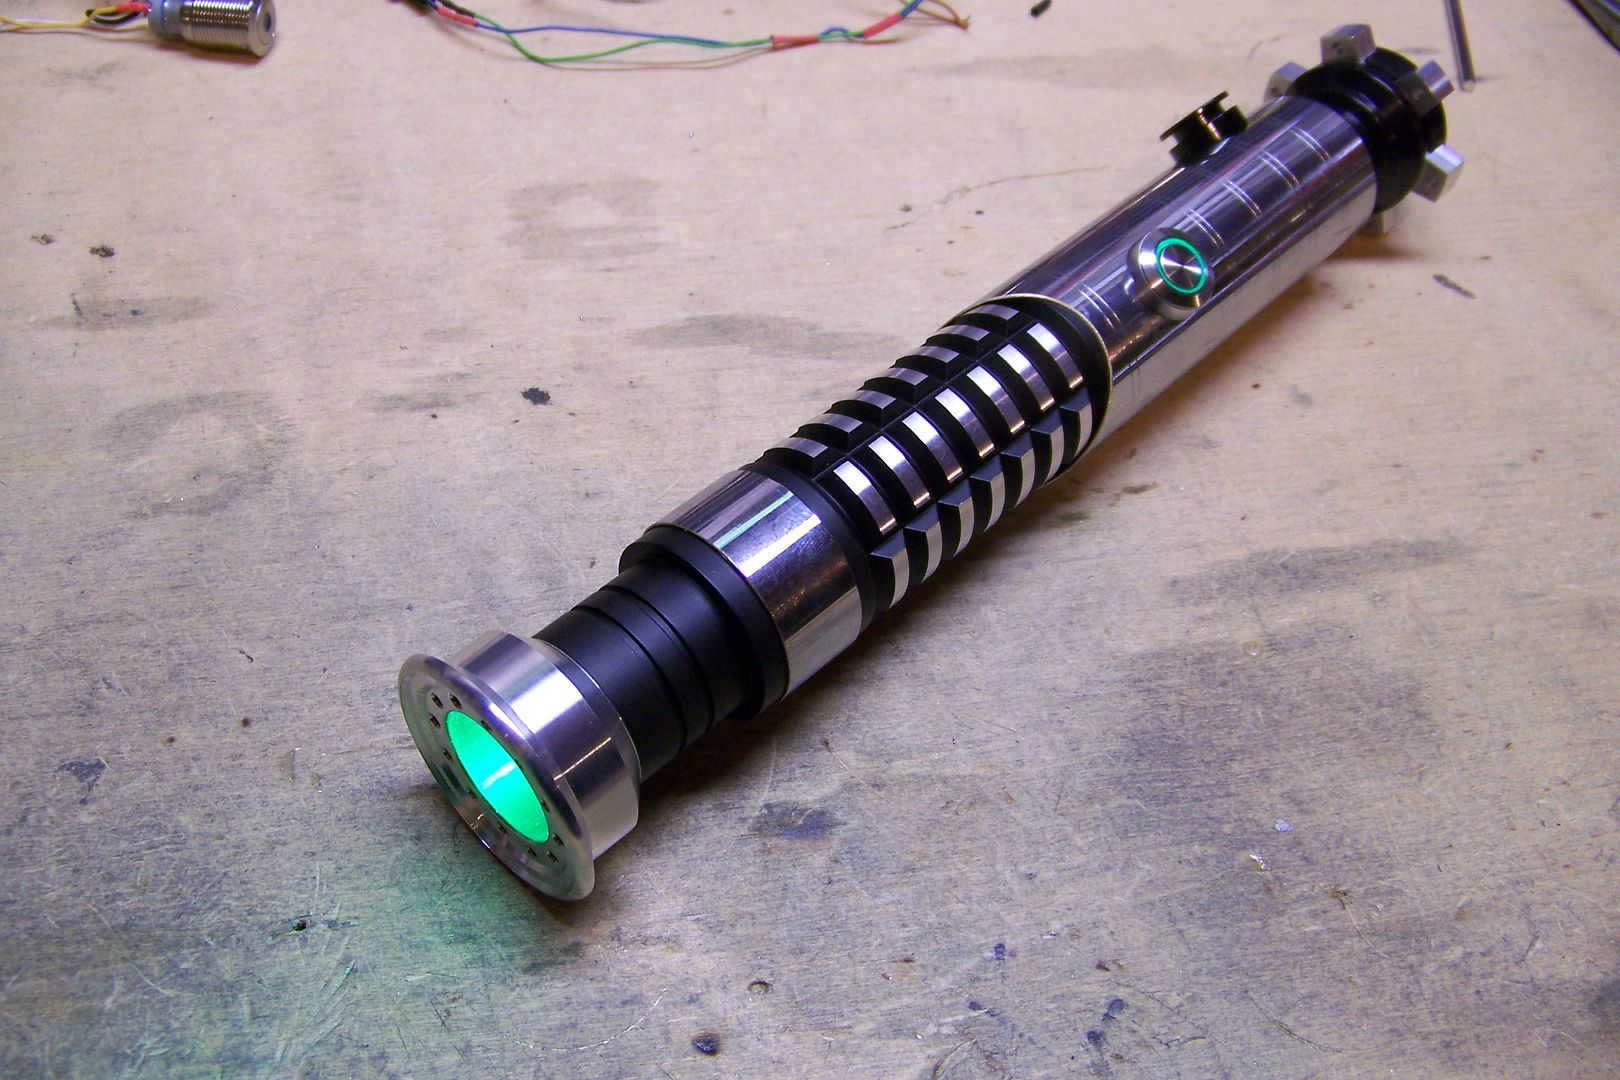
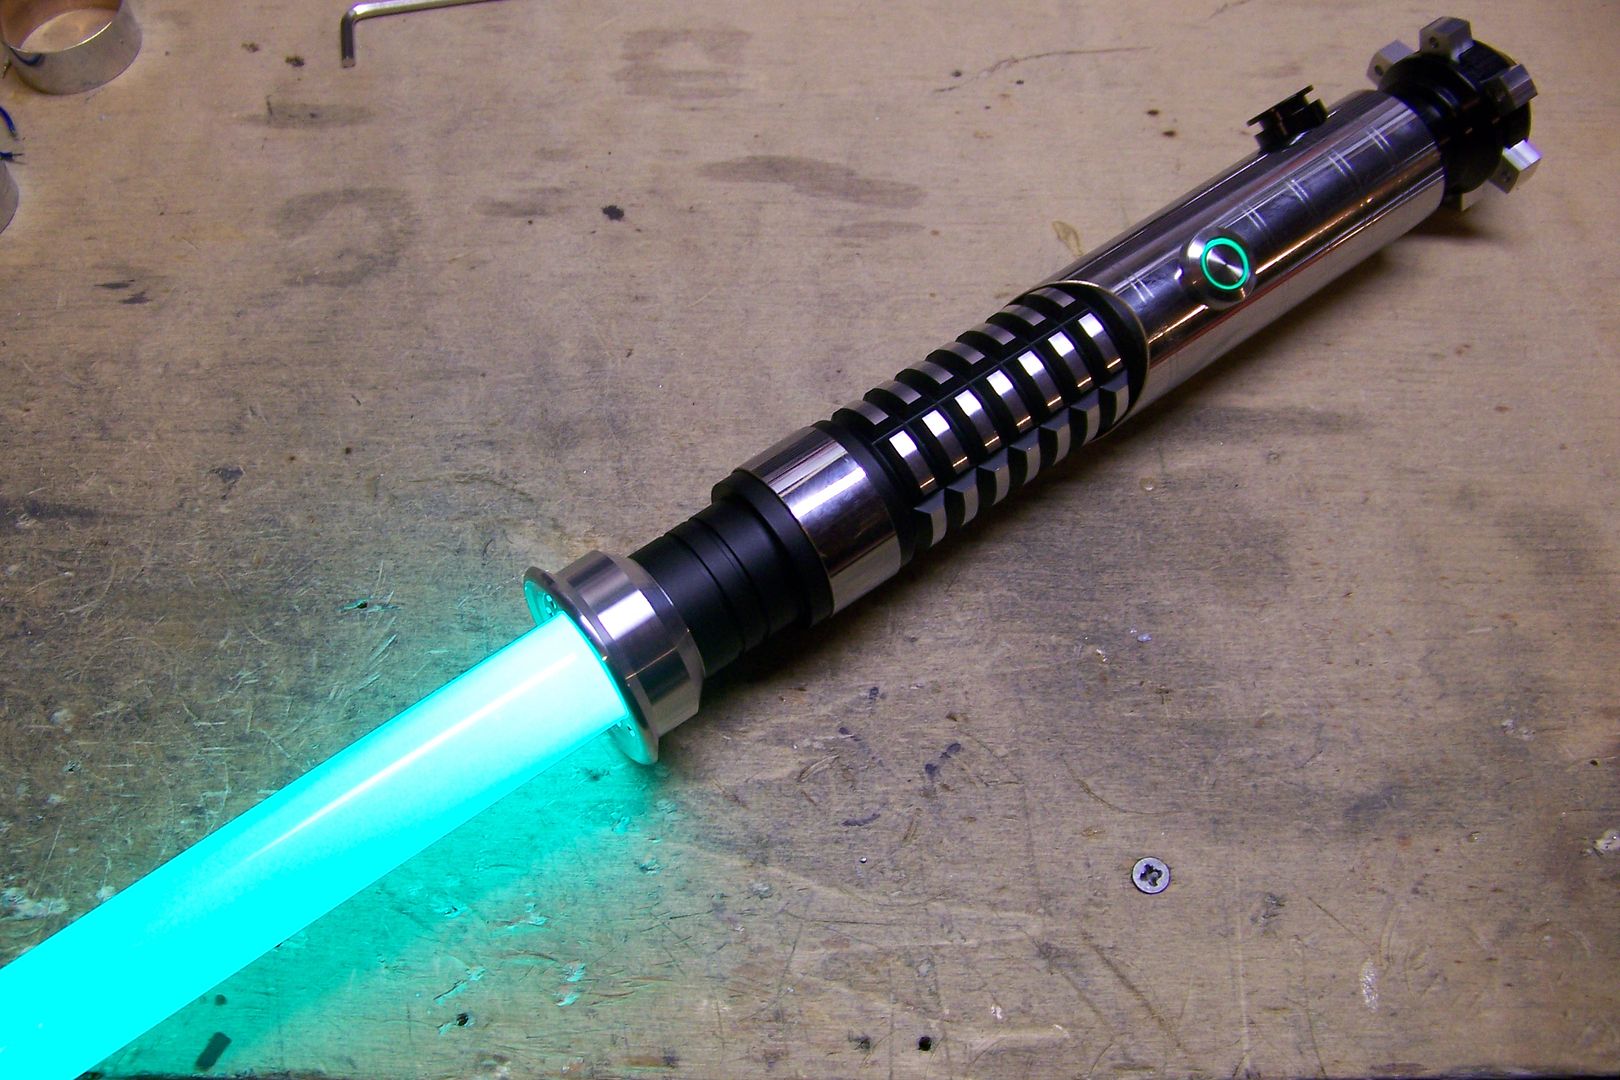
All I had left to at this point was drill and tap for the 10-32 blade set screw, and make up the blade.
Oh, and take the finished pictures....those will be in the gallery later.


 Reply With Quote


Bookmarks