


Deimos [ancient greek] daemon
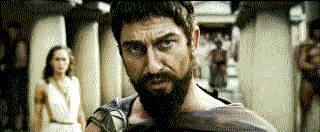
Its a saber I made for a friend of mine. He is studying to be a teacher in german and theology and for that he had to learn ancient greek (sounds like hell), so he gave a greek name to his saber.
It began with a saber he designed and I made for him as a surprise for the Jedi Con in Düsseldorf (Germany). It looked like this:
I installed for AA batteries, a buchpuck, green Seoul P4 LED and a recharge port.
After this convention where he saw CF sabers in action, he was exalted about CFs and wanted to have a such a soundboard, too. Well, he would have to go on stage with us in the future, so he would need a CF saber. I decided to borrow him one until Erv brings out some CF5.
This was our final draft of the saber:
The parts:
Lets start.
At first I made the overlay. This was a premiere for me, so it looked accordingly.
And now: Polishing till dropping. All the scratches I made when cutting the overlay had to disappear. It took me some hours to lap them in some degree.
After that he started to drill the holes. The problem was: we had no column drill so we had to make the holes with a dremel (max 3,2mm) but we need to make 8mm holes. What a mess. It ended up with some unclean cuttings in the overlay. Whatever, we liked the saber anyway.
Now I started to make the chassis. We decided to install one Trustfire 18650 li-ion. This would provide enough power tu drive a Seoul P4 and we would still have lots of space in the hilt.
At first I abraded da 32mm (1,26) PVC tube down to 1,25 so that it would fit into an MHS extension. Then I made two holes and glued in the momentaries.
On the opposite side I drilled a hole for the recharge port.
Then I made the panel for mounting the li-ion and the board.
The nut is for the covertec srew, which shall hold the whole construction in place when fighting with the saber.
Put it together.
These are the parts now:
Lets start assembling. The result:


Comments requested


 Reply With Quote


Bookmarks