


Ok, finally had time to upload photos so here goes...
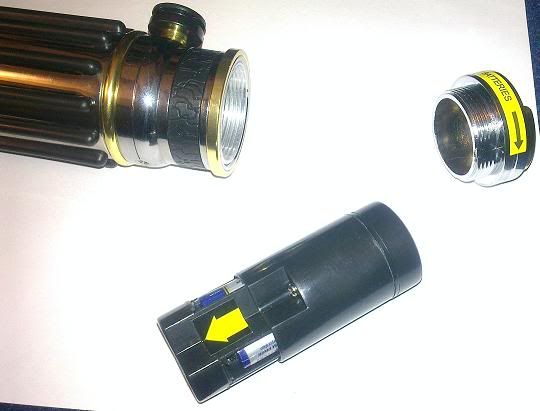
First I started by unscrewing the battery compartment:
Then with a hex wrench unscrew the retainer thingy:
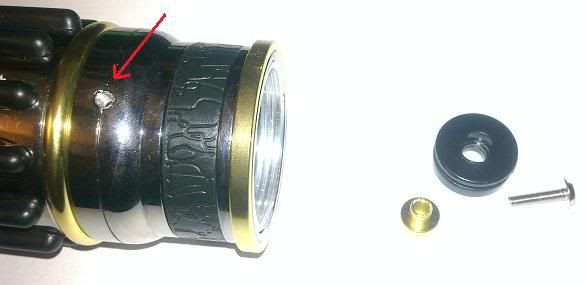
Turn the saber over and you'll find another bolt to undo:
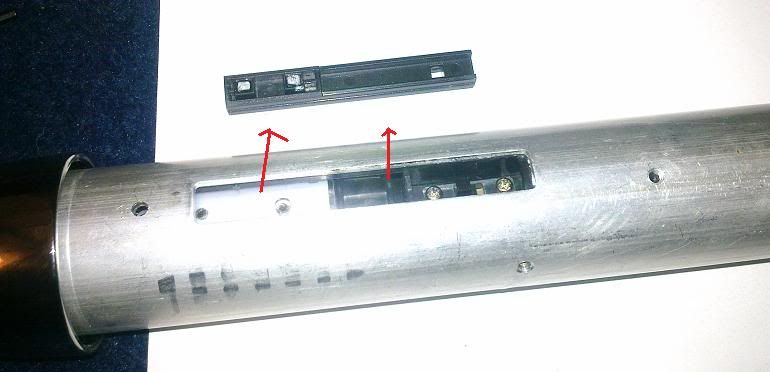
Unscrewing it will allow you to slide this part off:
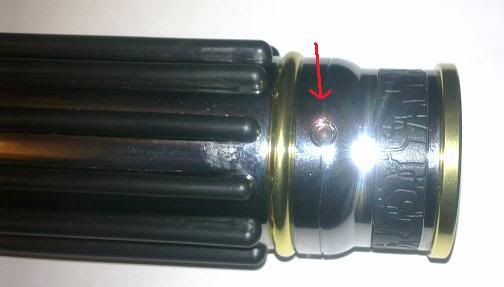
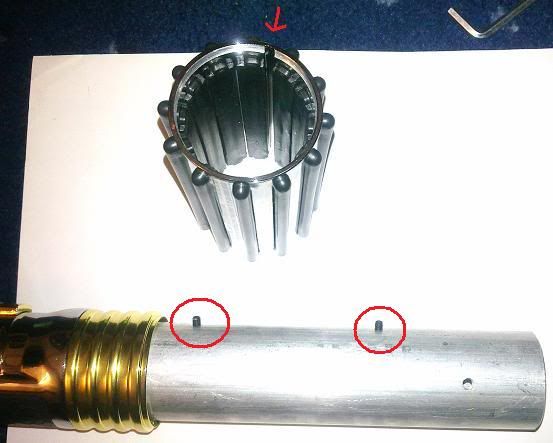
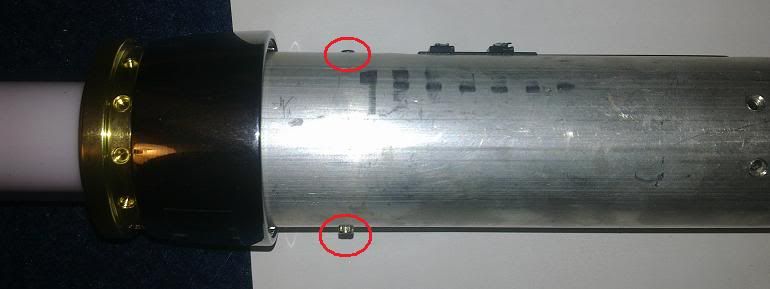
Slide the next part off too - the retaining bolts circled slide along the groove indicated by the arrow so that it does not spin around. they also hold the plastic parts underneath somewhat:
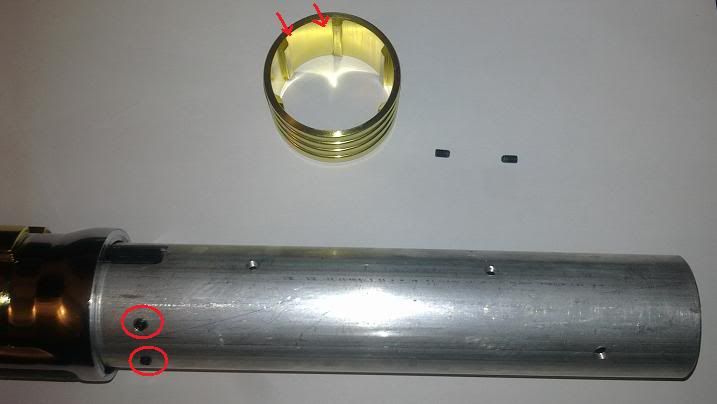
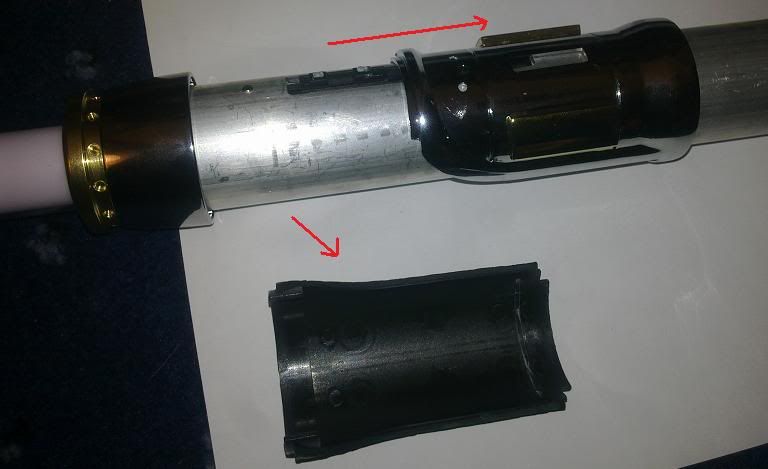
Once the screws above have been taken off, slide the next part off - again the bolts circled slide along the red arrowed bits to stop this piece spinning round relative to the metal tube:
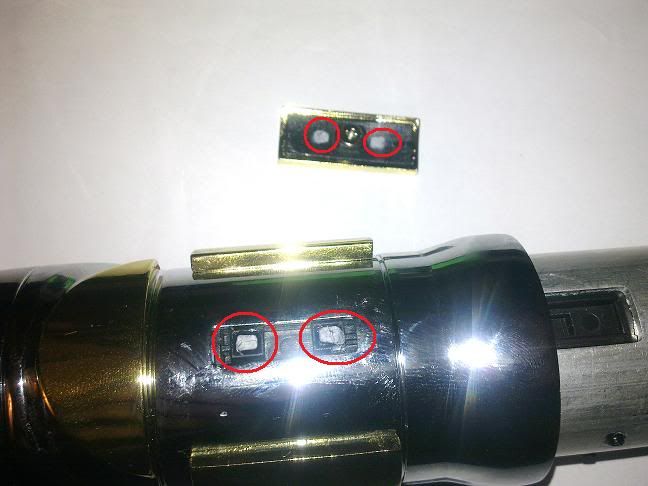
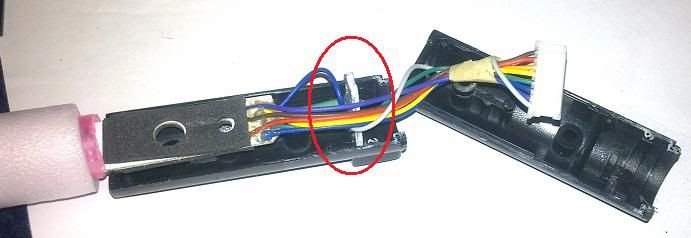
Undo the bolts mentioned above then pull off the button top - be careful not to damage the metal work with scratches. I cannot see how to pull this saber apart without breaking the plastic on this switch as it's glued in place (you can see the broken plastic areas ringed in red) - I'm not too worried about this break as I can simply pin it with some wire and drilled holes which should make it stronger than the original plastic anyway!
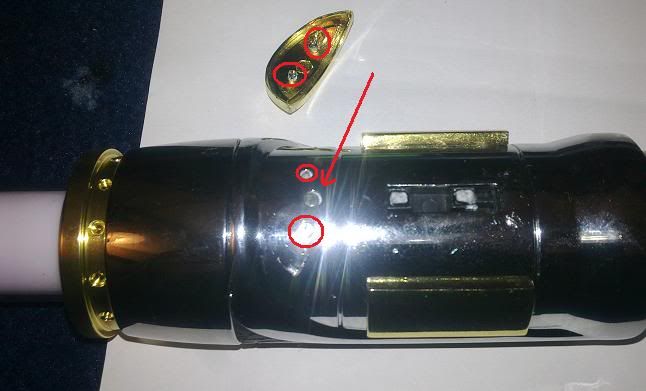
Then pull off the gold triangle part again trying not to damage the metal work - this is difficult - again the underside of this piece will break but again it can easily be fixed with pinning:
At this point push the pin indicated with the arrow in the above picture which will allow you to slide the metal piece off and take the rubber grip piece away:
Then take the pin out completely:
Then using a screw driver ply out the switch slider:
Then you will need to unscrew the gold emitter part - again this was glued in place and took quite a lot of effort to unscrew - I basically cut the glue out of the groove I could see from the surface with a surgical blade, then a bit of swearing, 20 minutes and WD40 later, it finally came off (and without any damage to any part woo!)
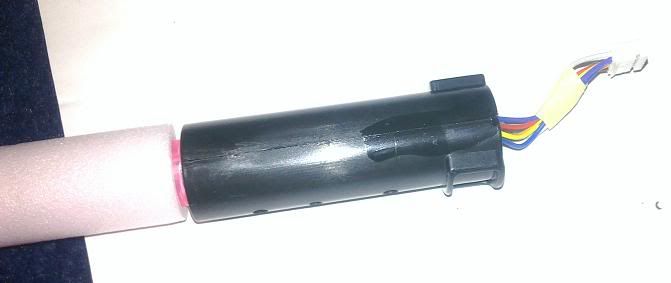
Then slide the internals out - again the bits of glue here and there made it seem like it wasn't going to come out but it did in the end:
I then took out this pin:
Then used a surgical blade to score along the seam which was again glued (they really do not want you to take this apart do they!) and seperated the two halves:
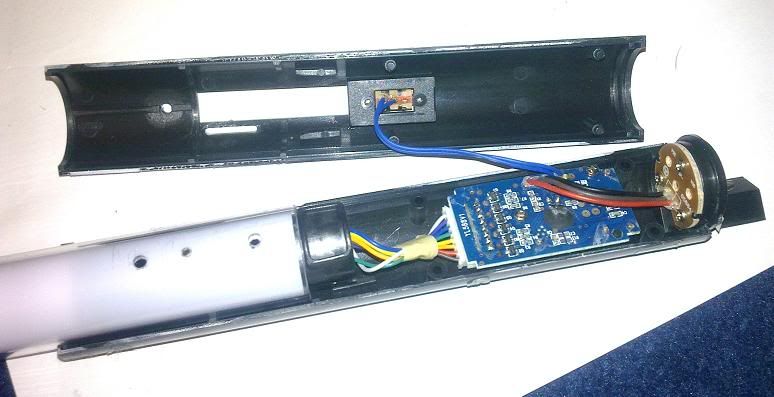
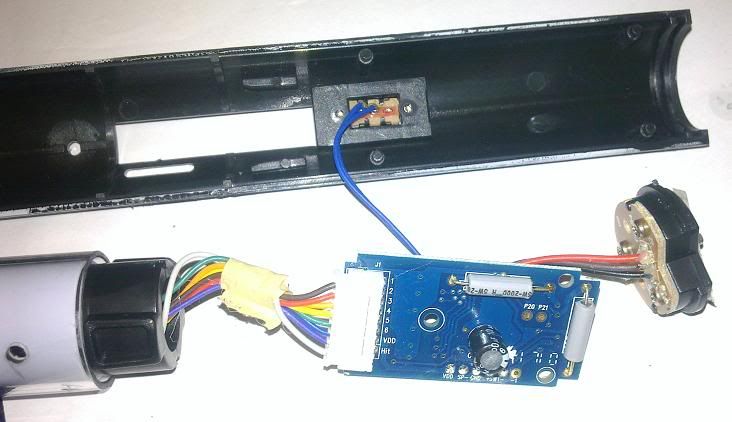
Here's the underside of the electronics:
This is the part that slides out of the blade (again glue held it in place):
And here's the electronics that were inside the blade including a motion sensor:
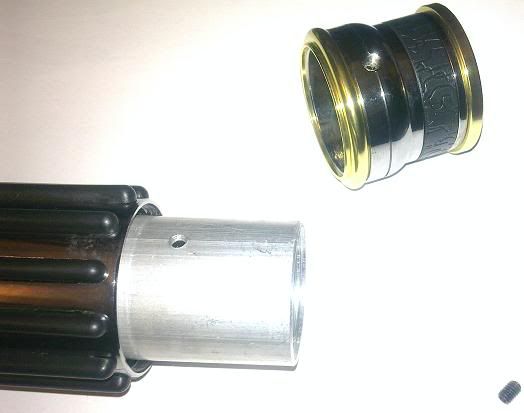
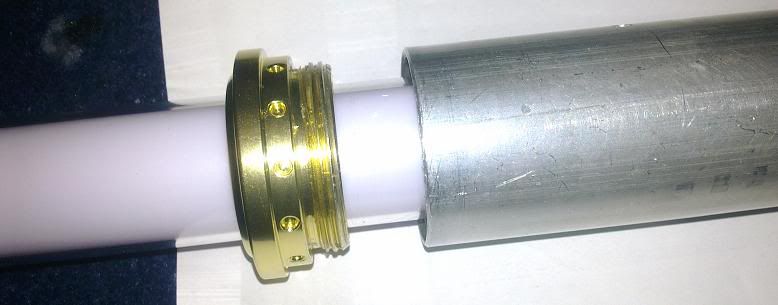
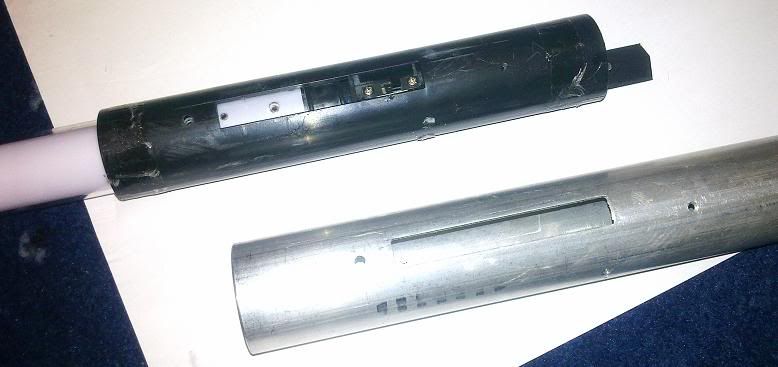
Like I've said earlier the internal diameter of the gold emitter end part is 1 inch but seems too tight for my 1 inch diameter blades which will have to be shaved down if I'm to use them.
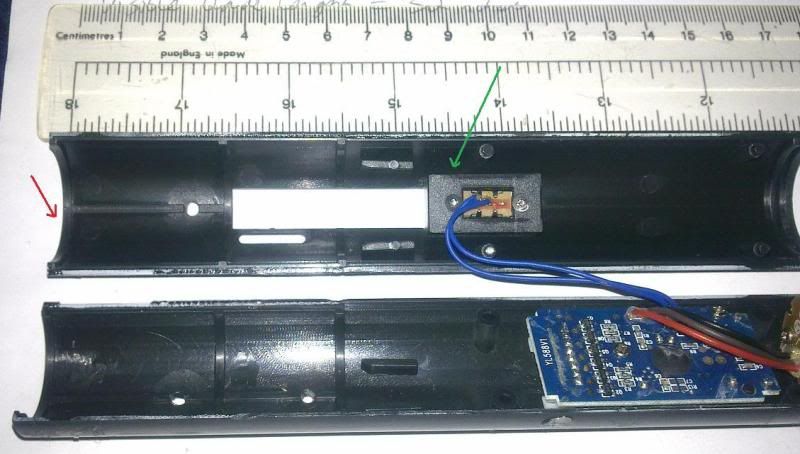
Once this emitter part is screwed in it is flush with the plastic internals (up against the red arrow in the photo below). The internal diameter of the metal tube (or outerdiameter of the plastic internals) is about 1 and 3/16ths of an inch and as you can see by the picture theres 3 and 2/16ths of an inch length to play with before you hit the switch (green arrow):
If the rest of the MR version conversion part fits inside these diameters that's great, but the thinner section of it will most definately have to be cut off as it won't fit through the screw-on gold emitter.
Maybe one of the other conversion pieces will fit but TCSS hasn't detailed the dimensions of them...


 Reply With Quote
Bookmarks