Page 1 of 3 1 2 3 LastLast
Results 1 to 10 of 21

Thread: Crystal Chamber!!!

  1. #1

    Default Crystal Chamber!!!

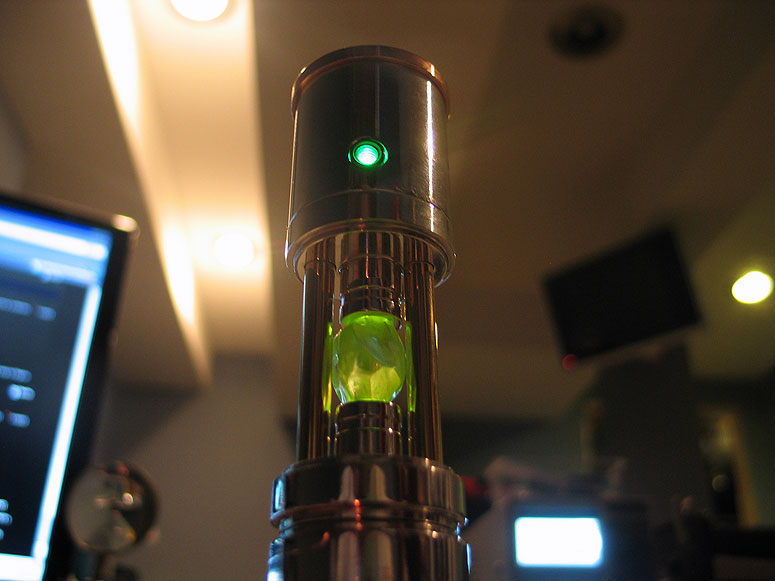
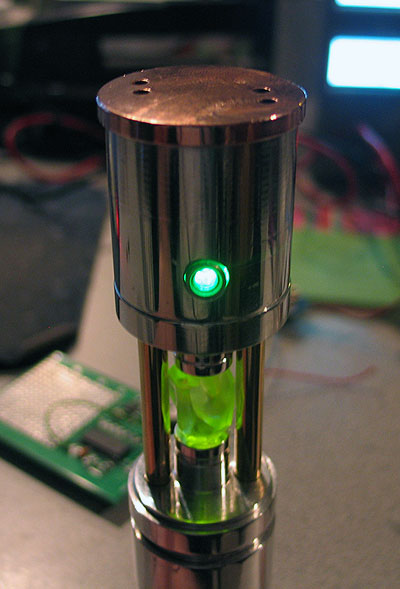
    So, not a lot is seen on Crystal Chambers. We all get glimpses of them here or there, but never really get to see what exactly went into them or what they look like outside a saber. I have been working on an idea and figured i would share a couple photos now that i have a working model.

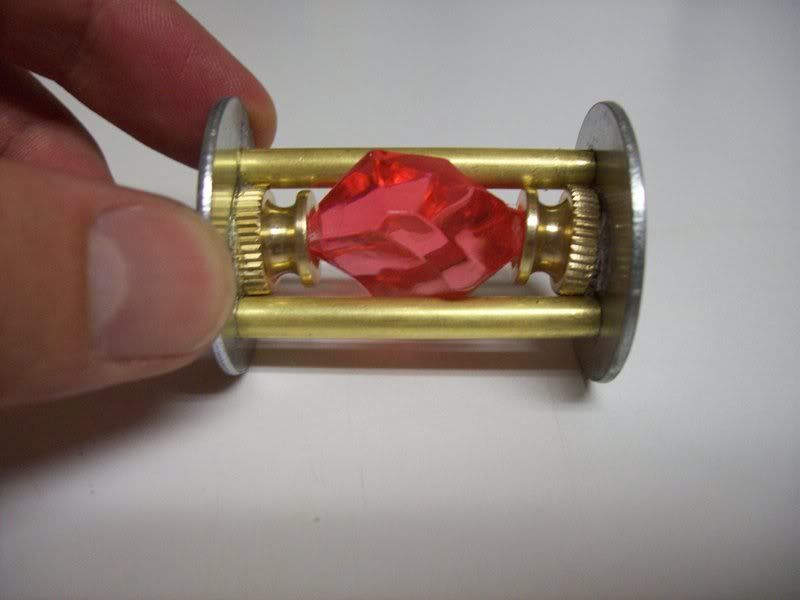
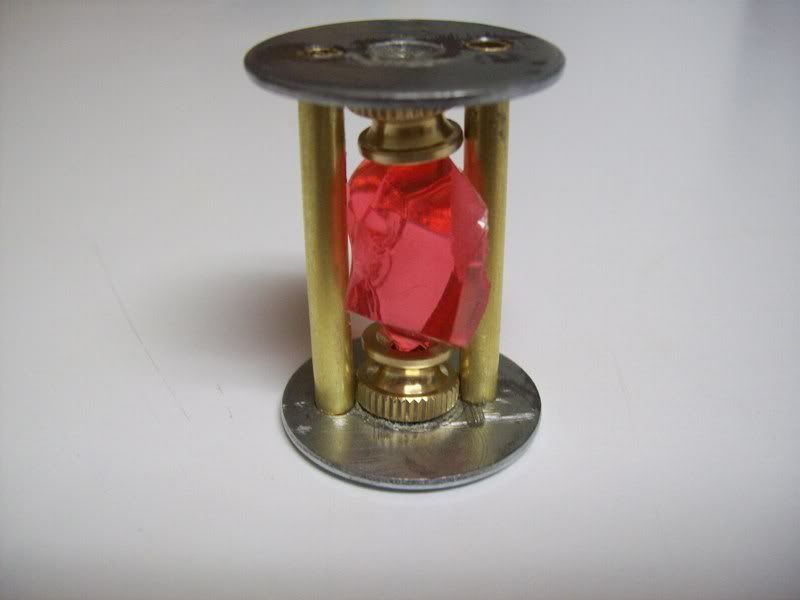
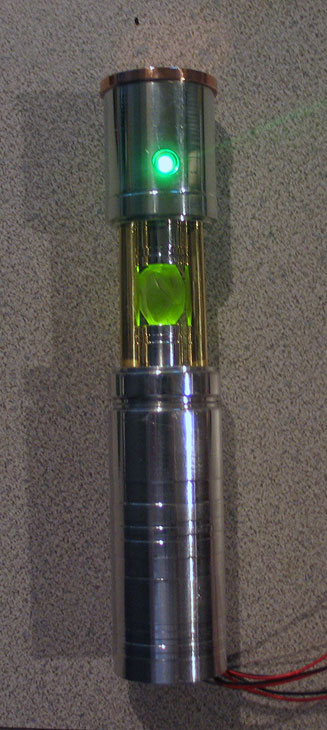
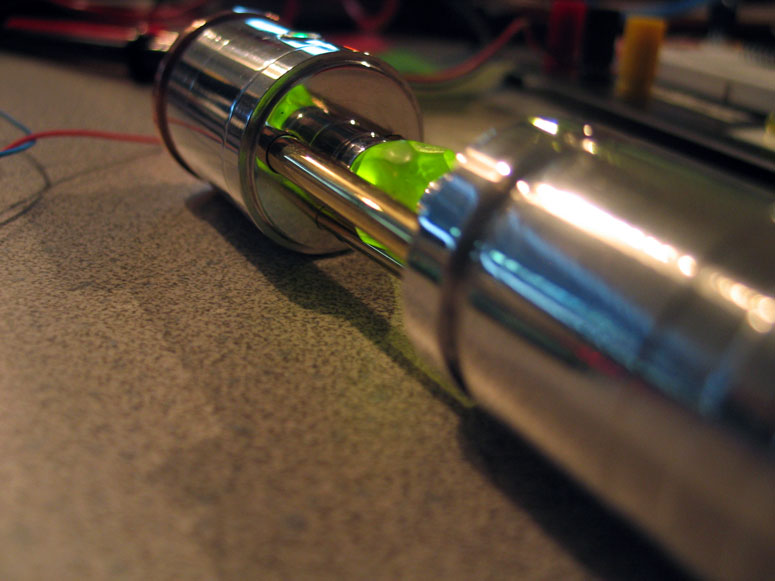
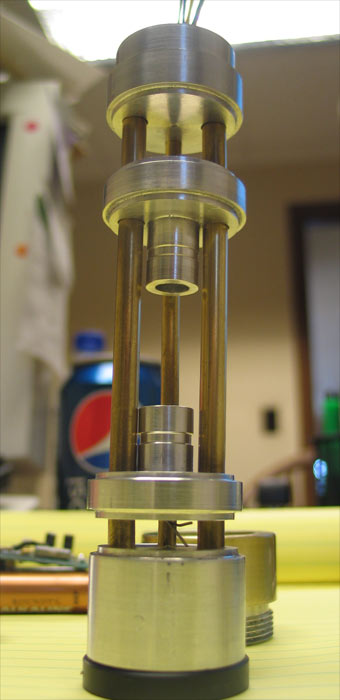
    I will be putting this, or something similar into one of my next sabers. The holes were drilled slightly too close to center so the parts holding the crystal did not meet flush with the washers like i would have liked. (see photos) I may do another simply due to that design flaw. Also bear in mind, the third pic was done with a flashlight held up to the washer so it is quite dim, the crystal chamber will be lit by 1 or 2 accent led's fit inside the sections that house the crystal.
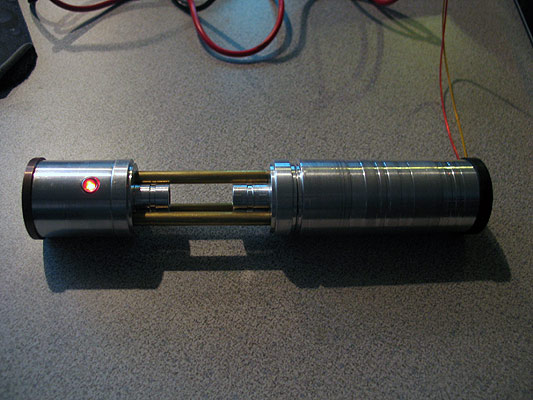
    Parts include:

    2x 1.25" Steel Flat Washers
    2x Knurled Nuts (seriously, that is what they are called...)
    2x 2" sections of Brass 3/16" tubing (local hobby store)
    1x Acrylic Crystal from TCSS (may trade out for a suitable Quartz later)
    and a little bit of superglue gel.

    I will add more photos and do a more comprehensive step by step when i get the chance.

    For now, ENJOY!


    Every time Tim ships an order... an angel gets its wings


    "Just get one and go nuts, that's how this hobby works. Get stuff. Go nuts. Period." ~FenderBender~

  2. #2

    Default

    That's pretty sweet.

  3. #3

    Default

    Cool. I like the crystal. I was at the hardware store the other day & found a small section containing (lamp hardware). I saw many cool little brass bits that could be used for chamber parts.

  4. #4

    Default

    That is realy cool. Bet it will look great in a saber.
    "Art is never finished, merely abandoned." Da Vinci

  5. #5

    Default

    very similar to the xCores I make..

    except I dont use the glue..I machine my own cystal 'stems' (holders)..

    I also make an LED/heatsink bucket to set screw/secure to..as well as my battery/soundboard 'bucket/shell'..that holes my speaker mount too..

    green light at top is the switch:


    different color:


    First version (no shell/buckets)

    but show the speaker bucket better:


    the top picks (green one) is actually Eastern57's.. I gave it to him as a gift for our JSSDC x-mas exchange.. =)

    (but he cannibalized it!) <--- stinker!!! =)
    Last edited by xl97; 06-21-2010 at 09:15 AM.

  6. #6

    Default

    Nice xl97. I'm liking it. Although a sphere could fit better in there.

  7. #7
    Council Member
    Jedi Council Member
    Jedi-Loreen's Avatar
    Join Date
    Dec 2005
    Location
    Not of this Earth
    Posts
    6,077

    Default

    Nice, simple concept, Shad, but I have to be a little critical of the execution.

    Next time, try grinding the tips of the acrylic crystal so that the knurled nuts will seat flat against the washers.
    In order to see the Light,
    you must sometimes risk the Dark.
    TCSS MODERATOR


    BLUE 8 Ready to ROCK and ROLL!

  8. #8

    Default

    Quote Originally Posted by Jedi-Loreen View Post
    Nice, simple concept, Shad, but I have to be a little critical of the execution.

    Next time, try grinding the tips of the acrylic crystal so that the knurled nuts will seat flat against the washers.
    I appreciate the feedback J-Lo, that was precisely what i was going to do next time, it is mostly the brass rods being too close to center and "squeezing" the knurled nuts out of position. I have the tips ground to sit in the nuts fairly well, but i need to work on that for next time AND drill the holes farther from center.

    xl97, this was another reason i posted this thread! So that others could share the parts and execution of their CC's so that more knowledge could be disseminated, so THANKS!
    Every time Tim ships an order... an angel gets its wings


    "Just get one and go nuts, that's how this hobby works. Get stuff. Go nuts. Period." ~FenderBender~

  9. #9

    Default

    Quote Originally Posted by Shadar Al'Niende View Post
    I appreciate the feedback J-Lo, that was precisely what i was going to do next time, it is mostly the brass rods being too close to center and "squeezing" the knurled nuts out of position. I have the tips ground to sit in the nuts fairly well, but i need to work on that for next time AND drill the holes farther from center.

    xl97, this was another reason i posted this thread! So that others could share the parts and execution of their CC's so that more knowledge could be disseminated, so THANKS!

    I had posted these before actually.. not sure where...but on TCSS for sure.. =)

  10. #10

    Default

    Hey!

    I found two other CC related threads a while a go. Not many pictures on them though.

    Personally I wouldn't want any glue being part of anything on a saber when avoidable. I think using bolts or threaded rods (hollow if needed for wires) some tubes over the rods and some type of discs seems to be the main materials in most CCs I've seen but it's nice to see the variations you can come up with.

    Xl - do those tubes run right through or are they separate sections that are threaded on the ends?

    I have one designed for my next build which I think will be pretty cool.
    Last edited by Crystal Chambers; 06-21-2010 at 05:11 AM.

Bookmarks

Posting Permissions

  • You may not post new threads
  • You may not post replies
  • You may not post attachments
  • You may not edit your posts
  •