


I've never seen anyone post images like this before so I hope it's not a problem. I couldn't resist.
This is my first completed saber since I joined here 8 months back. I will be updating it as I make a few small upgrades and get better pictures of it lit.
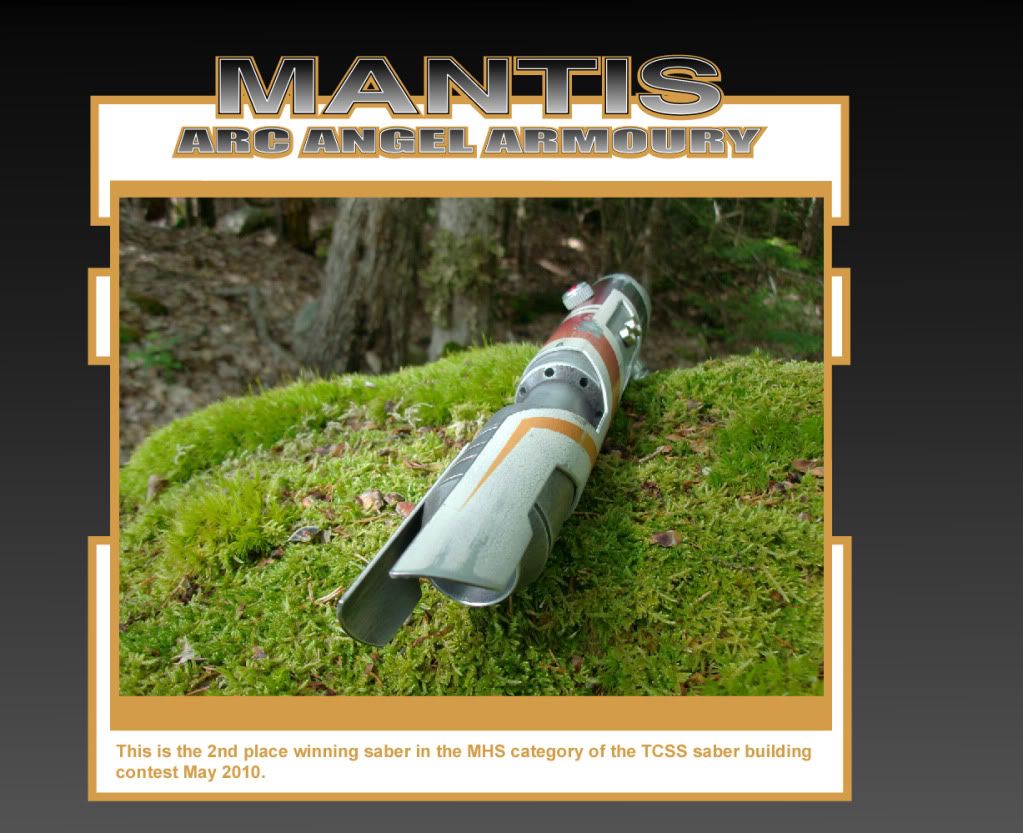
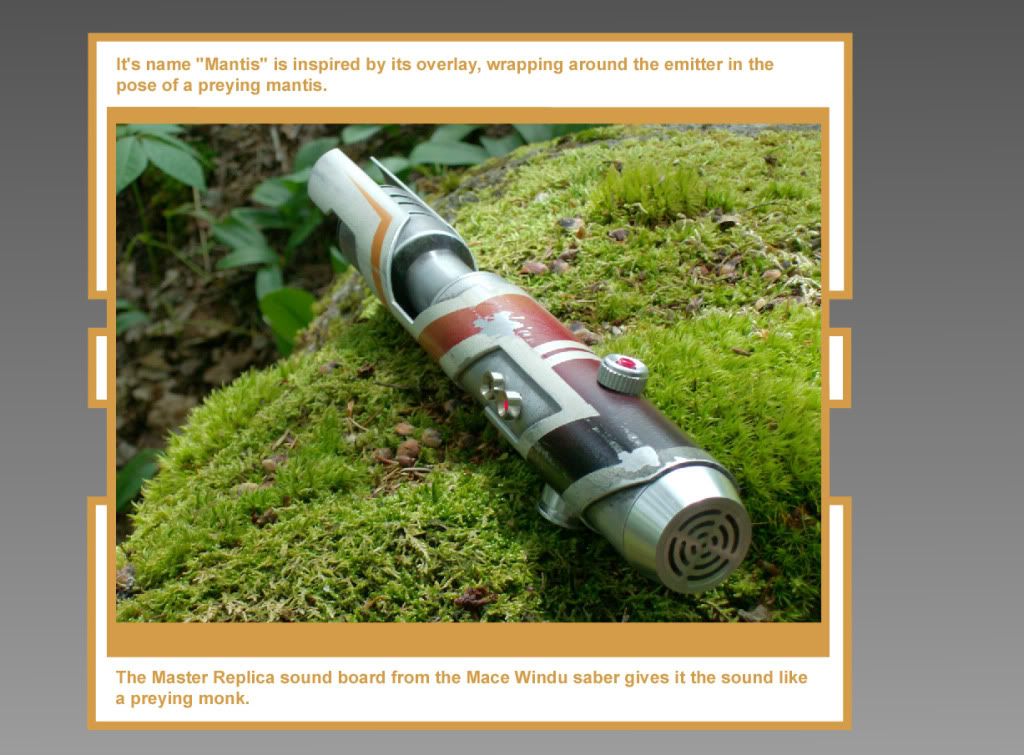
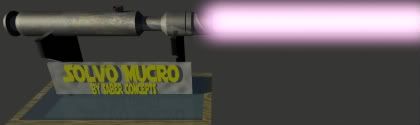
The overlay was designed in illustrator, printed and test fit until ready to cut. I used 2 coats of white primer made for aluminum, and then krylon spray paint to do a white, ivory, and classic grey fade with a light dusting of flat black. I did this when the primer was dried but not cured knowing it would cause a crackled effect for that extreme conditions look. Very unpredictable because some types of paint make bubbles like this, but worked to my liking in this case. Then I baked it at 300f for 30 mins. I then used really skinny painters tape to mask off the area for the next fade of terracotta, burgundy, and black with a light dusting of navy blue. After scuffing with steel wool, sandpaper and a file, I coated it twice with enamel clear satin finish and baked again for 30 mins at 300f.
The MHS parts underneath were originally media blasted. I thought this would make for an interesting texture to weather, so I sprayed a thin coat of tremclad bronze and gave it a light sanding and then the same for a light dusting of flat black. I coated it twice with enamel clear satin finish and baked again for 30 mins at 300f.
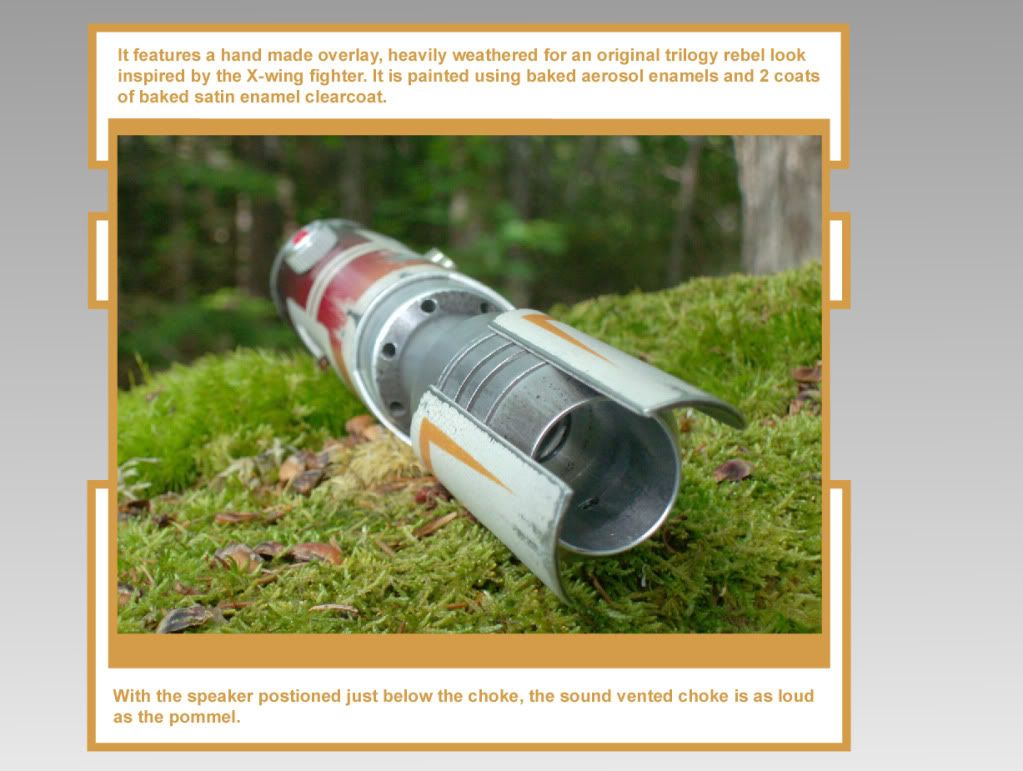
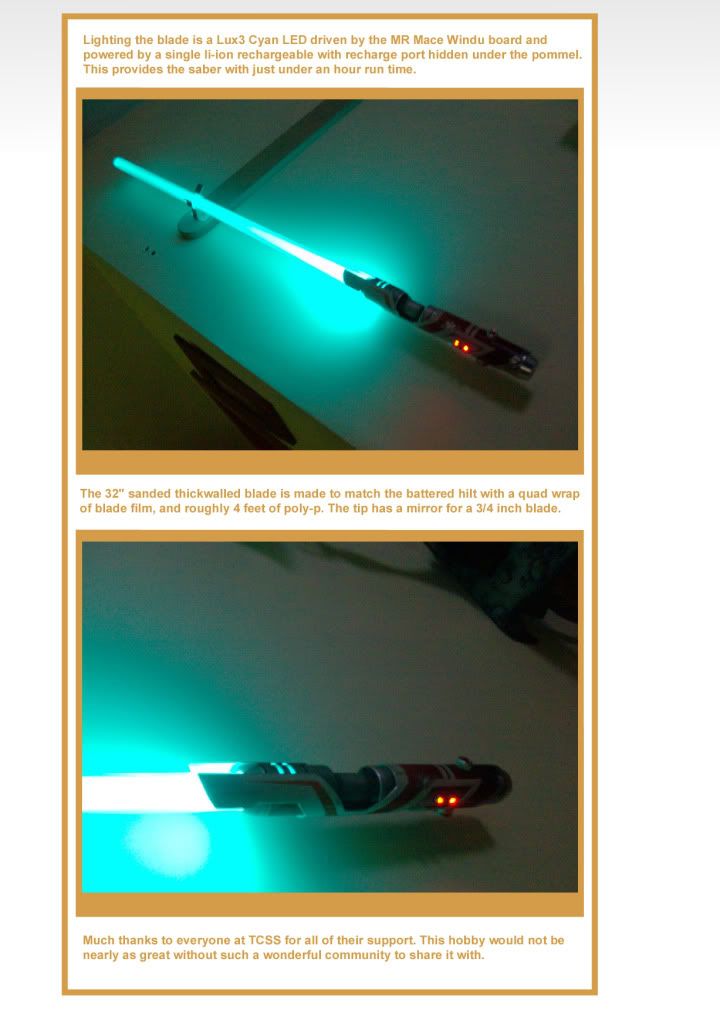
This was actually my second build for the contest as I got inspired and felt the newer design was better. It's my first MR board and I put the sensor in the choke so it reacts VERY well. I wanted to add a LED driver but this thing is SOOO crammed


 Reply With Quote


Bookmarks