Very nice work! That had to be touch to make the new graflex bottom. It looks great. Now you just gotta put the grips on it


Very nice work! That had to be touch to make the new graflex bottom. It looks great. Now you just gotta put the grips on it
Aluke123 on every other forum - Old grumpy moderator here
Thread Index, The Saber Building Dictionary, and The Basic Saber-Build Tutorial - Read Them!


SLOTH ! That is awesome. i love how everyone one this site is just so great at making really breathtaking sabers. That crystal chamber is astonishing! I thinks its crazy that you used tourmaline though... since as i said this morning in shout box I just picked up some green and blue tourmaline this weekend. as well as some rough cut low grade rubies, amethyst, and rose quartzI have a few ideas I am going to try out. I hope to use your idea of the hard drive parts as well as i think its a very creative idea and looks great.
looking forward to the next posts


Nice project. I will watch with interest.
All n00bs READ these first (PLEASE)!!!:1. LDM's Basic Saber-build Step-by-Step Tutorial 1A. Maul's Saber Dictionary 1B. THREAD INDEX 1C. Econo Sound Diagrams
TCSS the #1 Part supplier of LDM customsabers!

Looks incredibly awesome !
"A Jedi Master always said this to each of his students before their first lesson: Cross an unfamiliar river without first discerning its depths and shallows, and you will drown in its currents without reaching your goal. Being a Jedi is no different. Identify the pitfalls and learn the proper path, or you fail the Order and sacrifice yourself to no good purpose."
slothfurnace, if you have an official fan club, I'd like to join. I would never in a million years have thought of using a lathe to etch lines that way. And the crystal chamber is a work of art.
There's always a bigger fish.
Wow... I mean just ...wow I'm going in to work to day to locate some old dead HD's for parts!

I particularly like the scavenged aspect; in this day of people attempting to replicate CG effects with expensive custom-fabricated parts, it's nice to remember that the genre has its origins in "Whatever looks cool". Wasn't someone just saying Darth Vader's costume had hard drive parts in it? Can't remember, can't find it either...seems likely given that one of the ships was a shoe...it's good times.
It's not supposed to be cheap or easy. It's an ordeal.
But if you're not here to make a light saber the hard way, just follow this guide and stay out of the way.
If you're lost, here's a directory of all the most pertinent threads - it'll save sorting through the rubbish, thank the mods for braving it for us.
If you have a question, there's a solid chance it's answered here. Not too much to ask you to check ONE page for your question before posting, is it?

I need to make room in my saber for a crystal chamber. This is amazing stuff.
"The man in black fled across the desert, and the gunslinger followed."


Hey folks!
Sorry for the long time between updates, I have been on vacation.
But now, here's an update. I present to you my radiator section!
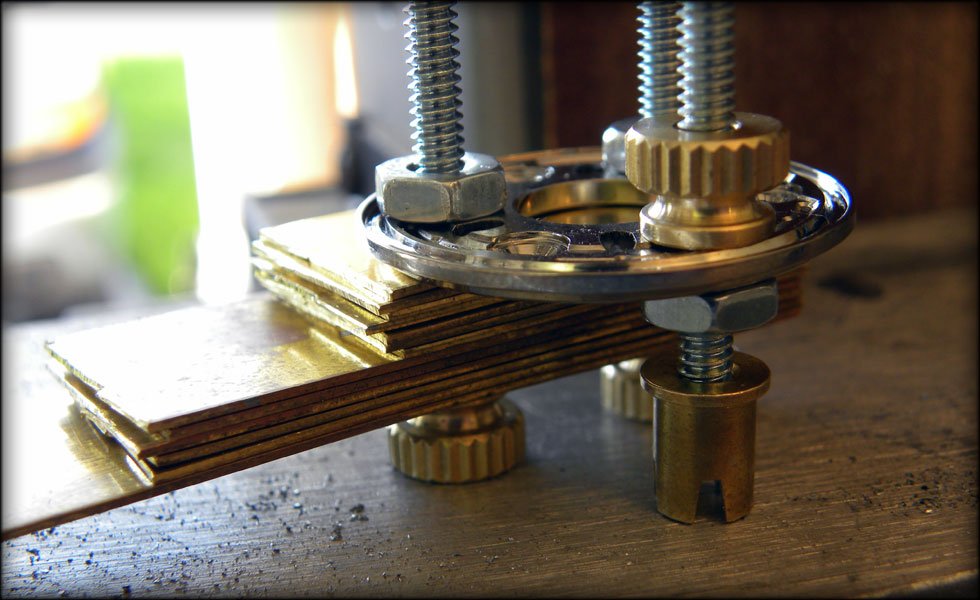
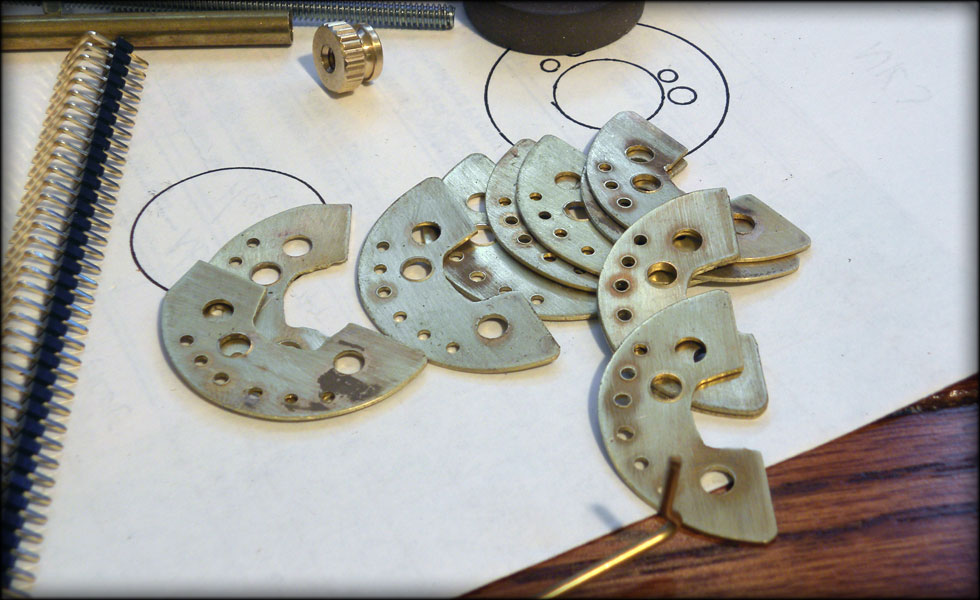
Some of you may know I was looking for some brass sheet, and I found 3/4 by 1 foot sections at my local hobby shop. I cut two of these down to sort of 2 inch sections, and drilled through a stack of them in a pattern that fit my three main frame posts. Here is my first rig, that didn't work too well on the belt sander, as it wasn't quite easy to hold, and therefore dangerous.
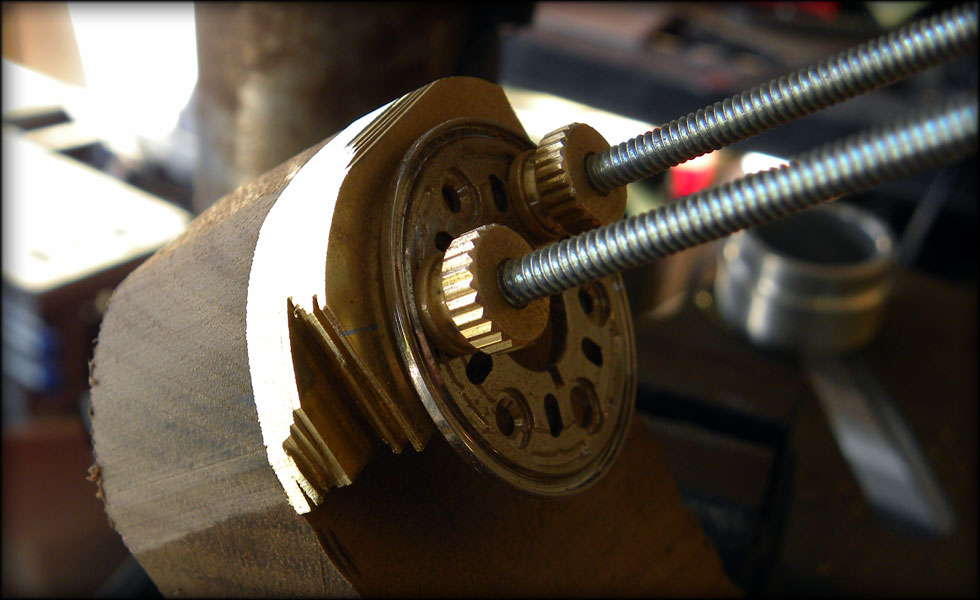
Here you see my better rig, bolted to a piece of scrap walnut, this lets me shave the brass down on the belt sander without bending anything near the bottom of the stack.
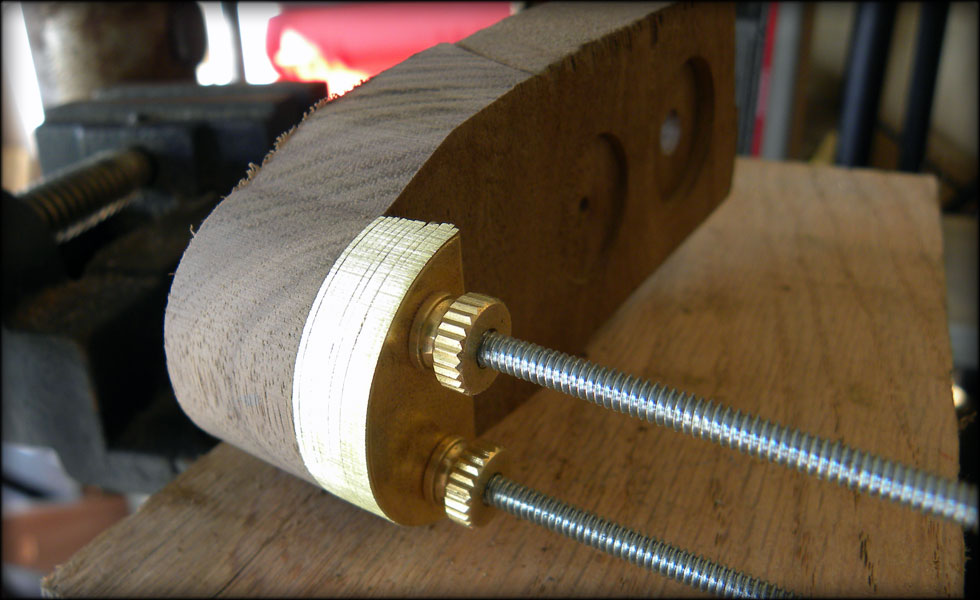
Here I have the stack pretty much shaped, I removed the harddrive platter retainer as I got closer to the shape I wanted, so as not to scuff it up.
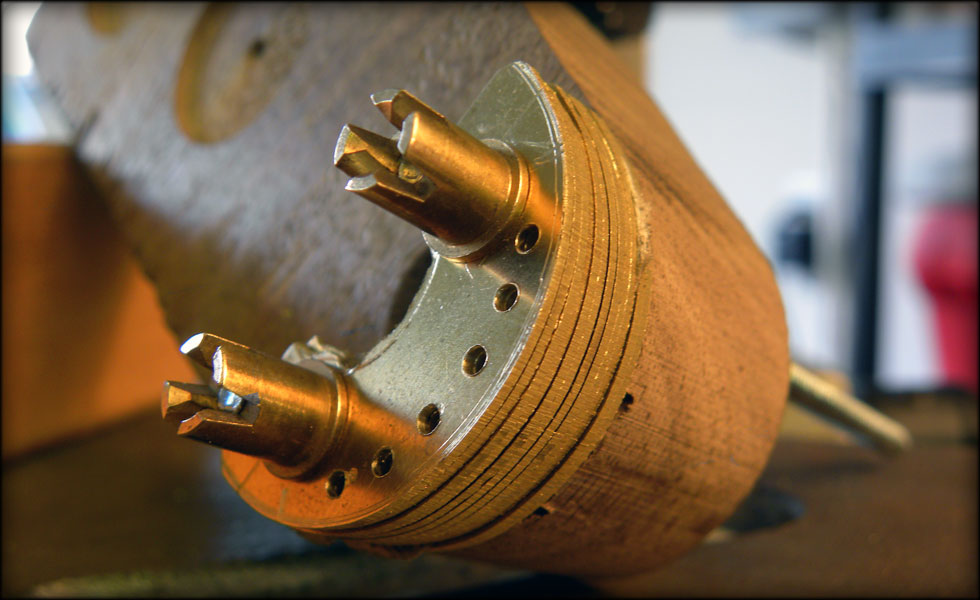
Now for the radiator line holes. This, again was drilled out on the drill press.
I had a devil of a time hollowing them out on the inside, to make a C.. I will probably revisit that inside contour, as I am not quite satisfied with it. Also, after drilling, I sandpapered each section to remove any flash or sharp edges from drilling.
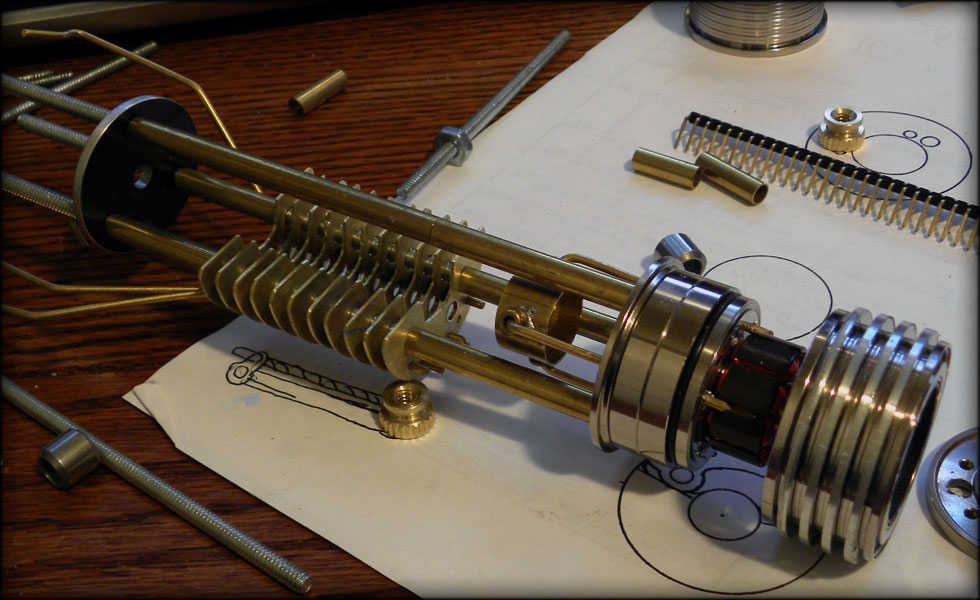
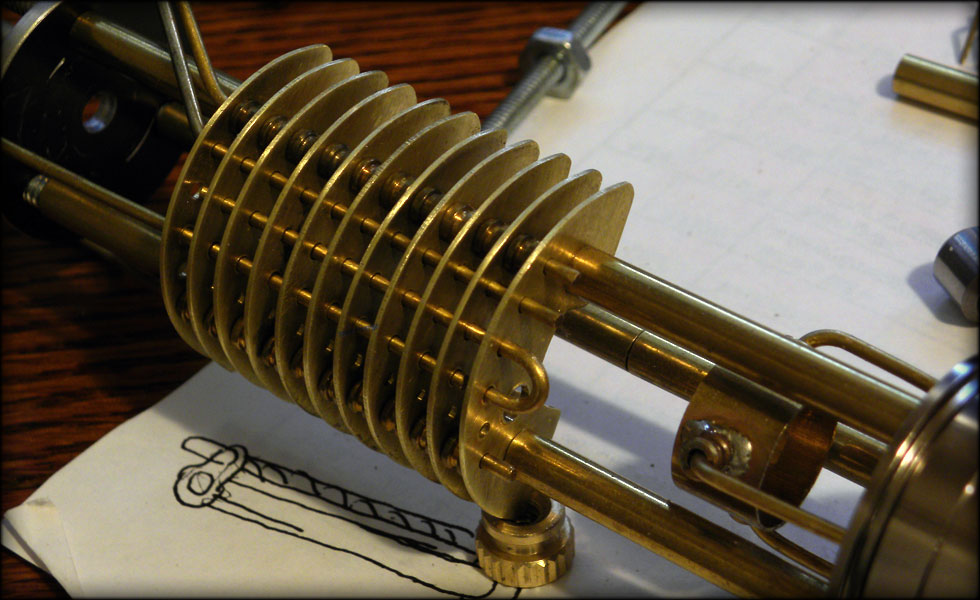
Here we are assembled and test fit. I am again using brass guitar string ends for spacing, and scrap brass rod from a broken clock to run through the sections.
Here's where I need to work on the inside contour... I am not quite happy with that yet, I will hollow it out a bit, and add some interesting details in there.
A closeup of the radiator section, shows my first bend. I will bend the rest of the rod around like that to make it look like tubing that needs to be cooled,,, or heated, or whatever.
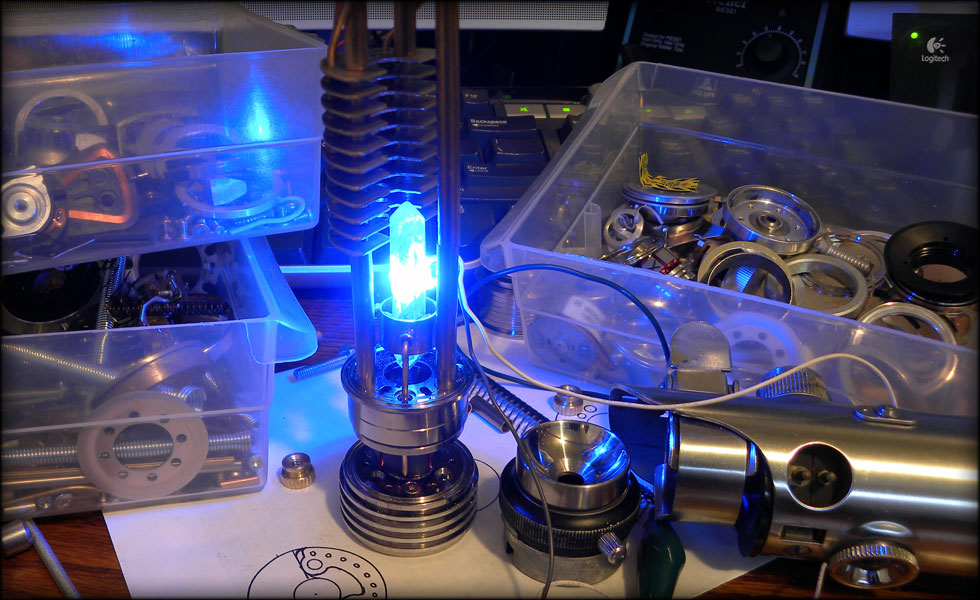
And another shot of the crystal. After assembling this, I think I will lower the placement of the radiator a bit to overlap with the crystal some. The radiator ended up being a bit longer than what I had in my original sketches, but I think it's fine.
You, Sir, are certifiably insane.
....
I just wish I had even a fraction of your particular brand of insanity.
There's always a bigger fish.
 Posting Permissions


 Reply With Quote


Bookmarks