


sorry to beat a dead horse here..
but care to share how you turned down those brass nuts?
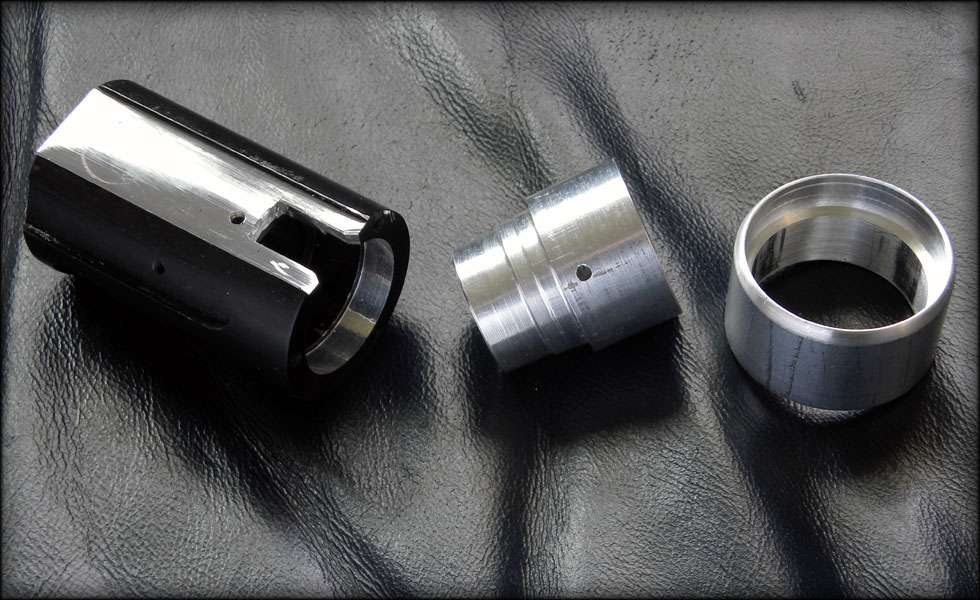
seems you have them on a threaded rod.. all tightened up and butted up to each other.. all the way up tot he chuck jaws.. (yes?)
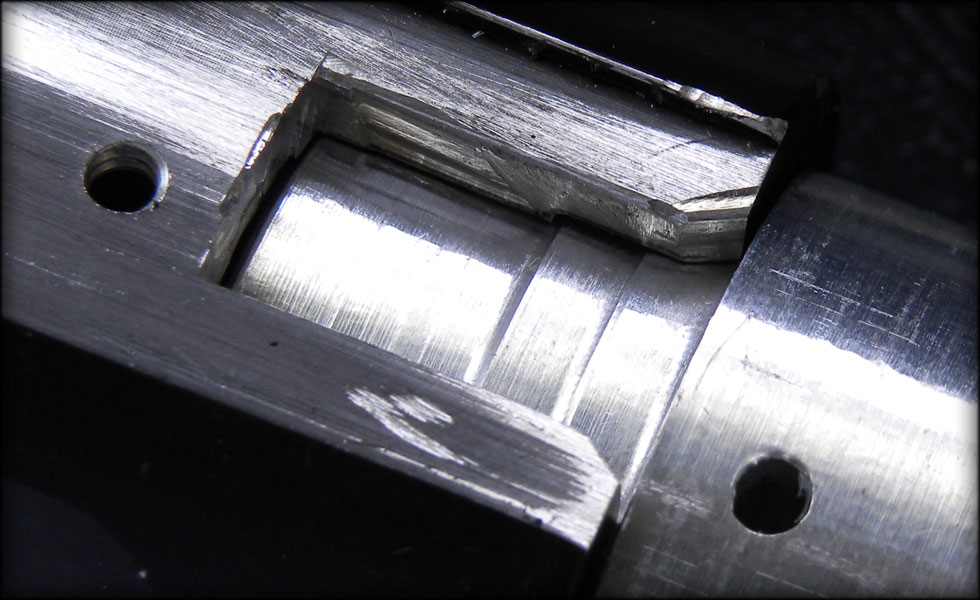
on the other side though.. Im a bit stump'd.. I dont see a center in your tail stock or anything.. but more so a MT2/3 drill chuck in your TS?
what is it 'holding/clamping' on to though?
is that a sleeve over the treaded rod? so it spins freely inside?
Thanks


 Reply With Quote


Bookmarks