


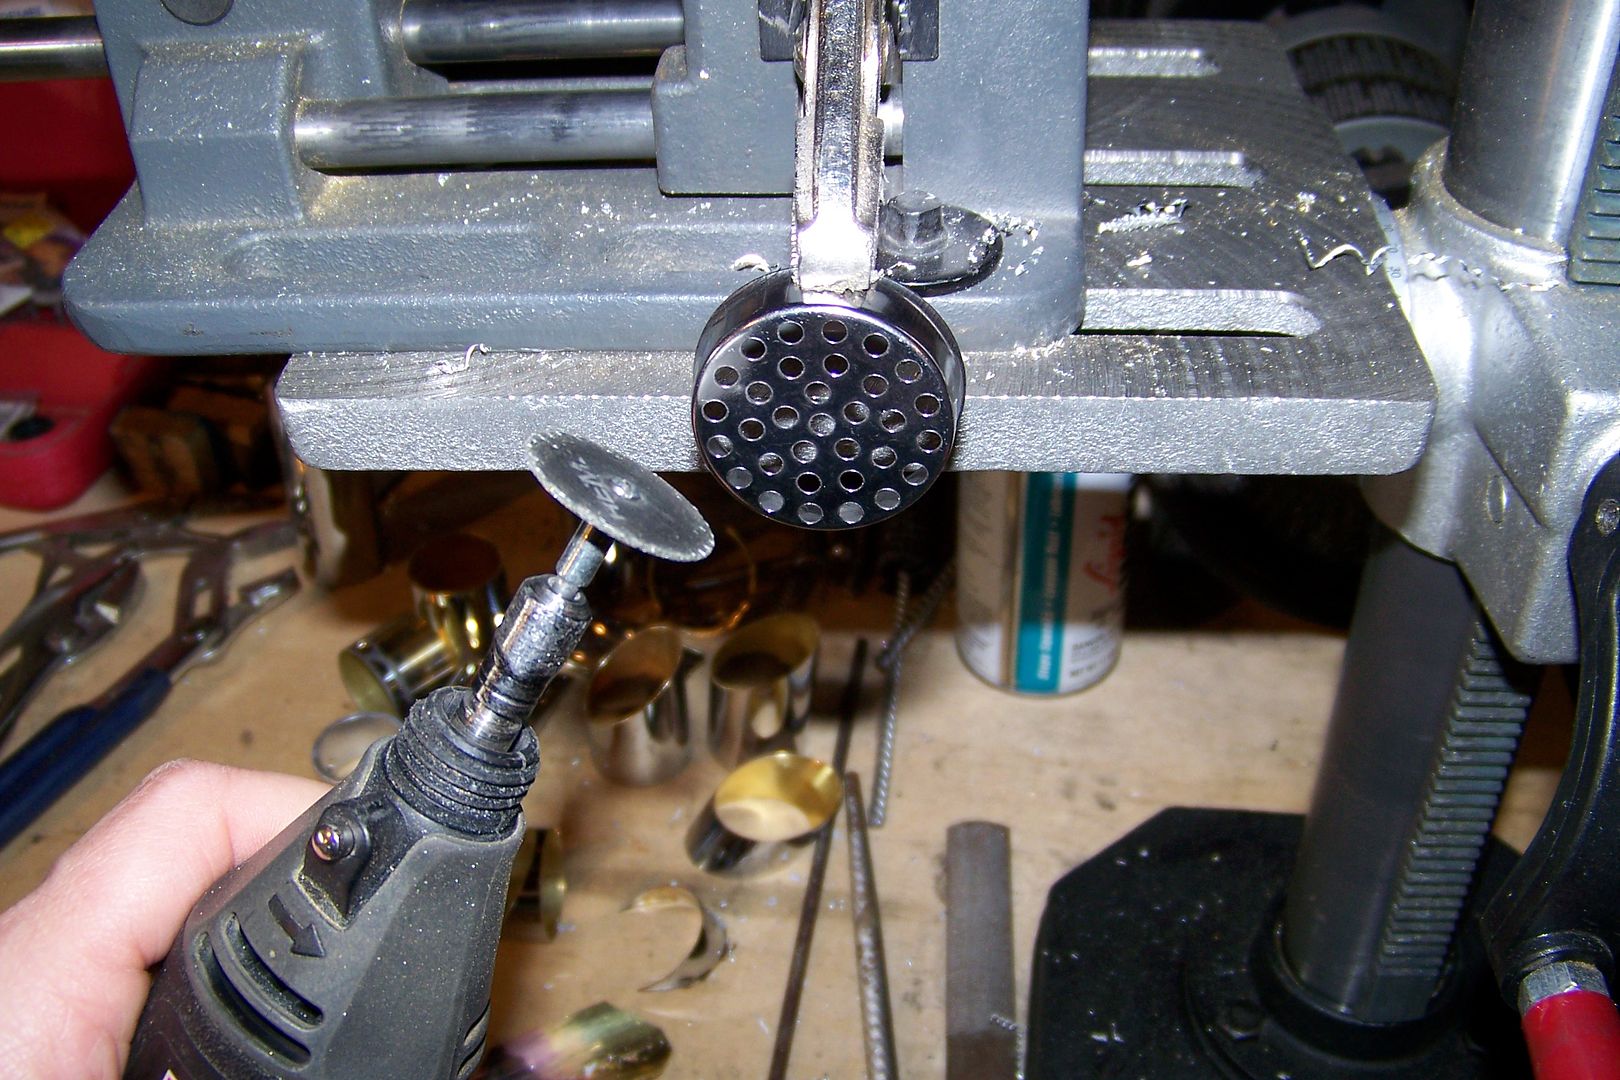
So, one of the things left to do on this one was to cut the speaker grille/pommel insert. I'll use one of the snap-in strainers from the hardware store for that:
I'll use the cutting wheel on the rotary tool for this.
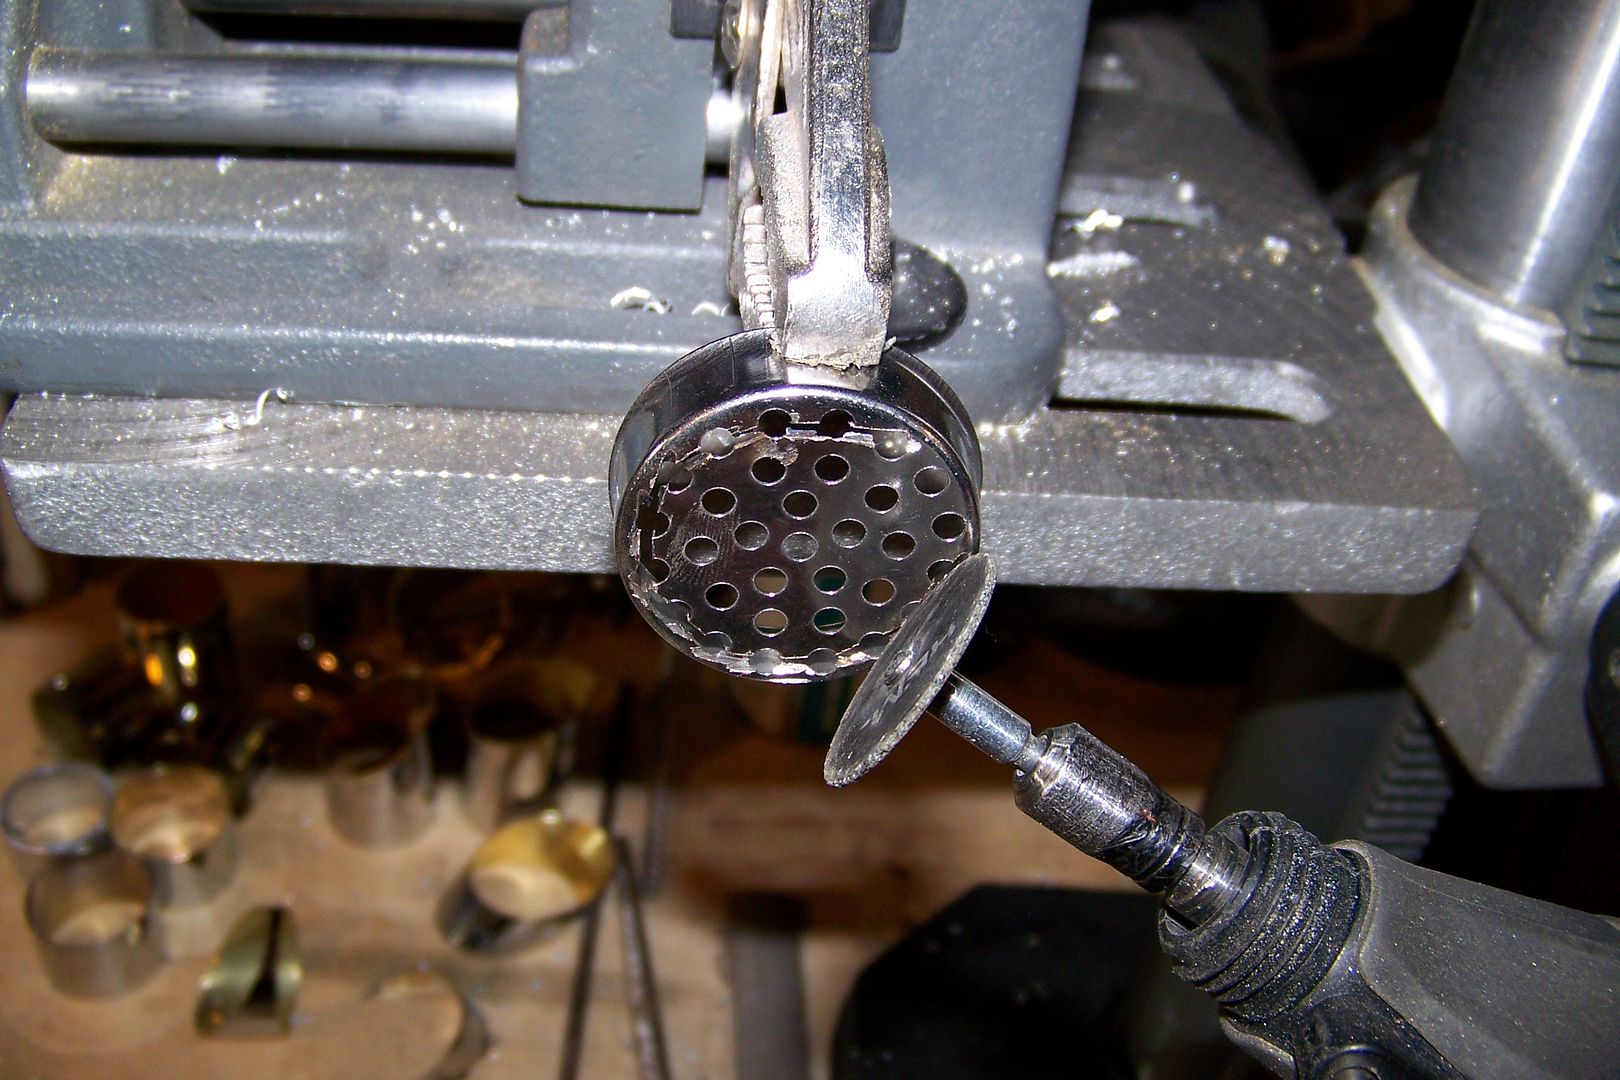
I cut it around the diameter of the bottom of the strainer:
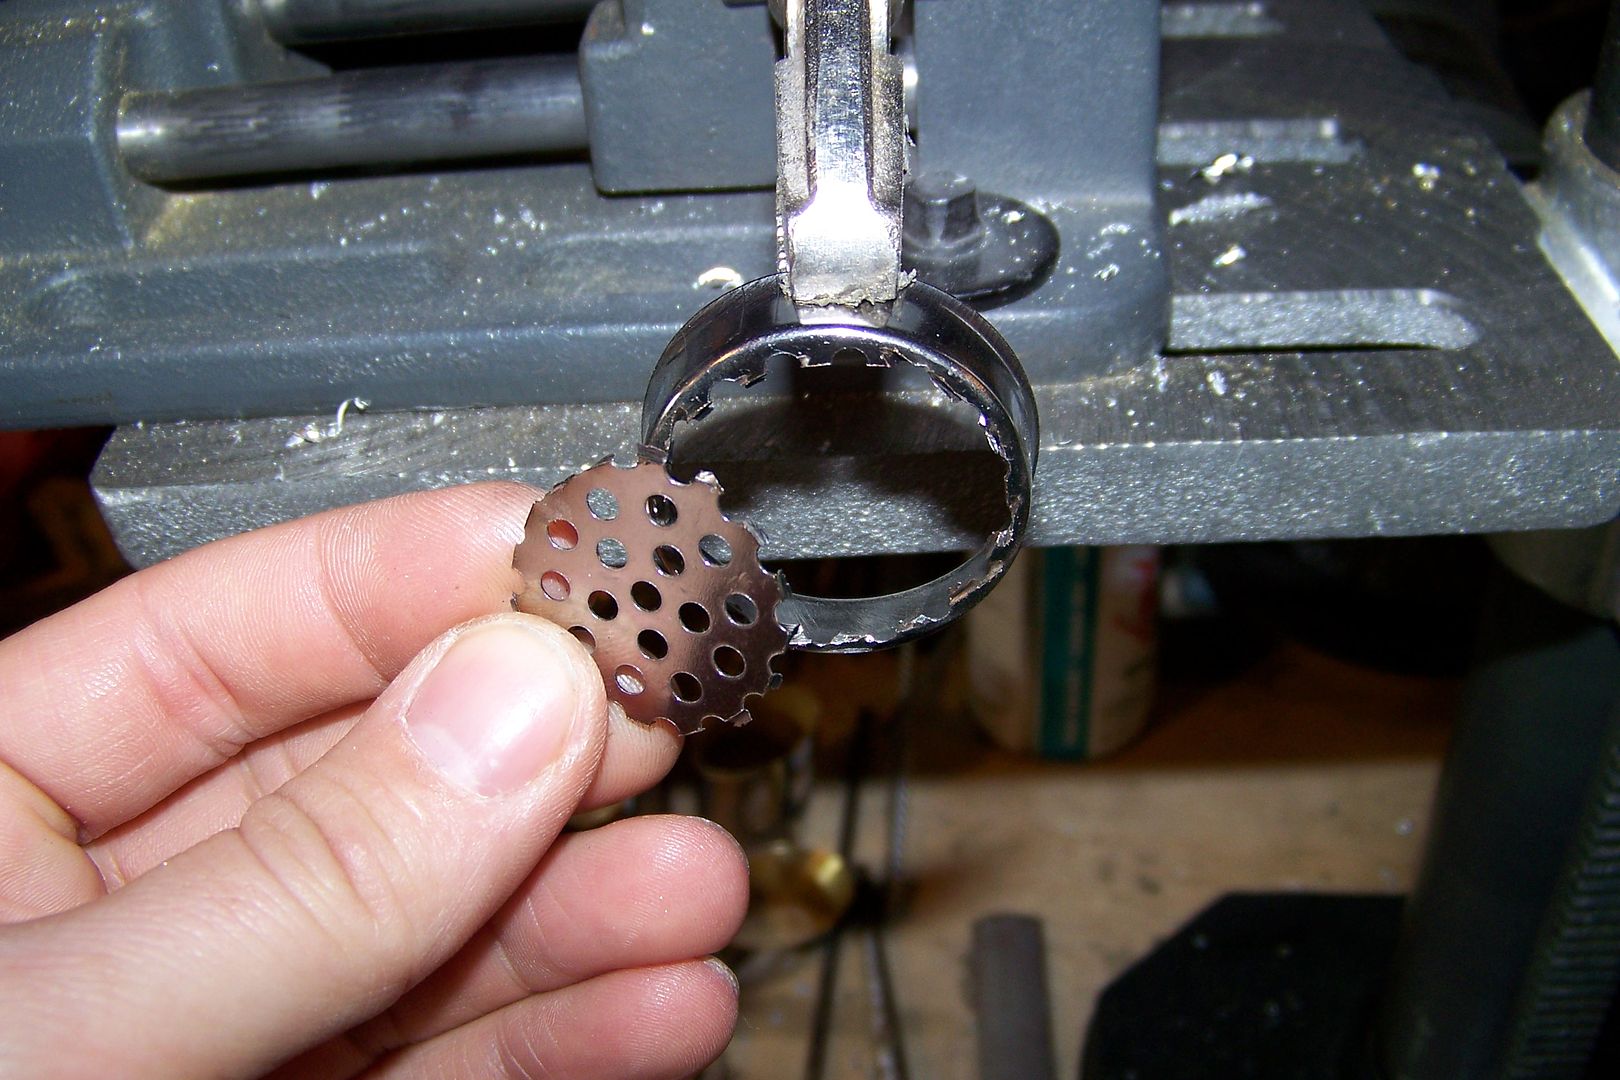
And it fell right out:
Now I'll switch the rotary tool over to a sanding drum and de-burr the part:
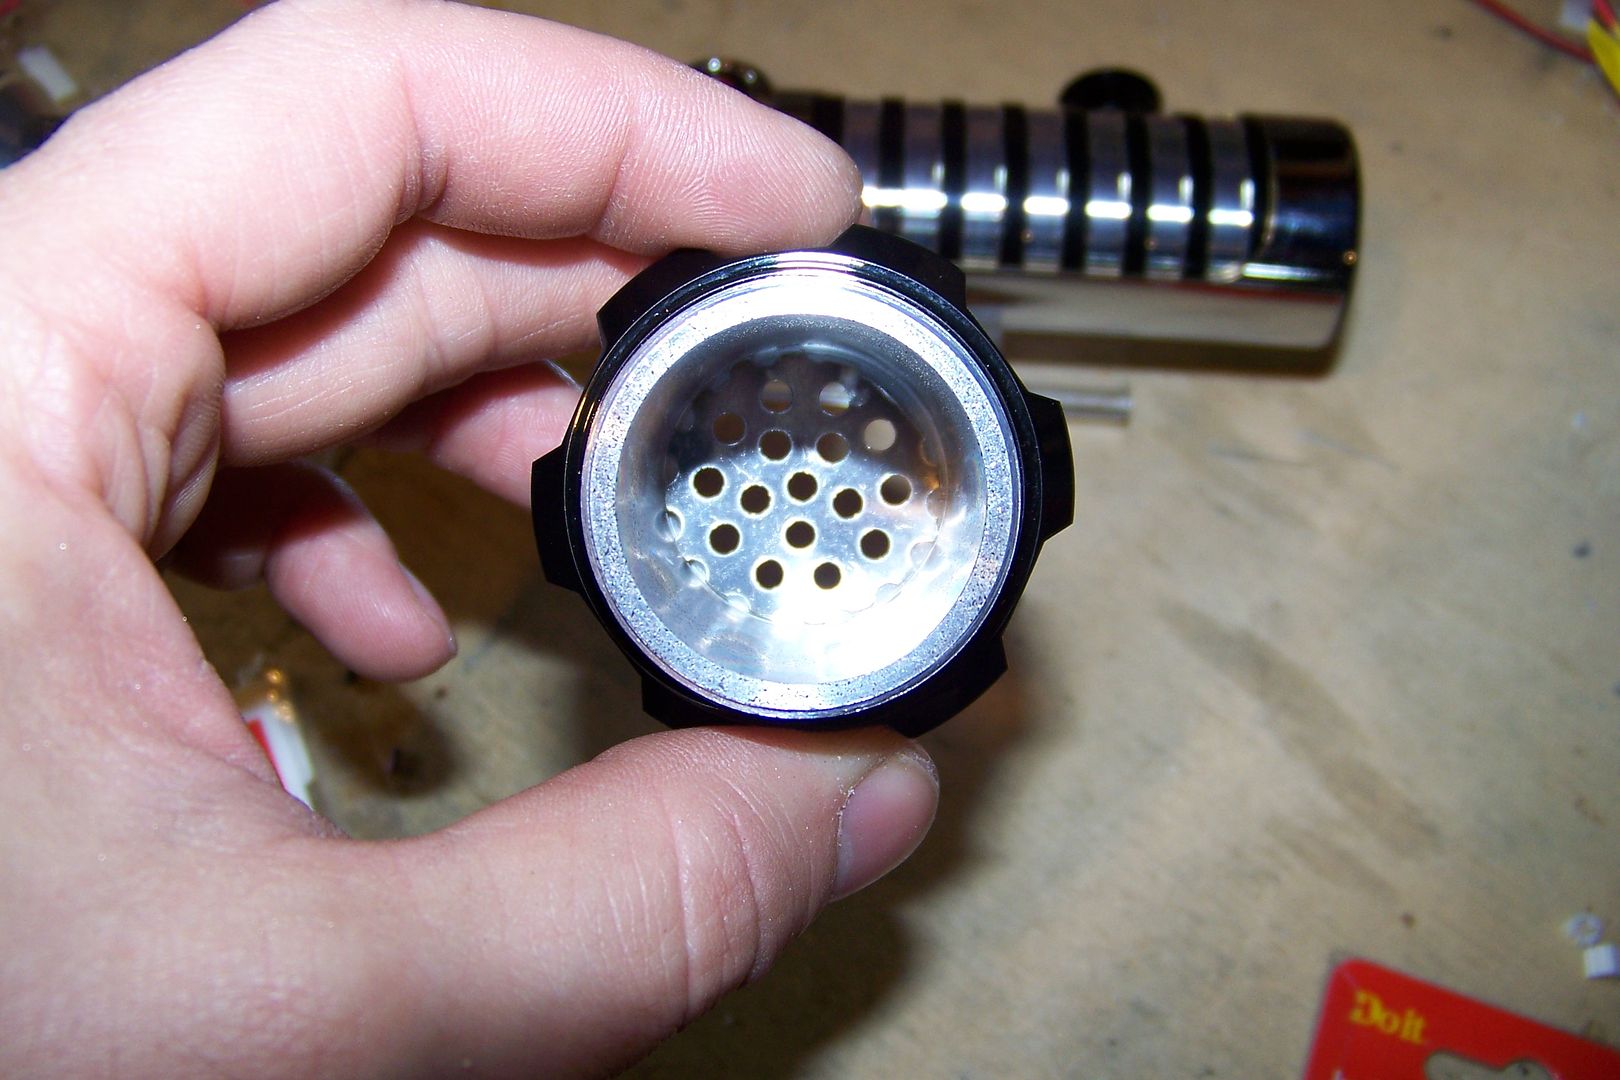
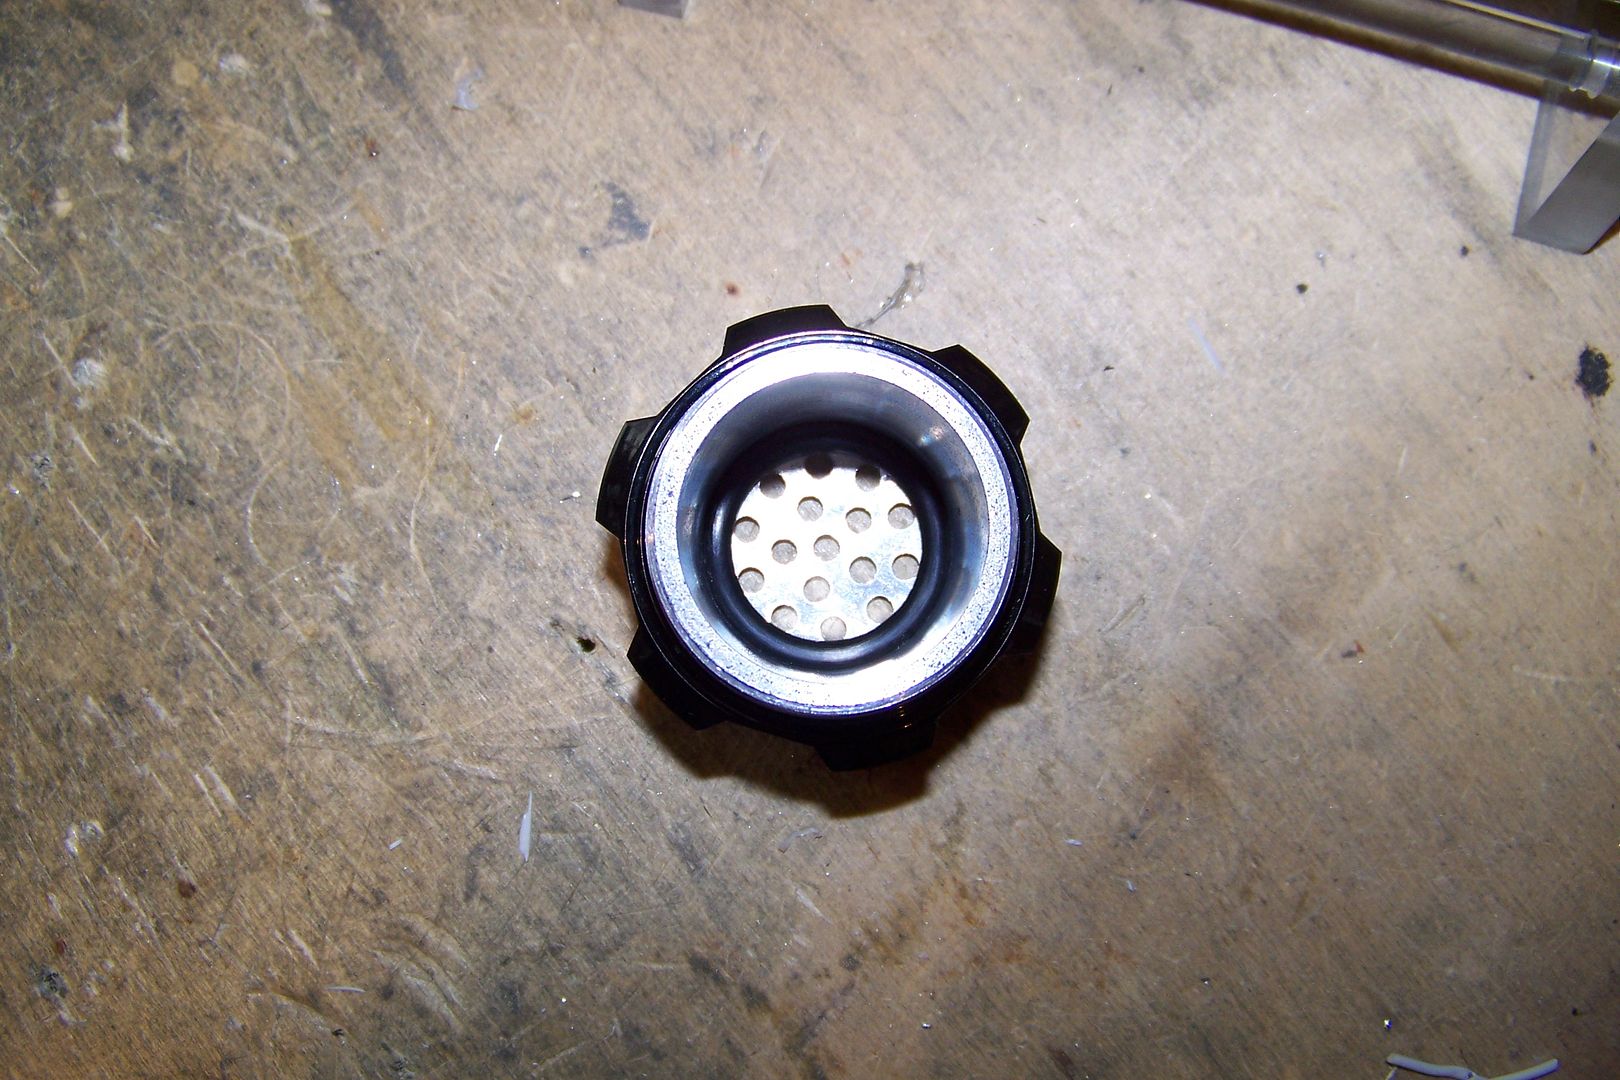
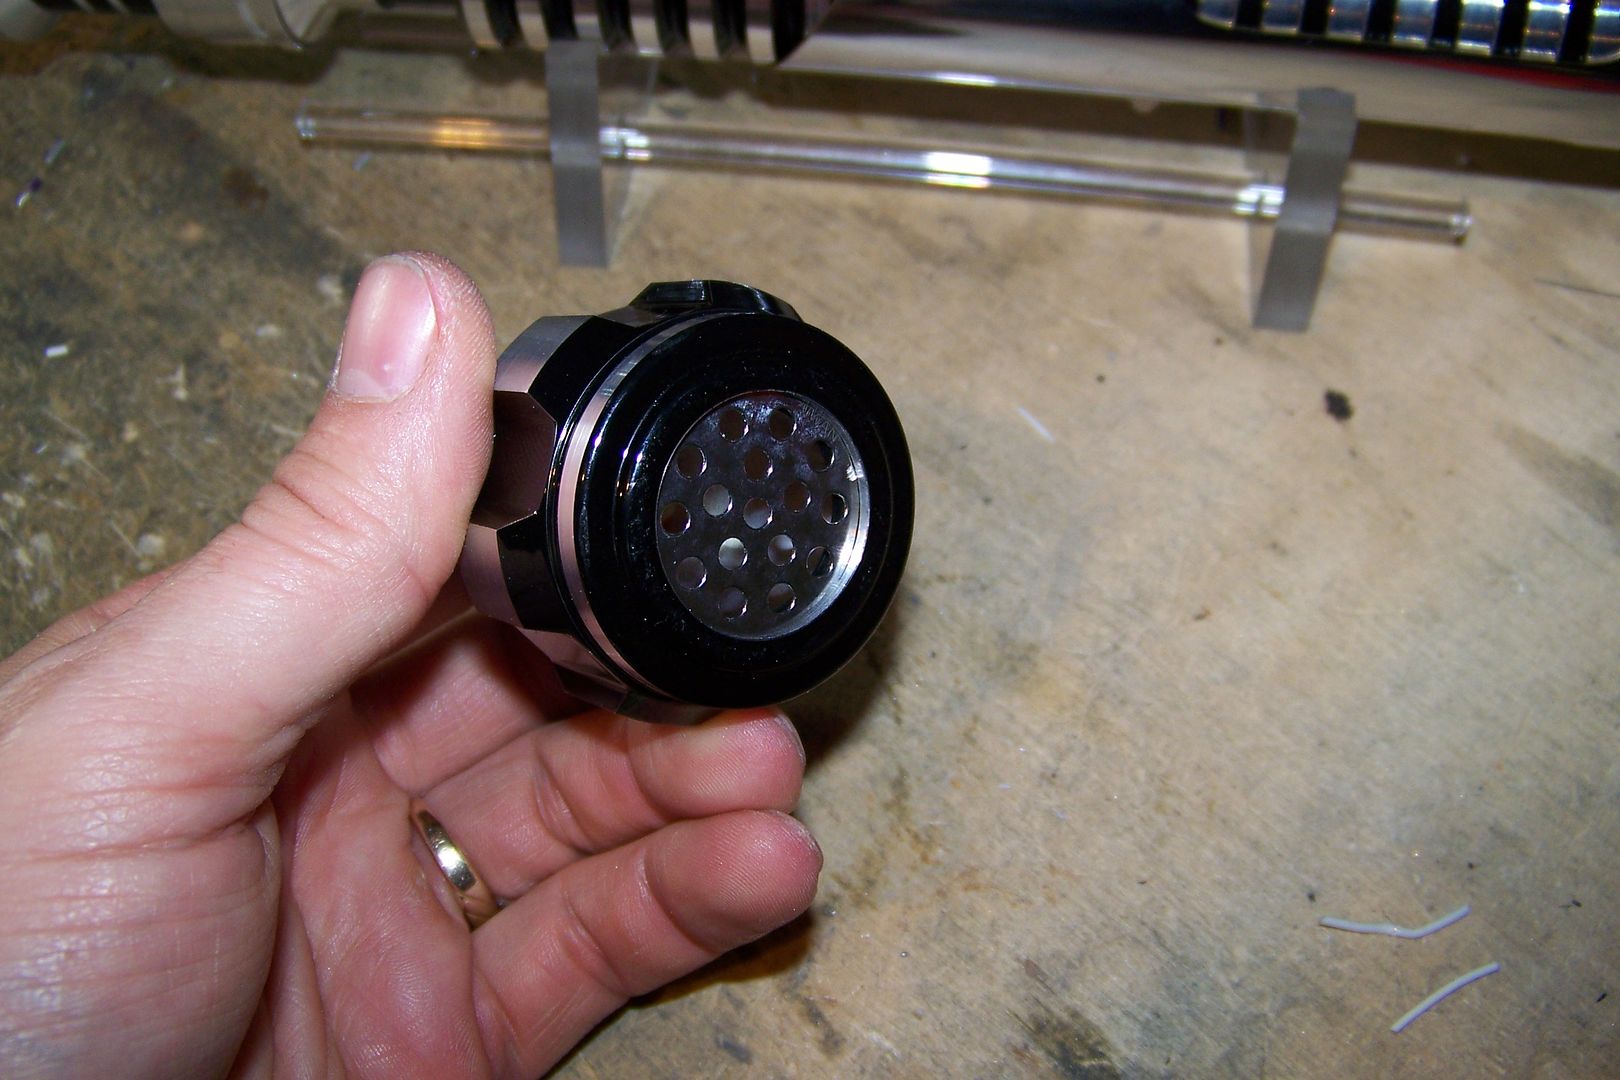
It fits right into the pommel:
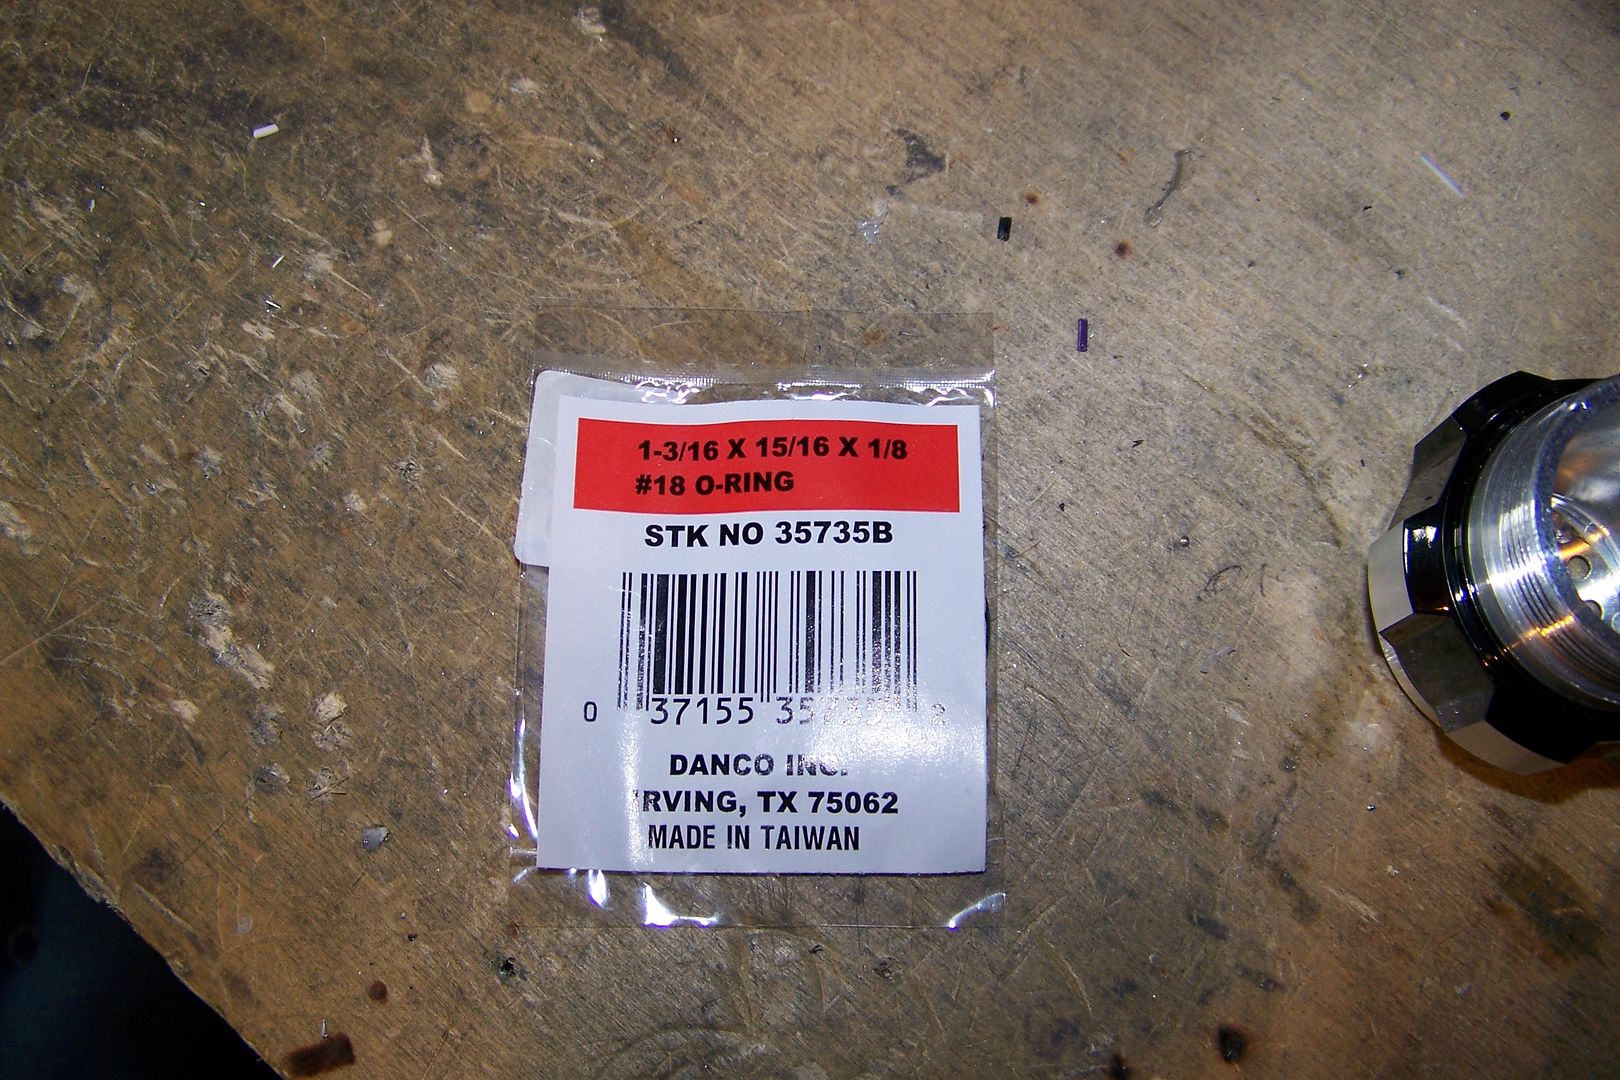
These are too thin to secure with a snap ring, so I'll use an o-ring instead:
I just push the #18 o-ring down into the pommel, and it seats into the groove for the snap ring just well enough to hold the grille:
All done!
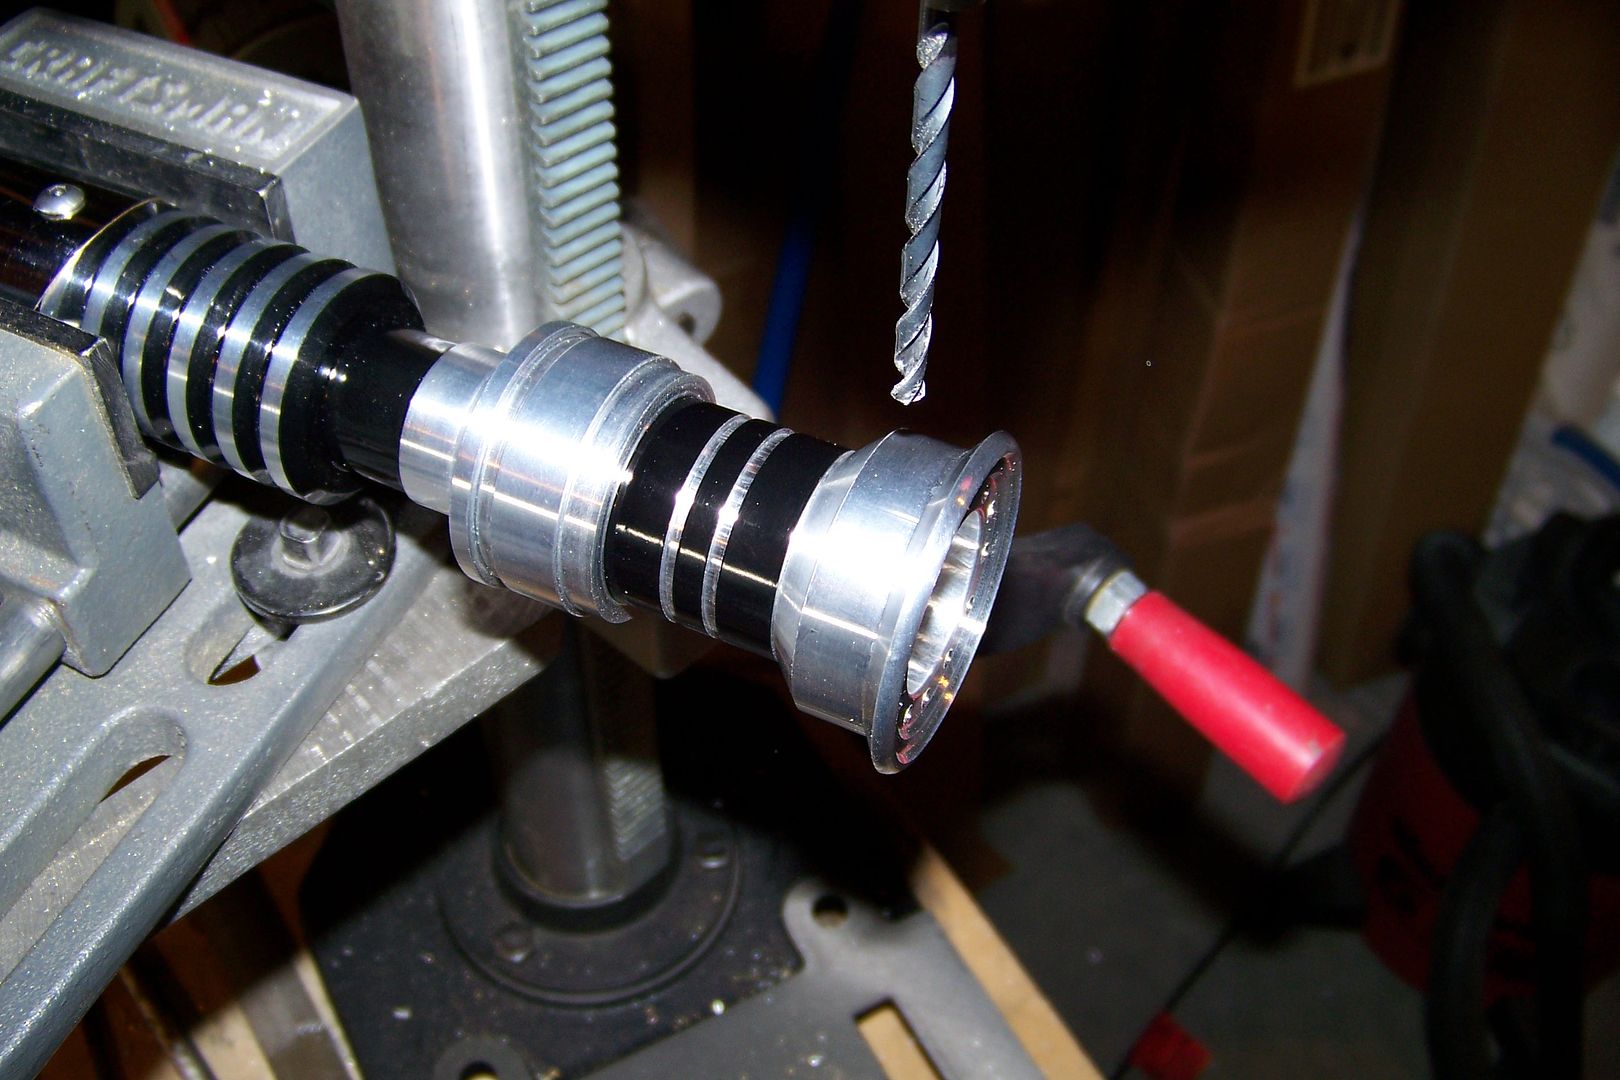
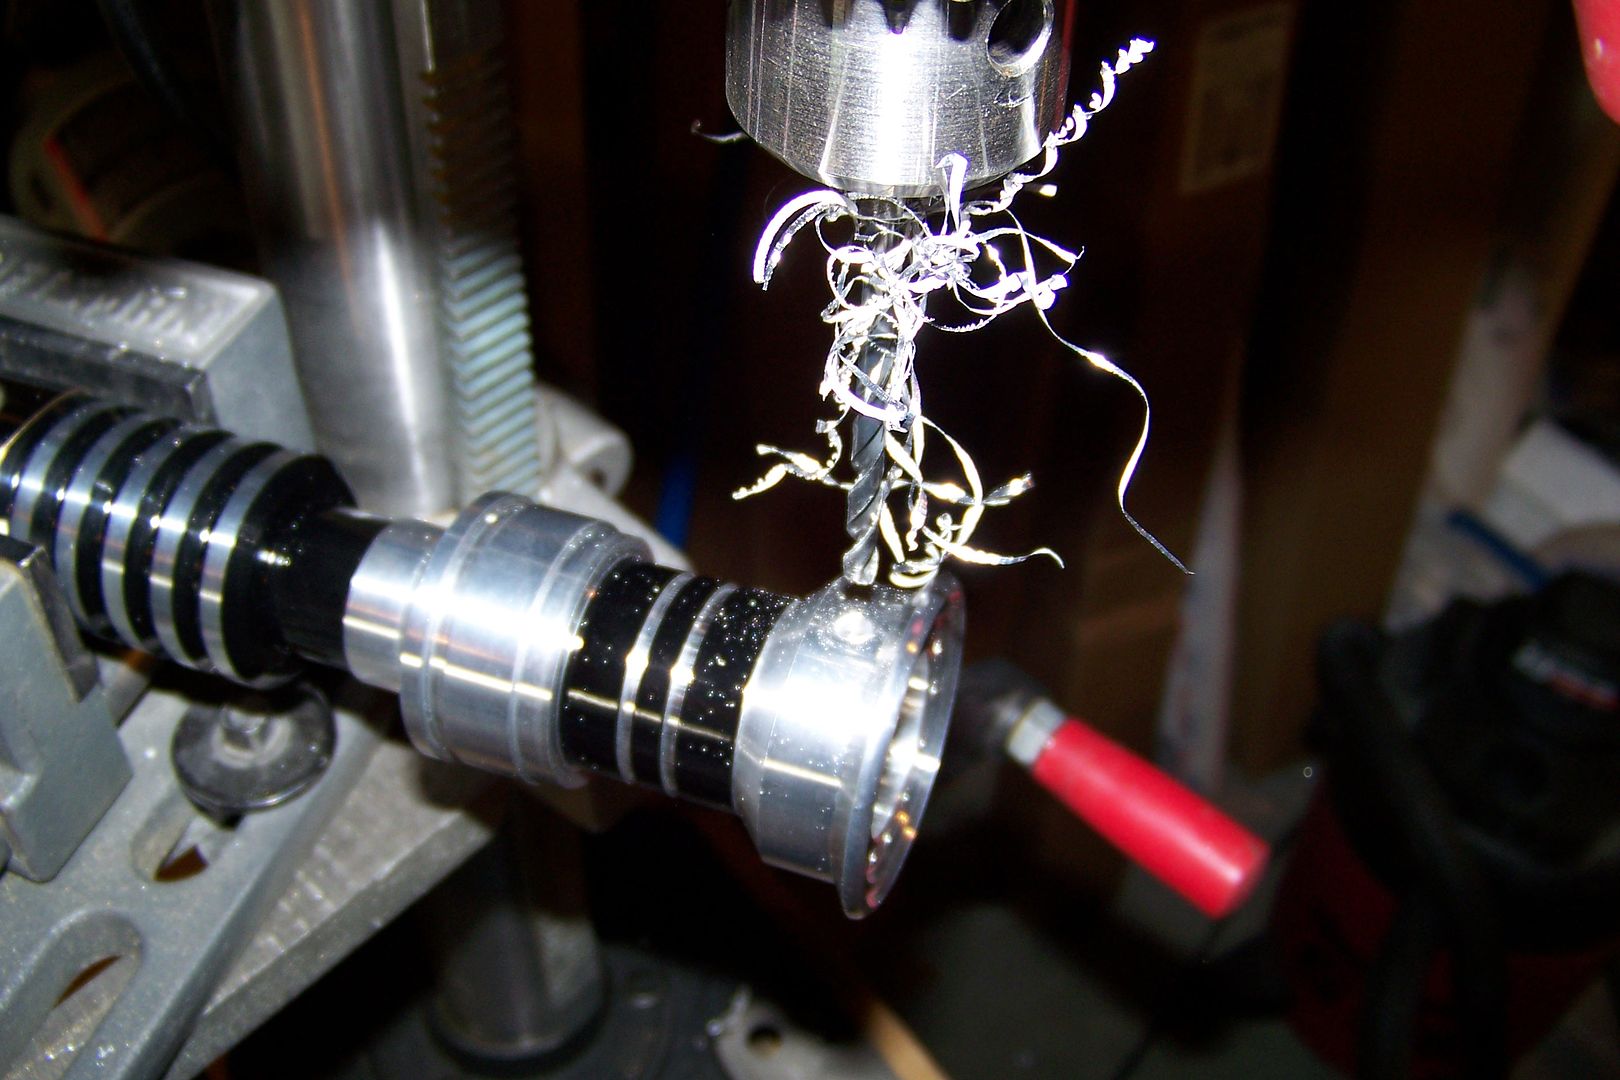
The last thing this saber needs is a blade retention screw....I like to use stainless steel set screws on these types of blade holders.
I set it up in the drill press:
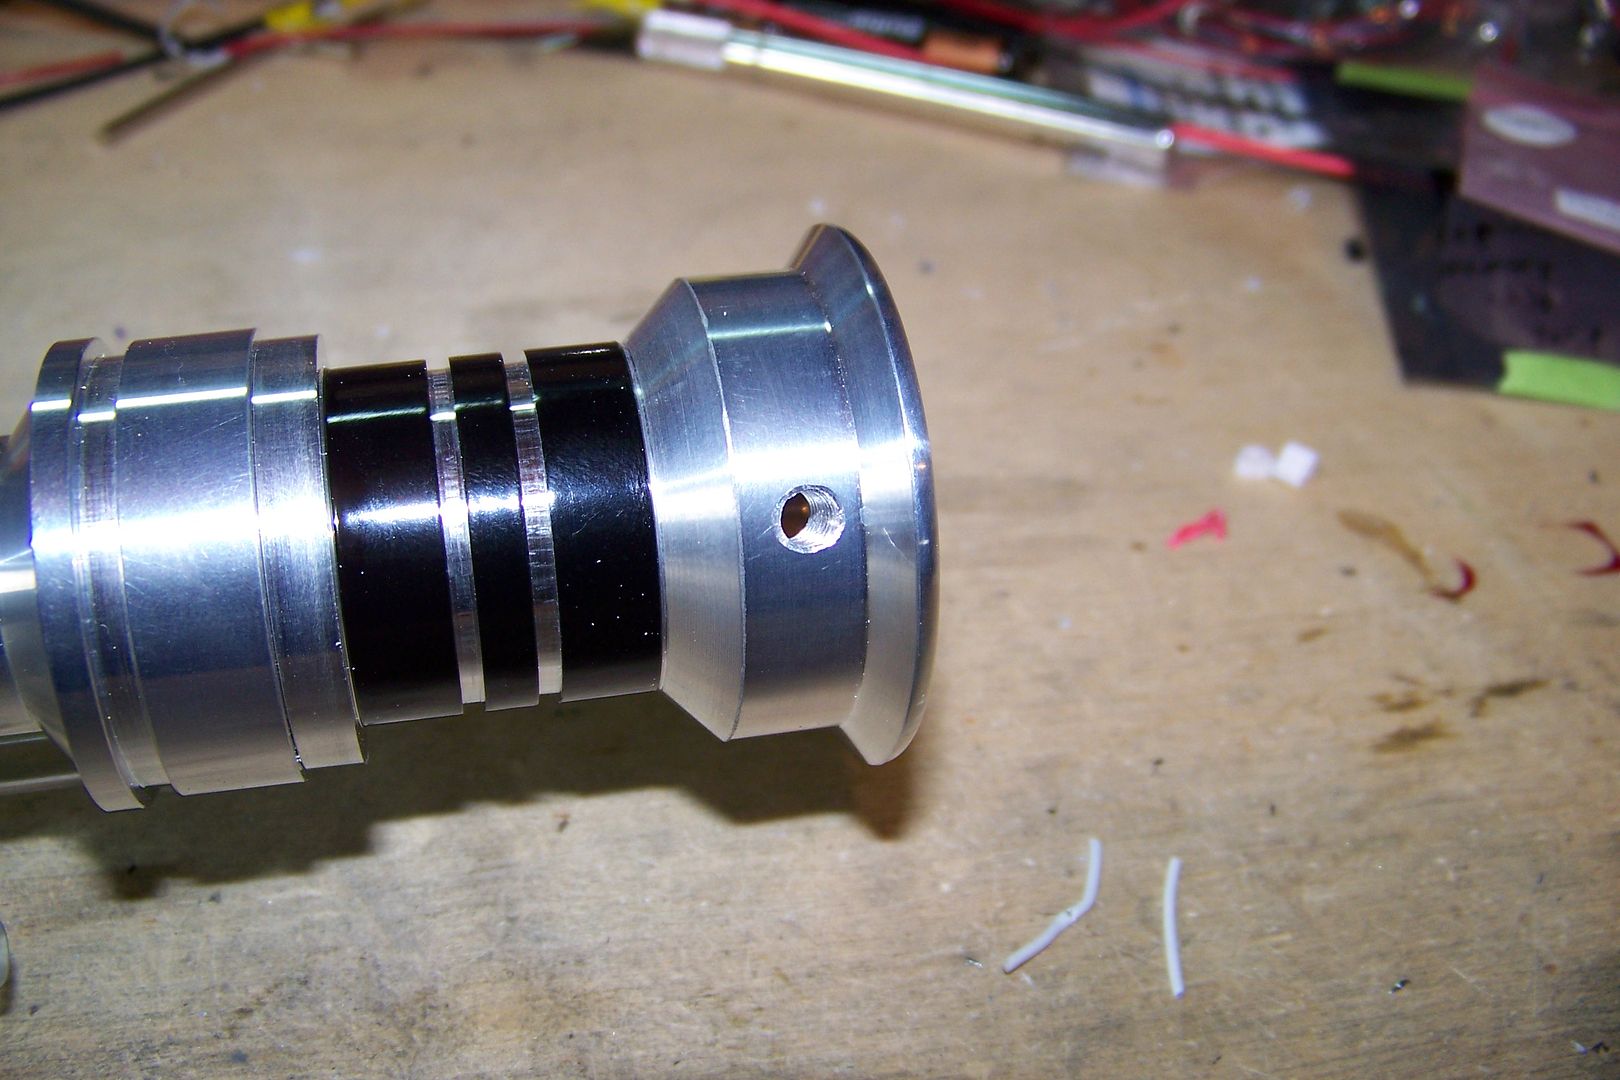
and drilled the hole:
I tapped it for 10-32 threads (I like these, they bite more on the blade than an 8-32 will, and use the same wrench as an 8-32 pan head screw).
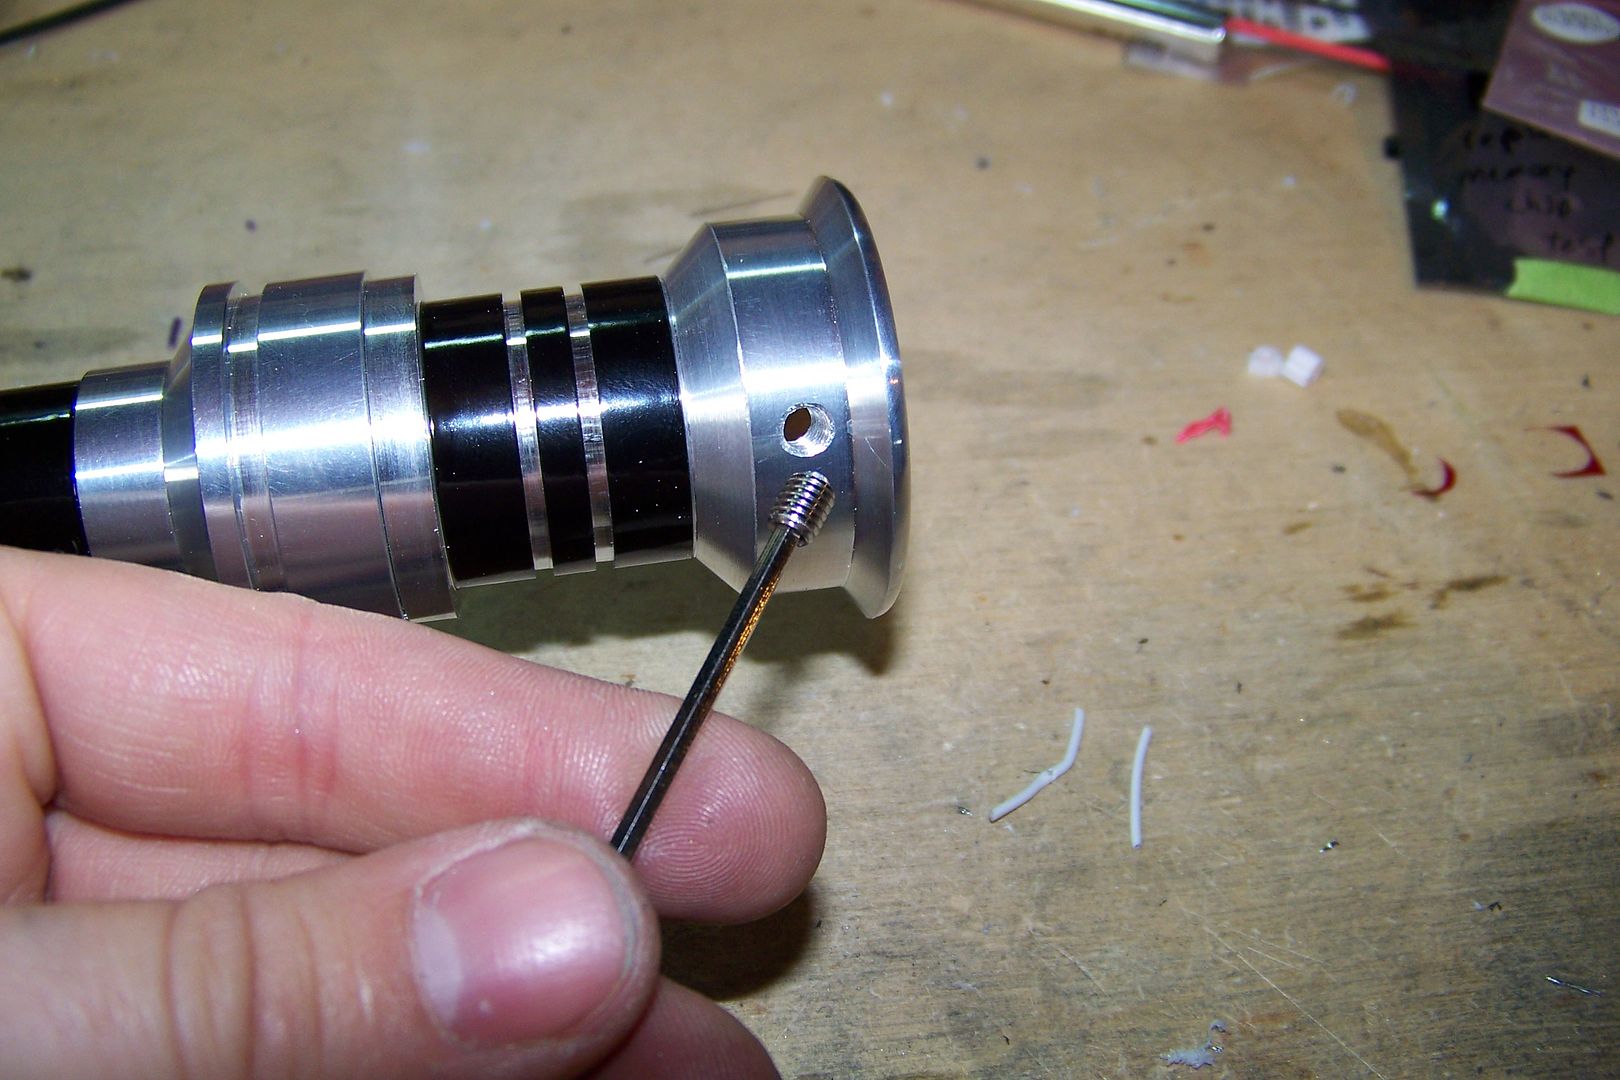
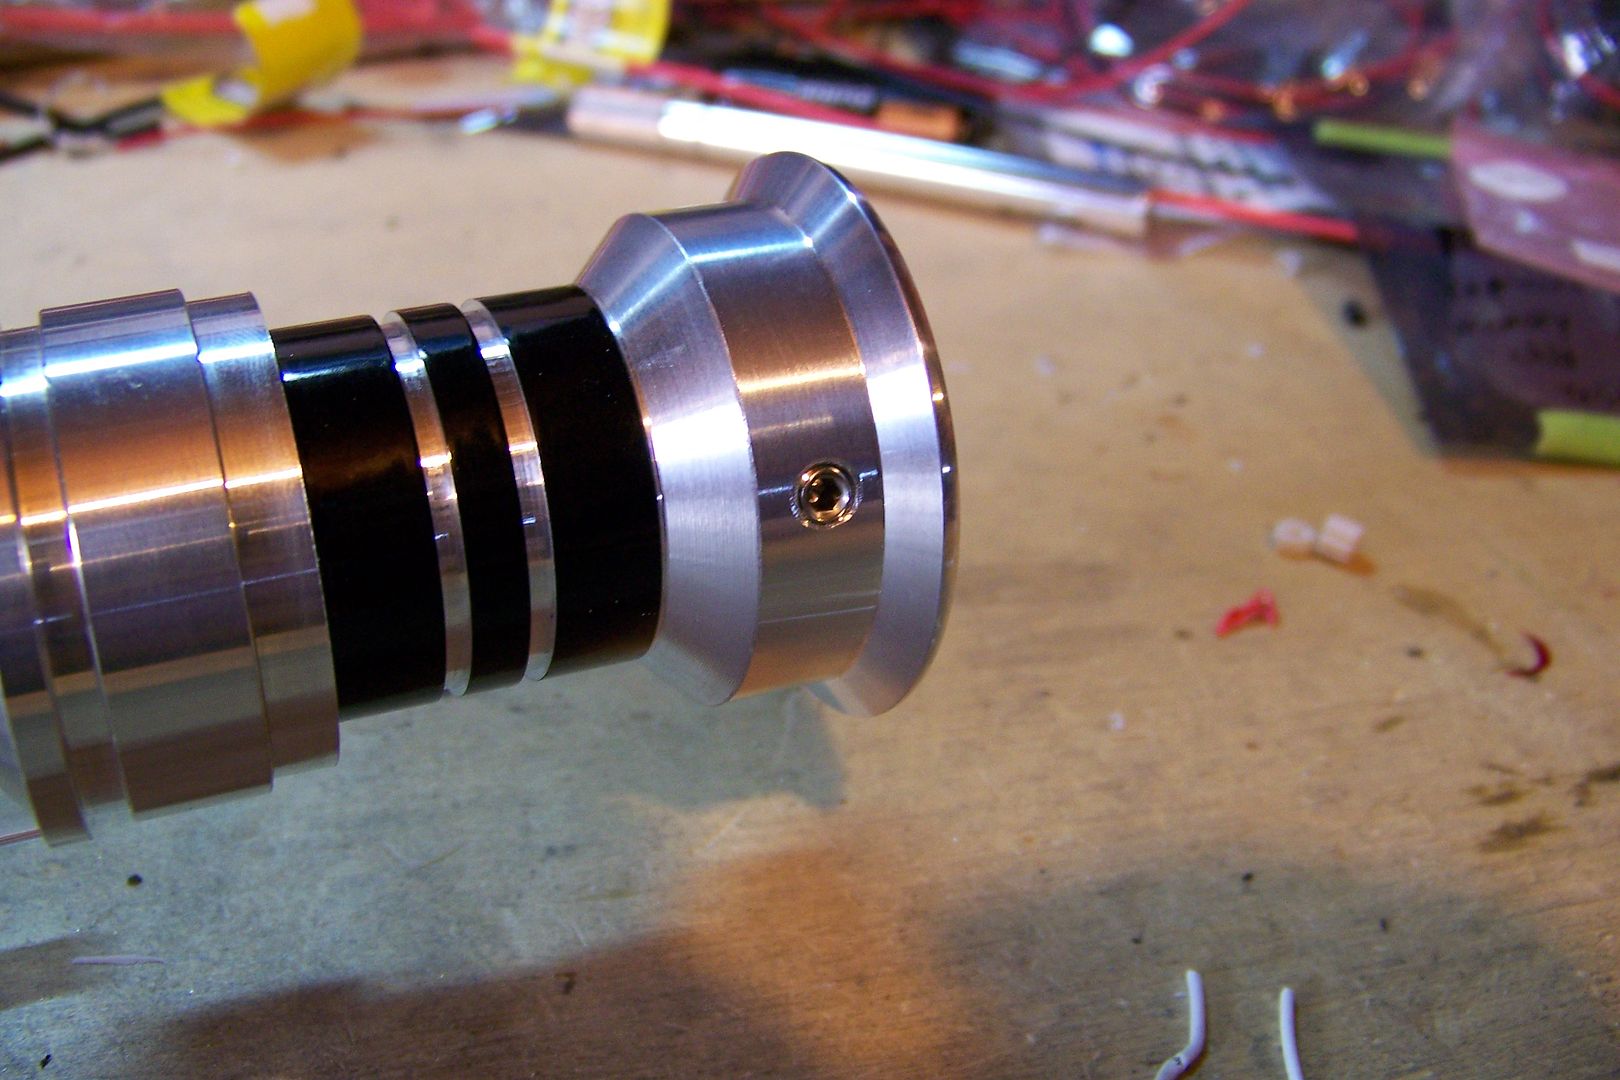
Installed the screw:
and this saber is officially finished! Look for the Final Pics in the Gallery section tomorrow.
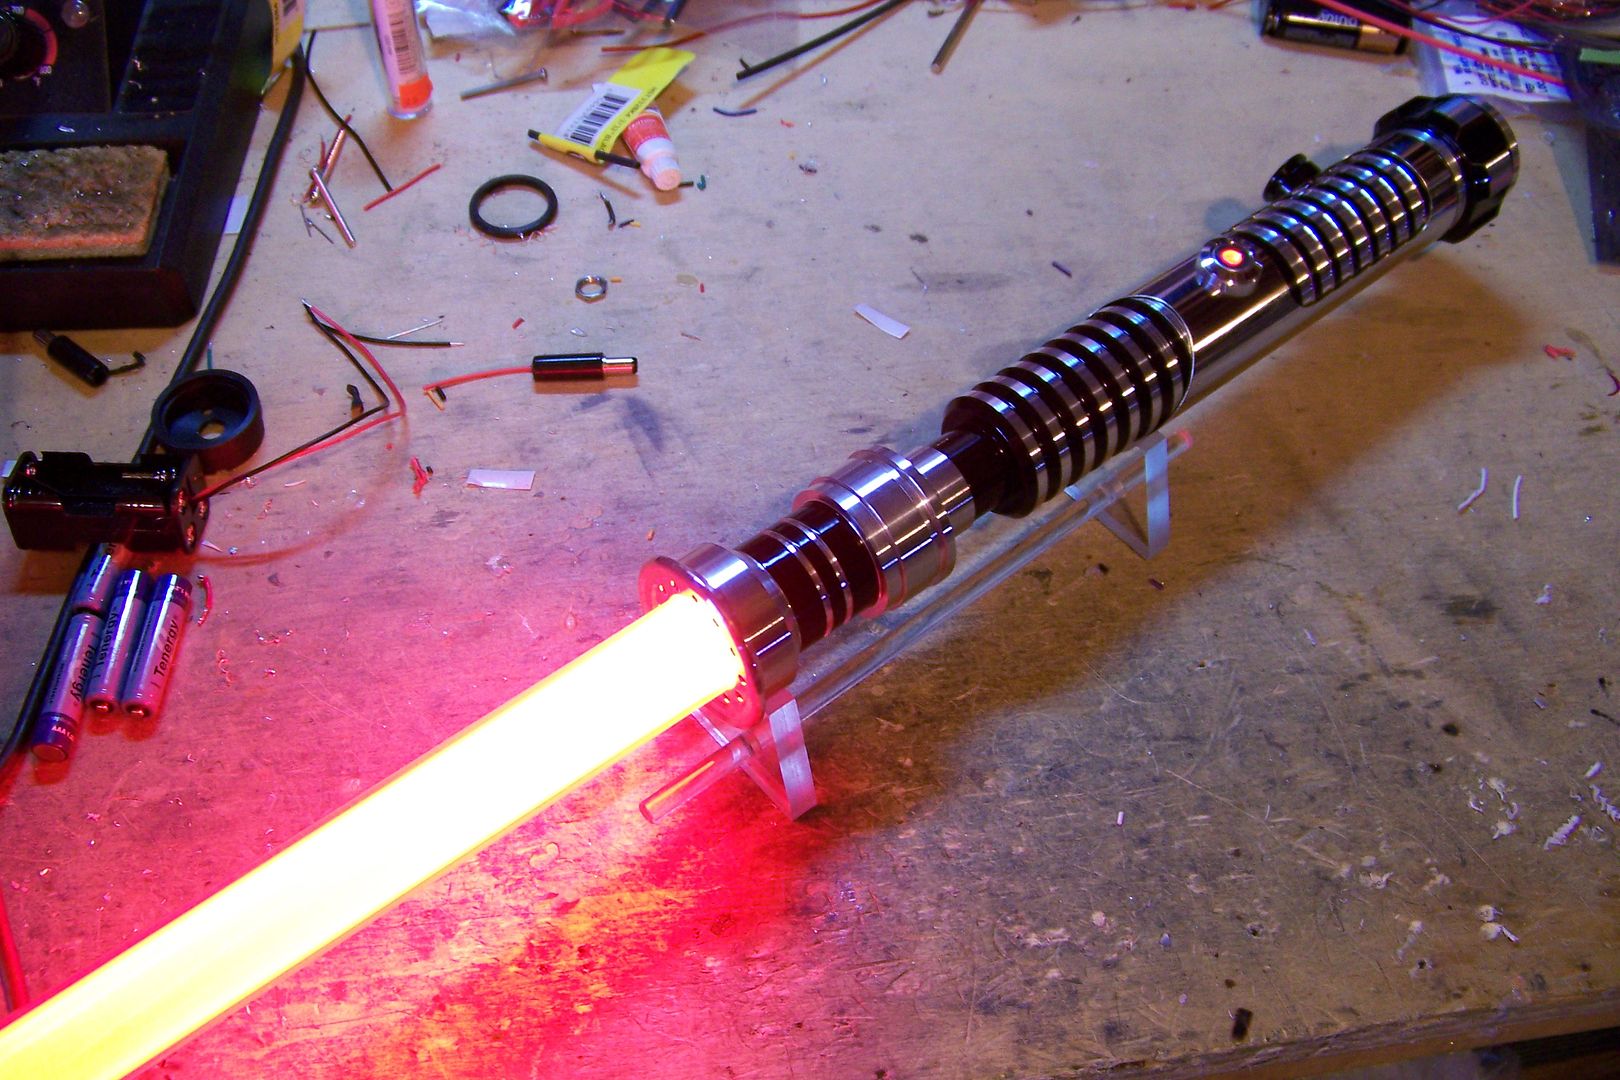
Oh, here it is lit up with a blade:
This last pic is closer to the actual color...it's a nice dark shade of orange!


 Reply With Quote
Bookmarks