-


 BORAX STRIKES BACK ! with saber #2
Hello again all you saber building freaks !! I finally finished my second saber !!
took me more time than I planned but then all things usually do, as well as the fact that every single piece is pretty much custom made, cut, ground and screwed or jb welded together 
Well, this one was a doosey from the start mainly because of the heavy gauge materials I had planed for this saber as the person I made it for likes the feel of a heavy saber. I made this one as a gift I am giving to an older friend who is a HUGE star wars fan, cant wait to surprise him with it ! He likes red, sith like sabers so this is what I came up with. a big mistake I made was trying to use a coarse threaded coupler which will never happen again I can assure you lol. but still a few firsts on this one and I really like the over-all way it ended up.
so on to the build...
The insides include:
LUX III RED
2- 700ma buck pucks
2010 hasbro card
relay
5v regulator
6-1.2v 2600ma AA re-chargeable batts
re-charge/kill switch
tcss speaker
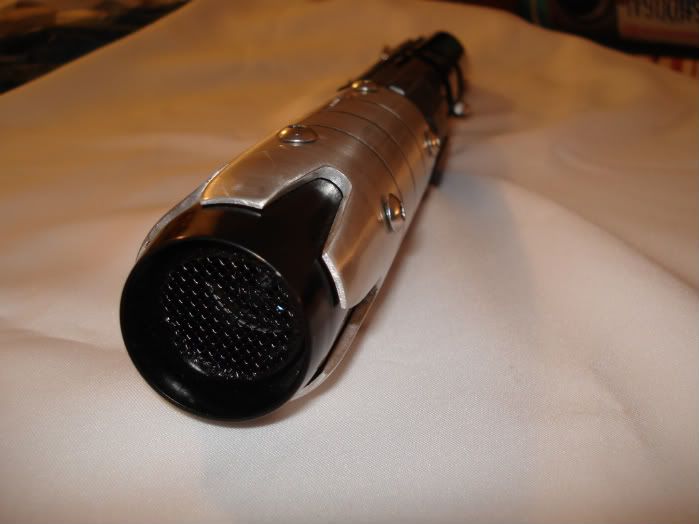
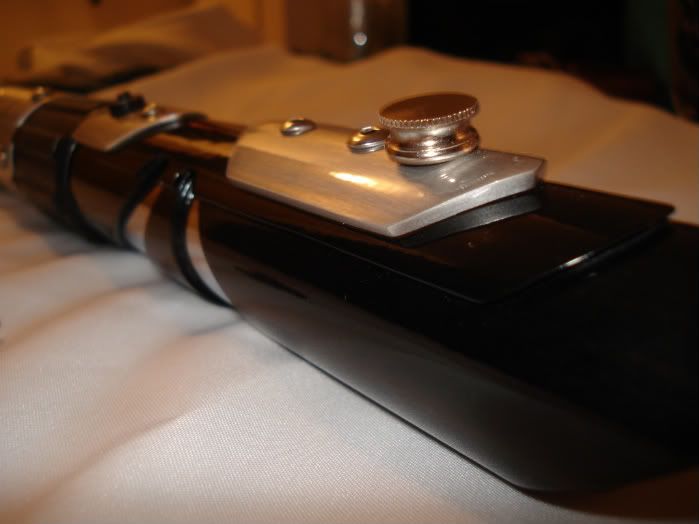
The custom kill port

custom made momentary switch
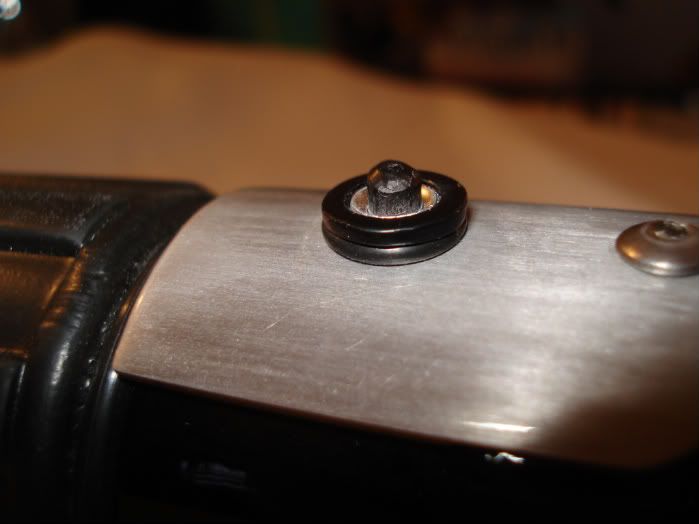
Blade holder screw
This is the inside chassis, the wiring was cleaned up a lot and heat shrunk before going in the saber.

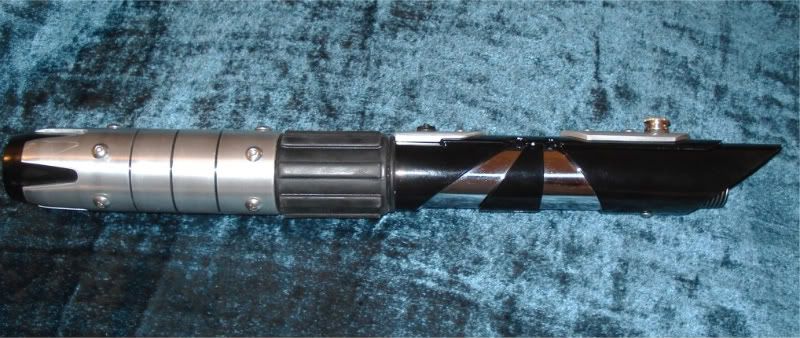
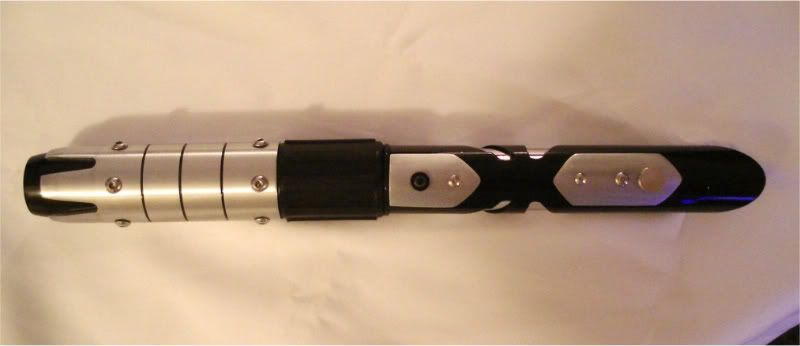
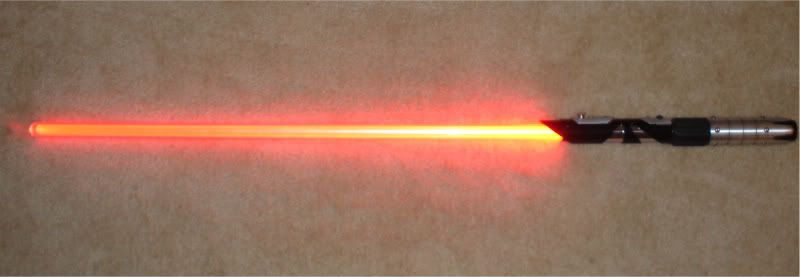
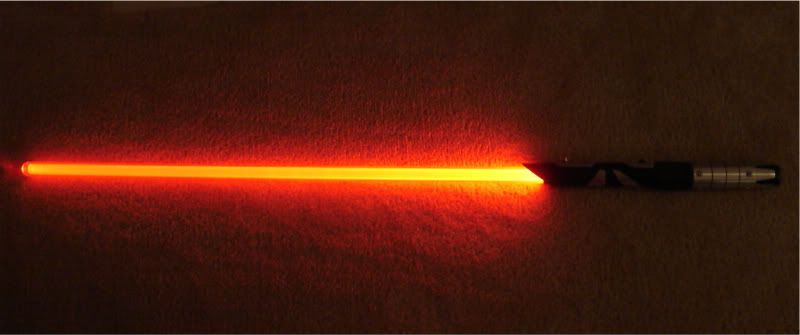
The finished Product with 1" thick walled poly carb blade, sanded with trimed mirrored tip to allow light through. about 6' of cellophane wrap inside. After building my first red blade I look forward to making another, I really like the way they look
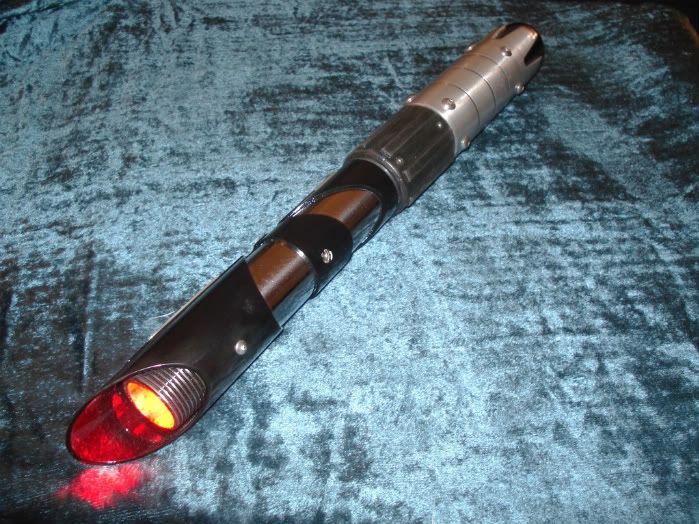
Taken with flash
no flash darkened room

and both sabers side by side

Well that's saber #2 ! I hope you guys enjoy this one as you did the first
And now I must rush to finish saber #3 for the contest !!...
Just for fun here are a few progress shots from this saber, As soon i have more time and its not 12:30am I will make a build post for this one.
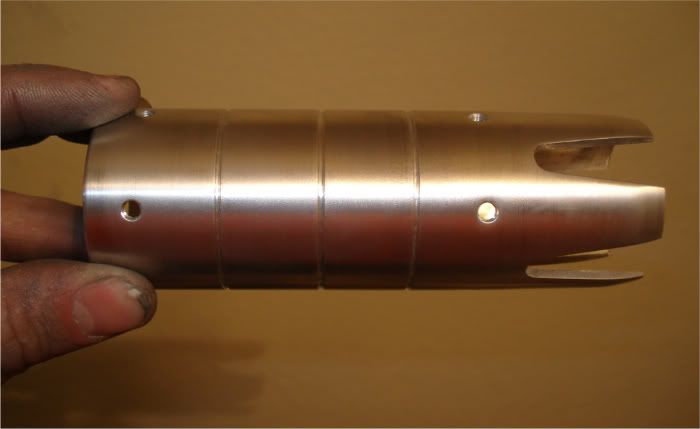
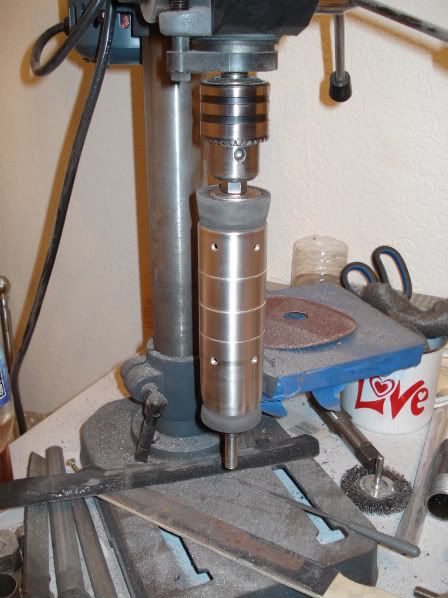
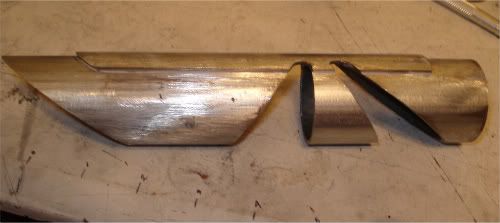
this is the bottom piece which i am really proud of "lathing" since it turned out just as I wanted for the most part. and a pic of my ghetto "lathing" technique.
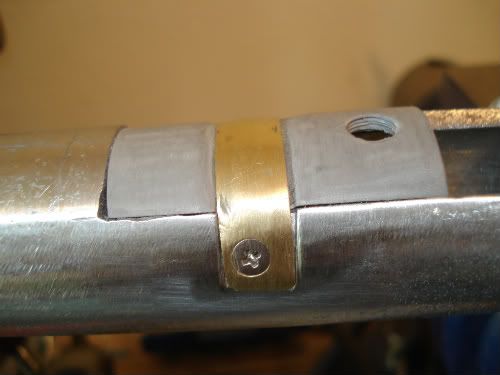
this is the plastic holder i made for the re-charge/kill switch
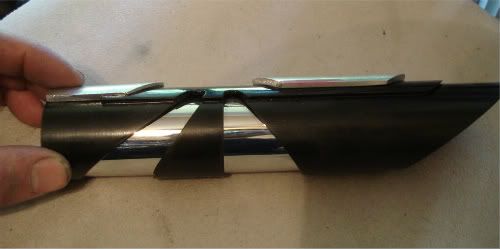
some random pieces
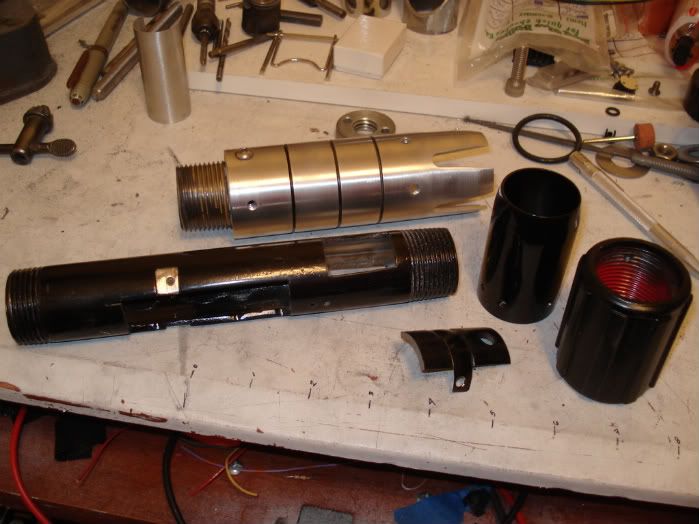
and the upper shroud area
Again thanks all on this site that contribute the wiring diagrams to guide us who are ignorant of such things ! Enjoy.
Last edited by Borax; 05-13-2010 at 01:03 AM.
 Posting Permissions
- You may not post new threads
- You may not post replies
- You may not post attachments
- You may not edit your posts
-
Forum Rules


 Reply With Quote
Bookmarks