


I had decided to make a Force FX Style illuminated blade ANH Obi Wan Saber.
The offerings from Master Replicas and Hasbro have that extra fat windvane piece that is pretty much meh.
After I had started this project, I found this site, and this forum, and read, and learned a LOT! To the custom saber shop, and forum members, I say THANKS!
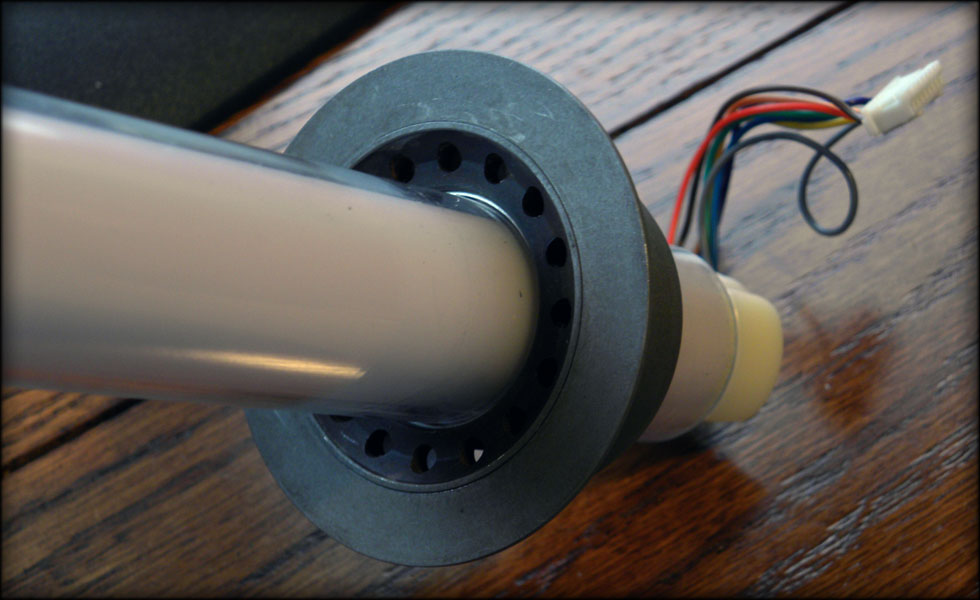
To start with, I found a section of aluminum tube that I shaved down on the lathe to secure the blade tube to the inside of a RussRep emitter, it's super snug and tight, and with a few set screws on the inside of the emitter, going into a custom machined base on the inside of the polycarbonate tube, it should be sturdy enough to not move much.
The small aluminum tube is some scrap I had that BARELY fits the light tube. I had to shave it down to fit inside the inner section of the emitter.
Here's the spacer on the light tube. I will have to trim off the excess light tube, and replace the plastic LED base on the inside with an aluminum base I can screw into.
Here it is assembled, I think the tiny aluminum spacer will not detract from the look of the saber too much.
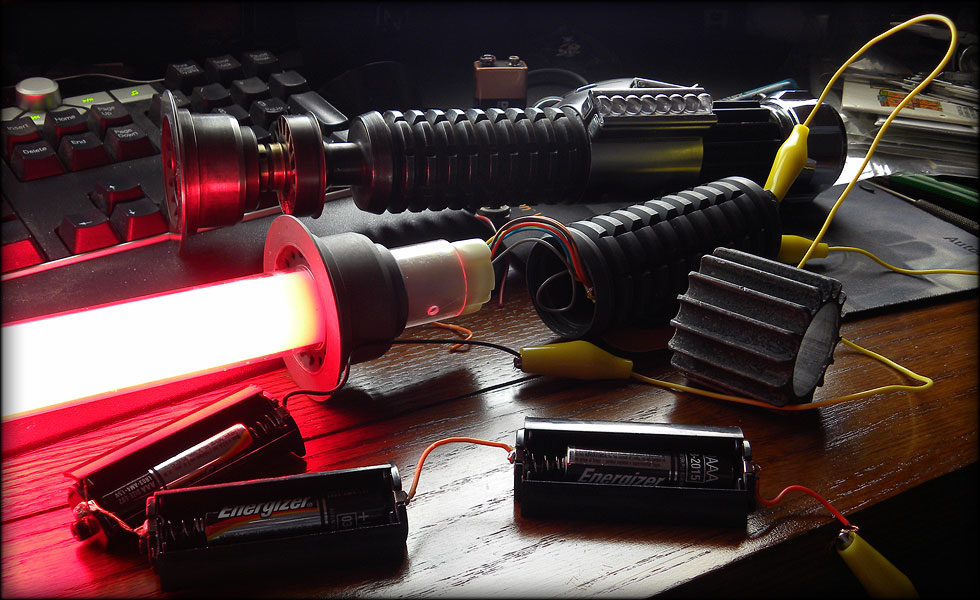
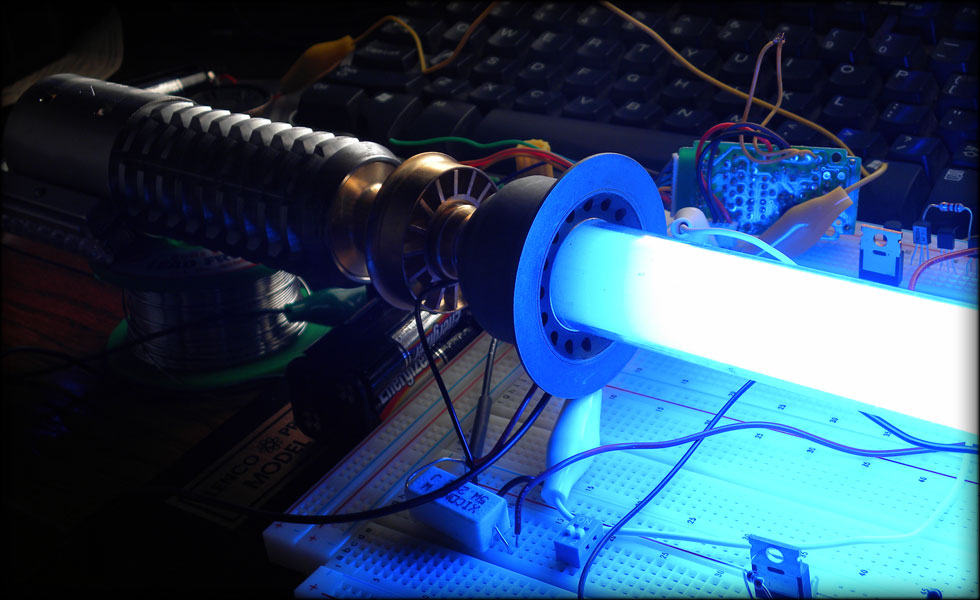
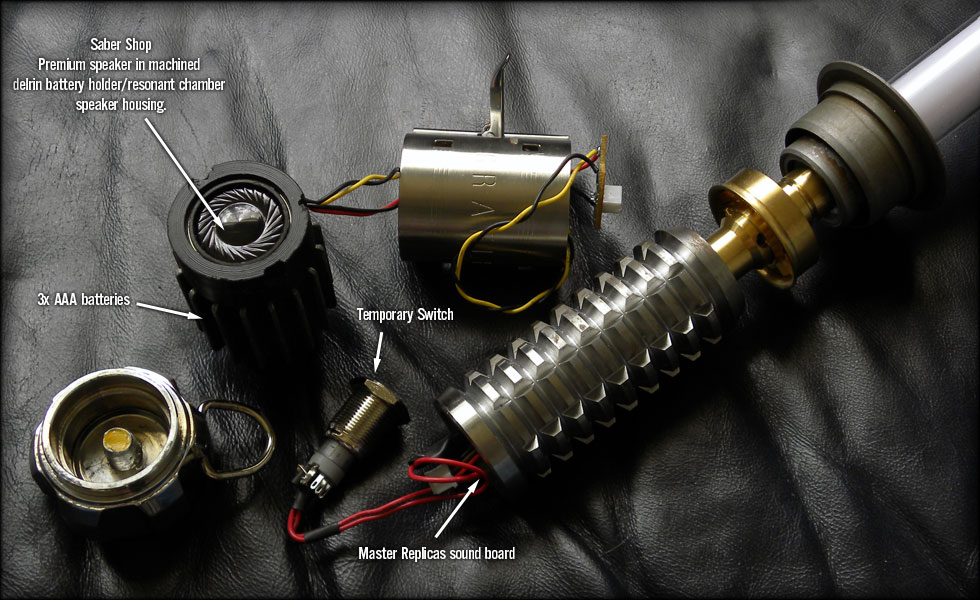
Here's the saber lit. I know I have the wrong color, but this is a broken Vader force FX I scavenged just to see if the parts would fit. The controller board is sitting in the grenade, and instead of 3 AA batteries, I am powering it with 3 AAA batteries. These will fit stacked inside the hollow aluminum booster.
I have a good idea how to attach the emitter to the grenade solidly enough that it won't be flimsy, and still use the "correct" windvane neck from Russ. Wiring will have to be changed out a bit to fit inside the neck, but it's doable. Meaning I will have to relocate the clash sensor, and with those two wires not going through the neck, I can feed the rest through a drilled out 5/8 threaded rod.
At this point I had it worked out pretty much except for the pommel end, and was still sketching that out, but it was easier to solve than the emitter.
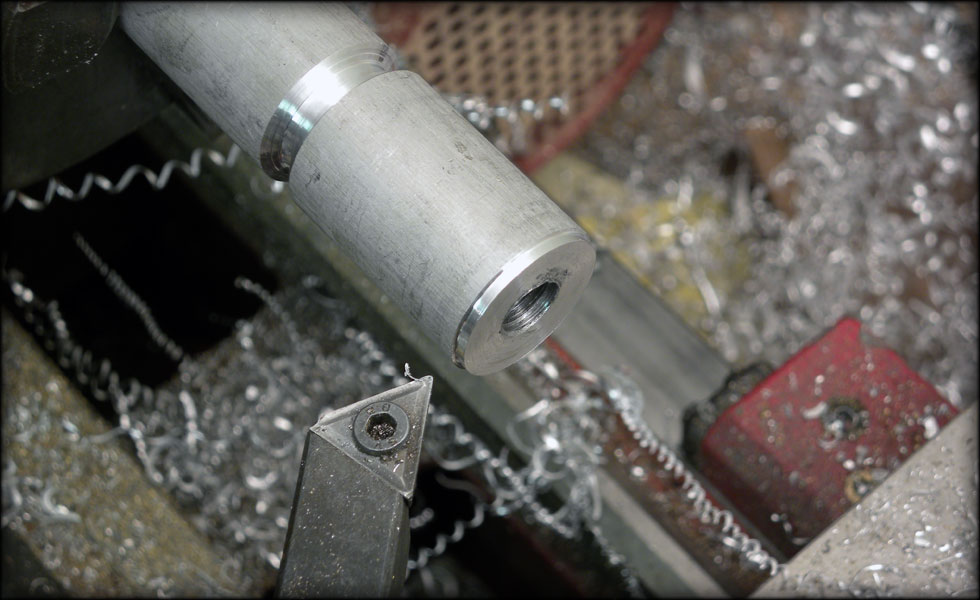
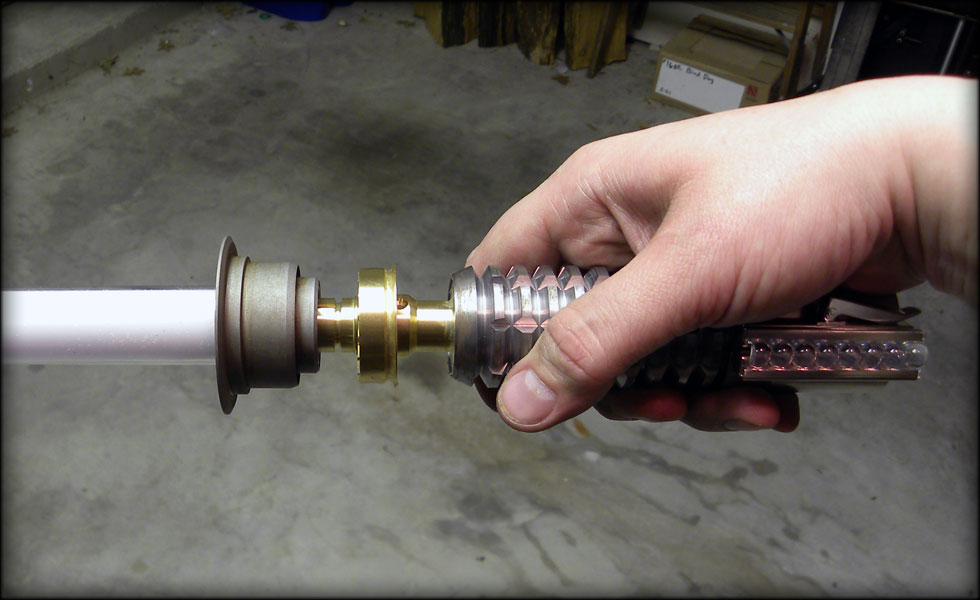
To do the emitter end, I decided to create an anchoring piece of metal that really solidifies in the emitter... kind of like this...
The aluminum plug will really help solidify the blade to the emitter.. I will need to trim out some of the diffuser element from the blade, and thread the plug for 5/8 threaded rod.
Here I have it fit together, and see my plug is too long, and has no recess to let the emitter end of the windvane neck to sit inside. I will shorten the plug and lathe out a recess for the neck section.
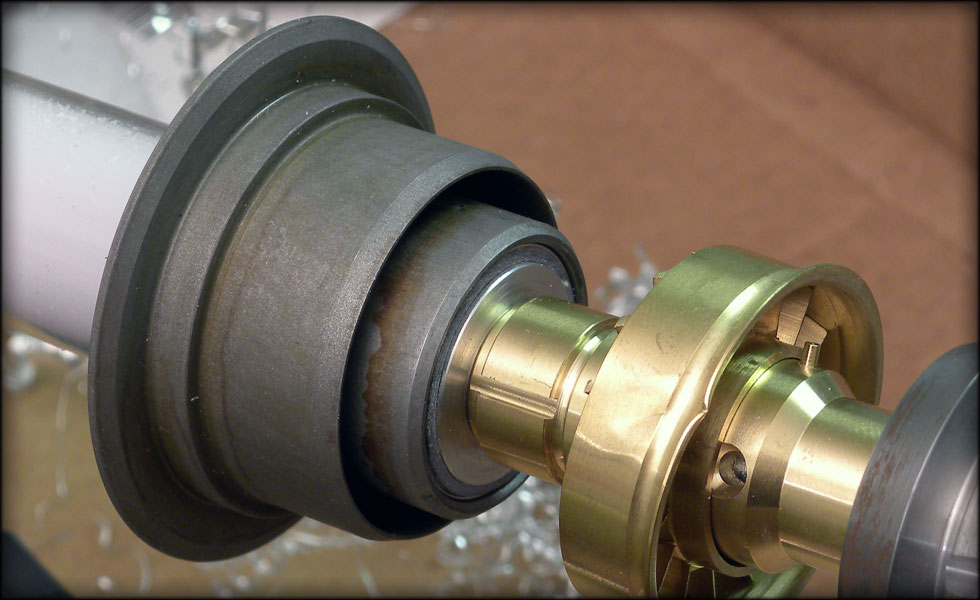
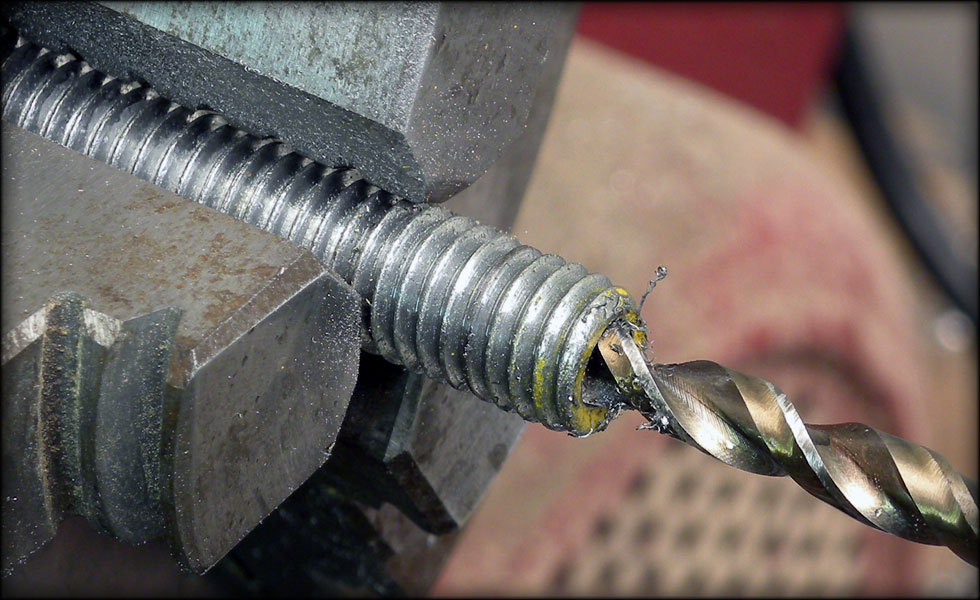
Here is the key to the project, a hollowed out 5/8 threaded rod that I will pass the LED string wires through. The aluminum plug is threaded for this rod, and will act as a nut to tighten to once it's assembled.
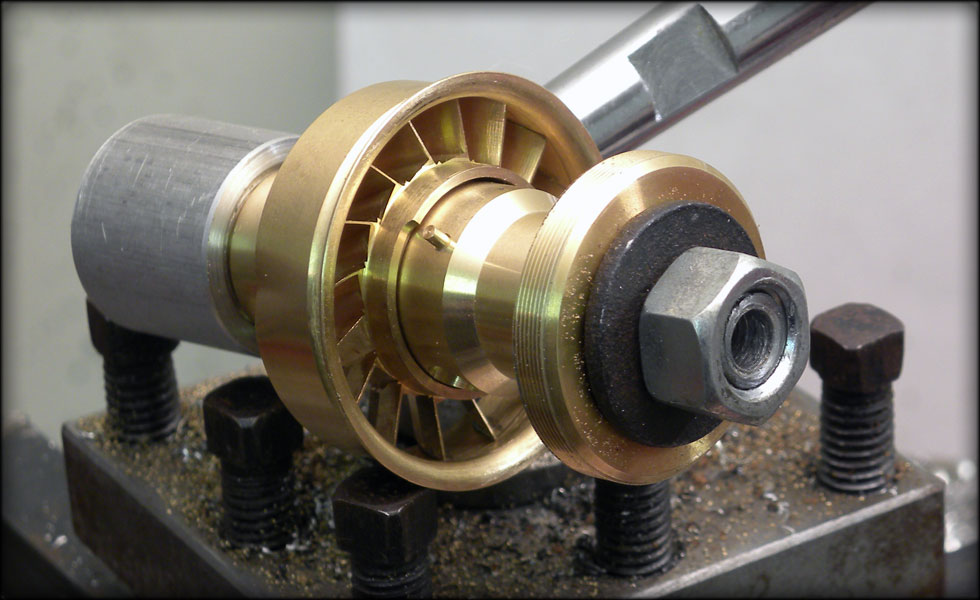
Here is the windvane/emitter section assembled... Note the hollow threaded rod keeping it all together and the new recess in the aluminum plug that keeps it straight and tight.
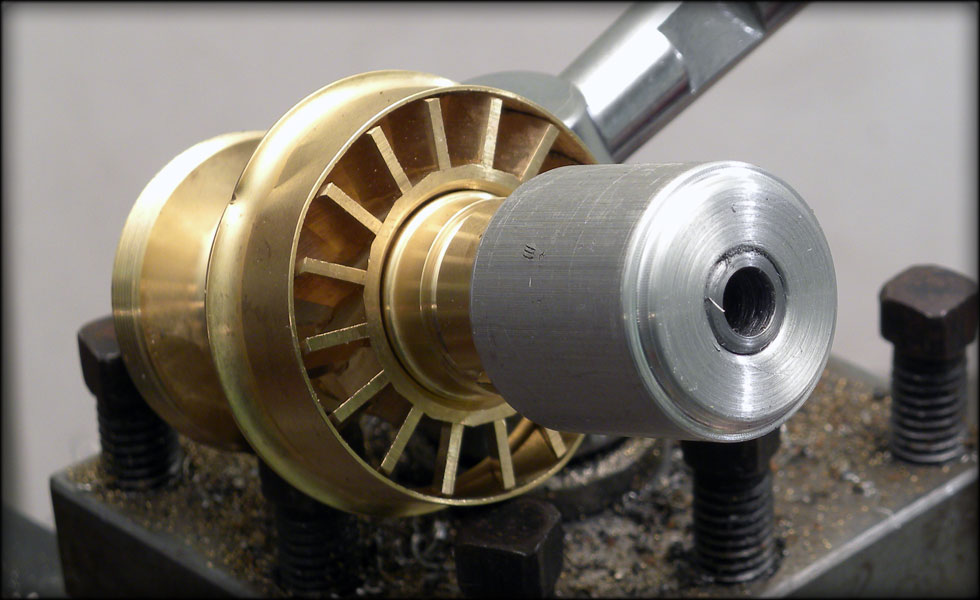
Emitter end. The step down is to secure up into the blade to allow the metal to come up a bit past where the internal diffuser plastic tube is.
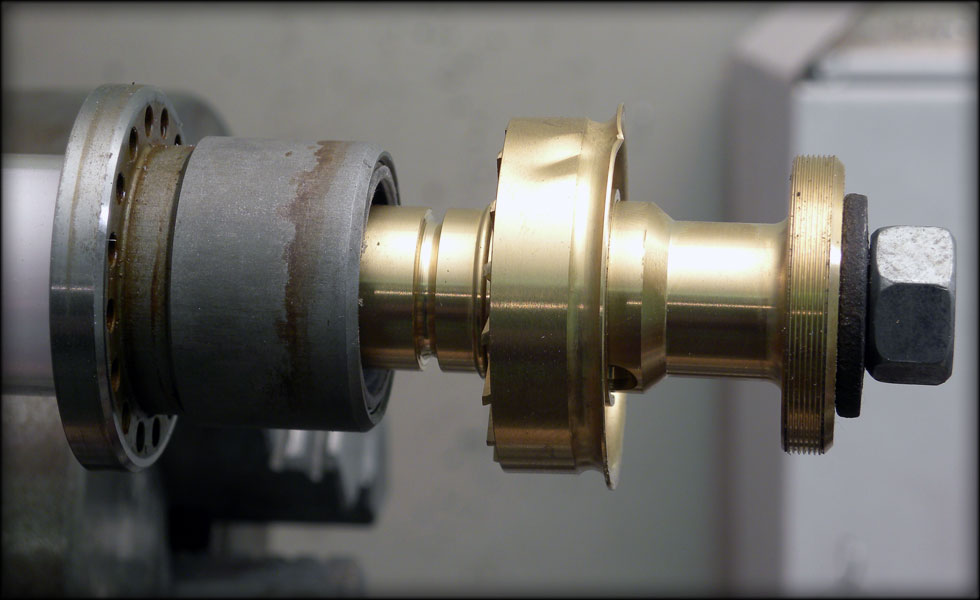
Just about right, as far as I can tell, on spacing for the emitter to windvane neck. I will drill and tap for screws here forward of the weathring line on the emitter section, these screws will completely solidify the blade, neck, plug, etc.
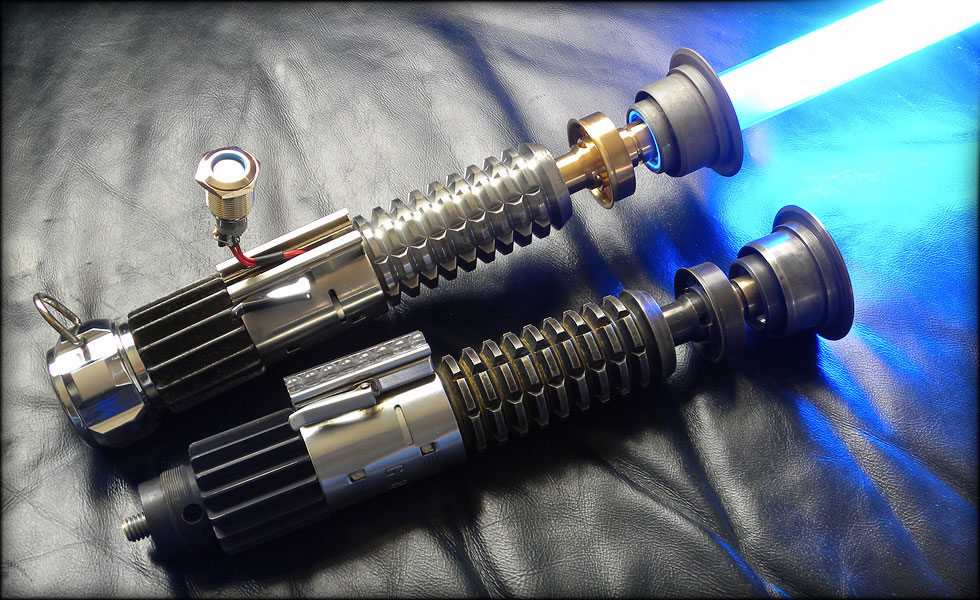
Here, I don't have the anchoring screws in the emitter yet but this already feels so great to hold. It looks so much better than an MR saber already, and I can tell there's no wobble in the blade, and it will be much moreso when I get it all screwed down.
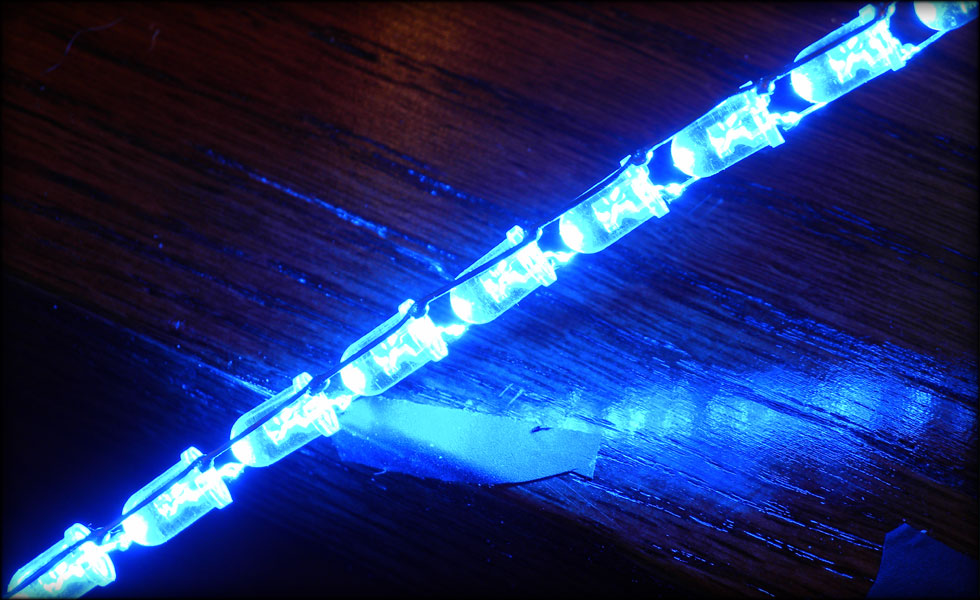
I just got two of the rebelscum calc strips! Once I get them whittled down to fit, I'll post pics. But for now, LEDS!
The first ten LEDs in the ladder string soldered. That was tedious. Huge thanks to this forum for the knowhow to do this.
A closeup of the soldering job. I bent the leads over the next LED in the chain, crimped, and snipped the excess, then a very small bead of solder to secure it together, while keeping everything as straight as I could.
Preassembled for wire length and fit, and just so I could see what it looked like lit up. I think once I get the LED string moved a bit closer to the emitter to get rid of that slightly dim spot at the base, and the other 54 LEDs soldered up, this saber is going to be one I am very happy with.
I decided to do a little work on this project last night, I found a scrap piece of delrin to attempt the battery holder/speaker housing, and it turned out to BARELY fit. Three AAA batteries fit inside the delrin tube, which is threaded at the end for the sink knob pommel, and widens out to 1 inch to hold the speaker, with enough room for a resonance chamber behind the speaker to pump up the volume a good deal. The graflex clamp fits snug on that wider spot, with cuts for the tabs to lock in. I'll probably go back and make this piece out of aluminum for stability.
The obnoxious switch hanging out of the top of the graflex clamp is temporary till I figure out how to hide a switch in there. I am very happy that I was able to cram all that stuff into such limited space, and still hold true to the accuracy of the saber. I did have to harvest the pommel off my original saber to test, but I think I can come up with a suitable replacement.
The saber is BRIGHT and LOUD, moreso than a stock master replicas Force FX saber. I will wait till I have a bit of extra cash and finish out the LEDs in the blade, and then it will be time to weather it to match my first saber.


 Reply With Quote


 TCSS the #1 Part supplier of


Bookmarks