Page 2 of 4 FirstFirst 1 2 3 4 LastLast
Results 11 to 20 of 36

Thread: Jay-gon Jinn's Chrome Saber 25(Seoul P4, w/illuminated AV switch, non-sound stunt)

  1. #11

    Default

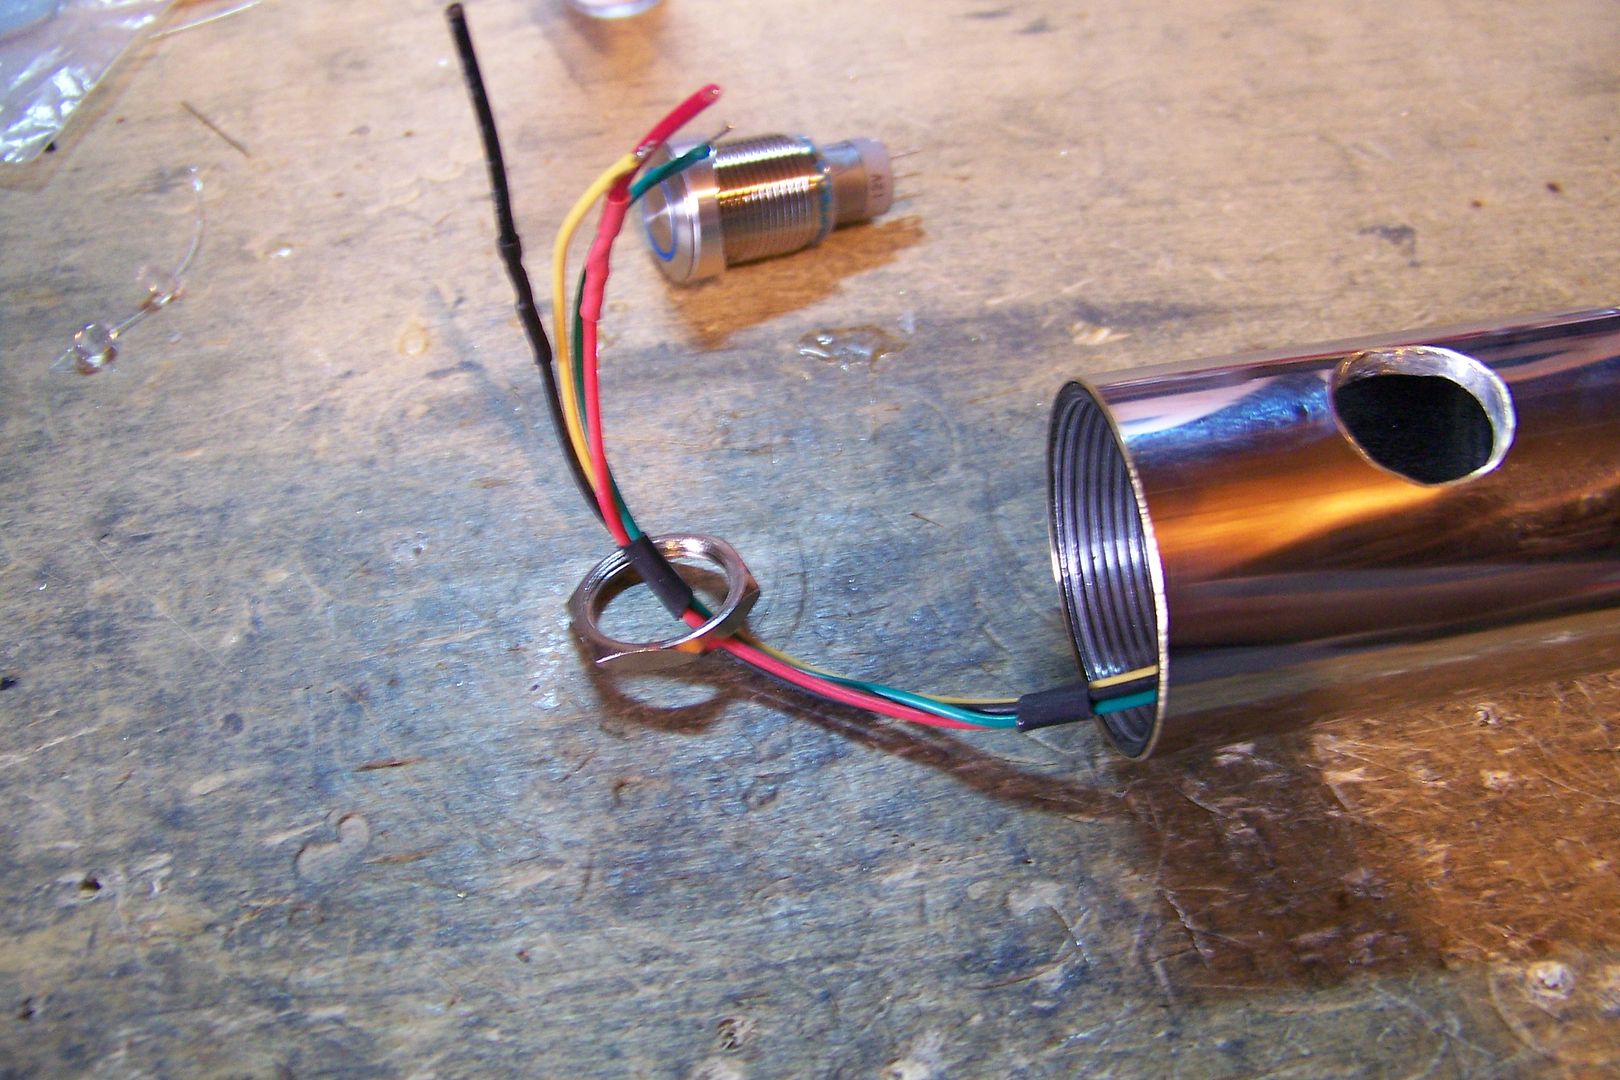
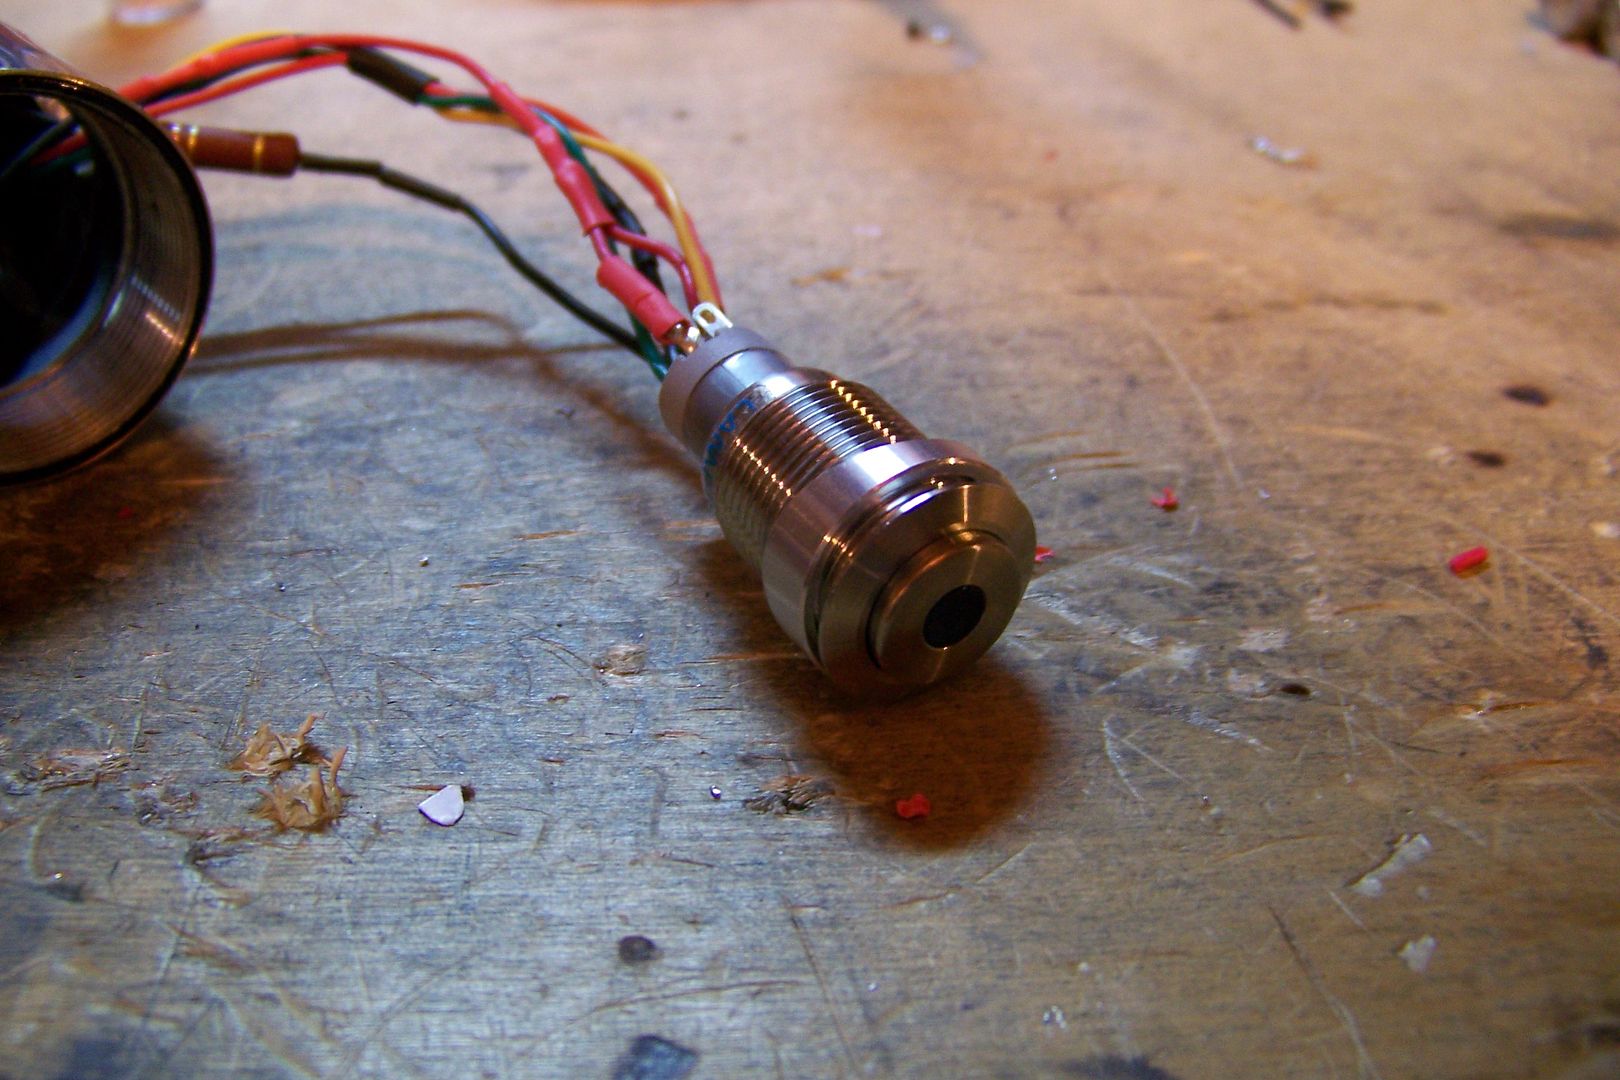
    With the pommel all set, I began the wiring for the switch...this is pretty straight forward, but might get a bit tricky....I started by pulling the wires from the battery pack up into the hilt, and then sliding the switch nut over the wires:


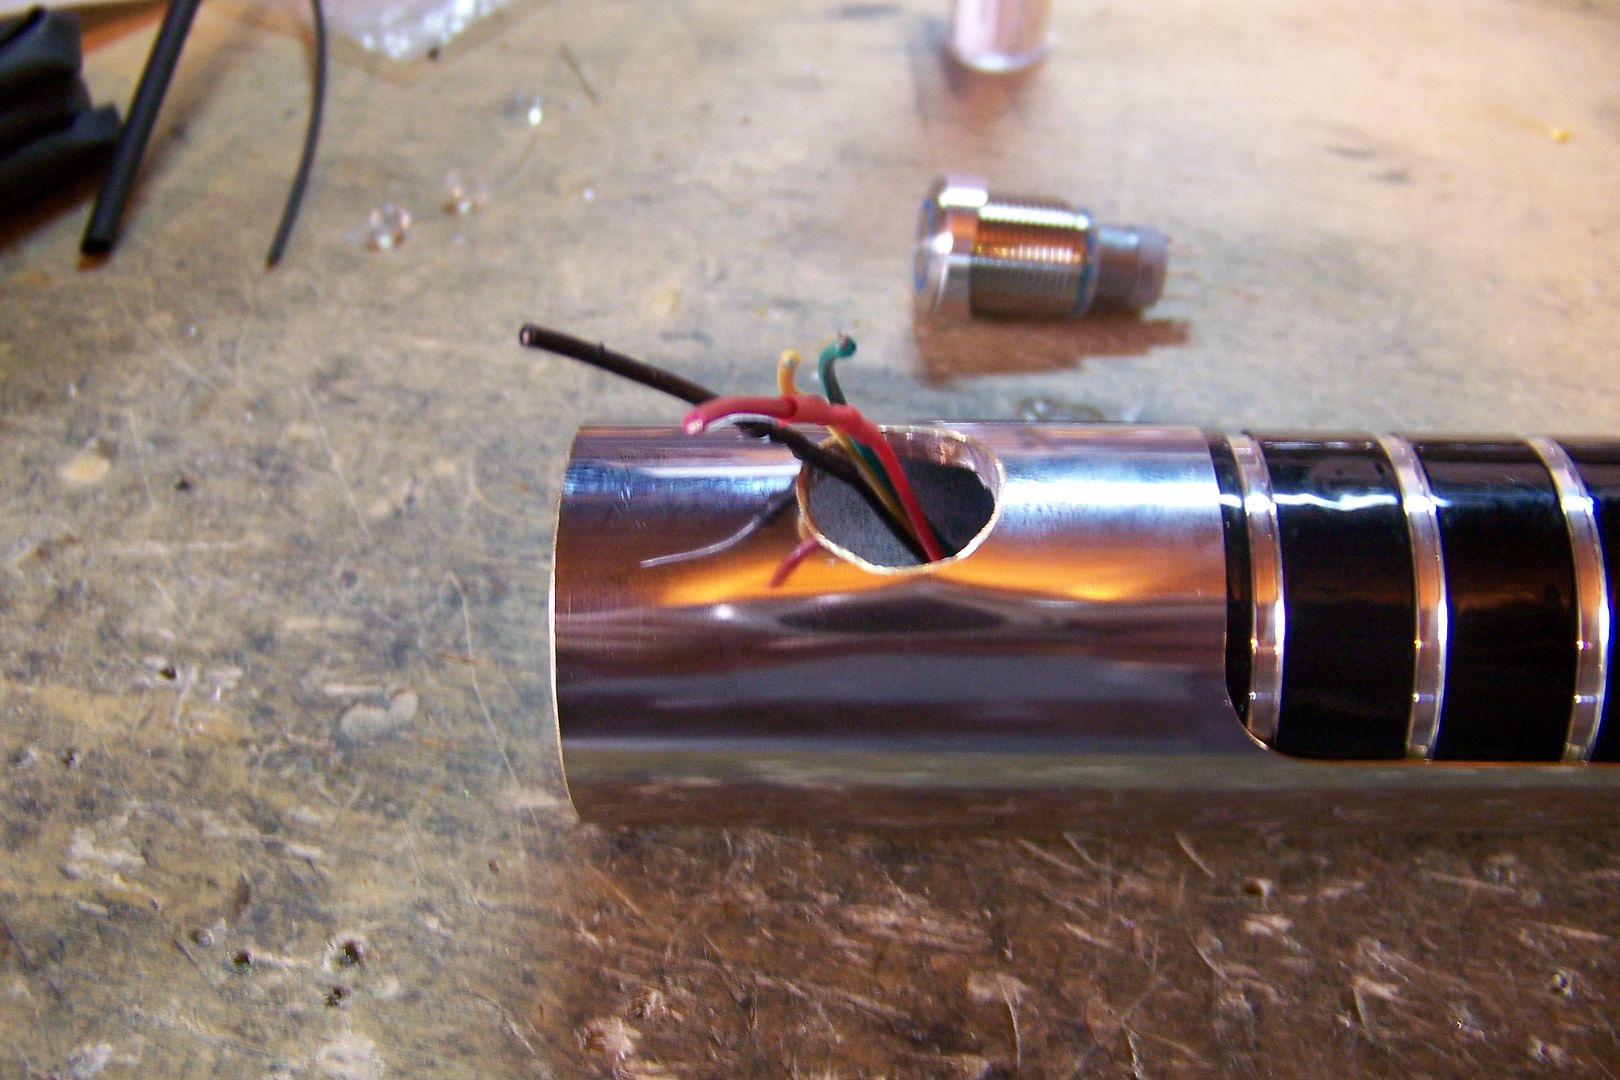
    I then fed the wires through the switch hole:


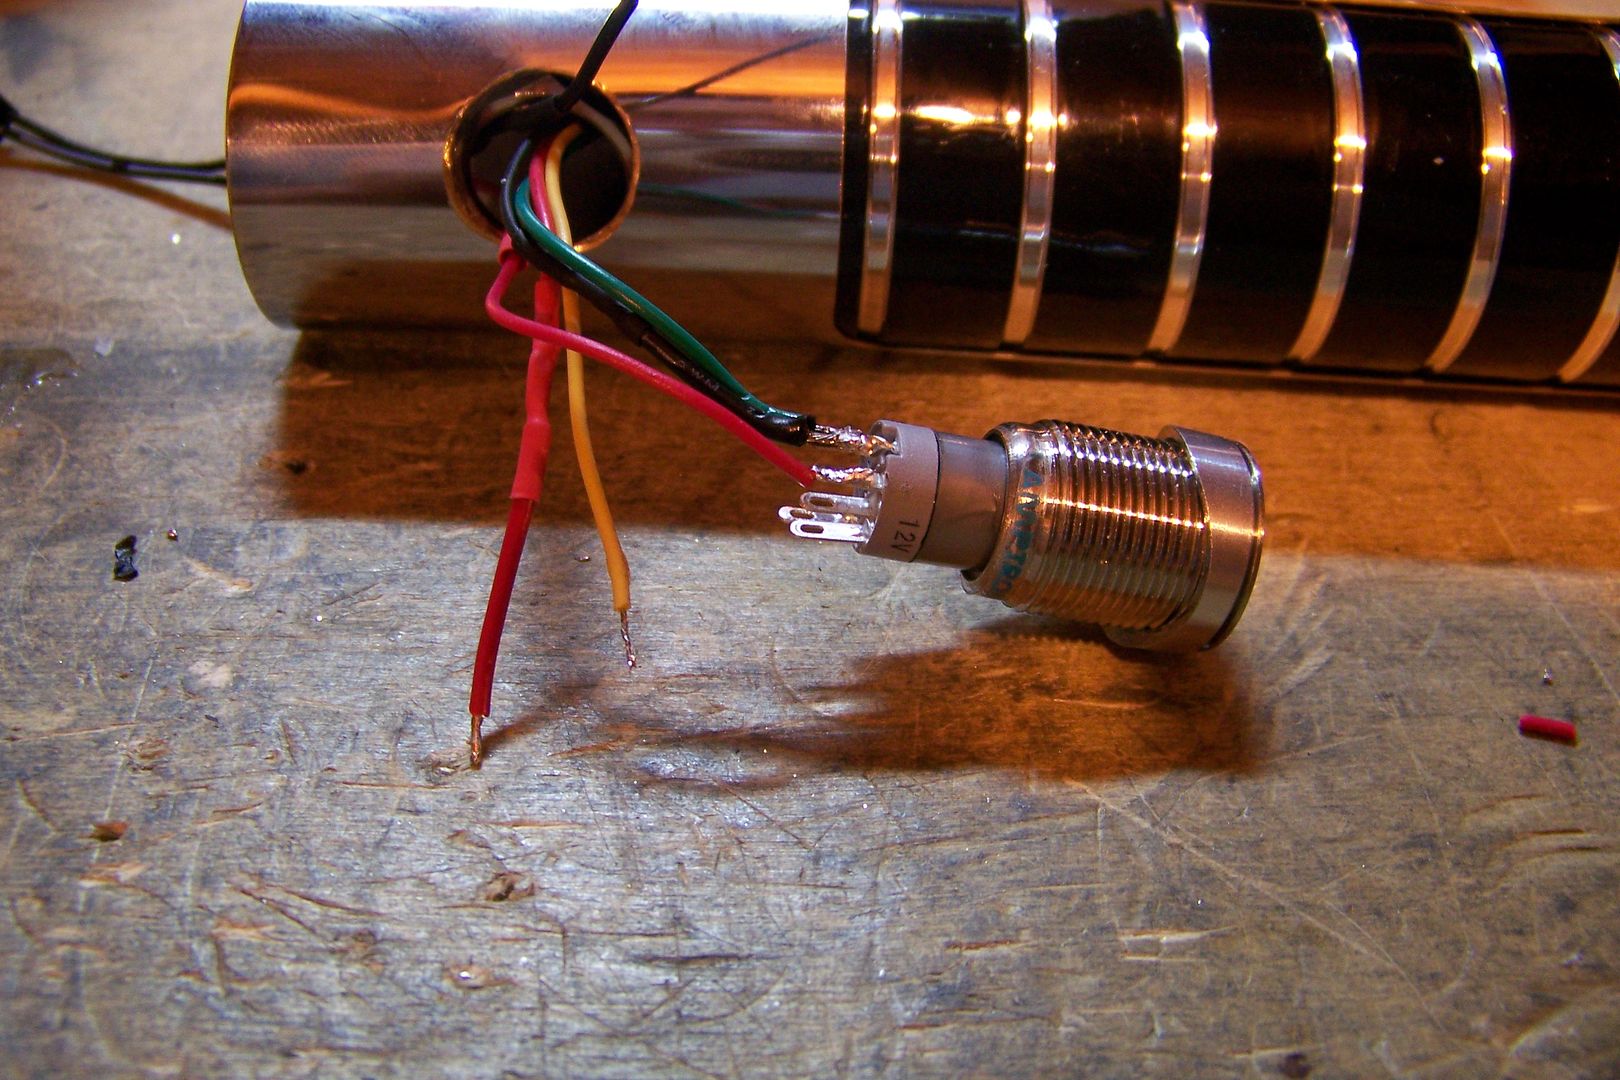
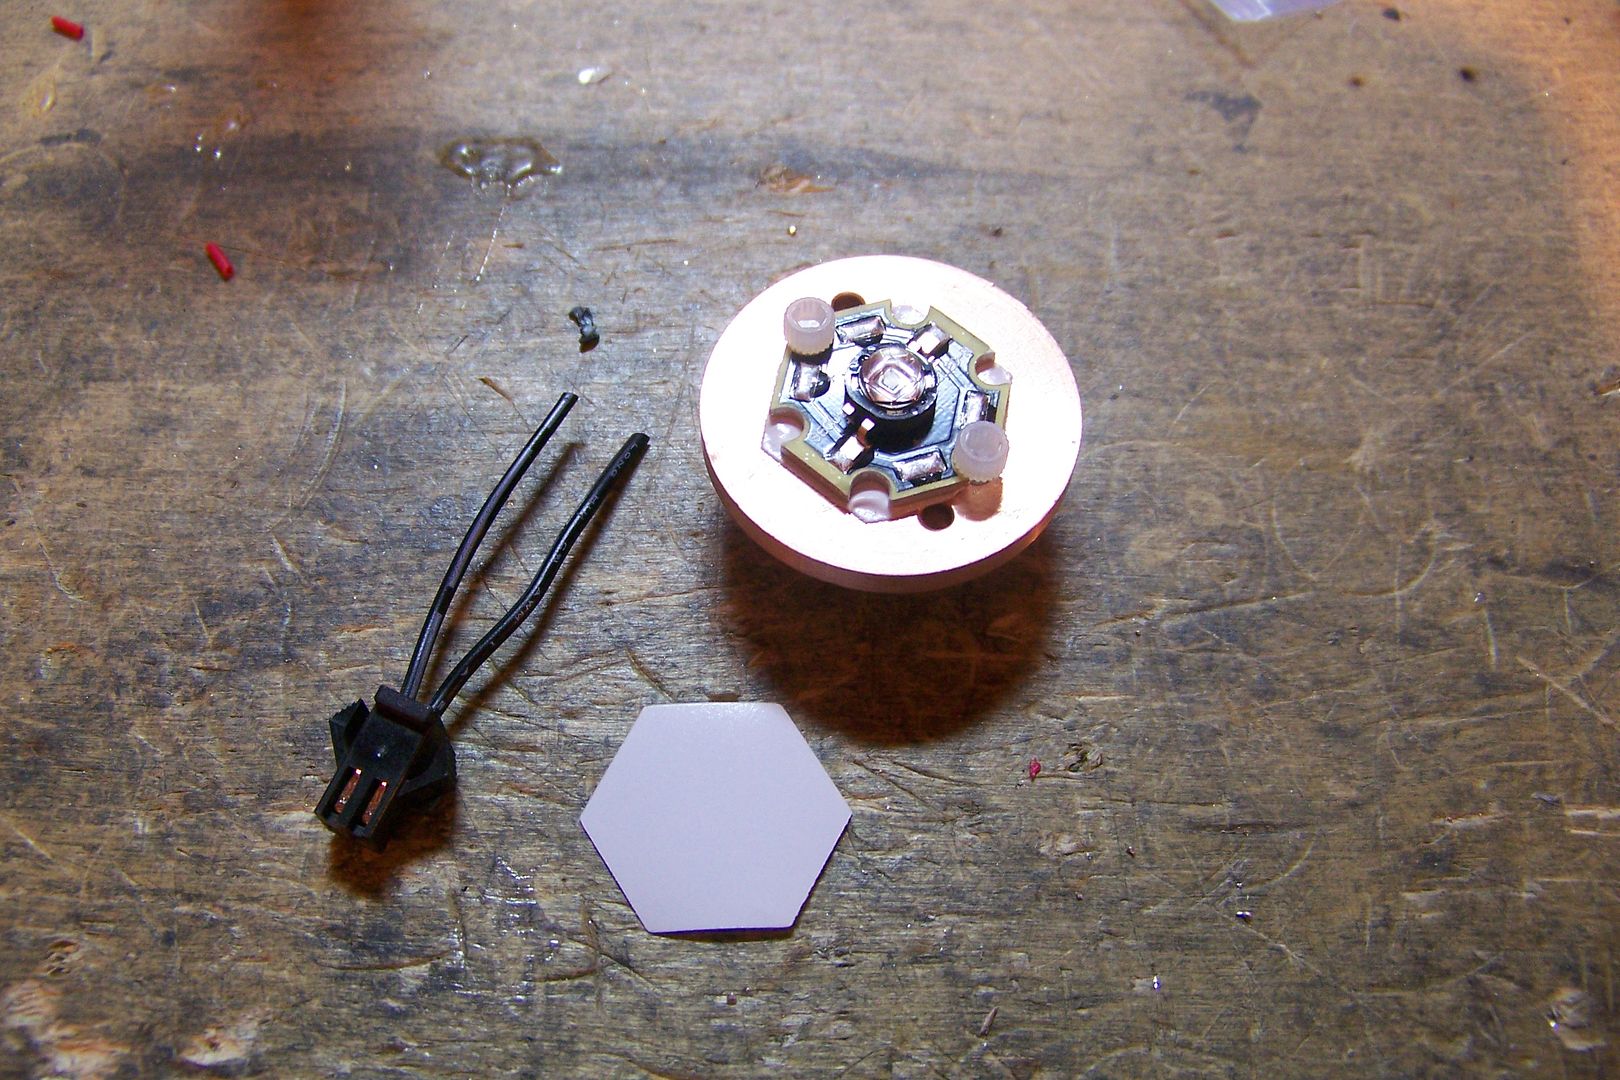
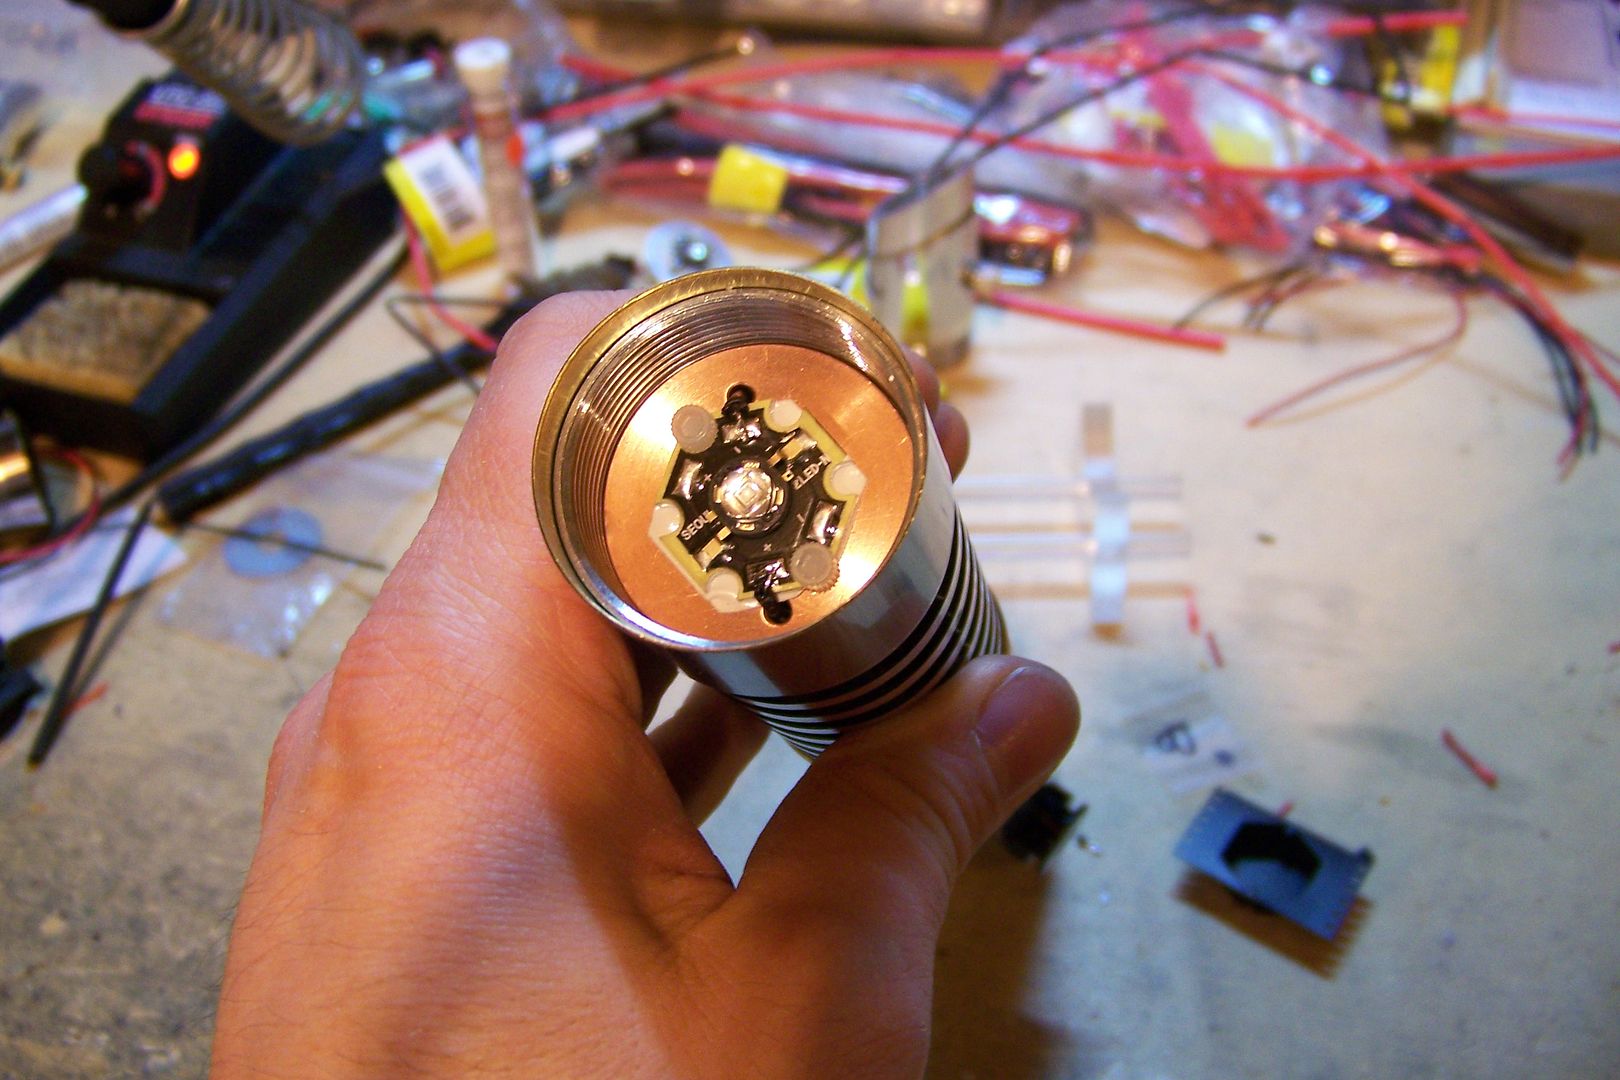
    I pulled them out a little further so I can work on the switch easier, and then made up the main blade led connector, as well:


    I had to feed those wires up through the nut:


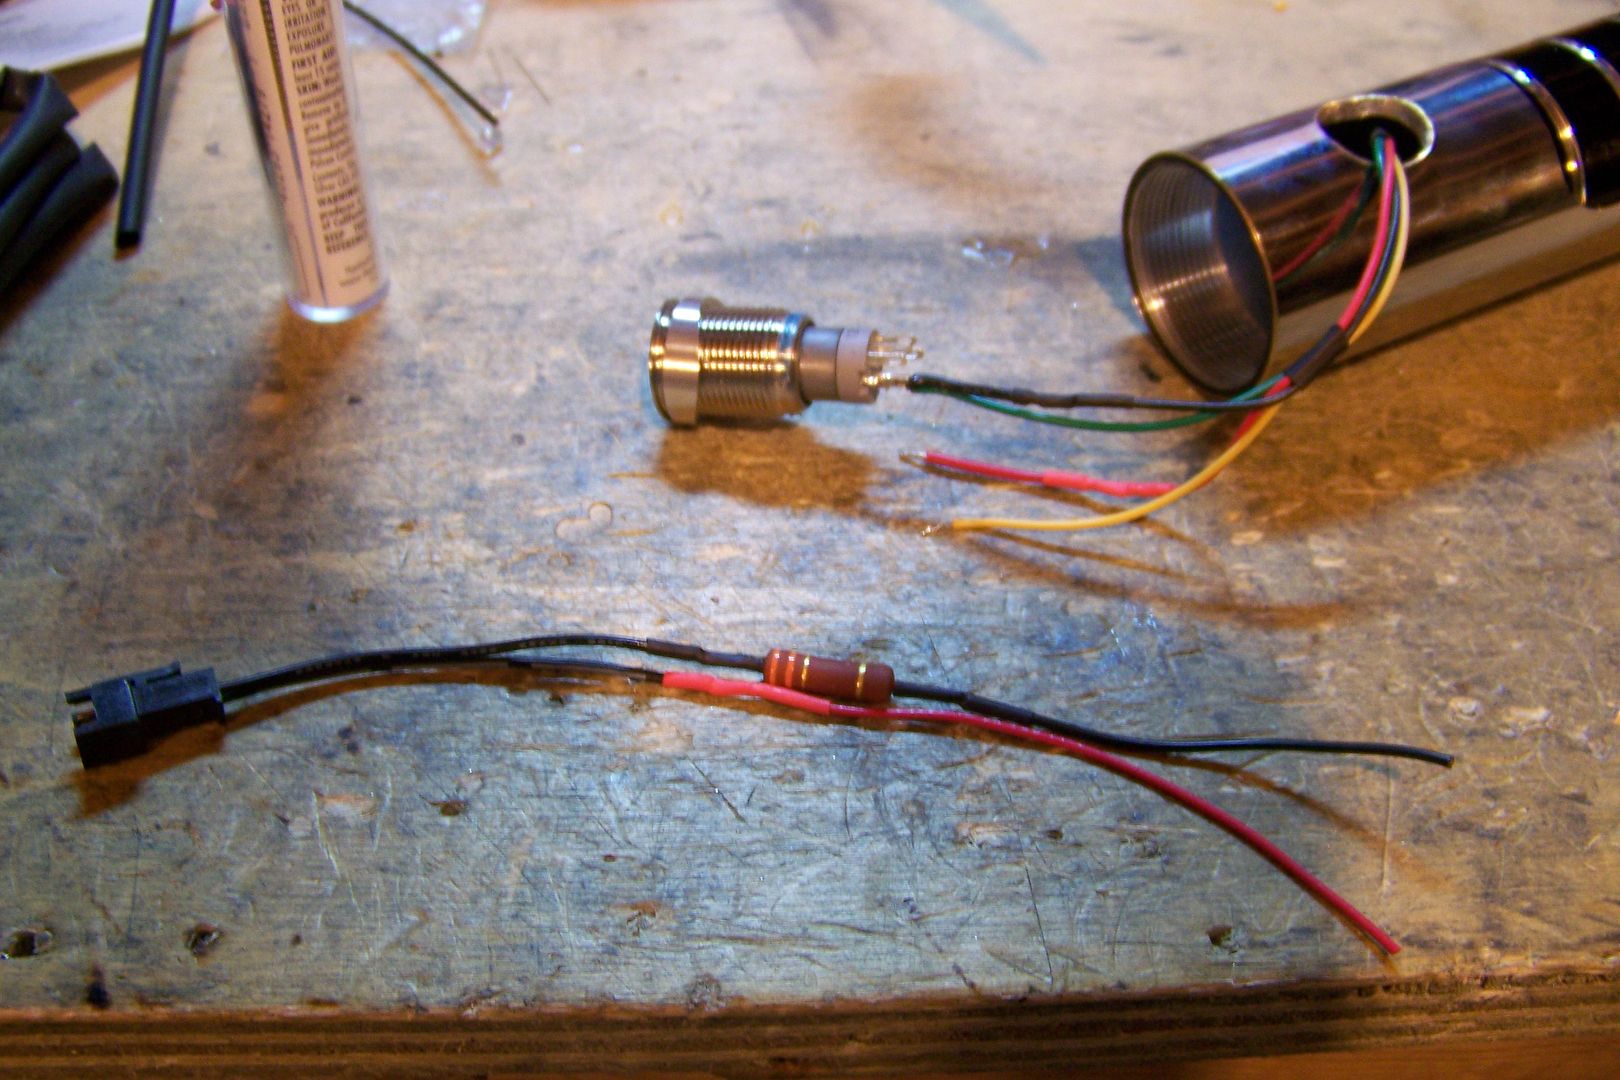
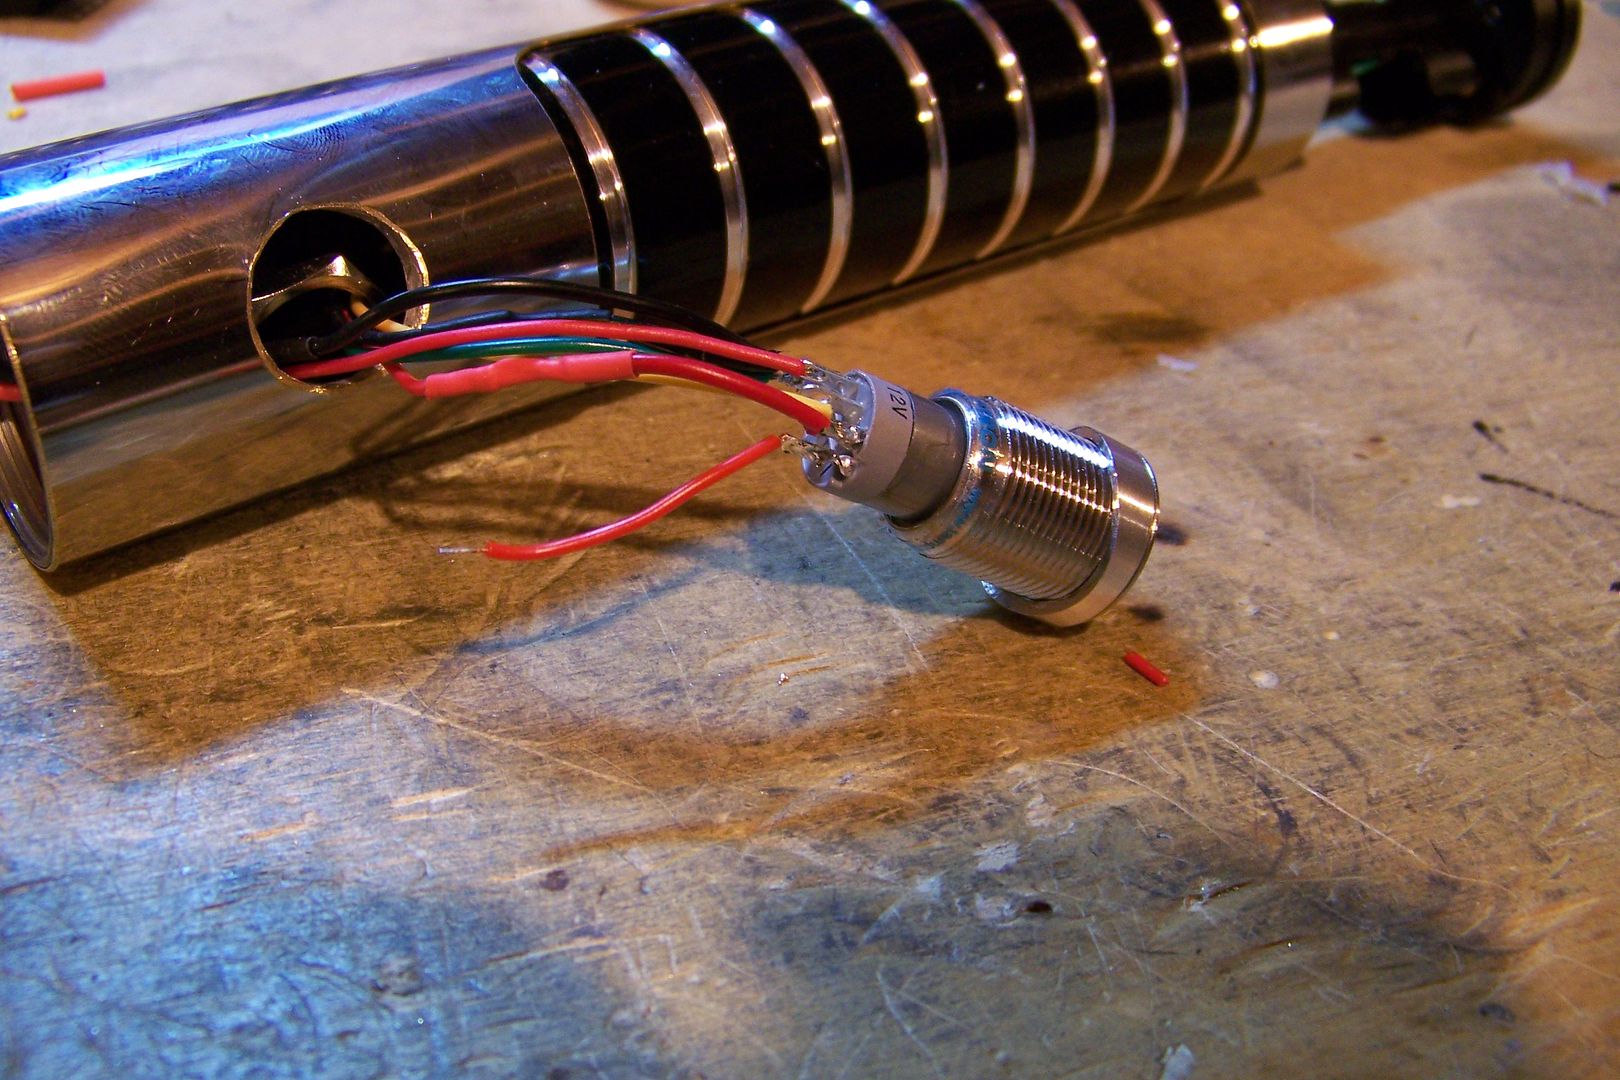
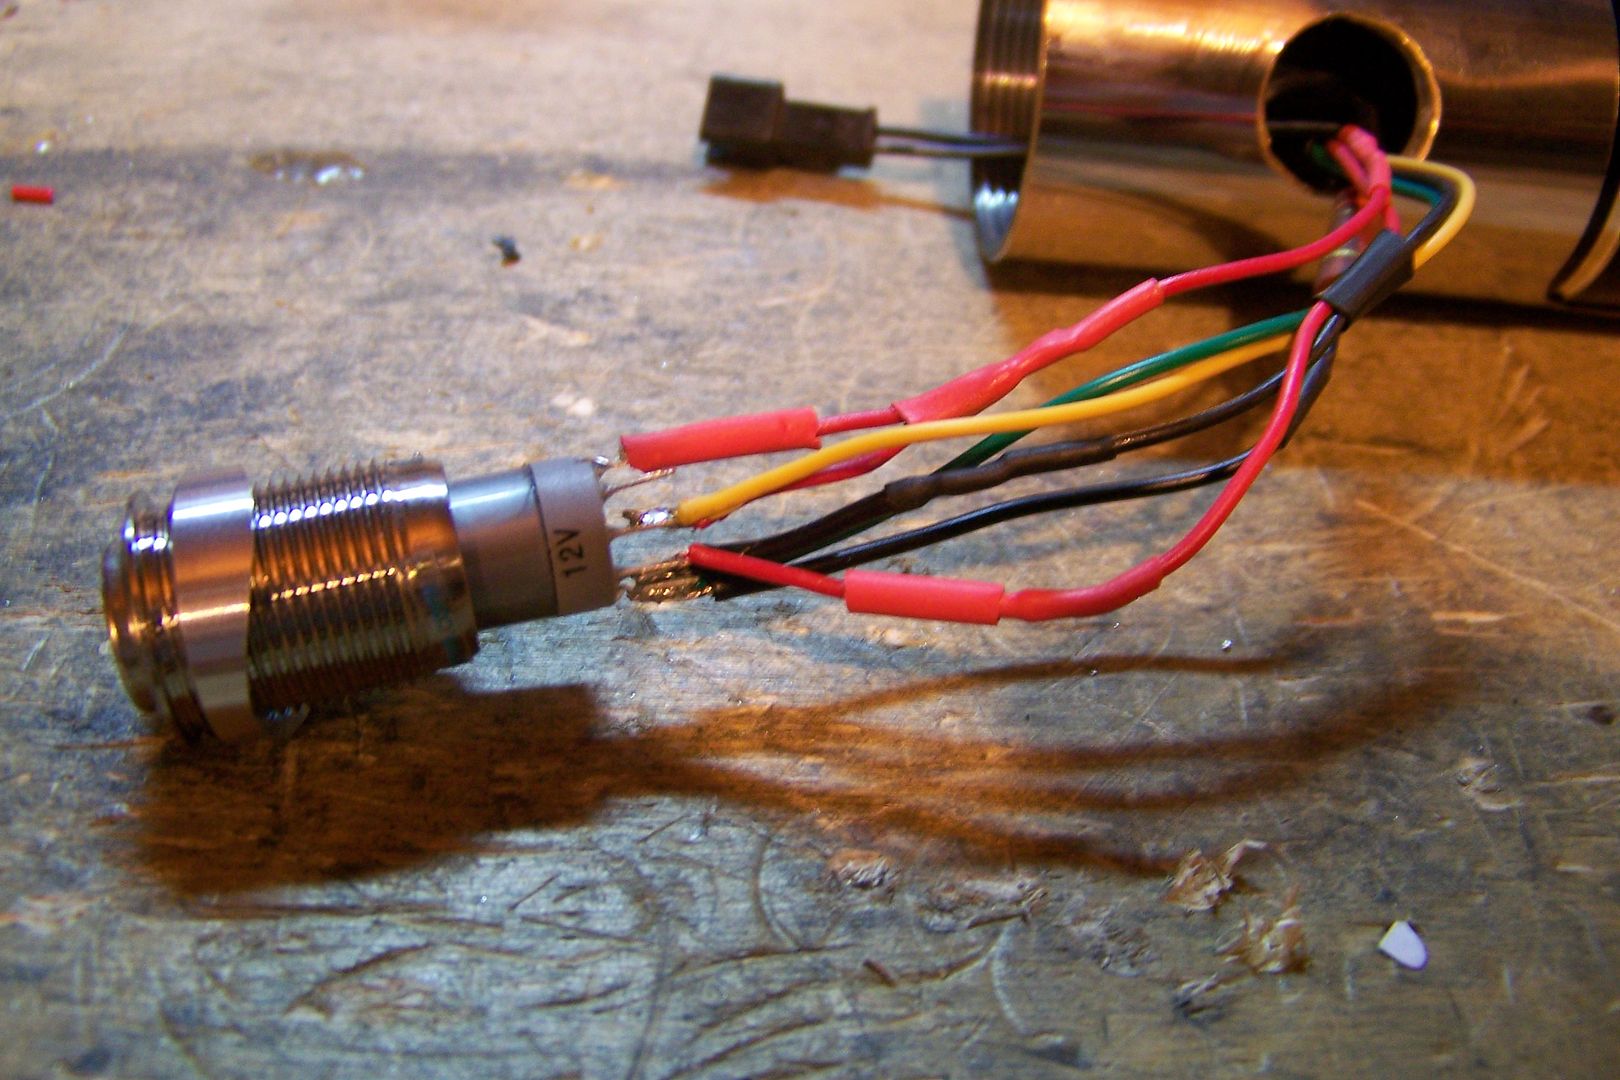
    Next, I soldered all of the negatives to the negative post for the switch led:

    These all need to be connected as they all have a common ground. The switch will be interrupting the positive side of the circuit.

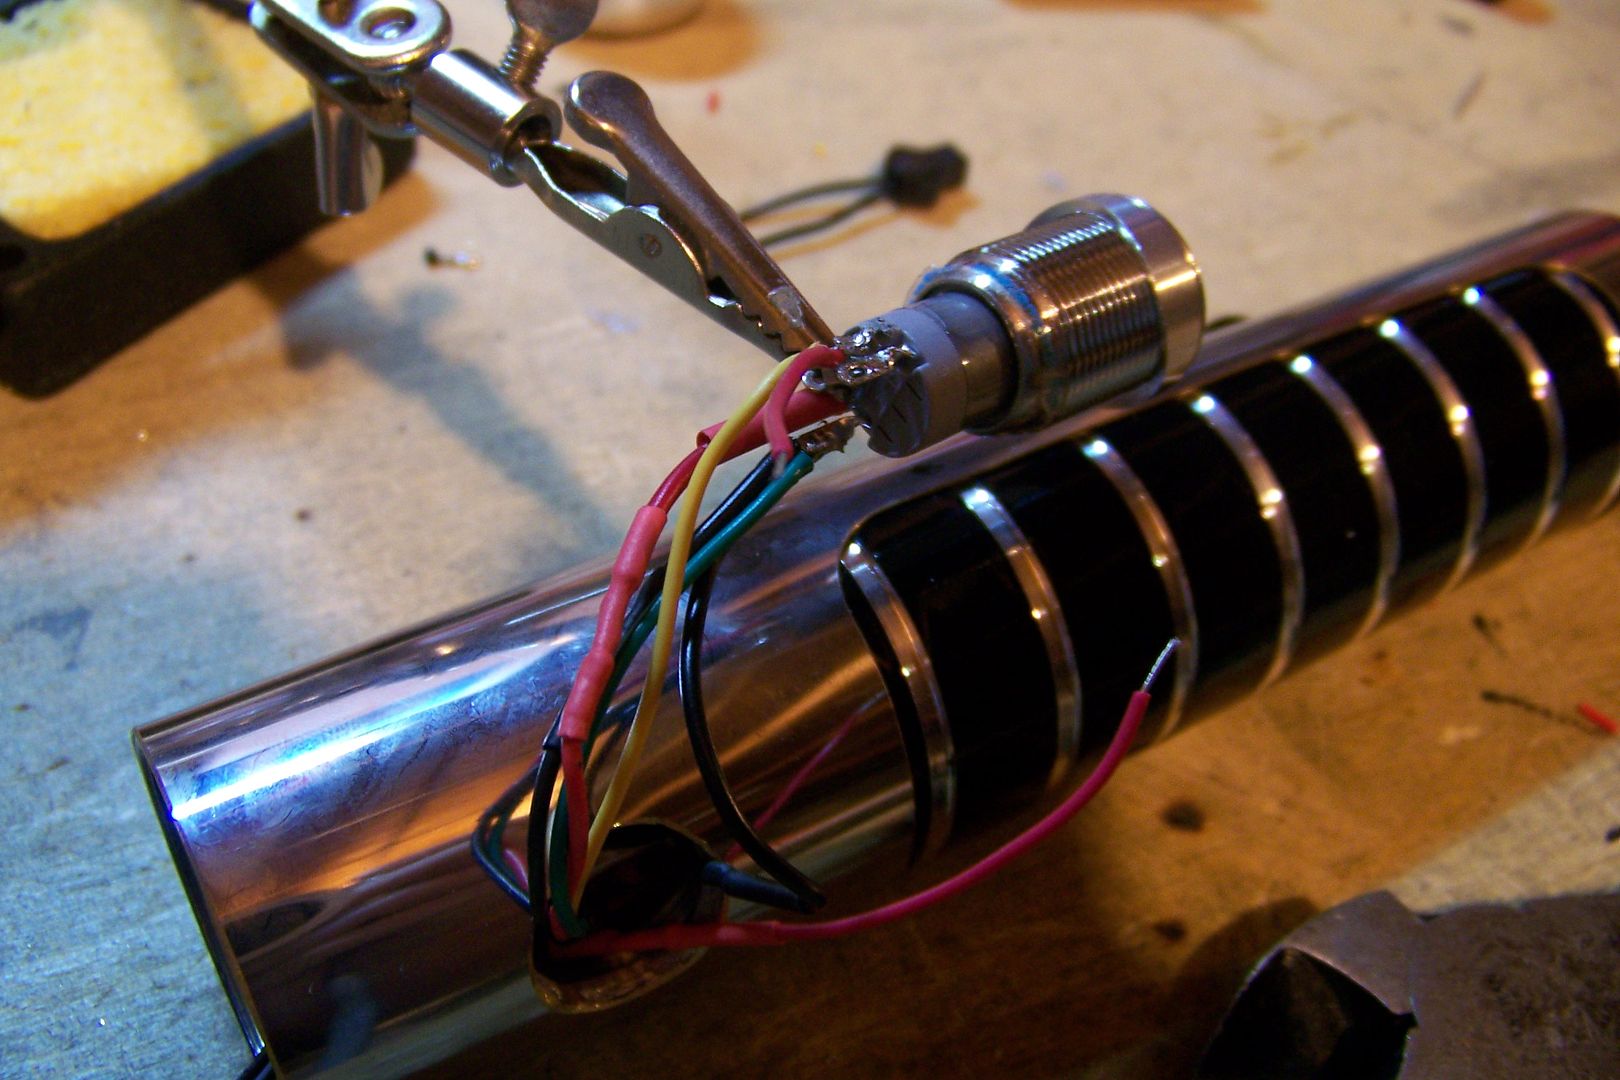
    Then I started on the positives:

    These are the positives for the led's. I attached them to the NC tab....with the ring style switches, I like to have them wired for the button to be "up" when on, since they light up better that way. This particular switch has a 12v led inside, so it is not necessary to use a resistor for it, either. I had these soldered to what I figured were the wrong terminals, though, and changed it after taking the pictures. I wound up soldering the battery positive to the Common terminal by itself, and then soldered the accent led's positive to the NC terminal with the main blade led's positive.

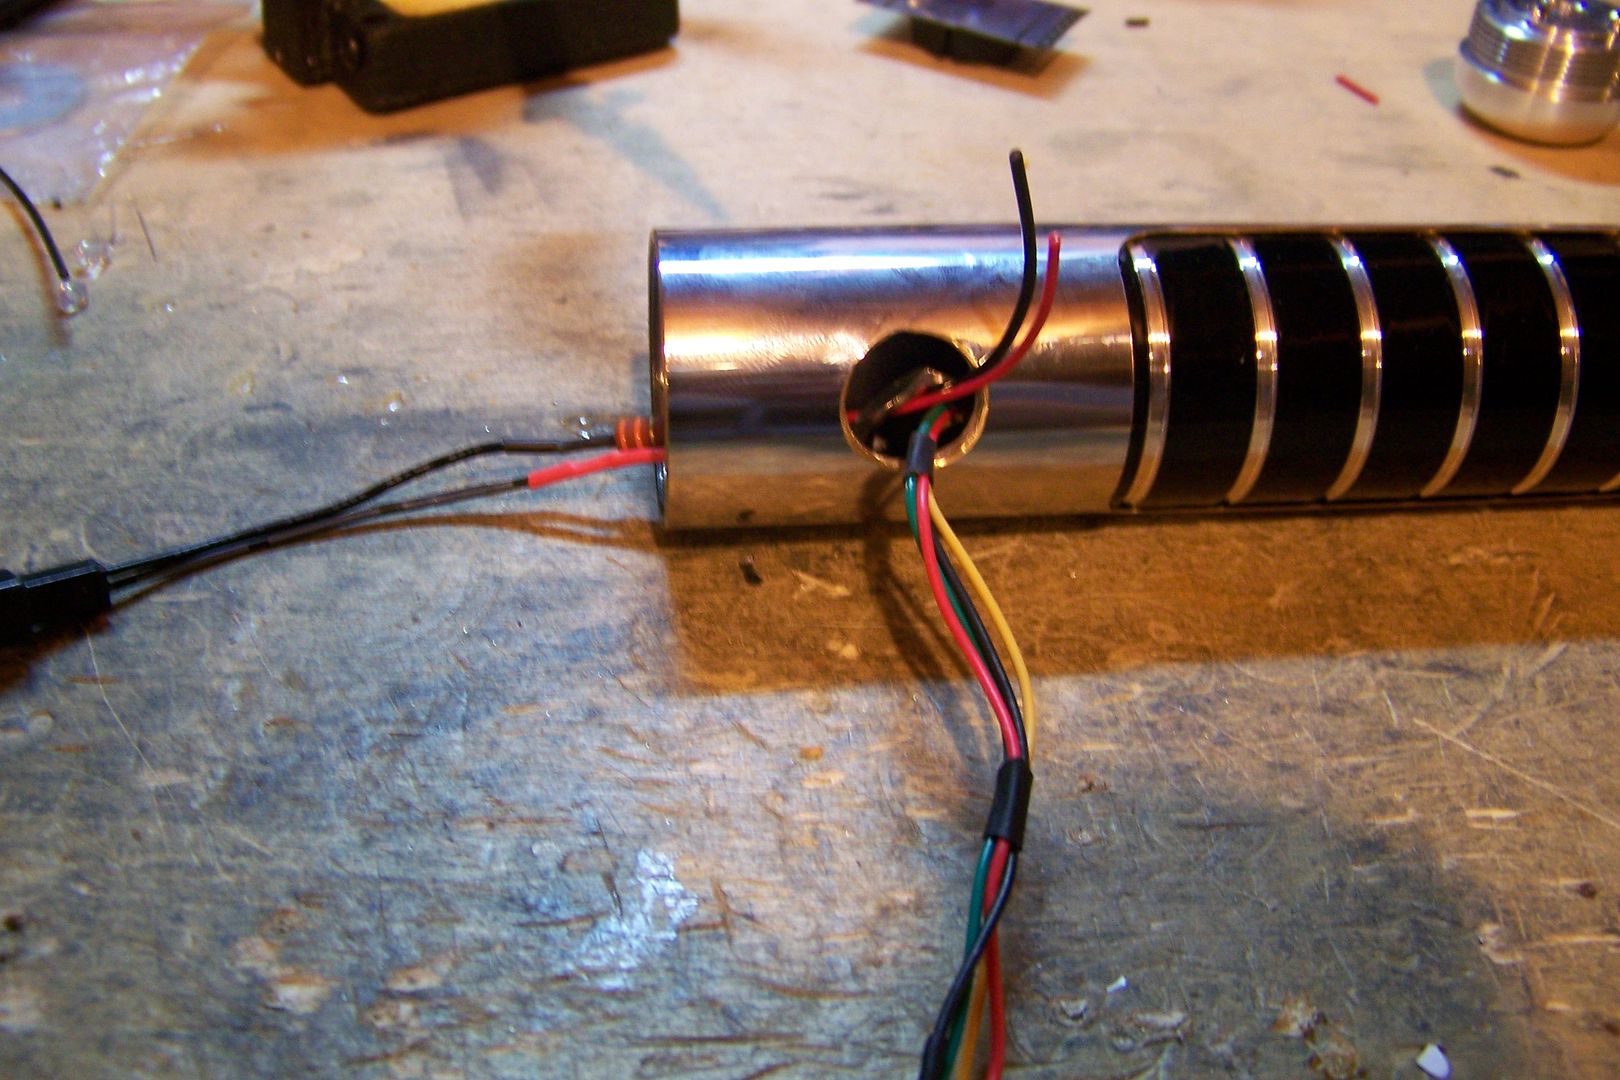
    I thought about soldering a simple jumper wire from the switch led positive tab to the NC tab, but eventually changed my mind:


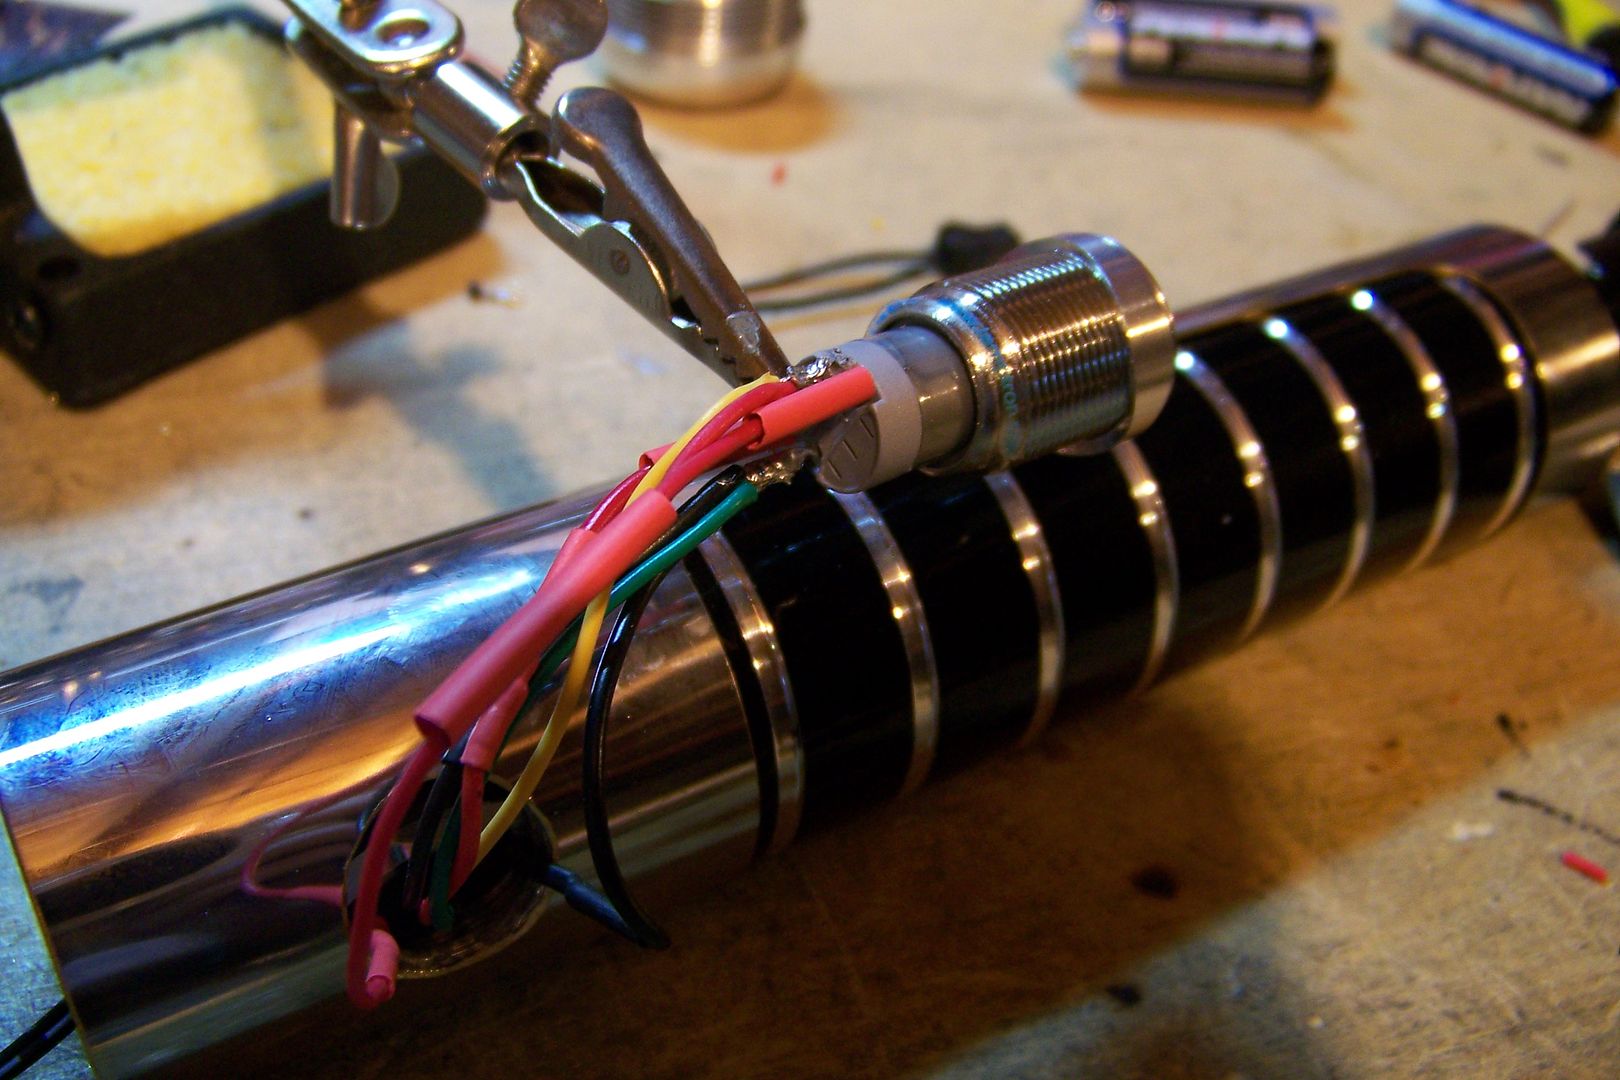
    Instead, I decided to cut into the main led positive and make a "Y" connection to power the switch led from:


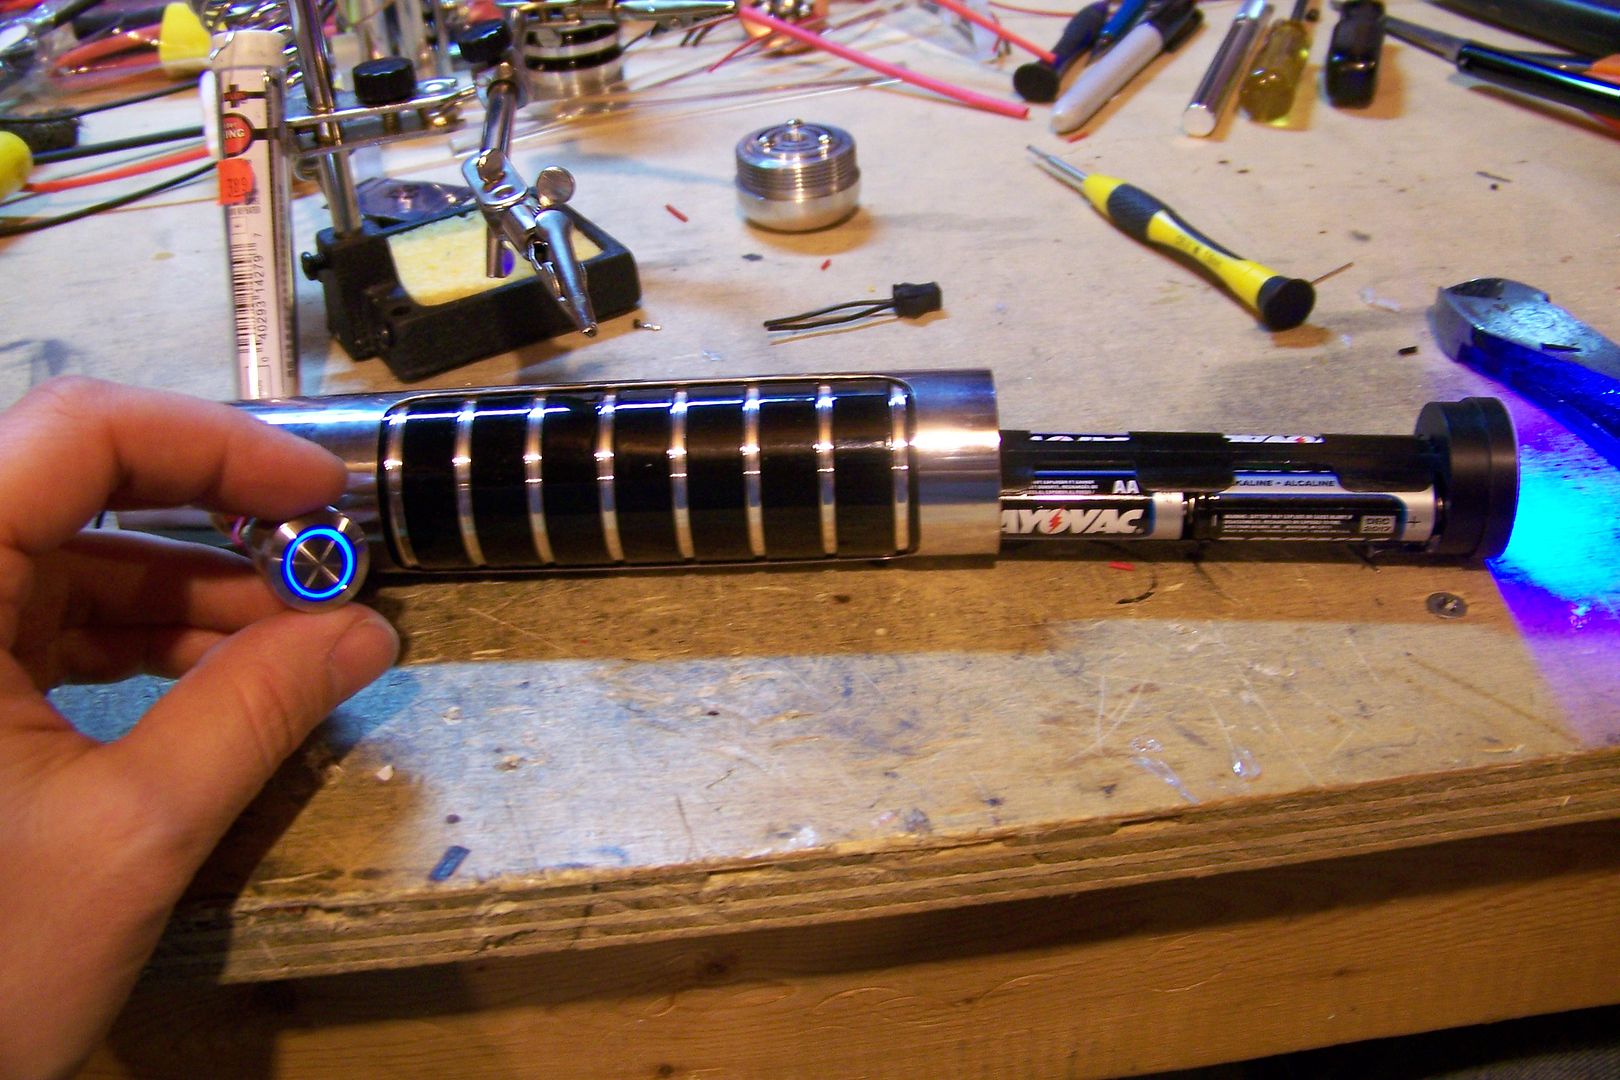
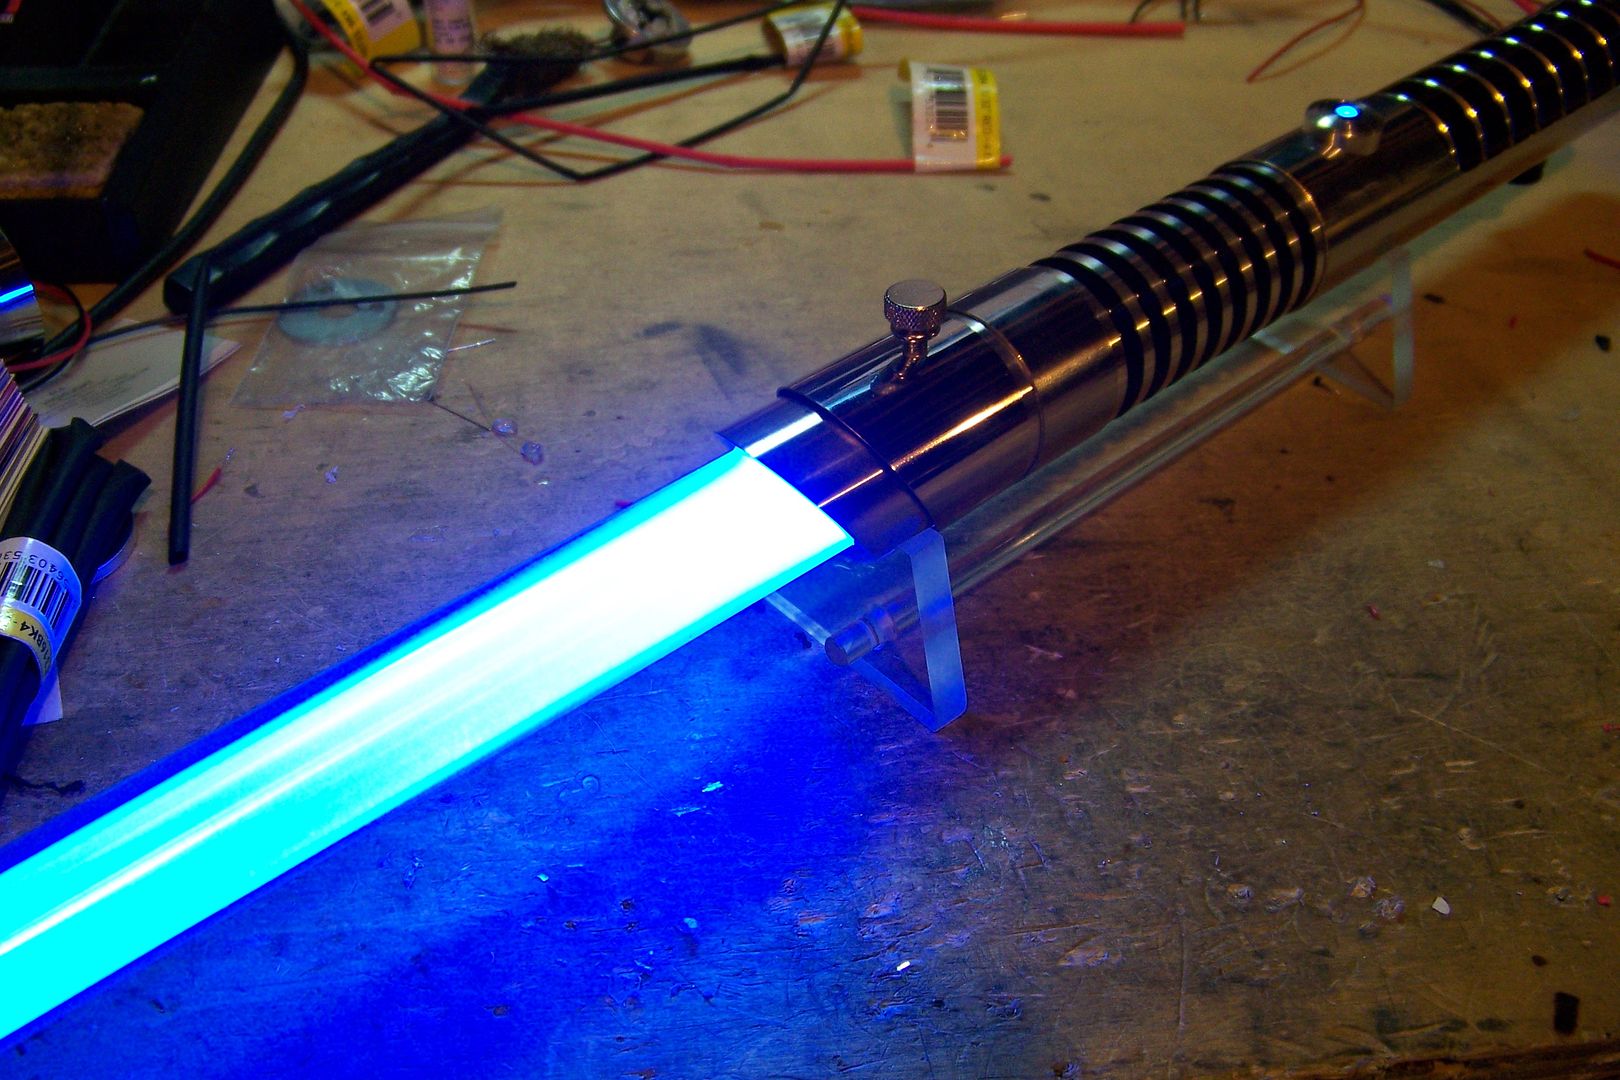
    I added heat shrink tubing to the connection, but didn't shrink it...better test everything first:

    Well, It works! Sort of....when I pushed the button to turn it off, the mechanism that latches the button down BROKE!!!! The switch essentially became a momentary and was unusable!

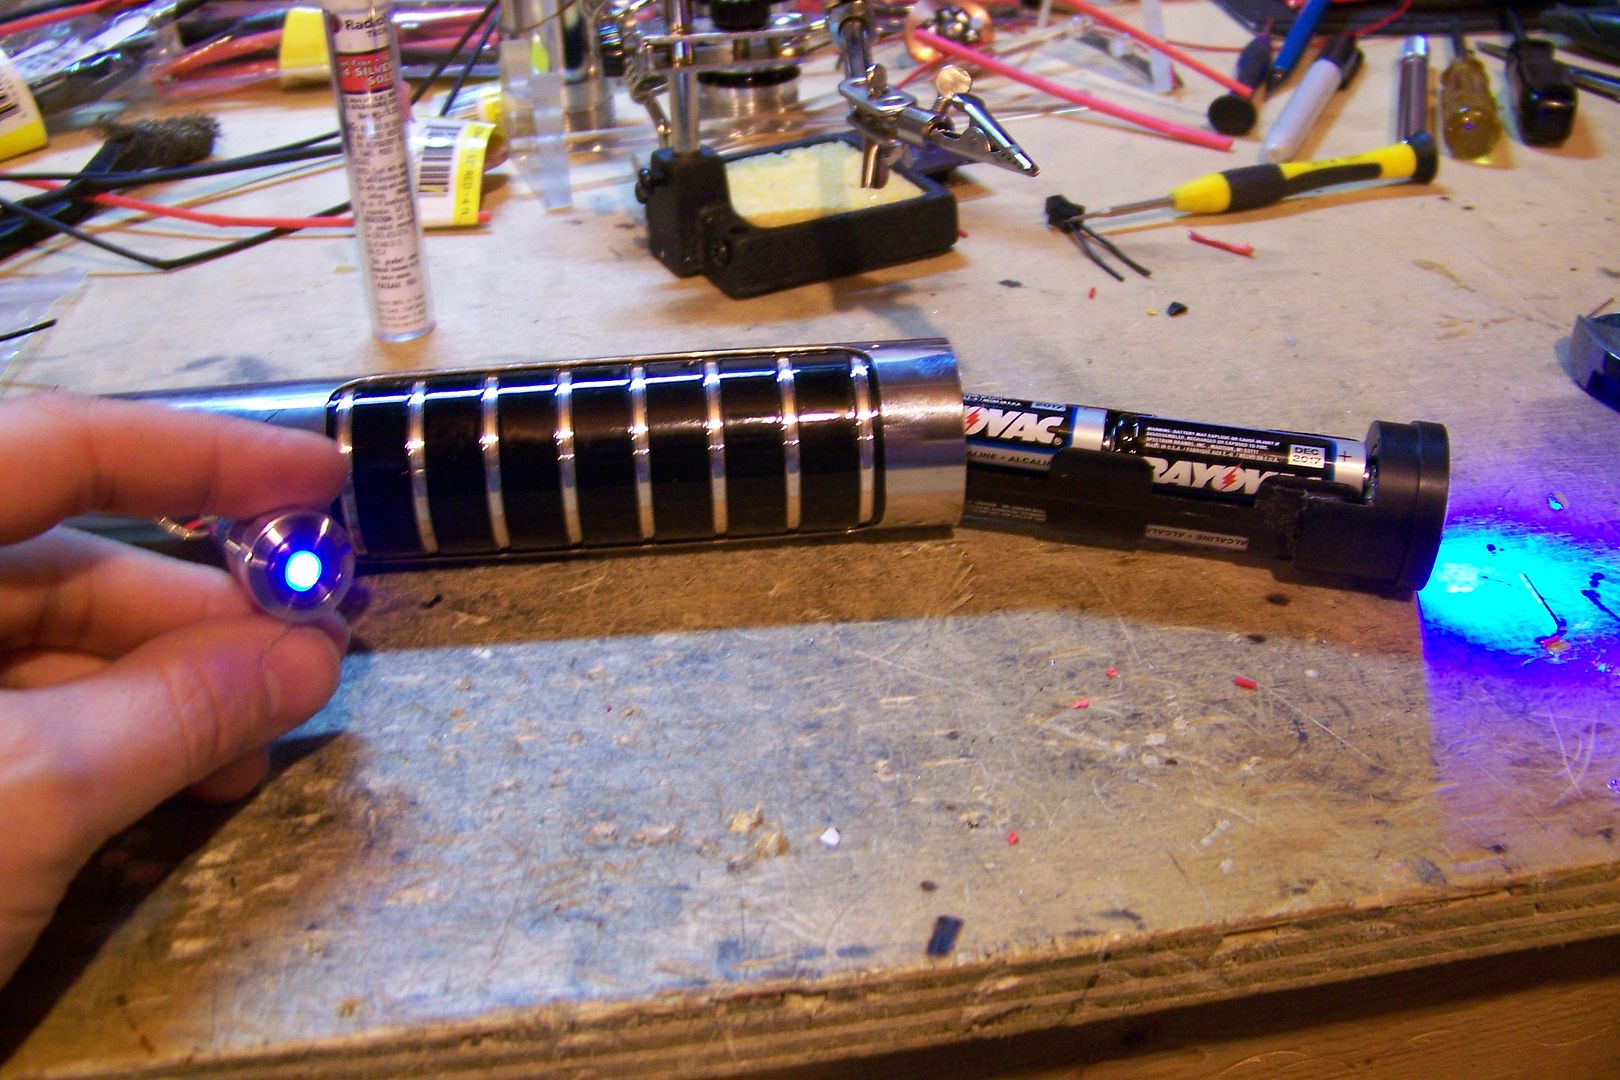
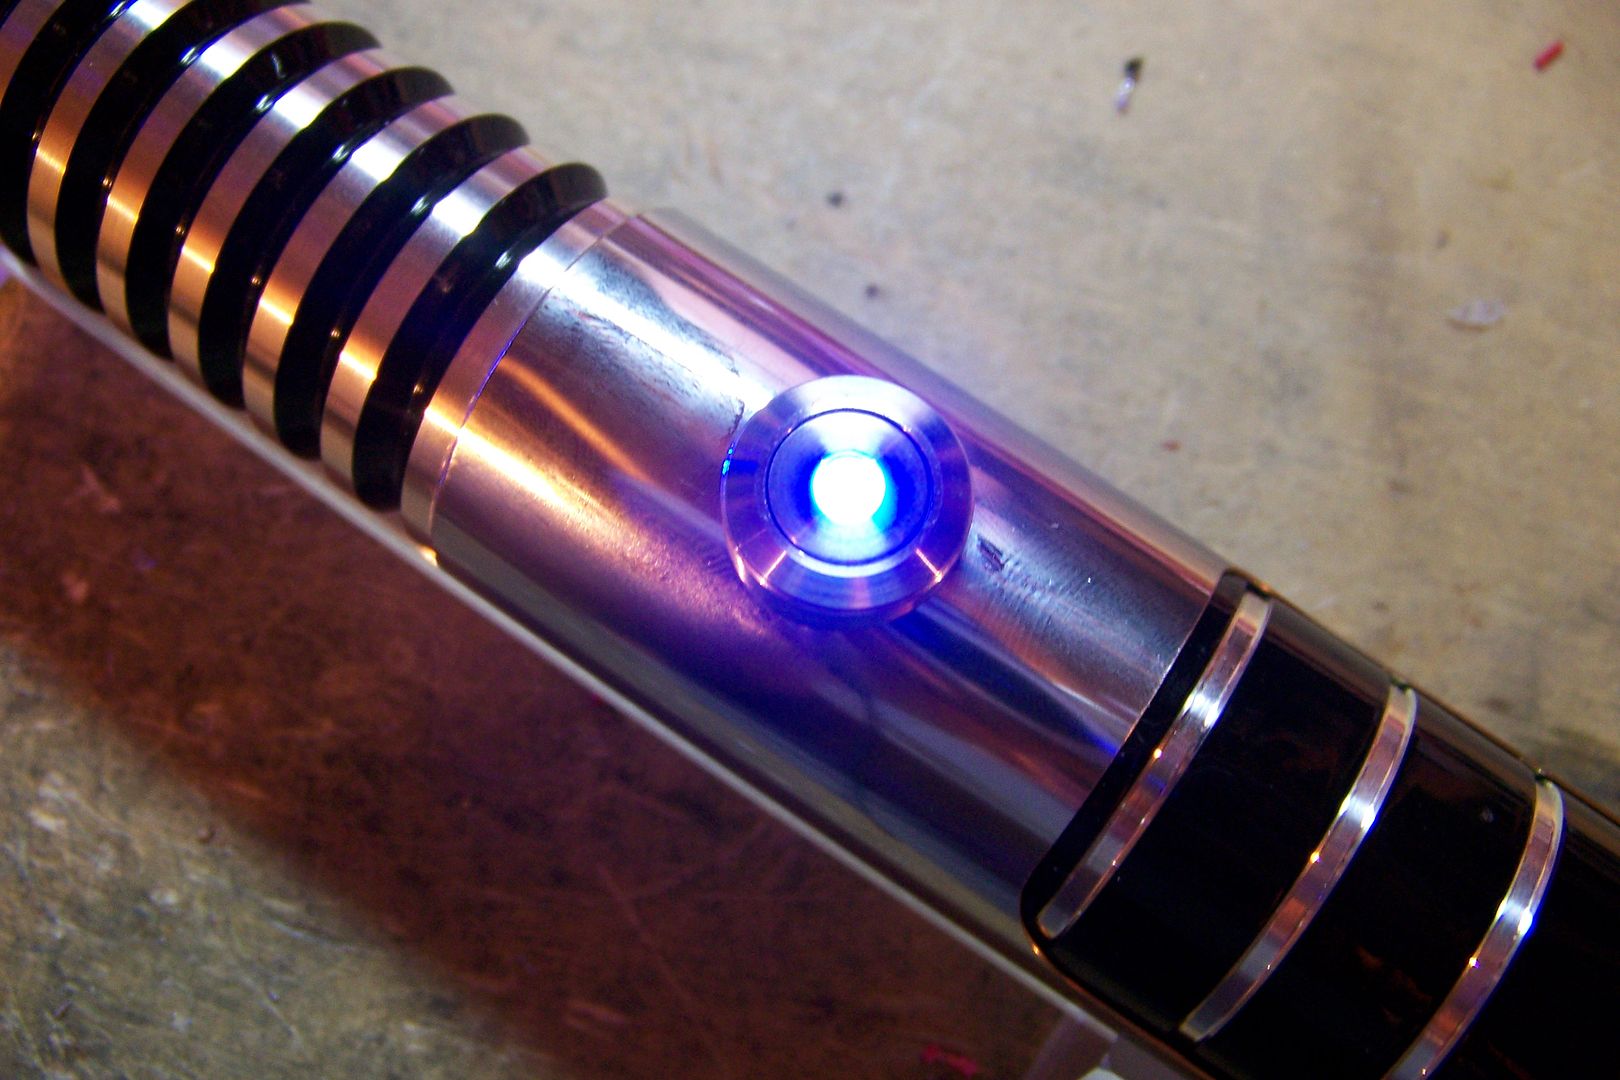
    I looked in my parts drawer to see if I had another latching blue ring button and found none.....just latching w/green rings....and one latching blue dot:


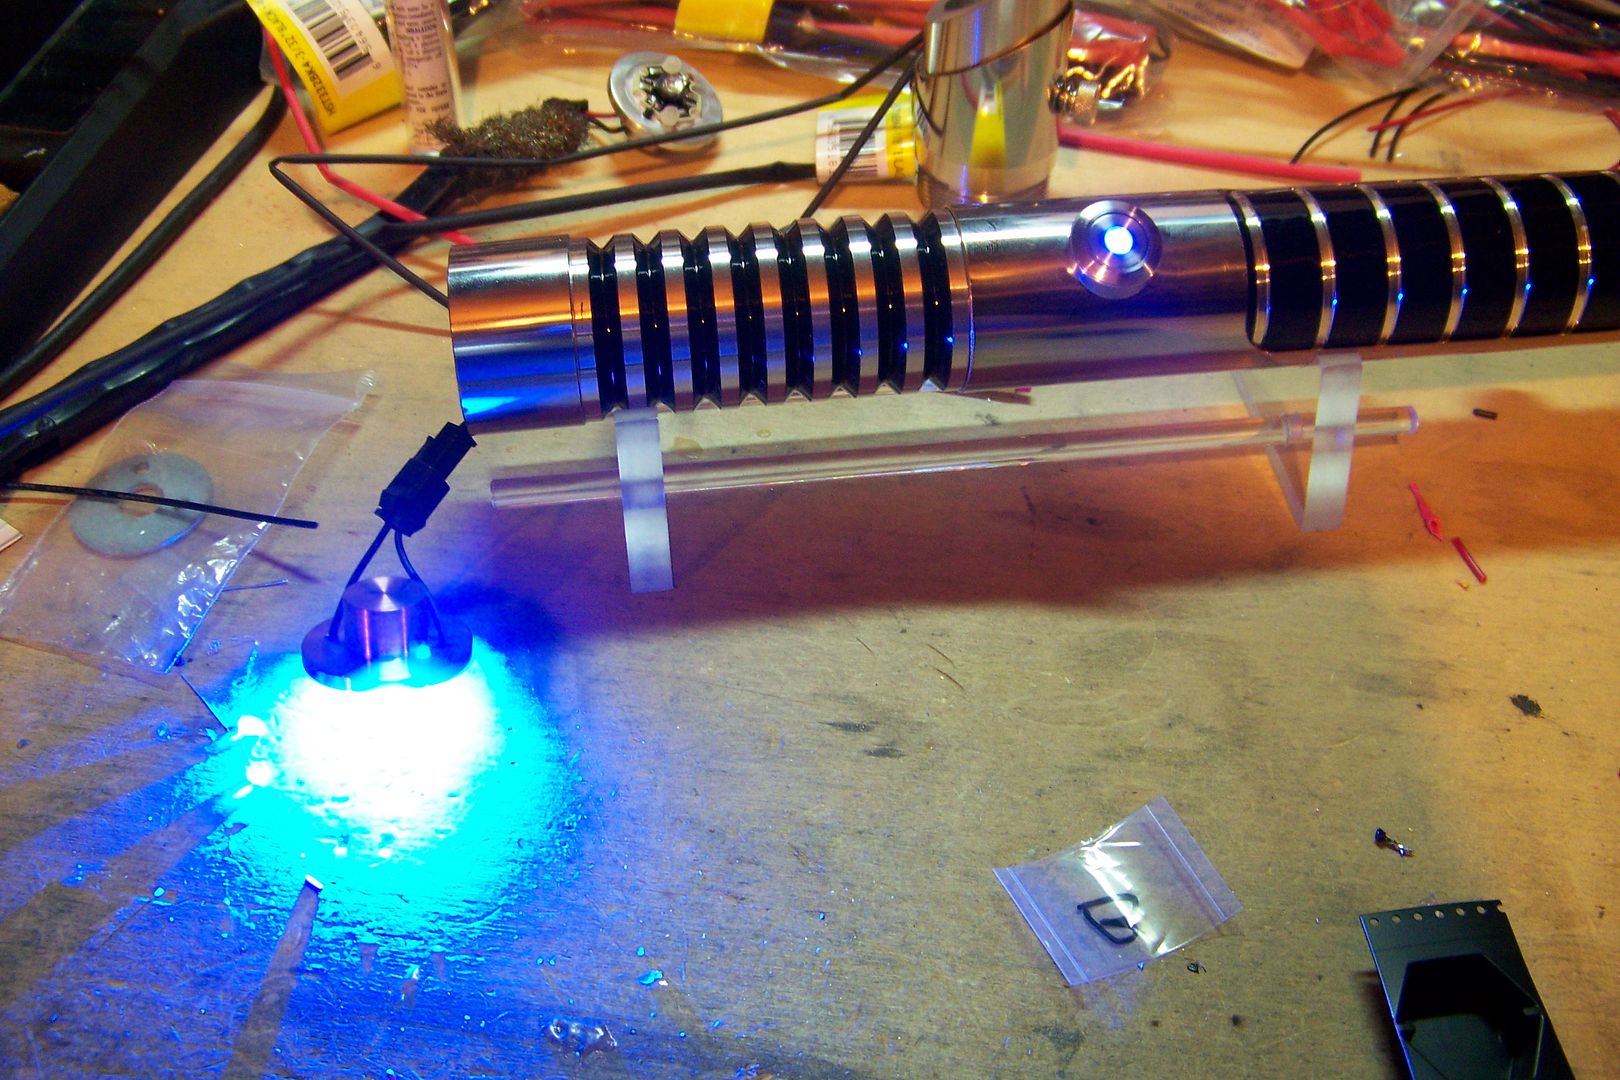
    I soldered it up just like the first switch:
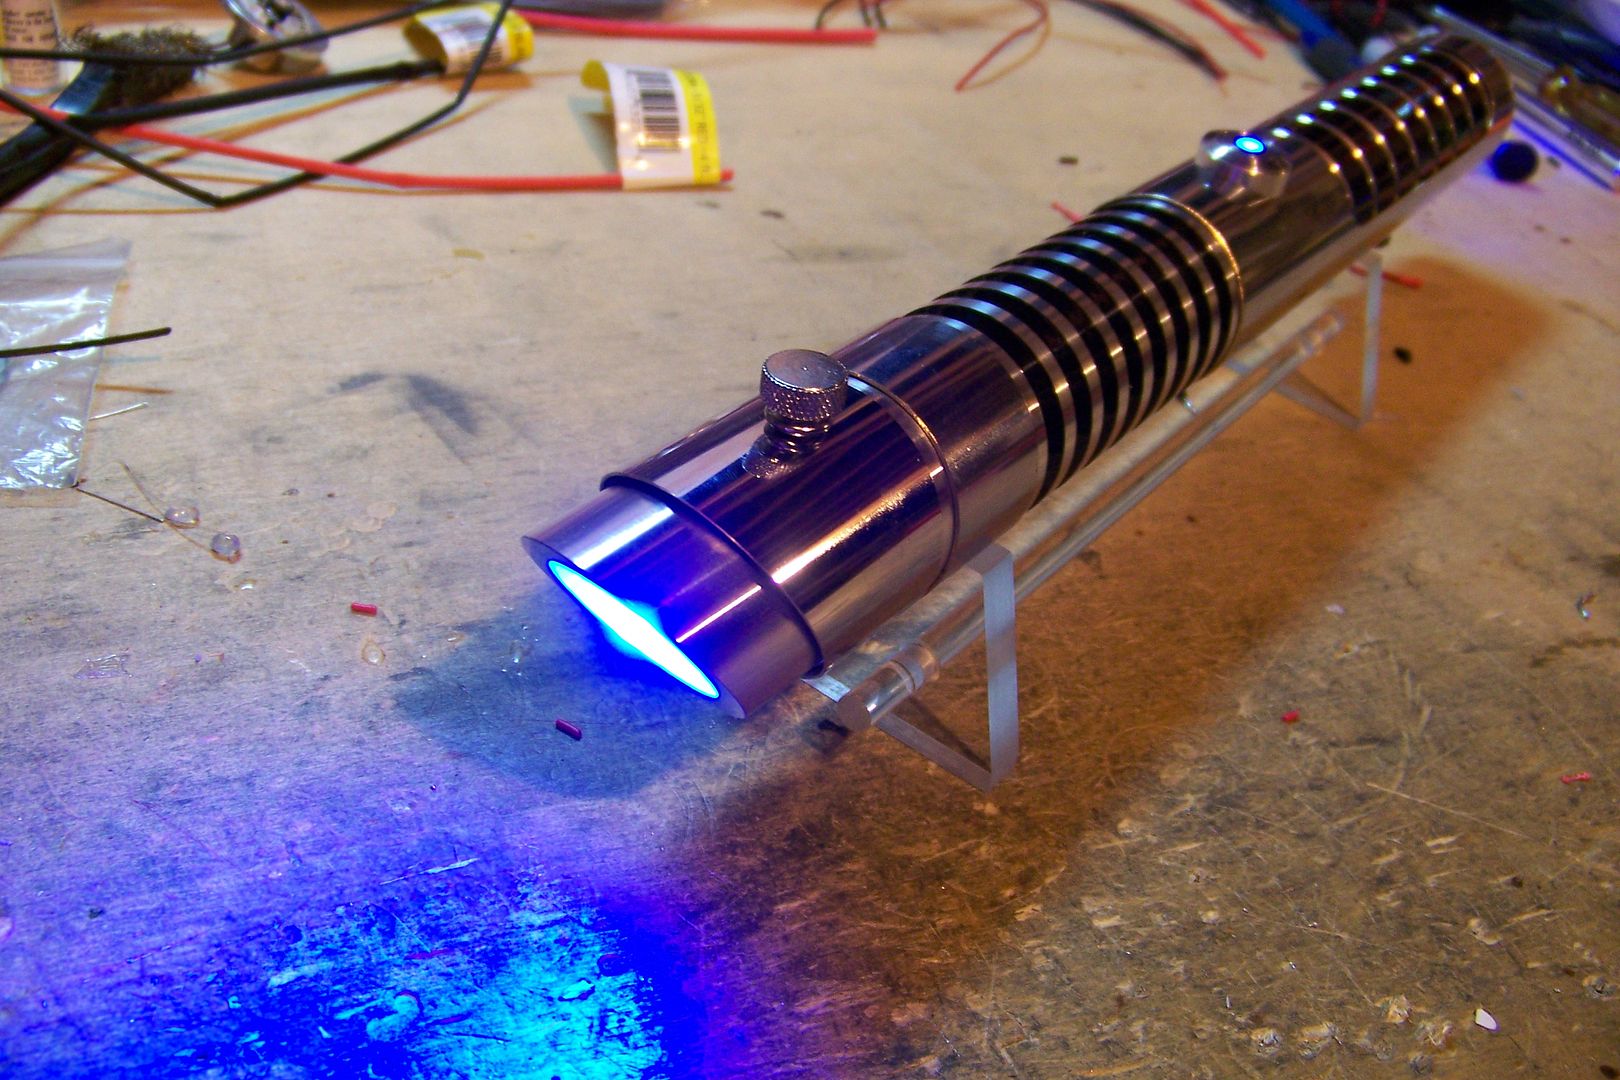
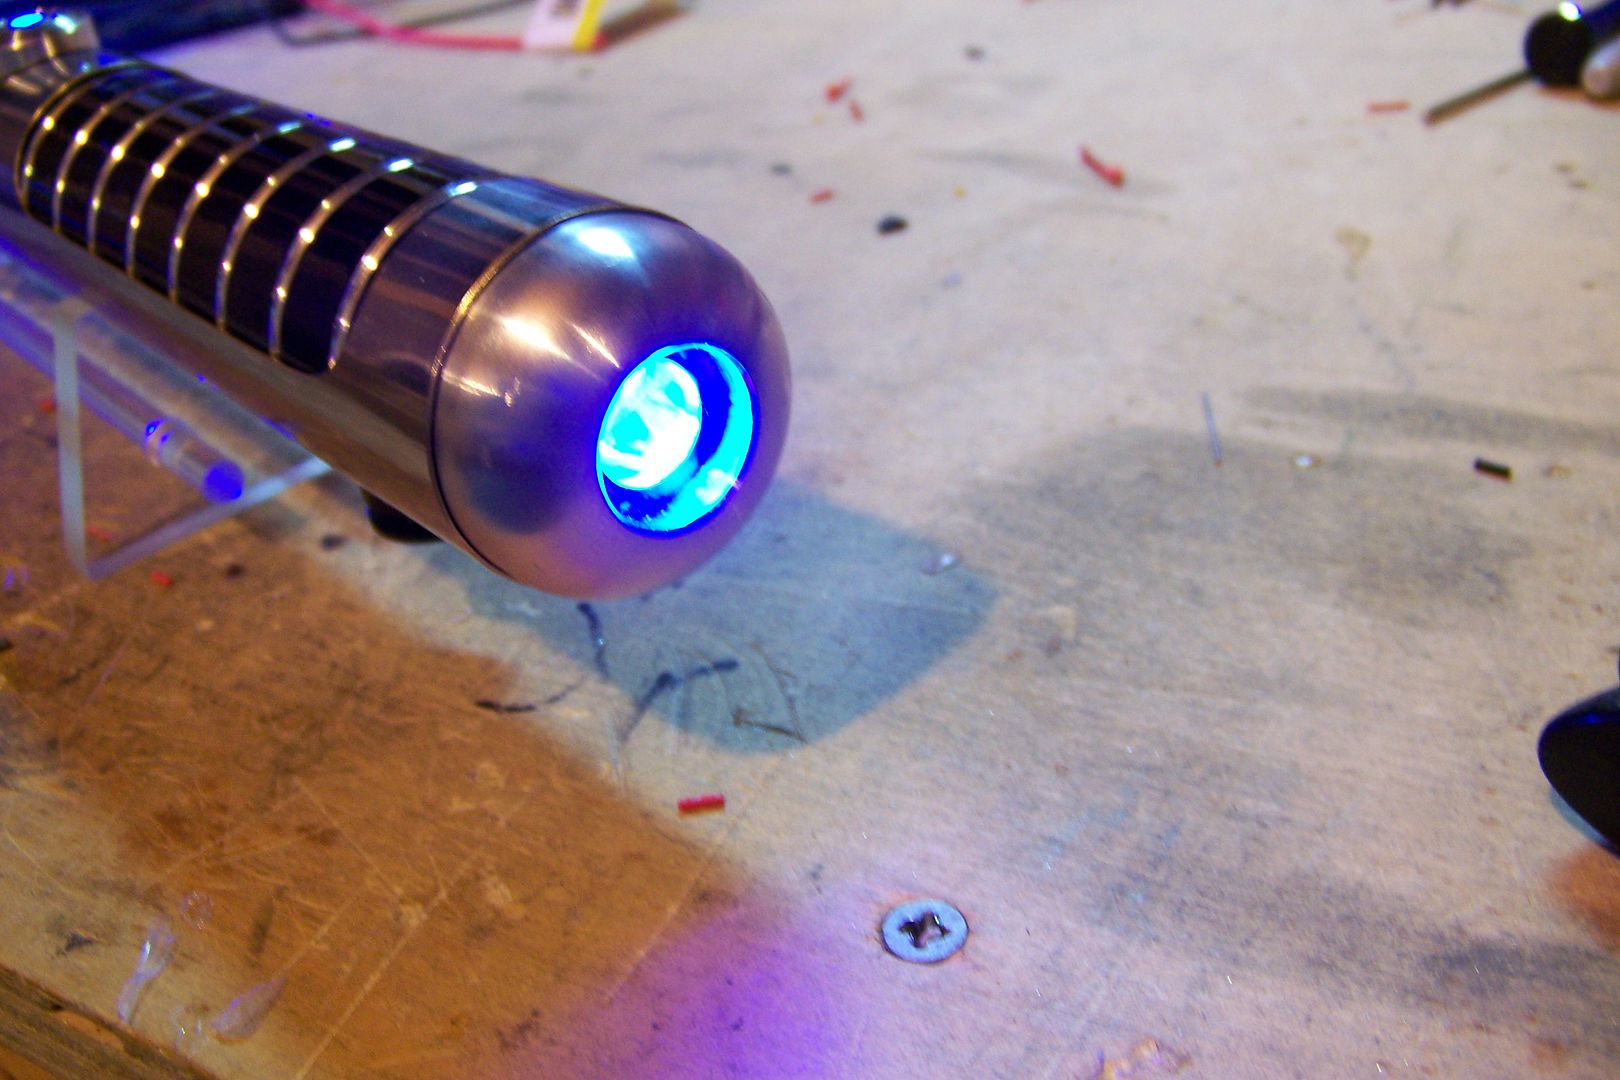

    And tested:


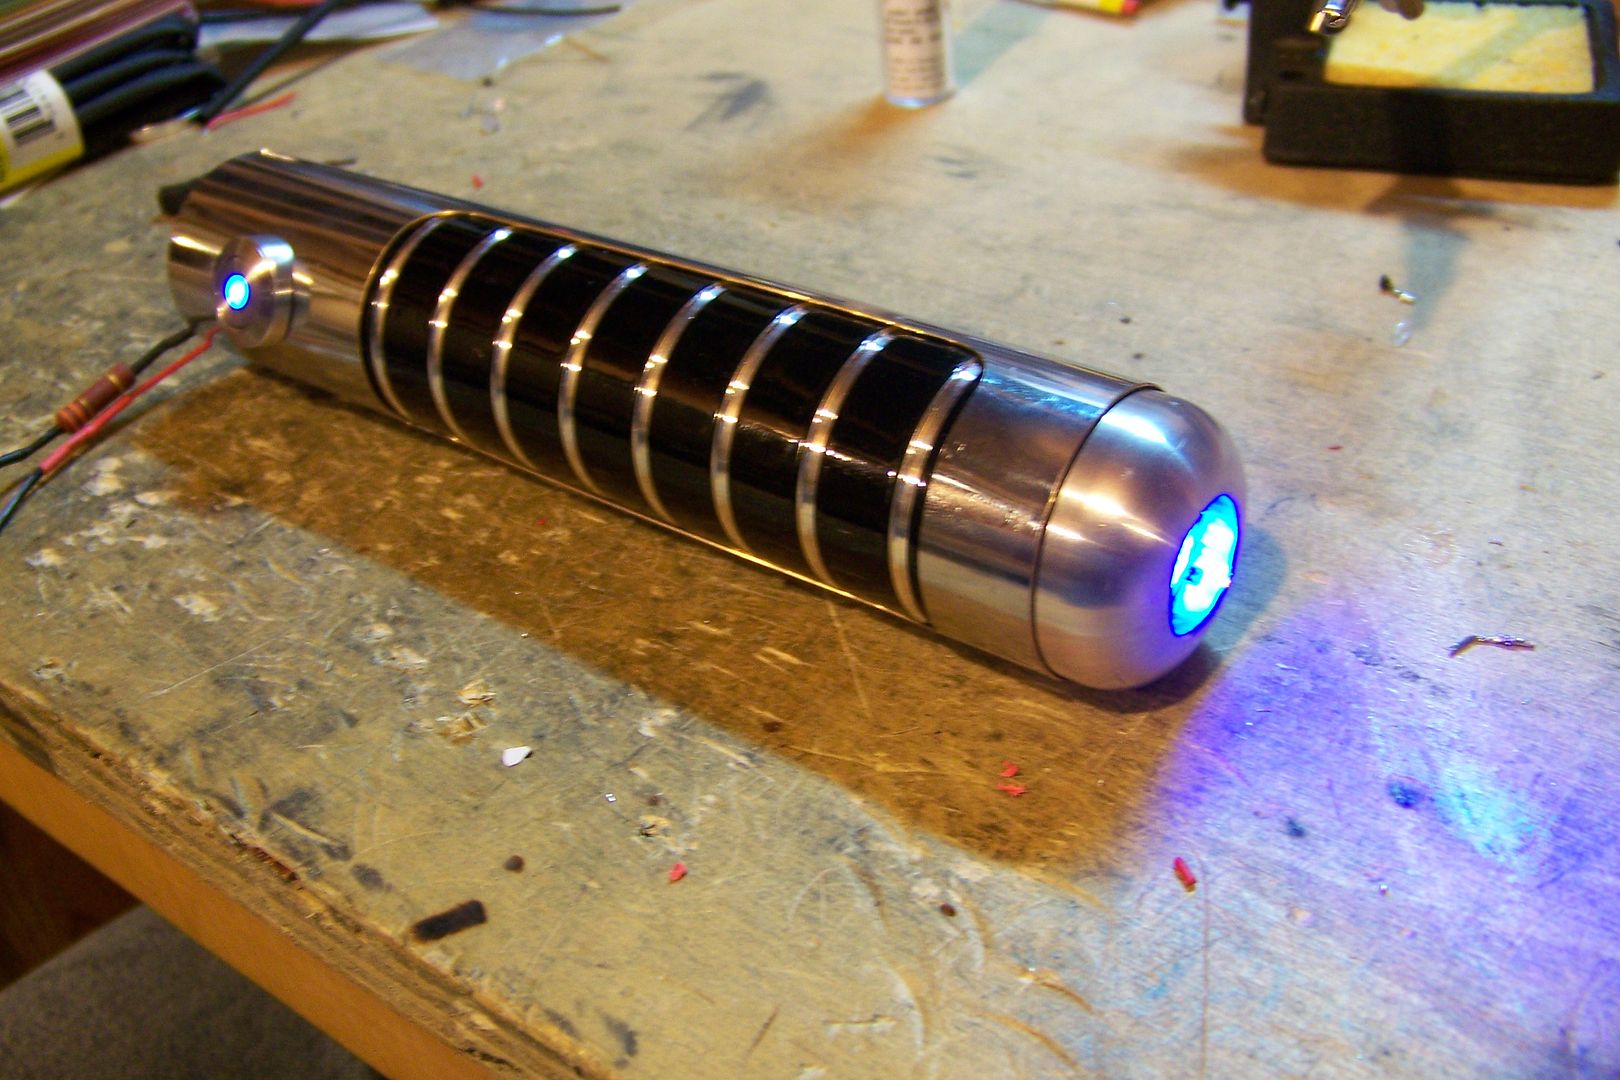
    I think I like the blue dot better...it's brighter than the ring type was!

    Now to assemble it......stay tuned!
    Last edited by Jay-gon Jinn; 04-03-2010 at 01:53 PM.

    Got a question? Start Here. Have you tried the Thread Index yet? Most questions can be answered there.

  2. #12

    Default

    I added the ribbed extension:

    And remembered I still had to mount the led to the heat sink and solder the male end of the connector to it:

    I put a thermal heat transfer pad underneath the led, screwed it to the heat sink, and soldered the connector, plugged it in and tested:


    I slid the heat sink into place in the top of the ribbed extension:


    Grabbed a 5 degree lens and a Lux III style holder:


    Snapped the 5 degree lens into the holder:


    Set it in place on the led:


    Lastly, I installed the emitter:


    A couple of shots of the saber:


    Popped in the blade:


    This particular blade has the TCSS "bullet" tip:


    So, with that, this saber is just about finished....one thing remains....I need to cut down the blade thumbscrew a bit, because it's too long and sticks out like a sore thumb when the blade is inserted, and then it's on to FINAL PICS and a VIDEO!
    Last edited by Jay-gon Jinn; 04-03-2010 at 01:54 PM.

    Got a question? Start Here. Have you tried the Thread Index yet? Most questions can be answered there.

  3. #13

    Default

    Master Jay-gon how is it you are able to get the whole blade tip to light up like that? it looks awesome. I love the whole saber
    -Sidd-

  4. #14

    Default

    Sweet saber and an awesome tutorial!

    Looks like enough space left that it could easily be upgraded for sound too. I look forward to seeing more pics and the video.

  5. #15
    Jedi Council Member cardcollector's Avatar
    Join Date
    Jan 2009
    Location
    I am A proud American.
    Posts
    2,567
    Blog Entries
    3

    Default

    Quote Originally Posted by Sidd View Post
    Master Jay-gon how is it you are able to get the whole blade tip to light up like that? it looks awesome. I love the whole saber
    I second that question! I can't figure out how to do that... (and I've ruined 2 experimenting....)

    You tutorial/build log/gallery is truly incredible!
    Thank you so much for the time you put into these posts.
    Got a Question? There's a thread for that...
    ~Do what you can, with what you have, where you are.~Teddy Roosevelt

    SollusVir everywhere else... FXsabers, Youtube, etc...

  6. #16

    Default

    Quote Originally Posted by Sidd View Post
    Master Jay-gon how is it you are able to get the whole blade tip to light up like that? it looks awesome. I love the whole saber
    Trade secret, so if I told you, then I'd have to.....well, you know how that goes.....

    Got a question? Start Here. Have you tried the Thread Index yet? Most questions can be answered there.

  7. #17

    Default

    Quote Originally Posted by Jay-gon Jinn View Post
    Trade secret, so if I told you, then I'd have to.....well, you know how that goes.....

    Unless you have a unique method it's not a heavily guarded secret...

    Blade tip solutions have been discussed just use the search-fu.

  8. #18

    Default

    Taking off some small areas of reflective surface will allow a small amount of light to pass through. Usually a small hole in the center, or a few spaced around the area should suffice.

    Remember, less is more. You can always take more off, you cannot however....put more back on
    Every time Tim ships an order... an angel gets its wings


    "Just get one and go nuts, that's how this hobby works. Get stuff. Go nuts. Period." ~FenderBender~

  9. #19

    Default

    Quote Originally Posted by Crystal Chambers View Post
    Unless you have a unique method it's not a heavily guarded secret...

    Blade tip solutions have been discussed just use the search-fu.
    wow...can't a guy have a little fun on these forums anymore? Sheesh....

    Got a question? Start Here. Have you tried the Thread Index yet? Most questions can be answered there.

  10. #20

    Default

    And now a double post Jay-gon? hehe With all that you've shared I think you're entitled to keep a few secrets.

    I have some extra tips and mirrors I've been meaning to test out but that's last on my priority list. When I get a chance I wanna try using a smaller mirror so I don't get any bright spots in my tip. I've seen people drill a hole in the middle and it doesn't look good IMO.

Bookmarks

Posting Permissions

  • You may not post new threads
  • You may not post replies
  • You may not post attachments
  • You may not edit your posts
  •